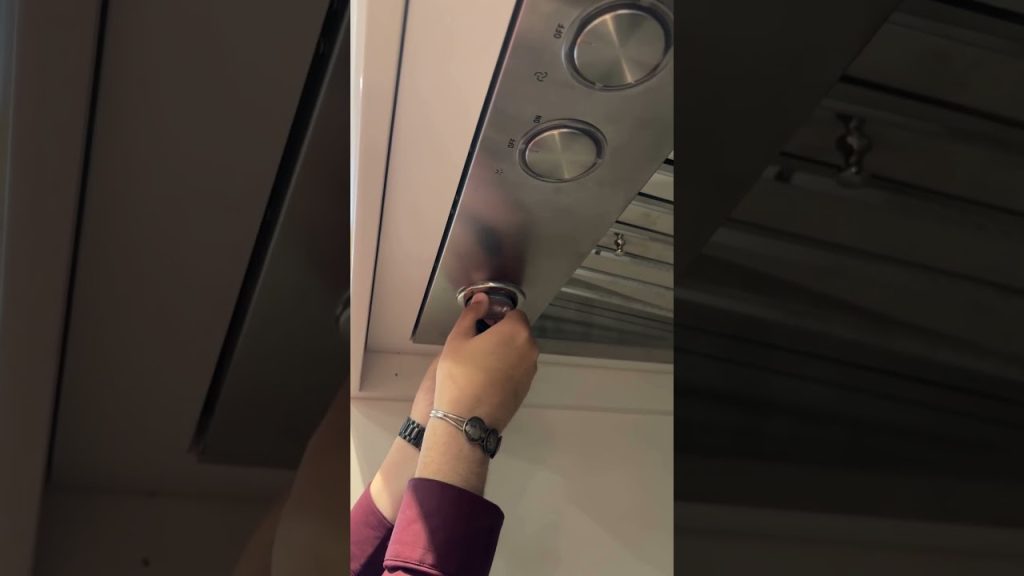
Are you tired of cooking in dim light because your range hood bulb has burned out? Replacing a range hood light bulb might seem daunting, but it’s actually a simple task you can handle yourself.
Imagine the satisfaction of solving this problem without calling in a professional. Not only will you save money, but you’ll also enjoy the bright, clear light that makes cooking a pleasure. In this guide, you’ll discover easy steps to replace your range hood light bulb, ensuring your kitchen stays well-lit and welcoming.
Ready to transform your cooking space? Let’s dive in and make your kitchen shine again!
Tools Needed
Before you start replacing your range hood light bulb, gathering the right tools is crucial. Having everything ready saves time and avoids unnecessary frustration. Let’s look at what you’ll need to make this simple task smooth and safe.
Bulb Types
Knowing the exact bulb type for your range hood is key. Most range hoods use halogen, LED, or incandescent bulbs, but sizes and fittings vary.
- Check your range hood manual or the existing bulb for specifications.
- Common sizes include 120V halogen or specialty LEDs designed for kitchen appliances.
- Bringing the old bulb to the store can help you find an exact match.
Have you ever bought a bulb only to find it doesn’t fit? It’s a frustrating experience you can avoid by confirming the type first.
Safety Gear
Replacing a bulb might seem straightforward, but safety should never be overlooked. Wearing the right gear protects you from electrical shocks and broken glass.
- Use insulated gloves to handle the bulb and avoid burns or shocks.
- Safety goggles can protect your eyes from dust or if the bulb shatters.
- Consider a sturdy step stool if your range hood is out of reach to avoid falls.
Do you really want to risk a cut or shock for a quick bulb change? Taking a few safety precautions makes the job safer and more comfortable.
Preparing The Range Hood
Preparing the range hood is an important first step before changing the light bulb. It ensures safety and makes the process easier. Taking time to prepare helps avoid accidents and damage to the appliance.
Power Off
Turn off the range hood’s power to avoid electrical shock. Find the switch on the hood or the circuit breaker connected to it. Double-check that the light and fan are off before continuing. Safety comes first in any electrical task.
Accessing The Light Cover
Locate the light cover on the underside of the hood. This cover protects the bulb and must be removed carefully. Some covers twist off, while others use clips or screws. Use a cloth or gloves to protect your hands and the cover surface. Keep all small parts safe for reassembly.
Removing The Old Bulb
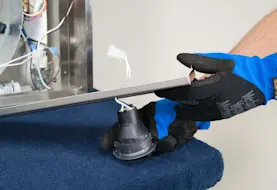
Removing the old bulb from a range hood is a simple task but requires care. Start by turning off the power to avoid electric shock. Let the bulb cool down before touching it to prevent burns. This step ensures safety and prepares you for easy removal.
Handling The Bulb
Use a cloth or gloves to grip the bulb gently. Avoid pressing too hard to prevent breakage. Twist the bulb counterclockwise to loosen it from the socket. If it feels stuck, wiggle it slightly without forcing. Keep your hands steady to maintain control.
Checking For Damage
Inspect the bulb for cracks or dark spots. These signs mean the bulb is burnt out or broken. Look at the socket for corrosion or debris that may affect the connection. Clean the socket if necessary using a dry cloth. Dispose of damaged bulbs safely to avoid injury.
Credit: www.searspartsdirect.com
Installing The New Bulb
Installing the new bulb in your range hood is a simple task that brightens your cooking space quickly. It requires choosing the correct bulb and following safe installation steps. Proper installation ensures your range hood light works well and lasts longer.
Choosing The Right Bulb
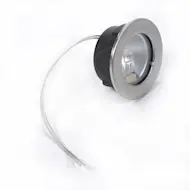
Select a bulb that matches the voltage and wattage recommended by your range hood manufacturer. Check the owner’s manual or the label near the light socket for this information. Use bulbs designed for kitchen use, such as LED or halogen, which handle heat better. Avoid bulbs that are too bright or too dim for the space.
Proper Installation Steps
- Turn off the range hood and unplug it to avoid electric shock.
- Remove the old bulb by gently twisting it counterclockwise or pulling it out, depending on the model.
- Handle the new bulb with a clean cloth or gloves to prevent oils from your skin causing damage.
- Insert the new bulb carefully into the socket and twist clockwise until secure.
- Plug the range hood back in and turn it on to test the new light.
- Check that the bulb lights evenly and stays in place without wobbling.
Testing The New Bulb
After replacing the range hood light bulb, testing it ensures your effort pays off. Confirming the bulb works properly not only restores your kitchen’s lighting but also avoids unnecessary trips back to the store. Let’s look at how to check the new bulb safely and what to do if it doesn’t turn on right away.
Power On
Start by turning the power back on to your range hood. If you switched off a breaker or unplugged the unit, restore the power source carefully.
Then, use the light switch or button on your range hood to turn the new bulb on.
Does the bulb illuminate immediately? If yes, you’re done! If not, don’t worry—there are a few things you can check.
Troubleshooting Tips
If the bulb doesn’t light up, first double-check that you installed it correctly. Sometimes the bulb isn’t screwed in firmly, so give it a gentle twist to ensure contact.
Next, make sure the bulb type matches the range hood’s specifications. Using the wrong wattage or bulb shape can prevent it from working.
Also, inspect the socket for any signs of damage or debris. Dust or corrosion can block the electrical connection.
Still no light? Try testing the bulb in another socket or test a known working bulb in the range hood socket. This will help you determine if the problem is the bulb or the fixture.
Have you ever found a simple fix after hours of frustration? Sometimes, a quick look at the switch or fuse saves a trip to the repair shop.

Credit: www.reddit.com
Maintenance Tips
Maintaining your range hood light bulb goes beyond just replacement. Proper upkeep ensures your kitchen stays well-lit and safe. Let’s look at some practical tips that help you keep your range hood light in top shape.
Regular Cleaning
Dirt and grease buildup can dim your range hood light over time. Wipe the light cover gently with a damp cloth once every couple of weeks to keep it bright. Avoid harsh chemicals; mild soap and water usually do the trick.
Have you noticed how much brighter the light gets after a quick clean? Regular cleaning also helps you spot any damage early, preventing bigger problems later on.
When To Replace Bulbs
Don’t wait until the bulb completely burns out. If you see flickering or dimming, it’s time for a replacement. Keep a spare bulb handy so you’re never left in the dark during cooking.
Think about the last time your kitchen light flickered while you were prepping a meal. It’s not just annoying—it can be unsafe. Changing bulbs promptly keeps your kitchen bright and your cooking safe.
Credit: www.searspartsdirect.com
Frequently Asked Questions
How Do I Safely Remove A Range Hood Light Bulb?
First, turn off the power to the range hood. Use a ladder if needed. Wait for the bulb to cool before unscrewing it gently.
What Type Of Bulb Fits Most Range Hoods?
Most range hoods use halogen or LED bulbs. Check your hood’s manual for exact size and wattage requirements before purchasing.
How Often Should I Replace The Range Hood Light Bulb?
Replace the bulb when it flickers or burns out. Typically, bulbs last about 1 to 2 years, depending on use.
Can I Replace A Range Hood Bulb Without Tools?
Many bulbs twist out by hand. If stuck, use a cloth for grip. Avoid using metal tools to prevent damage.
Conclusion
Replacing a range hood light bulb is simple and quick. Always unplug the range hood before starting. Choose the right bulb type for your model. Gently remove the old bulb to avoid damage. Insert the new bulb carefully and secure it.
Test the light to ensure it works well. Regular checks keep your kitchen bright and safe. A well-lit cooking area makes cooking easier and more enjoyable. Taking these small steps saves time and hassle later. Now, your range hood light should shine bright again.