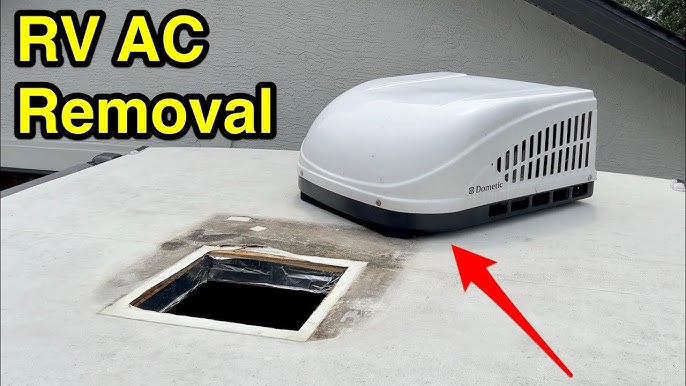
Is your RV air conditioner not keeping you cool anymore? Replacing it might seem tricky, but with the right steps, you can do it yourself and save money.
Imagine enjoying your trips without the stress of a broken AC. In this guide, you’ll find simple, clear instructions to replace your RV air conditioner quickly and safely. Keep reading, and you’ll be back to relaxing in comfort before you know it.
Tools And Materials Needed
Replacing an RV air conditioner requires specific tools and materials. Having the right items makes the job easier and safer.
This guide lists the tools and materials you will need for a smooth replacement process.
Screwdrivers
Screwdrivers are essential for removing and installing screws on the air conditioner unit. You will need both flathead and Phillips head screwdrivers.
These tools help you open panels and detach parts safely without damaging the RV or the air conditioner.
Wrench Set
A wrench set is important for loosening and tightening bolts. Different sizes will fit various nuts and bolts on the air conditioner.
Using the correct wrench size prevents stripping and ensures a secure fit.
Voltage Tester
A voltage tester checks if the power to the air conditioner is off. Safety is critical when working with electrical parts.
Always test wires before touching them to avoid electric shocks.
Replacement Air Conditioner Unit
Choose a replacement air conditioner that fits your RV’s roof opening. It should match the power and size of the old unit.
Check the manufacturer’s specifications to ensure compatibility.
Sealant Or Caulking
Sealant or caulking prevents water leaks around the air conditioner installation. It keeps your RV dry and protects the roof.
Use a weatherproof sealant designed for outdoor use.
Putty Knife
A putty knife helps remove old sealant and clean the surface before installing the new air conditioner.
It ensures a smooth area for the new sealant to stick well.
Ladder
You will need a ladder to safely reach the RV roof. Make sure it is stable and tall enough to access the air conditioner.
Safety gear like gloves and non-slip shoes is also recommended when working on the roof.
Choosing The Right Air Conditioner
Replacing your RV air conditioner is important for comfort. Picking the right model makes sure it cools well and saves energy.
Think about size, energy use, and if it fits your RV before buying. These factors help you find the best air conditioner.
Size And Capacity
Choose an air conditioner size that matches your RV space. Too small will not cool well, and too big wastes energy.
Look at the BTU rating to know the cooling power. Bigger RVs need higher BTU units, smaller ones need less.
- Small RVs: 5,000 to 8,000 BTU
- Medium RVs: 8,000 to 13,500 BTU
- Large RVs: 13,500 to 15,000 BTU
Energy Efficiency
Energy-efficient air conditioners use less power and lower your electric bills. Check for Energy Star ratings.
Look for units with high EER (Energy Efficiency Ratio). The higher the EER, the better the energy savings.
- Energy Star units save more electricity
- High EER means better cooling with less energy
- Consider solar-compatible models for off-grid use
Compatibility With Your Rv
Make sure the new air conditioner fits your RV’s roof opening. Check the size and mounting style.
Match the power supply type and voltage to your RV system. This avoids electrical problems and extra costs.
- Measure your current AC’s roof opening size
- Check if the unit needs 110V or 12V power
- Look for models designed for RV use
Preparing Your Rv For Replacement
Replacing your RV air conditioner needs careful preparation. This helps you work safely and easily.
Start by getting your tools ready and clearing the area around the unit. This makes the job faster.
Disconnecting Power
Always turn off the power before you start. This stops electric shocks and damage.
Find the main switch or breaker for the air conditioner. Switch it off or unplug the unit from power.
- Locate the RV’s circuit breaker panel
- Turn off the breaker for the air conditioner
- Unplug the unit if it has a plug
- Use a voltage tester to check no power is running
Removing The Old Unit
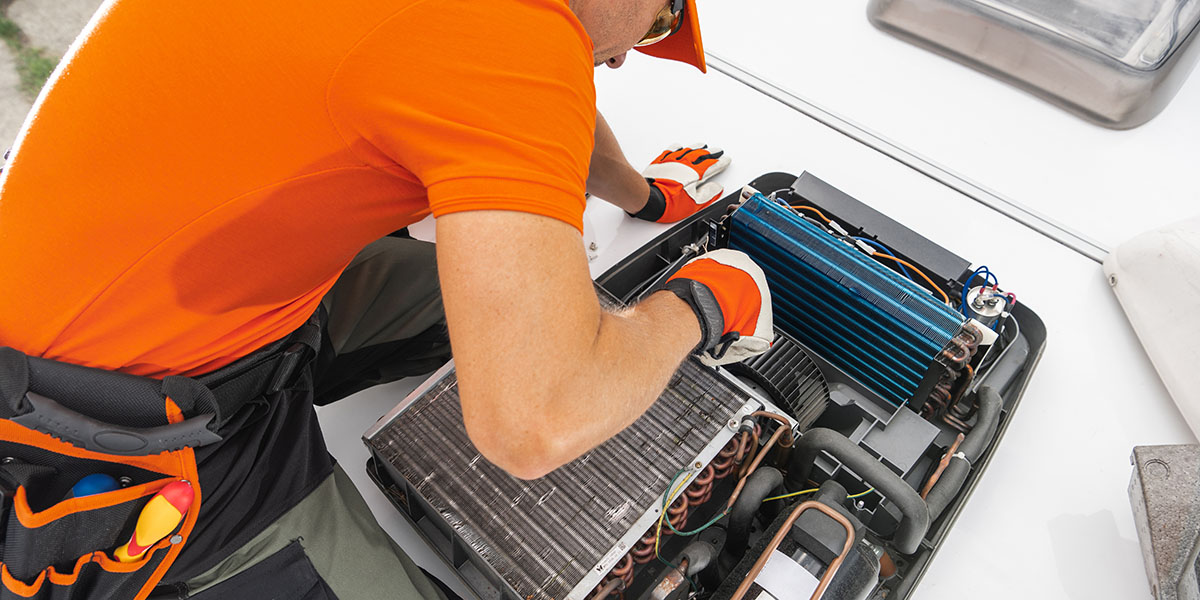
Take off the old air conditioner carefully. You may need help if it is heavy.
Unscrew the mounting bolts and disconnect any wires or hoses. Keep parts organized for safety.
- Remove screws or bolts holding the unit
- Disconnect electrical wires carefully
- Detach any drainage hoses
- Lift the unit off the roof with help
Cleaning The Installation Area
Clean the roof area where the old unit was. Remove dirt, old sealant, and debris.
A clean surface helps the new air conditioner fit well and prevents leaks.
- Clear away dust and dirt
- Scrape off old sealant or glue
- Check for any damage or cracks
- Dry the area fully before installing
Credit: www.rvtrader.com
Installing The New Air Conditioner
Installing a new air conditioner in your RV requires careful attention. The right placement and secure installation ensure it works well and lasts long.
This guide covers how to position the unit, secure the mounting, and connect the electrical parts safely.
Positioning The Unit
Place the air conditioner on the roof opening with care. Make sure it fits properly and sits flat to avoid leaks.
- Check the roof opening size matches the unit.
- Lift the unit carefully onto the roof.
- Align the unit so the drain holes face the right direction.
- Confirm the seal will sit evenly around the edges.
Securing The Mounting
Fasten the air conditioner firmly to keep it stable during travel. Use the correct screws and seals to avoid damage.
| Tool | Purpose | Tip |
|---|---|---|
| Drill | Make pilot holes for screws | Use the right drill bit size |
| Screwdriver | Tighten mounting screws | Do not over-tighten screws |
| Sealant | Seal edges to prevent leaks | Apply evenly around the base |
Connecting Electrical Components
Connect the power wires carefully. Use proper connectors and check all connections for safety.
- Turn off the RV power before starting.
- Match wire colors according to the manual.
- Use wire nuts or connectors to join wires securely.
- Test the connection before finalizing installation.
Testing And Troubleshooting
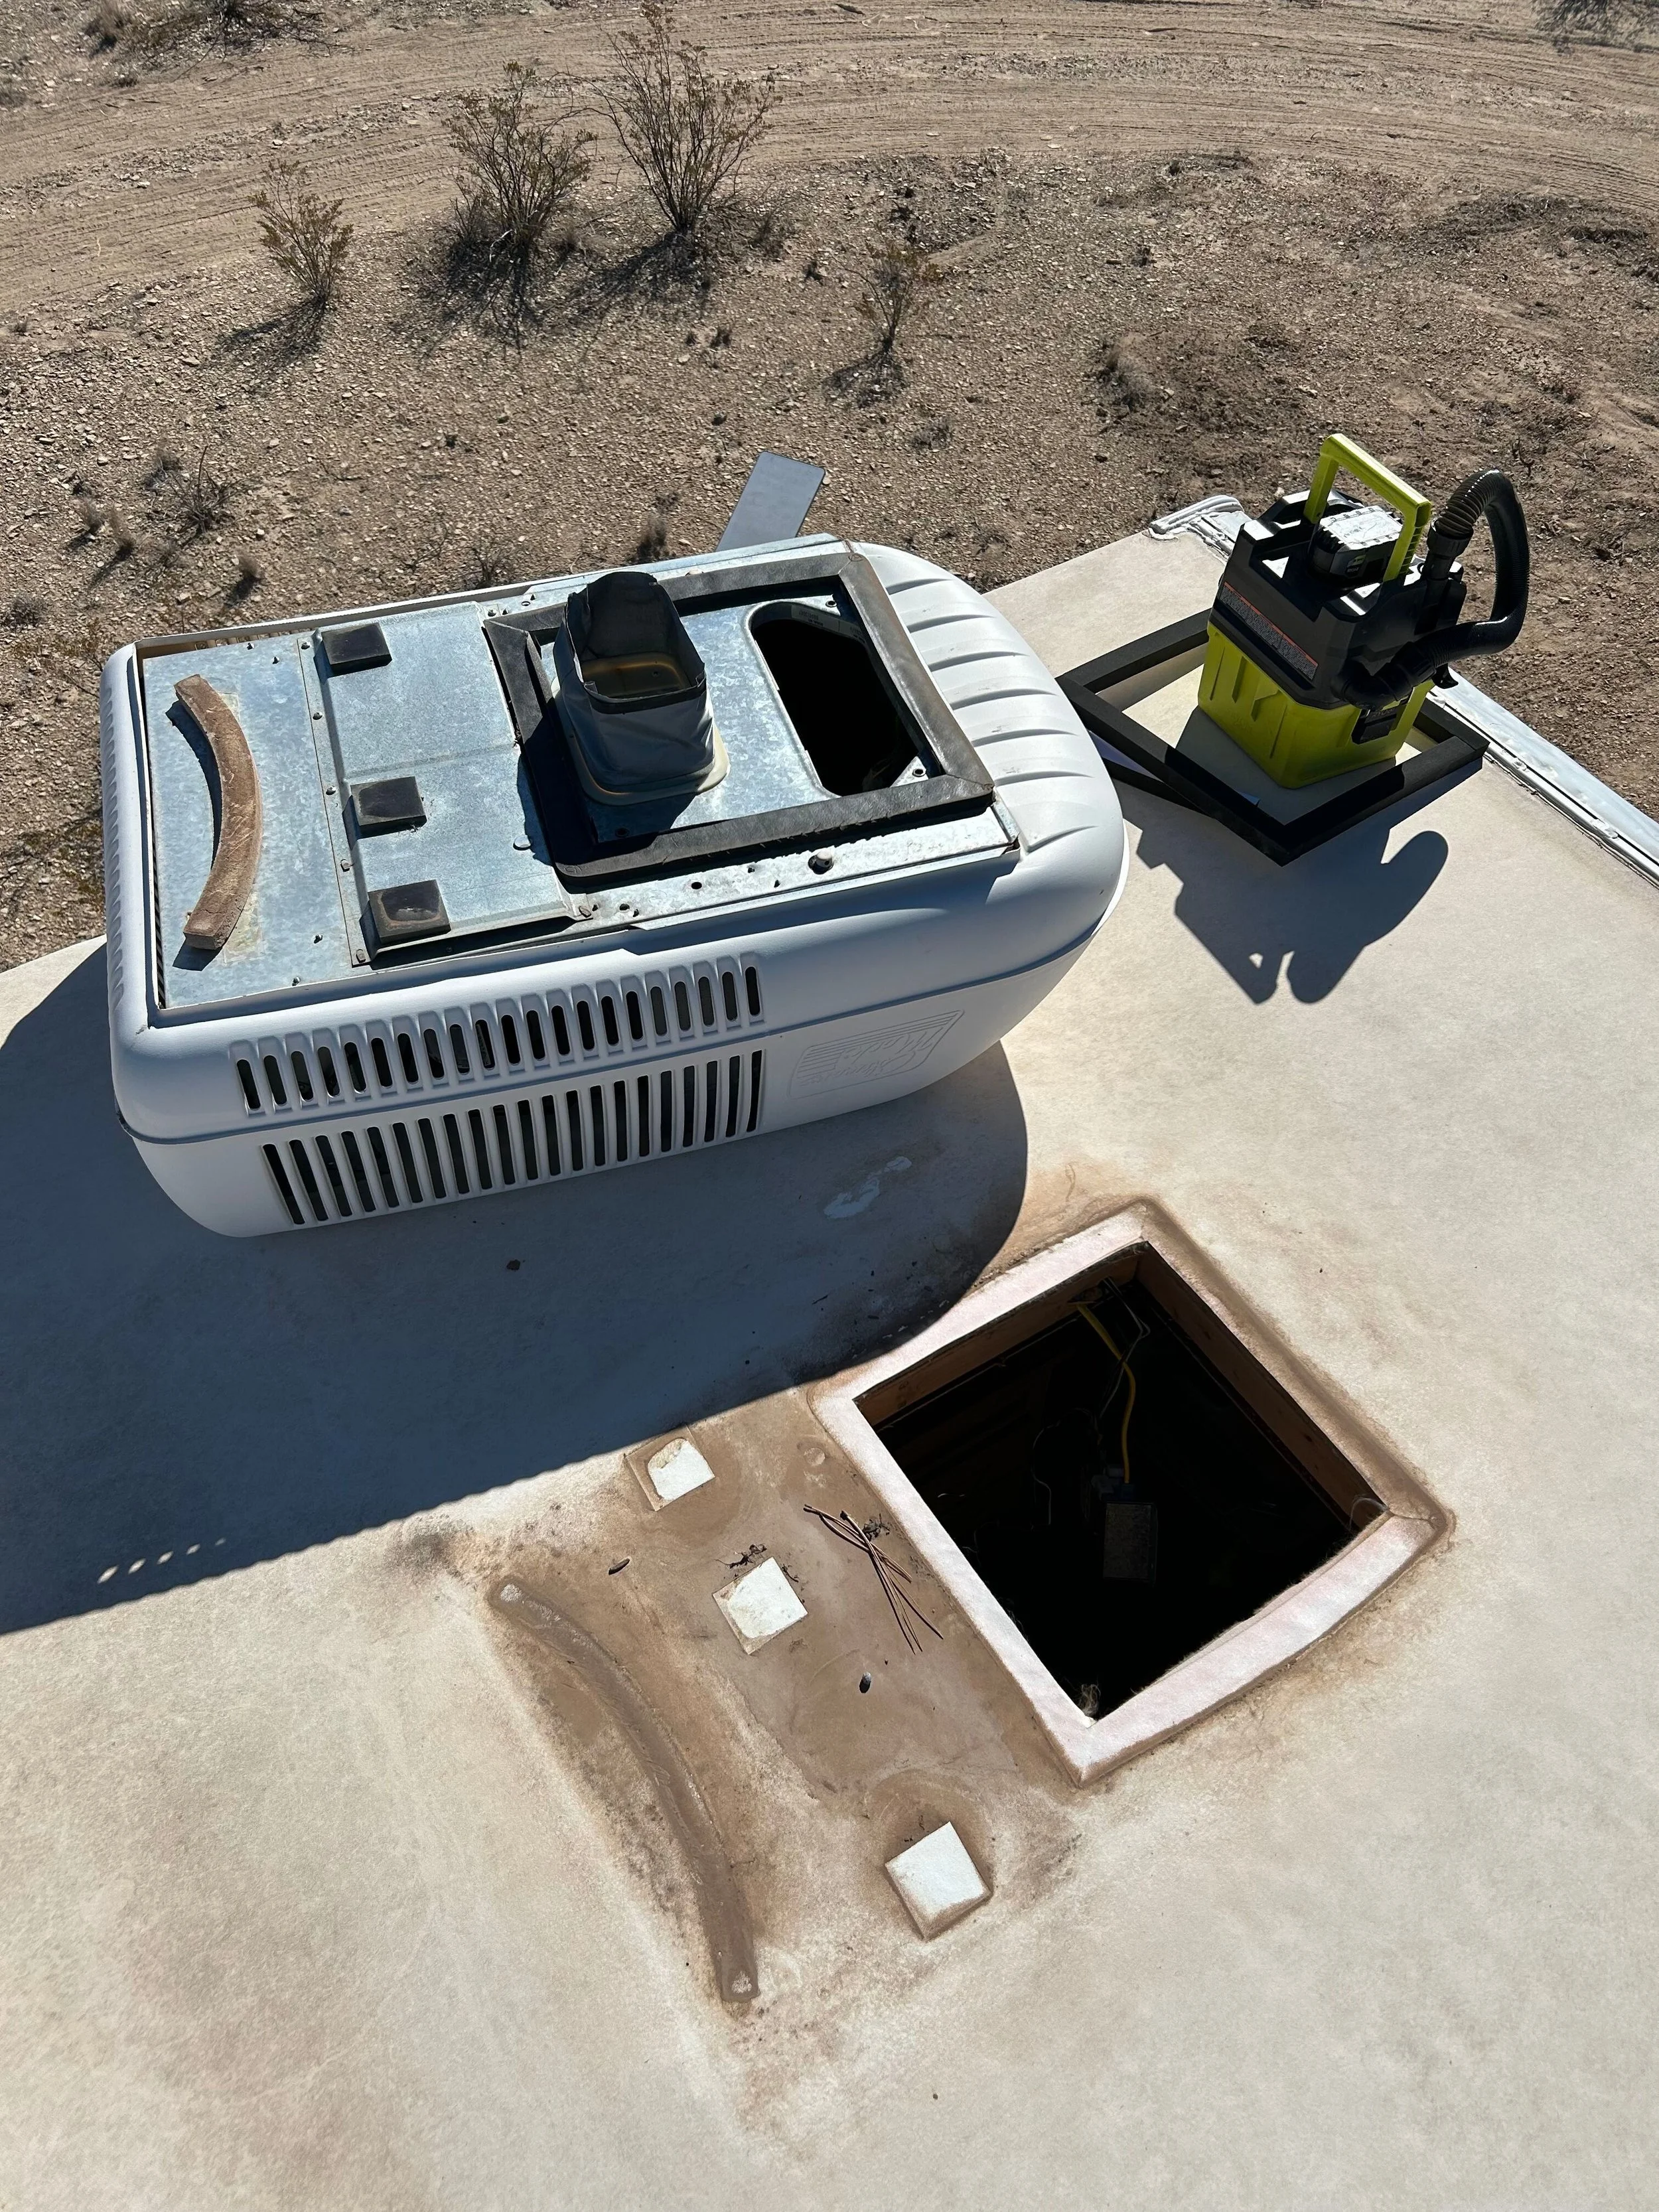
Testing and troubleshooting your RV air conditioner ensures it works properly after replacement. This guide helps you find common problems and fix them quickly.
Follow these steps to check the AC’s power, leaks, noises, and settings for the best cooling performance.
Powering On
Start by turning on the RV air conditioner to check if it powers up correctly. Make sure the main power switch is on and the circuit breaker is not tripped.
- Verify the power source is connected and working.
- Switch on the AC unit using the control panel or remote.
- Listen for the fan motor and compressor starting.
- If the unit does not start, check fuses and wiring connections.
- Reset the breaker if it has tripped and try again.
Checking For Leaks And Noises
Leaks and strange noises can signal problems with your air conditioner. Inspect for water leaks and listen for unusual sounds during operation.
| Issue | Possible Cause | Action |
| Water Leak | Clogged drain line or broken seal | Clear drain or replace seal |
| Hissing Noise | Refrigerant leak | Call a technician to recharge |
| Rattling Sound | Loose parts or debris | Tighten screws and clean fan |
| Clicking Noise | Faulty relay or capacitor | Replace faulty component |
Adjusting Settings For Optimal Cooling
Set your air conditioner for the best comfort and energy use. Adjust the thermostat and fan speed based on your needs.
Use this checklist to optimize your AC settings:
- Set thermostat to a comfortable temperature, usually between 72°F and 78°F.
- Use “Auto” fan mode to save energy.
- Choose “High” fan speed for quick cooling.
- Close windows and doors to keep cool air inside.
- Regularly clean or replace air filters.
Credit: www.odysseyrvservice.com
Maintenance Tips For Longevity
Replacing your RV air conditioner is easier when you keep it well maintained. Proper care helps the unit last longer. You save money and avoid repairs.
Follow simple maintenance tips to keep your RV air conditioner working well. These tips include cleaning, replacing filters, and seasonal checks.
Regular Cleaning
Clean your air conditioner regularly to remove dirt and dust. This stops blockages and improves airflow. It also keeps the unit cool.
Use a soft brush or cloth to clean the vents and outside parts. Avoid water on electrical components. Clean at least once a month during use.
Filter Replacement
Filters trap dust and debris. Dirty filters reduce air flow and strain the air conditioner. Replace filters often to keep air clean.
- Check filters every month
- Replace if they look dirty or damaged
- Use the correct size and type for your unit
Seasonal Checks
Before and after each camping season, inspect your air conditioner. Look for signs of wear or damage. Tighten loose screws and clean coils.
- Check electrical connections
- Inspect seals and gaskets for leaks
- Test the thermostat for accuracy
- Clear debris from around the unit

Credit: www.youtube.com
Frequently Asked Questions
How Do I Choose The Right Rv Air Conditioner?
Choose based on your RV size and climate needs. Check BTU ratings and energy efficiency for best cooling. Match the AC unit to your power source to avoid overload.
What Tools Are Needed To Replace An Rv Air Conditioner?
You need a screwdriver, drill, wire stripper, sealant, and safety gloves. These tools help remove the old unit and install the new one safely and securely.
How Long Does It Take To Replace An Rv Air Conditioner?
Replacing usually takes 2 to 4 hours depending on skill level. Proper preparation and following instructions reduce installation time and errors.
Can I Replace My Rv Air Conditioner Myself?
Yes, if you have basic electrical and mechanical skills. Follow manufacturer guidelines carefully and ensure the power is off before starting.
Conclusion
Replacing an RV air conditioner seems tough. But, it’s doable. First, gather all necessary tools. Next, carefully remove the old unit. Install the new air conditioner with precision. Always follow safety guidelines. Take your time to avoid mistakes. Check all connections are secure.
Test the new unit before finalizing. Enjoy cool comfort on your next trip. Regular maintenance keeps it running smoothly. Remember, patience is key to success. Now, you’re ready to hit the road in comfort. Safe travels!