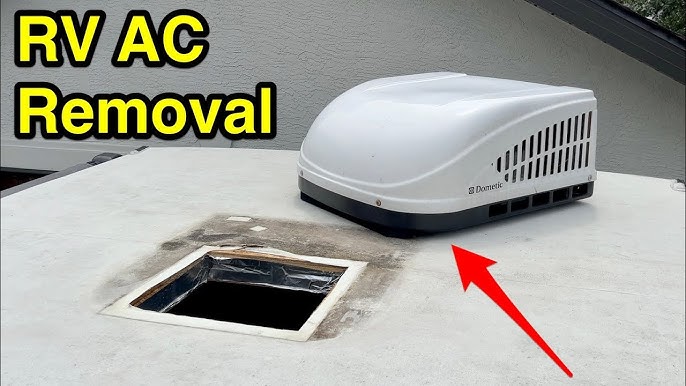
Is your RV air conditioner not keeping you cool anymore? Replacing it might seem tricky, but you can do it yourself with the right steps.
Imagine enjoying a fresh, cool breeze every time you hit the road without paying for expensive repairs. In this guide, you’ll learn exactly how to replace your RV air conditioner safely and efficiently. By the end, you’ll feel confident to tackle this project and keep your travels comfortable.
Ready to get started? Let’s dive in!

Credit: www.youtube.com
Tools And Materials Needed
Before replacing an RV air conditioner, gather the right tools and materials. This helps the job go smoothly. Here is a list of essentials:
- Screwdrivers(Phillips and flathead) to remove screws.
- Wrench setto loosen bolts.
- Caulking gunwith sealant to prevent leaks.
- Wire cuttersand stripperfor electrical work.
- Voltage testerto check power supply.
- Replacement air conditioner unitmatching your RV model.
- Protective glovesfor safety.
- Ragsto clean surfaces.
- Ladderfor roof access.
Having all tools ready saves time and avoids frustration. Safety gear is important to protect hands and eyes. Use a ladder carefully to avoid falls.
Preparing The Rv For Replacement
Start by turning off the RV’s main power supply. This ensures safety during the replacement process. Locate the circuit breaker or disconnect switch for the air conditioner and switch it off. Confirm no electricity is running to the unit by testing with a voltage tester.
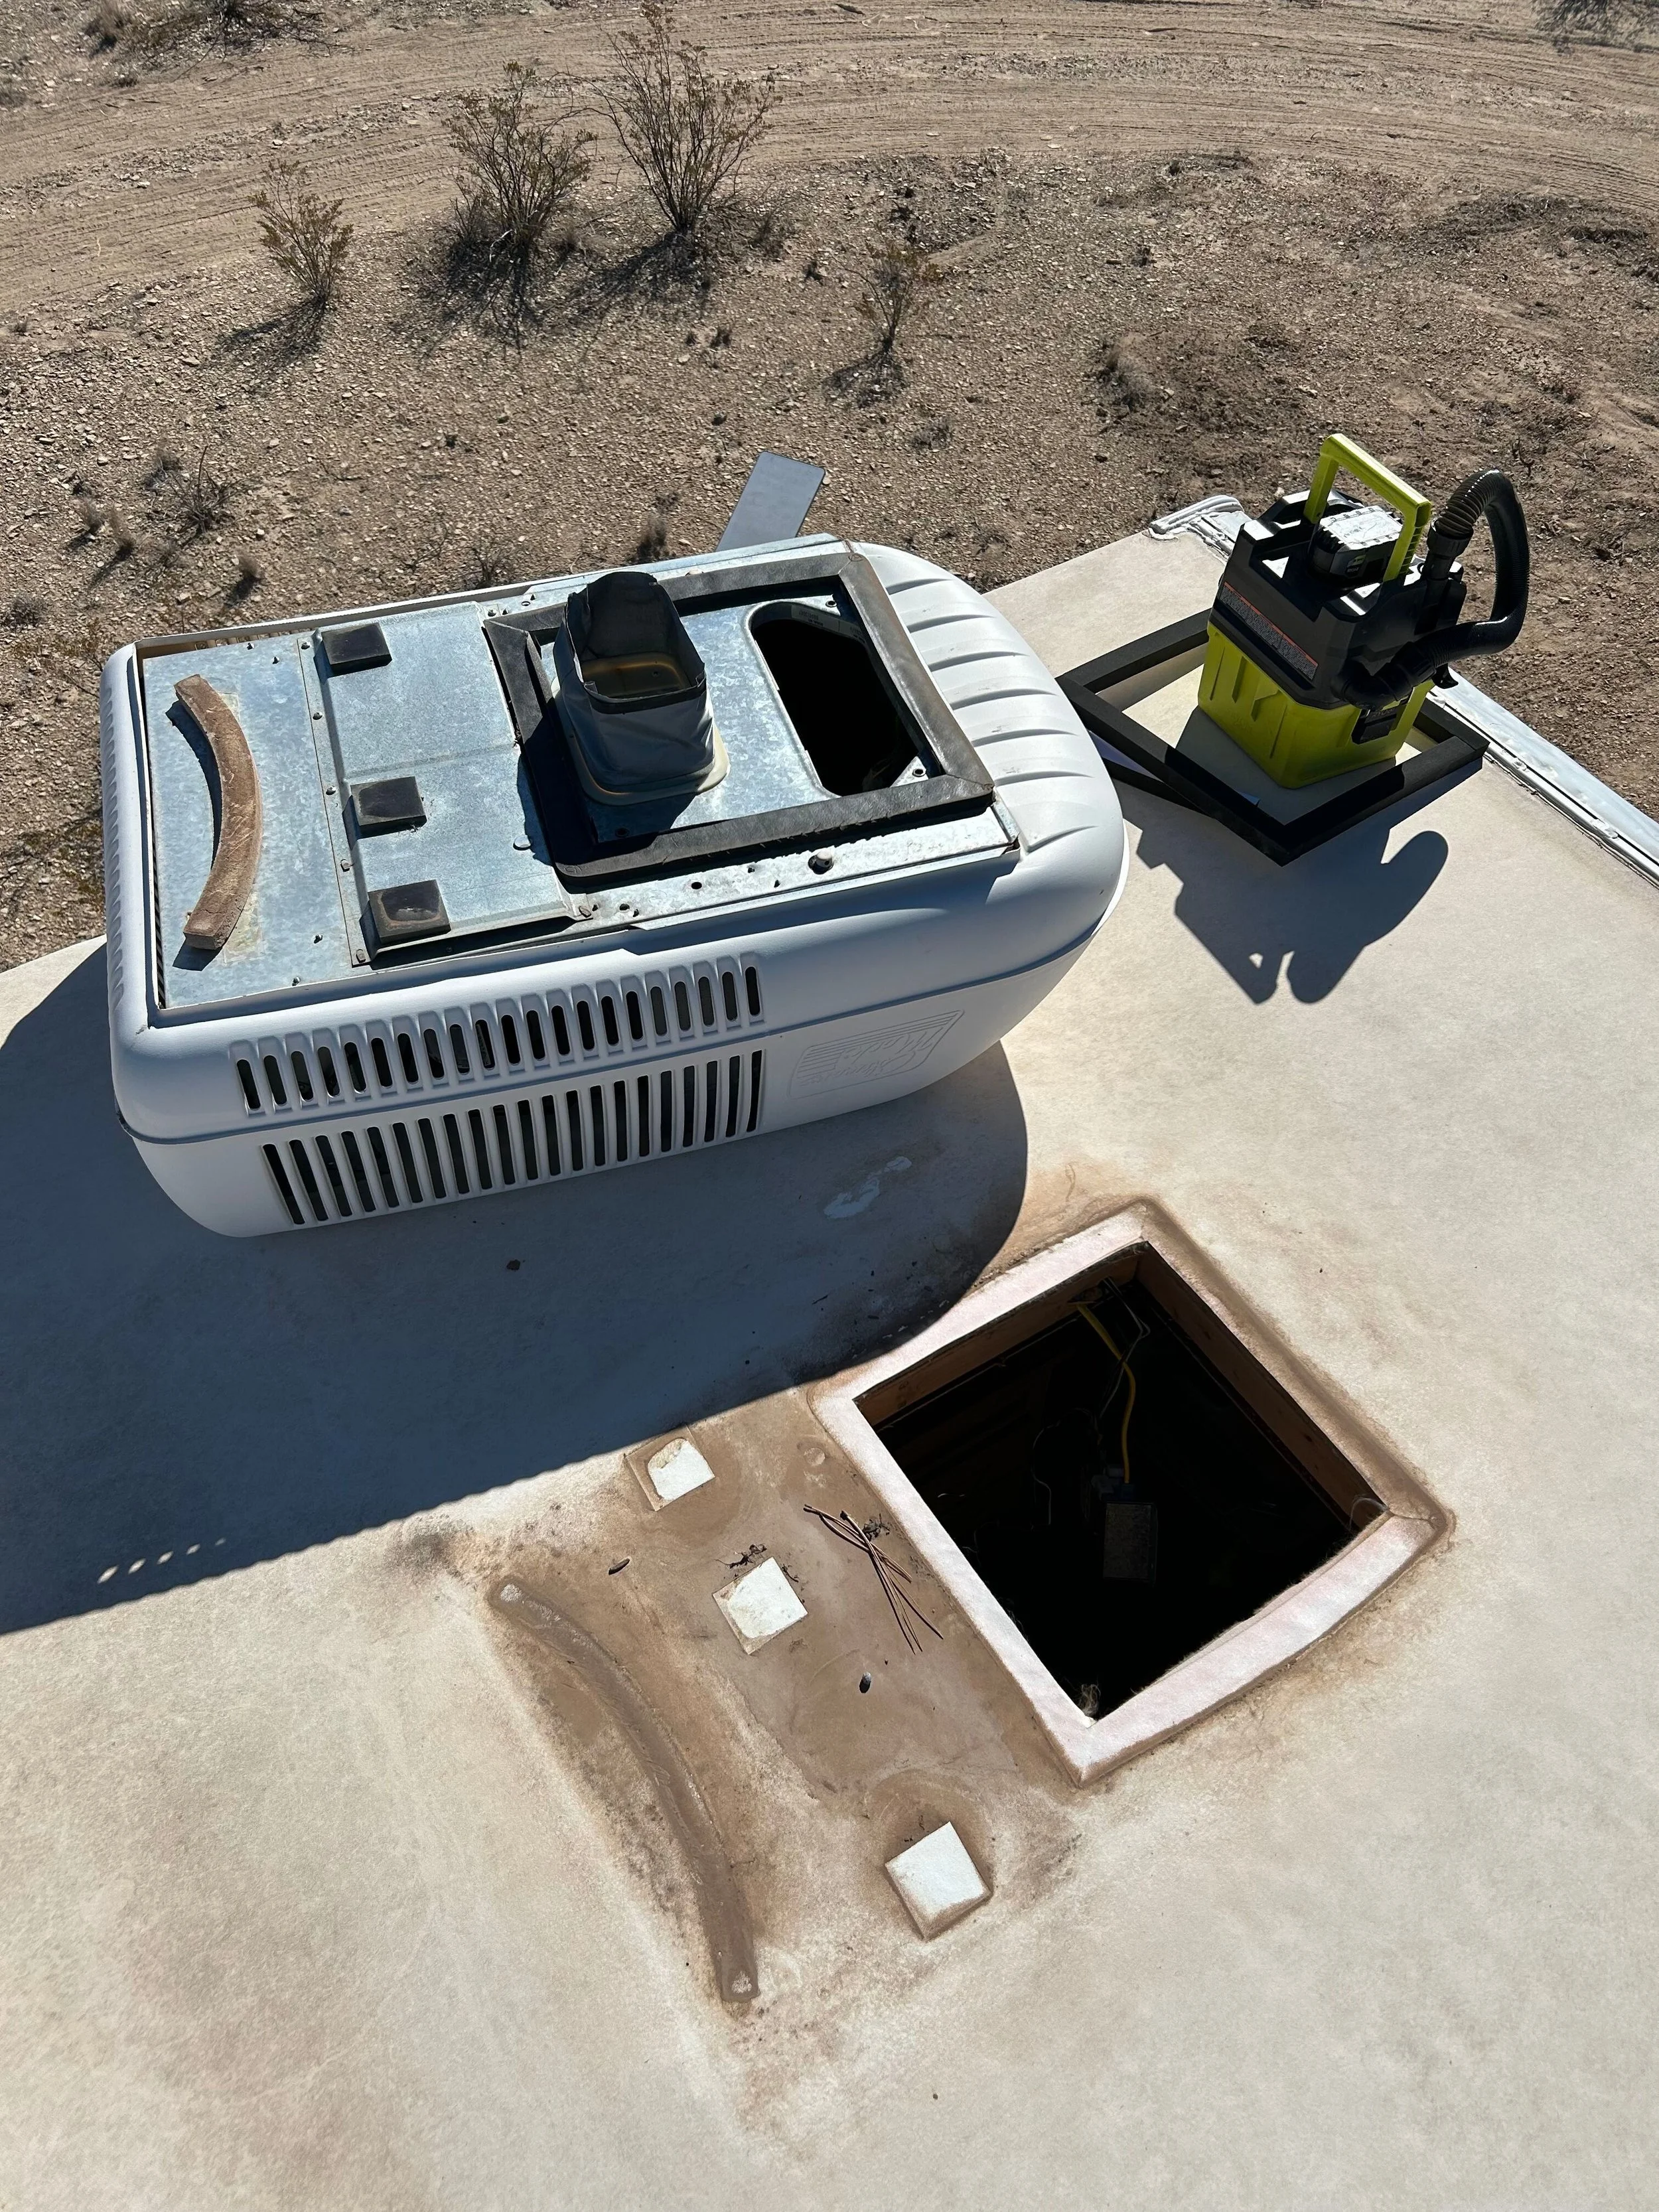
Remove the cover or screwsholding the old air conditioner in place. Carefully detach the unit from the roof or mounting area. Watch out for any wires or connections still attached.
- Disconnect electrical wires by loosening wire nuts or terminals.
- Take off any sealant or caulk around the unit to free it.
- Lift the old air conditioner out gently to avoid damage.
Installing The New Air Conditioner
Place the new air conditioner carefully into the opening. Check that it fits well and sits flat. Make sure no gaps are left around the unit. Use a level tool to confirm it is straight. This helps the unit work better and last longer.
Secure the air conditioner using screws or brackets. Tighten them firmly but do not over-tighten. Over-tightening can damage the frame or unit. Check that the unit does not move after securing. A stable unit reduces noise and leaks.
Connect the electrical wires according to the manual. Match wire colors correctly: usually black to black, white to white, and green to ground. Turn off the power supply before touching wires. Use wire nuts to cover connections for safety. Test the unit by turning on the power after all connections are done.
Sealing And Insulating
Sealing and insulating are key stepsto keep the RV cool and energy efficient. Make sure to seal gapsaround the air conditioner with weatherproof caulk or foam. This stops air leaks that waste energy and reduce cooling.
Use foam insulationor fiberglass around the AC unit to block heat from outside. This helps the air conditioner work better and saves power. Check the seals regularly and replace any worn materials.
- Clean the area before sealing.
- Apply caulk evenly around edges.
- Use insulation panels or foam sheets.
- Check for cracks or holes after installation.
- Let sealants dry fully before use.
Testing The New System
Turn on the RV air conditioner carefully. Watch for any lights or sounds that show it is working. Make sure the power source is connected well.
Check all connections for air leaks. Leaks can reduce cooling and waste energy. Use a soapy water mix to spot bubbles on pipes and joints.
Listen closely to the unit. Strange noises like rattling or buzzing mean something is wrong. The fan and compressor should run smoothly without loud sounds.
- Ensure the unit starts without delay or hiccups.
- Check the airflow from vents for steady cool air.
- Look under the unit for any water dripping or unusual moisture.
- Confirm the thermostat responds to temperature changes.
Address any leaks or noises before sealing the unit. Proper testing saves future repairs and ensures comfort.
Credit: www.odysseyrvservice.com
Maintenance Tips For Longevity
Keep the air conditioner filters cleanby washing or replacing them regularly. This helps air flow better and stops dust build-up.
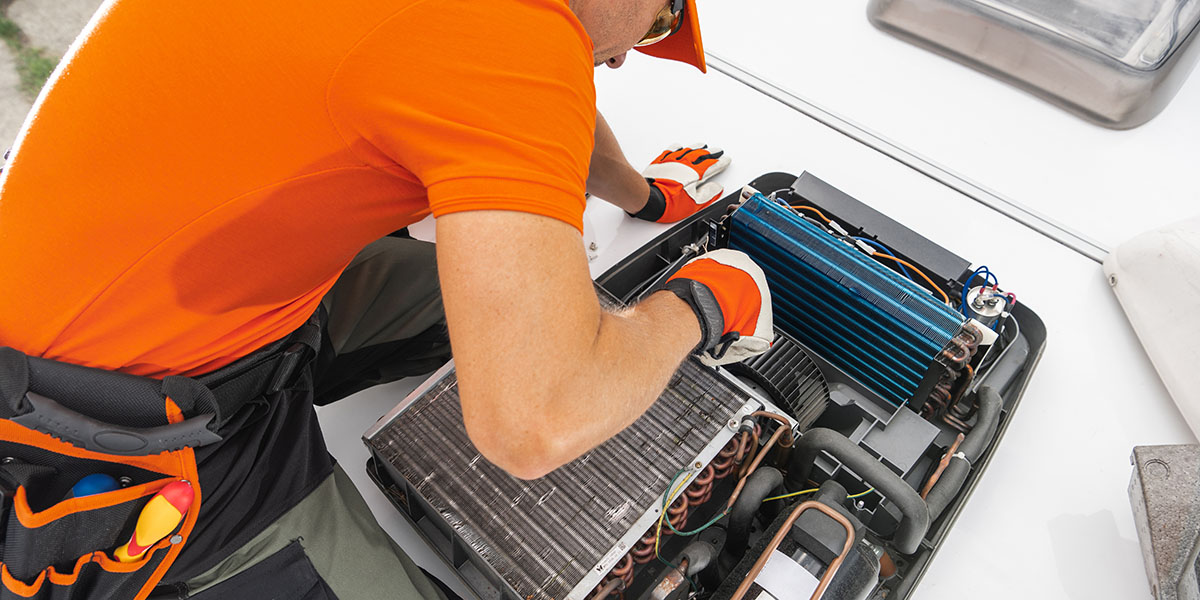
Check the cooling finson the unit. Straighten bent fins carefully with a fin comb to improve airflow.
- Clean the evaporator and condenser coils yearly to remove dirt and debris.
- Inspect the drainage systemto ensure no clogs, preventing water damage.
- Use a cover when the RV is not in use to protect the air conditioner from weather.
Test the thermostat regularly to ensure it reads the right temperature.
Keep the unit free from obstructionslike leaves or branches that block air intake.
Credit: www.rvtrader.com
Frequently Asked Questions
How Do I Remove An Rv Air Conditioner Safely?
Turn off power to the RV before starting. Remove screws securing the unit. Carefully detach wiring and sealing materials. Use proper tools to avoid damage. Follow manufacturer’s instructions to prevent injury or component damage during removal.
What Tools Are Needed To Replace An Rv Air Conditioner?
You’ll need a screwdriver, socket wrench, sealant, wire connectors, and possibly a ladder. A multimeter can help check electrical connections. Having the right tools ensures a smooth, safe replacement process without unnecessary delays or damage.
How Do I Seal The Rv Air Conditioner Properly?
Use a high-quality, weatherproof sealant around the unit’s base. Ensure the surface is clean and dry before application. Proper sealing prevents leaks, improves efficiency, and protects the RV interior from moisture damage.
Can I Replace An Rv Air Conditioner Myself?
Yes, if you have basic electrical and mechanical skills. Follow safety precautions and manufacturer guidelines. DIY replacement saves costs but consider professional help if unsure about wiring or installation.
Conclusion
Replacing an RV air conditioner might seem daunting. But it’s manageable with patience. Start by gathering the right tools. Follow each step carefully. Safety should always be your priority. Seek help if unsure about any part. Regular maintenance can extend the unit’s life.
Keep your RV cool and comfortable. Enjoy your travels without worry. Your adventure awaits with a refreshed air system.