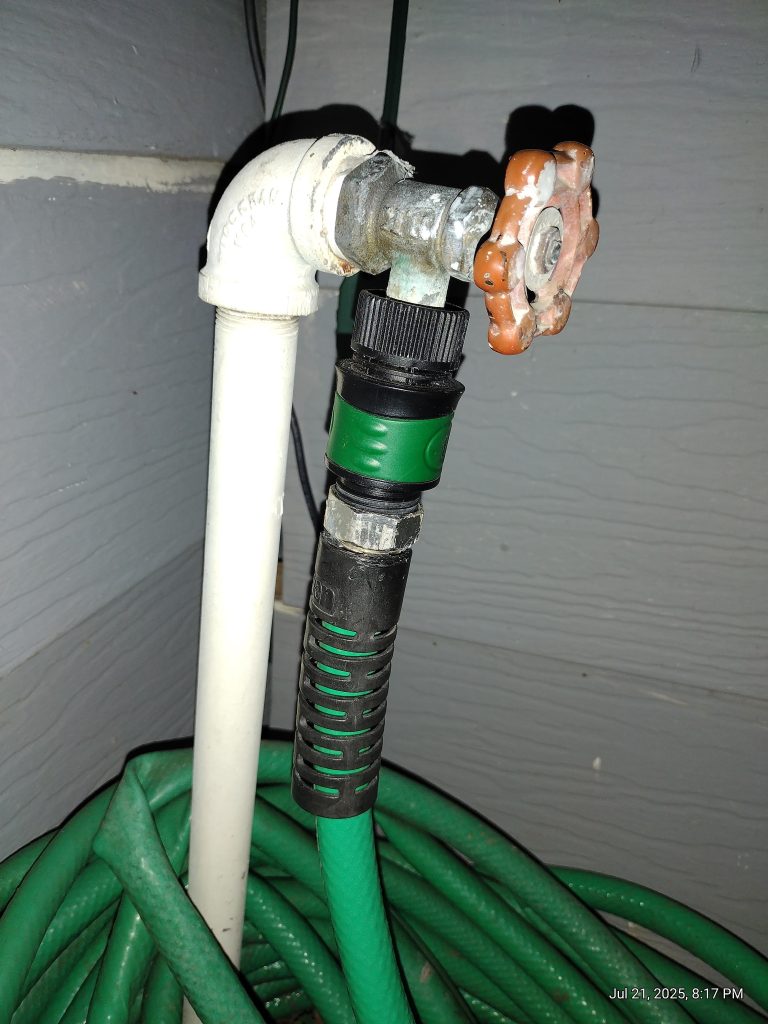
Is your garden hose leaking or damaged right at the end? Don’t let a small problem ruin your watering routine.
Knowing how to replace the end of your garden hose can save you time, money, and frustration. In this guide, you’ll learn simple steps to fix your hose quickly, even if you’ve never done it before. Keep reading, and you’ll have your hose working like new in no time.
Credit: www.amazon.com
Tools And Materials Needed
Replacing the end of a garden hose is a simple task. You need the right tools and materials to do it well. This guide lists what you need before you start.
Having the correct supplies helps you fix the hose quickly. It also stops leaks and makes the hose last longer.
Essential Tools
You need a few tools to remove the old hose end and attach a new one. These tools make the job easier and safer.
- Utility knife or hose cutter to cut the hose cleanly
- Adjustable wrench to tighten the new hose end
- Flathead screwdriver to loosen clamps if needed
- Pliers for gripping and bending metal parts
- Tape measure to check hose size
Choosing The Right Hose End
Select a hose end that fits your hose diameter and use. The size must match the hose inside width.
Hose ends come in different styles. Choose one that fits your watering needs and hose type.
- Brass hose ends for durability and rust resistance
- Plastic hose ends for light use and budget options
- Quick-connect ends for easy attachment and removal
- Threaded ends to connect to spray nozzles or sprinklers
Additional Supplies
Some extra items help ensure a tight seal and longer hose life. These supplies prevent leaks and improve fit.
- Hose clamps to secure the hose end firmly
- Plumber’s tape to wrap threads and stop leaks
- Sandpaper to smooth rough hose edges before attaching
- Lubricant like silicone spray to ease fitting parts together

Credit: www.familyhandyman.com
Preparing The Hose
Replacing the end of a garden hose is simple. Start by preparing the hose properly.
Proper preparation ensures the new end fits well. Follow these steps for a smooth process.
Draining The Water
First, remove any water inside the hose. This makes cutting and fitting easier.
- Disconnect the hose from the water source.
- Hold the end of the hose up high.
- Allow the water to drain out completely.
Cutting The Damaged End
Next, cut off the damaged part of the hose. Use sharp tools for a clean cut.
Attaching The New Hose End
Replacing the end of a garden hose is easy with the right tools. A proper attachment will prevent leaks and improve water flow.
This guide covers how to slide on the hose clamp, insert the hose fitting, and secure the clamp tightly.
Sliding On The Hose Clamp
First, slide the hose clamp onto the hose before adding the new fitting. The clamp holds the fitting firmly in place.
- Choose a clamp that fits your hose size.
- Slide the clamp over the hose end smoothly.
- Leave enough space to push the fitting inside.
Inserting The Hose Fitting
Push the new hose fitting into the end of the hose. It should fit snugly to avoid leaks.
| Tip | Action |
| Soften Hose End | Dip in hot water to make it flexible |
| Align Fitting | Push straight into hose without bending |
| Check Fit | Ensure fitting does not wiggle |
Securing The Clamp
After inserting the fitting, tighten the hose clamp to lock everything in place. This step stops water from leaking.
- Position the clamp over the fitting area.
- Use a screwdriver or wrench to tighten the clamp.
- Test the hose by turning on the water.
- Re-tighten if you see any leaks.

Credit: diy.stackexchange.com
Testing The Repair
After replacing the end of your garden hose, it is important to test the repair. This ensures the hose works properly without leaks or loose fittings.
Testing helps you find and fix problems before using the hose for watering or cleaning.
Checking For Leaks
Turn on the water slowly and watch the repaired end closely. Look for any water drops or wet spots around the connection.
- Make sure the hose end fits tightly to the new connector.
- Check the clamp area for water seeping out.
- Inspect the hose itself for cracks near the repair.
- If you see leaks, turn off the water before adjusting.
Adjusting The Clamp
The clamp holds the hose tightly to the new end. A loose clamp causes leaks. A clamp too tight can damage the hose.
| Clamp Condition | Action |
| Loose clamp | Tighten with a screwdriver until snug |
| Clamp too tight | Loosen slightly to avoid hose damage |
| Clamp damaged | Replace with a new clamp |
Tips For Hose Maintenance
Keeping your garden hose in good shape helps it last longer. Simple care can prevent leaks and damage.
Learn easy tips to store and check your hose. Avoid common problems with simple steps.
Storing The Hose Properly
Store your hose in a cool, dry place after use. Avoid leaving it in direct sunlight or extreme cold.
Use a hose reel or hanger to keep it off the ground. This stops kinks and tangles.
- Drain water before storing
- Keep hose away from sharp objects
- Coil hose loosely to avoid bends
- Cover or store indoors during winter
Regular Inspections
Check your hose often for cracks or leaks. Early fixes stop bigger problems later.
Look at the fittings and connectors. Tighten or replace parts if they are loose or damaged.
- Inspect hose surface for cracks
- Check for soft spots or holes
- Test connectors for leaks
- Replace worn parts quickly
Avoiding Common Damages
Do not drag the hose over rough surfaces. This can wear holes or cause tears.
Do not stretch the hose too far. Avoid sharp bends that can weaken it.
- Avoid stepping or driving over the hose
- Keep hose away from chemicals and oils
- Do not leave hose under pressure when not in use
- Use a hose splitter to reduce stress on connectors
Frequently Asked Questions
How Do I Remove The Old Hose End?
Turn off water and drain the hose completely. Use a wrench to unscrew the old end carefully. If stuck, apply lubricant to loosen it. Avoid damaging the hose during removal to ensure a clean replacement.
What Tools Are Needed To Replace A Garden Hose End?
You need a wrench, utility knife, and replacement hose end. A pair of pliers can help with tight fittings. Ensure the new end matches your hose size for a proper fit.
Can I Replace A Garden Hose End Myself?
Yes, replacing a garden hose end is a simple DIY task. It requires basic tools and about 10-15 minutes. Follow step-by-step instructions carefully for the best results.
How Do I Prevent Leaks After Replacing The Hose End?
Tighten the new end securely but avoid over-tightening. Use plumber’s tape on threads for extra sealing. Check for leaks by turning on water slowly and inspect connections.
Conclusion
Replacing the end of a garden hose is simple and quick. You only need a few tools and a bit of patience. A new hose end stops leaks and saves water. It also makes watering plants easier and more fun.
Try this fix yourself and enjoy a better garden hose. Small repairs like this keep your garden healthy and your equipment working well. Give it a go and see the difference today.