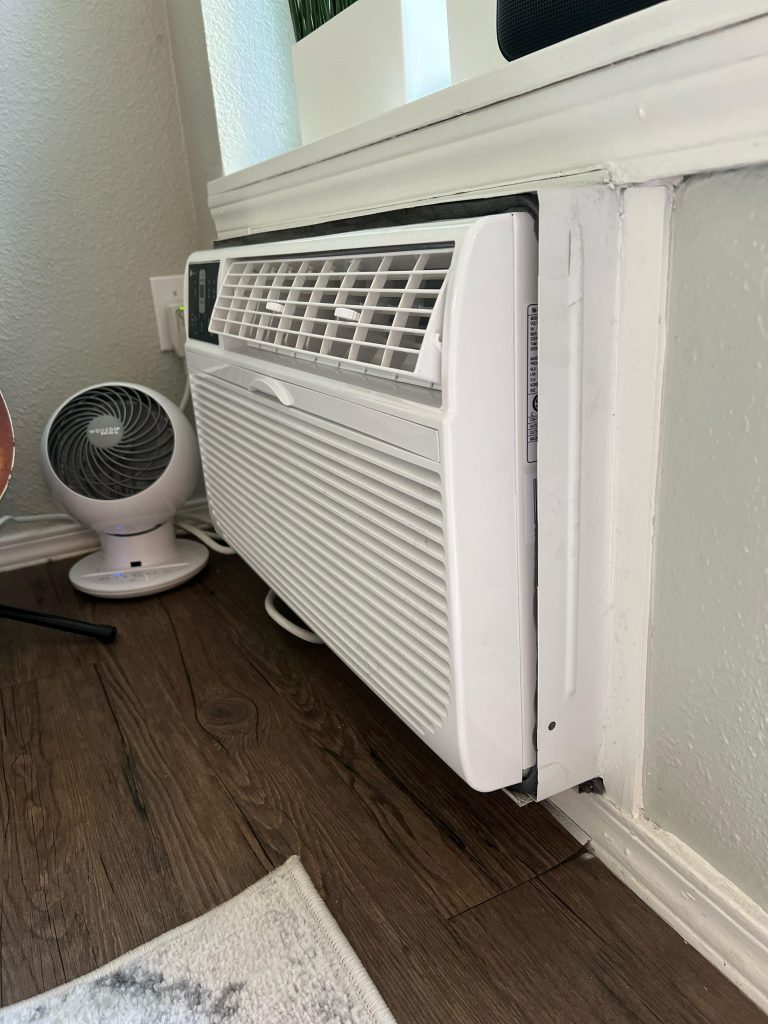
Is your through the wall air conditioner not cooling like it used to? Or maybe it’s time for an upgrade to a more efficient model.
Replacing this type of air conditioner might sound tricky, but with the right steps, you can do it yourself and save money. In this guide, you’ll find simple, clear instructions that make the process easy to follow. By the end, you’ll know exactly how to remove your old unit and install a new one safely and quickly.
Ready to take control of your comfort? Let’s get started.
Tools And Materials Needed
Replacing a through the wall air conditioner requires the right tools and materials. This helps the job go smoothly and safely. Preparing ahead makes the process easier.
Below are the main tools and supplies you will need. Knowing your options helps you pick the best replacement unit for your home.
Essential Tools
Gather these tools before starting your replacement project. They will help you remove the old unit and install the new one correctly.
- Screwdrivers (Phillips and flathead)
- Measuring tape
- Level tool
- Putty knife
- Utility knife
- Drill with bits
- Caulk gun
- Safety gloves and goggles
- Flashlight
Replacement Air Conditioner Options
You can choose different types of through the wall air conditioners. Consider size, cooling capacity, and energy efficiency. Here is a comparison of common options:
| Type | Cooling Capacity (BTU) | Energy Efficiency | Installation Ease |
| Standard Window-Style | 5,000–15,000 | Moderate | Easy |
| High-Efficiency Model | 8,000–18,000 | High | Moderate |
| Smart AC with Wi-Fi | 6,000–16,000 | High | Moderate |
Additional Supplies
Besides tools and the new air conditioner, some extra materials will help secure and seal the unit. These keep your home safe from weather and pests.
- Weatherproof caulk or sealant
- Foam insulation strips
- Mounting brackets or screws (if not included)
- Plastic or metal trim kits
- Drop cloth or tarp to protect area
- Rags for cleanup
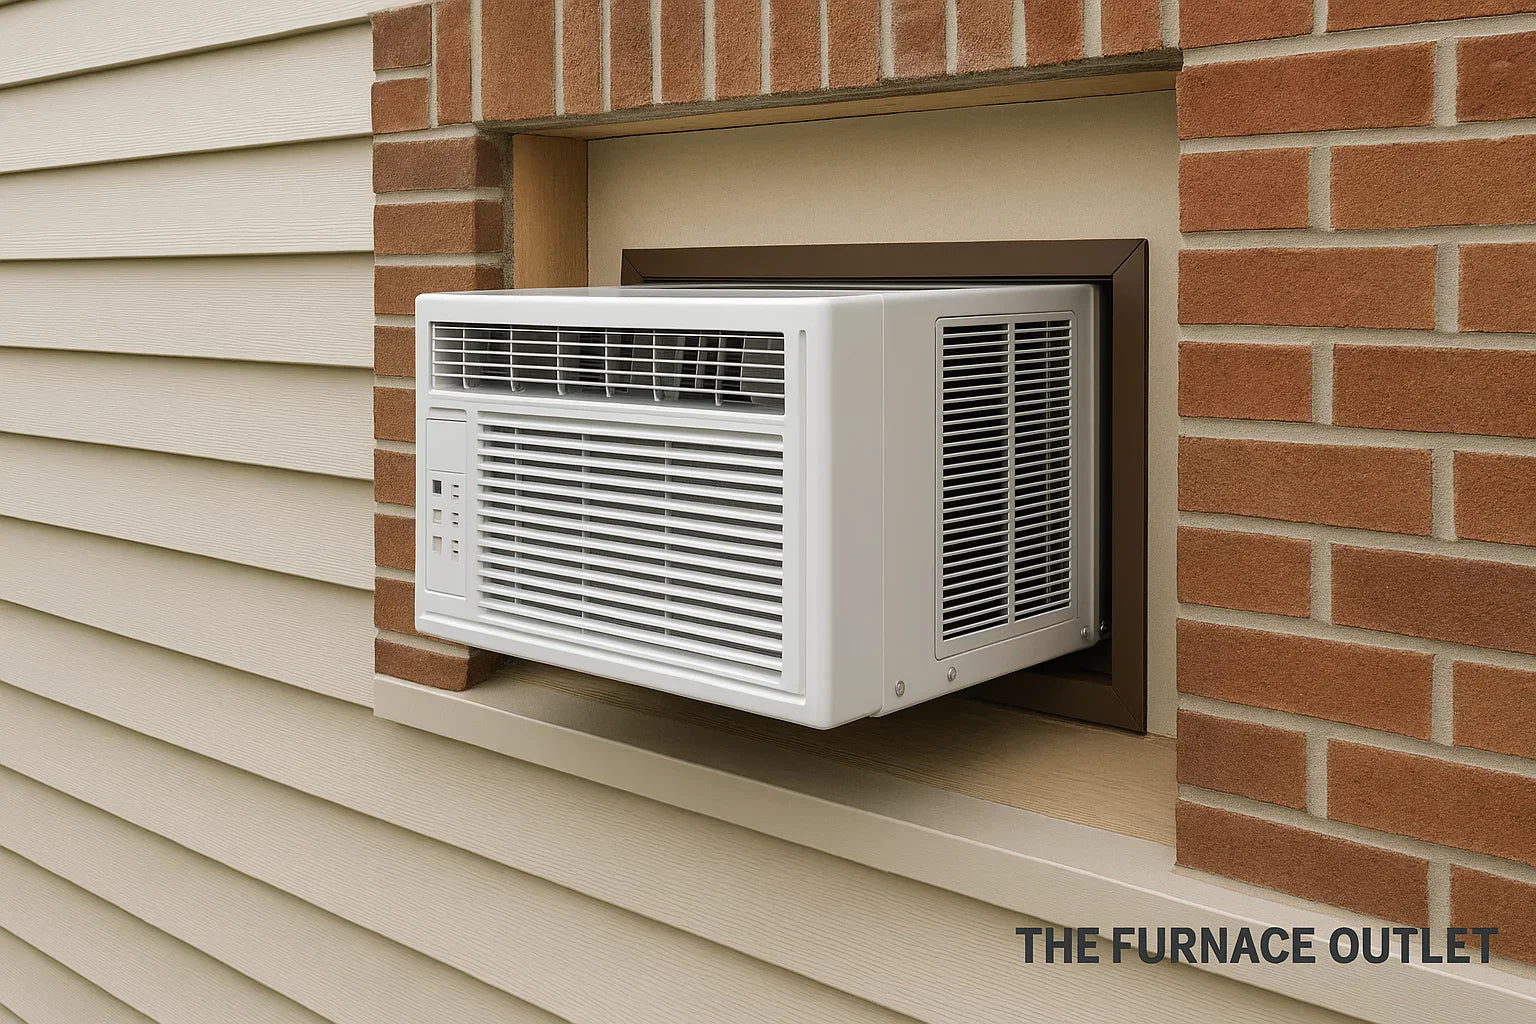
Credit: thefurnaceoutlet.com
Preparing For Removal
Removing a through the wall air conditioner needs good preparation. Taking time to get ready makes the process safer and easier.
Before you start, check the area and tools. This helps avoid problems during removal.
Safety Precautions
Safety is very important when removing an air conditioner. Wear gloves and safety glasses to protect yourself.
Make sure the ladder or step stool you use is steady. Avoid working alone if possible.
- Wear gloves to protect your hands
- Use safety glasses to protect your eyes
- Use a stable ladder or step stool
- Have someone nearby for help
Power Disconnection
Turn off the power to the air conditioner before removal. This stops any risk of electric shock.
Find the correct circuit breaker and switch it off. Use a voltage tester to check if the power is off.
- Locate the circuit breaker for the air conditioner
- Switch off the breaker to cut power
- Use a voltage tester to confirm no power
- Do not touch any wires until power is off
Clearing The Area
Clear the area around the air conditioner before you start. Remove furniture or items that could get in the way.
Make space for tools and parts. This helps you work safely and quickly.
- Move furniture away from the wall unit
- Clear the floor area for tools and parts
- Cover floors to catch dust or debris
- Keep children and pets away from the area
Removing The Old Unit
Replacing a through the wall air conditioner starts with removing the old unit. You need to work carefully to avoid damage to the wall or your new air conditioner.
This guide helps you remove the old unit safely and prepare the wall for the new installation.
Detaching Exterior Components
Begin by removing any exterior parts attached to the air conditioner. This usually includes the cover, grille, and screws. Detaching these parts frees the main unit and prevents damage during removal.
- Turn off power to the air conditioner.
- Unscrew the exterior grille or cover.
- Remove any side panels or brackets.
- Keep all screws and parts for reinstallation or disposal.
Removing The Unit From The Wall
After detaching exterior parts, carefully pull the unit out from the wall. This step may require help because the unit can be heavy and awkward to handle.
- Have a helper support the unit from outside.
- From inside, loosen any mounting screws or brackets.
- Gently slide the unit out of the wall sleeve.
- Place the unit on a stable surface to avoid damage.
Handling Seals And Insulation
Old seals and insulation can stick to the wall or unit. Removing them properly prevents air leaks and prepares the wall for the new air conditioner.
| Material | Removal Tip |
| Weather Stripping | Peel off gently; use a scraper if needed. |
| Foam Insulation | Cut away with a utility knife carefully. |
| Caulk or Sealant | Use a putty knife or chemical remover. |
| Dust and Debris | Clean with a damp cloth before new installation. |

Credit: thefurnaceoutlet.com
Inspecting And Repairing The Wall Opening
Replacing a through the wall air conditioner starts with checking the wall opening. You need to make sure the space is safe and ready. This helps the new unit fit well and work right.
Careful inspection and fixing damage is important. A clean and solid opening keeps the air conditioner steady and stops leaks.
Checking For Damage
Look closely at the wall opening for any cracks or holes. Check if the wood or drywall around it is soft or rotting. Signs of water damage or mold mean repairs are needed before installing the new unit.
- Inspect the edges of the opening for cracks
- Test the wood for softness or rot
- Look for mold or water stains on the wall
- Check if insulation is damp or missing
Cleaning The Opening
Remove dust, dirt, and old caulk from the wall opening. Clean surfaces help the new seal and frame stick properly. Clear away any debris or loose paint.
Use these tools for cleaning the opening:
- Brush or vacuum to remove dirt
- Putty knife to scrape old caulk or paint
- Cloth and mild cleaner for wiping
Making Necessary Repairs
Fix any damage found before installing the new air conditioner. Patch holes and replace rotten wood. Seal gaps to stop air and water leaks. Use strong materials to support the unit.
| Type of Damage | Repair Method |
| Cracked drywall | Patch with joint compound and sand smooth |
| Rotten wood frame | Remove damaged wood and install new wood |
| Gaps around opening | Use expanding foam or caulk to seal |
| Mold or mildew | Clean with mold remover and dry area |
Installing The New Air Conditioner
Installing a new through the wall air conditioner requires careful handling. This guide covers key steps to fit your unit properly and securely.
Follow these instructions to ensure your air conditioner works efficiently and stays safely in place.
Positioning The Unit
Place the air conditioner into the wall opening gently. Make sure it sits level to avoid water leaks and noise.
Align the unit so that the outside part extends well beyond the wall for proper air flow.
Securing The Air Conditioner
Attach the unit firmly to the wall using screws or brackets supplied with your air conditioner. This keeps the unit steady and safe.
- Locate the mounting holes on the side of the unit.
- Insert screws through the holes into the wall frame.
- Tighten screws evenly to hold the unit without gaps.
- Check the unit for any wobbling and adjust as needed.
Reinstalling Seals And Insulation
Replace any seals or insulation around the air conditioner to block air leaks and improve energy efficiency.
| Material | Purpose |
| Foam Seal | Prevents air leaks around the unit |
| Weatherstripping | Blocks rain and dust from entering |
| Insulation Pad | Reduces noise and heat transfer |

Credit: www.reddit.com
Testing And Final Adjustments
After installing your through the wall air conditioner, it is important to test the unit. Testing helps ensure it works properly and safely. Final adjustments improve comfort and efficiency.
Follow these steps to power on the unit, check its operation, and adjust settings for the best performance.
Powering On The Unit
First, plug the air conditioner into a grounded electrical outlet. Make sure the power switch is off before plugging it in. Then, turn on the power switch to start the unit.
Listen for any unusual sounds and watch for any error lights. These could signal installation problems or electrical issues.
Checking For Proper Operation
Check that the air conditioner cools the room evenly. Feel the airflow from the front grille. It should be strong and steady.
Ensure the unit drains water properly. Look for leaks or water buildup around the installation area. Also, confirm that controls respond correctly.
- Cool air flows steadily
- No water leaks or drips
- Control buttons work as expected
- No strange noises or smells
Adjusting For Efficiency
Set the thermostat to a comfortable temperature. Avoid setting it too low to save energy. Adjust fan speed to match your cooling needs.
Check that the unit seals well around the wall. Fix any gaps or drafts to keep cold air inside. Clean or replace filters if needed for better airflow.
- Set thermostat between 72-78°F (22-26°C)
- Use medium or high fan speed for quick cooling
- Seal gaps around the unit with weather stripping
- Clean filters every month during use
Maintenance Tips For Longevity
Keeping your through the wall air conditioner in good shape helps it last longer. Simple care and regular checks prevent big problems.
Follow easy steps to clean, maintain, and fix your air conditioner. This guide shows you how to do it well.
Regular Cleaning
Cleaning your air conditioner often keeps it running smoothly. Dirt and dust block airflow and reduce cooling power.
- Remove and wash the filter every month
- Wipe down the exterior with a damp cloth
- Clean the vents and grills to avoid dust build-up
- Use a vacuum to clear dust inside the unit carefully
- Check for mold and clean it with a mild detergent
Seasonal Care
Prepare your air conditioner for each season to avoid damage and improve efficiency.
| Season | Care Tips |
| Spring | Clean filters and check for leaks |
| Summer | Ensure proper airflow and avoid overuse |
| Fall | Remove and store the unit properly if not used |
| Winter | Cover the unit to protect from dust and cold |
Troubleshooting Common Issues
Fix small problems early to keep your air conditioner working well. Know what signs to watch for.
- Check if the unit does not cool well: clean filters and vents
- Listen for strange noises: tighten loose parts or call a technician
- Look for water leaks: clear drain holes and check the slope
- If the unit won’t start: check the power supply and reset if needed
- Bad smells: clean or replace filters and check for mold
Frequently Asked Questions
How Do I Remove A Through The Wall Air Conditioner?
First, unplug the unit and turn off power. Remove the front cover and screws. Carefully pull the air conditioner out of the wall sleeve. Disconnect any electrical wiring and insulation before fully removing it.
What Tools Are Needed To Replace A Wall Air Conditioner?
You’ll need a screwdriver, drill, level, measuring tape, and utility knife. Safety gloves and goggles are recommended. These tools help remove the old unit and install the new one securely.
How Do I Measure For A Replacement Air Conditioner?
Measure the width, height, and depth of the existing wall sleeve. Use these dimensions to find a matching replacement. Accurate measurements ensure a proper fit and efficient cooling.
Can I Replace A Wall Air Conditioner Myself?
Yes, if you have basic DIY skills and tools. Follow safety guidelines, disconnect power, and carefully handle the unit. If unsure, hire a professional to avoid damage or injury.
Conclusion
Replacing a through the wall air conditioner can save you time and money. Follow the steps carefully to avoid mistakes. Take safety measures to protect yourself during the process. Check the new unit fits well in the wall opening. Seal gaps to keep your home cool and energy efficient.
Regular maintenance will help your air conditioner last longer. With patience, you can complete this project successfully. Enjoy a cooler, more comfortable home all year round.