
Is your cutting board looking worn out, scratched, or rough to the touch? You don’t need to buy a new one just yet.
Sanding your cutting board can bring back its smooth surface and make it look almost brand new. In this guide, you’ll learn simple, step-by-step tips to sand your cutting board safely and effectively. Whether you want to improve its appearance or prepare it for oiling, these easy tricks will save you time and money.
Keep reading to discover how you can transform your cutting board with just a little sanding.

Credit: www.reddit.com
Choosing The Right Sandpaper
Sanding a cutting board makes it smooth and safe to use. Choosing the right sandpaper helps you get the best finish.
Different sandpapers have different roughness levels. Picking the correct one protects the wood and improves its look.
Grit Levels Explained
Sandpaper grit shows how rough or fine it is. Lower numbers mean rough paper. Higher numbers mean fine paper.
Start with rough grit to remove deep scratches. Use finer grit to smooth the surface after.
- 60-80 grit: Removes heavy scratches and old finish
- 100-150 grit: Smooths the surface
- 220-320 grit: Prepares the board for finishing
Recommended Sandpaper Types
Choose sandpaper made for wood projects. It lasts longer and works better on cutting boards.
Aluminum oxide and silicon carbide are two good sandpaper types for cutting boards.
- Aluminum oxide: Durable and good for rough sanding
- Silicon carbide: Sharp and works well on fine sanding
Preparing The Cutting Board
Before sanding a cutting board, you must prepare it properly. This helps you get a smooth surface and keeps the board safe to use.
Preparation includes cleaning the board and checking it for any damage. These steps make sanding easier and more effective.
Cleaning And Drying
Start by washing the cutting board with warm water and mild soap. Use a soft sponge or cloth to remove food particles and stains.
After washing, rinse the board well to remove all soap. Dry it completely with a clean towel and let it air dry before sanding.
Inspecting For Damage
Look closely for cracks, deep cuts, or loose pieces in the wood. These issues can affect how well the board sands and its safety.
If you find small cracks or dents, you can fill them later with wood filler. Large damage may need professional repair or replacement.
Sanding Techniques
Sanding a cutting board makes the surface smooth and safe to use. It removes scratches and rough spots.
Different sanding techniques help you get the best finish. Use the right tools and methods for good results.
Hand Sanding Tips
Hand sanding gives you control over the pressure and speed. It helps to reach small or curved areas well.
Start with coarse grit sandpaper to remove rough spots. Then use finer grits for a smooth finish.
- Wrap sandpaper around a sanding block for better grip
- Use even, circular motions to avoid scratches
- Change sandpaper as it wears out to keep sanding effective
- Wear a dust mask to avoid breathing wood dust
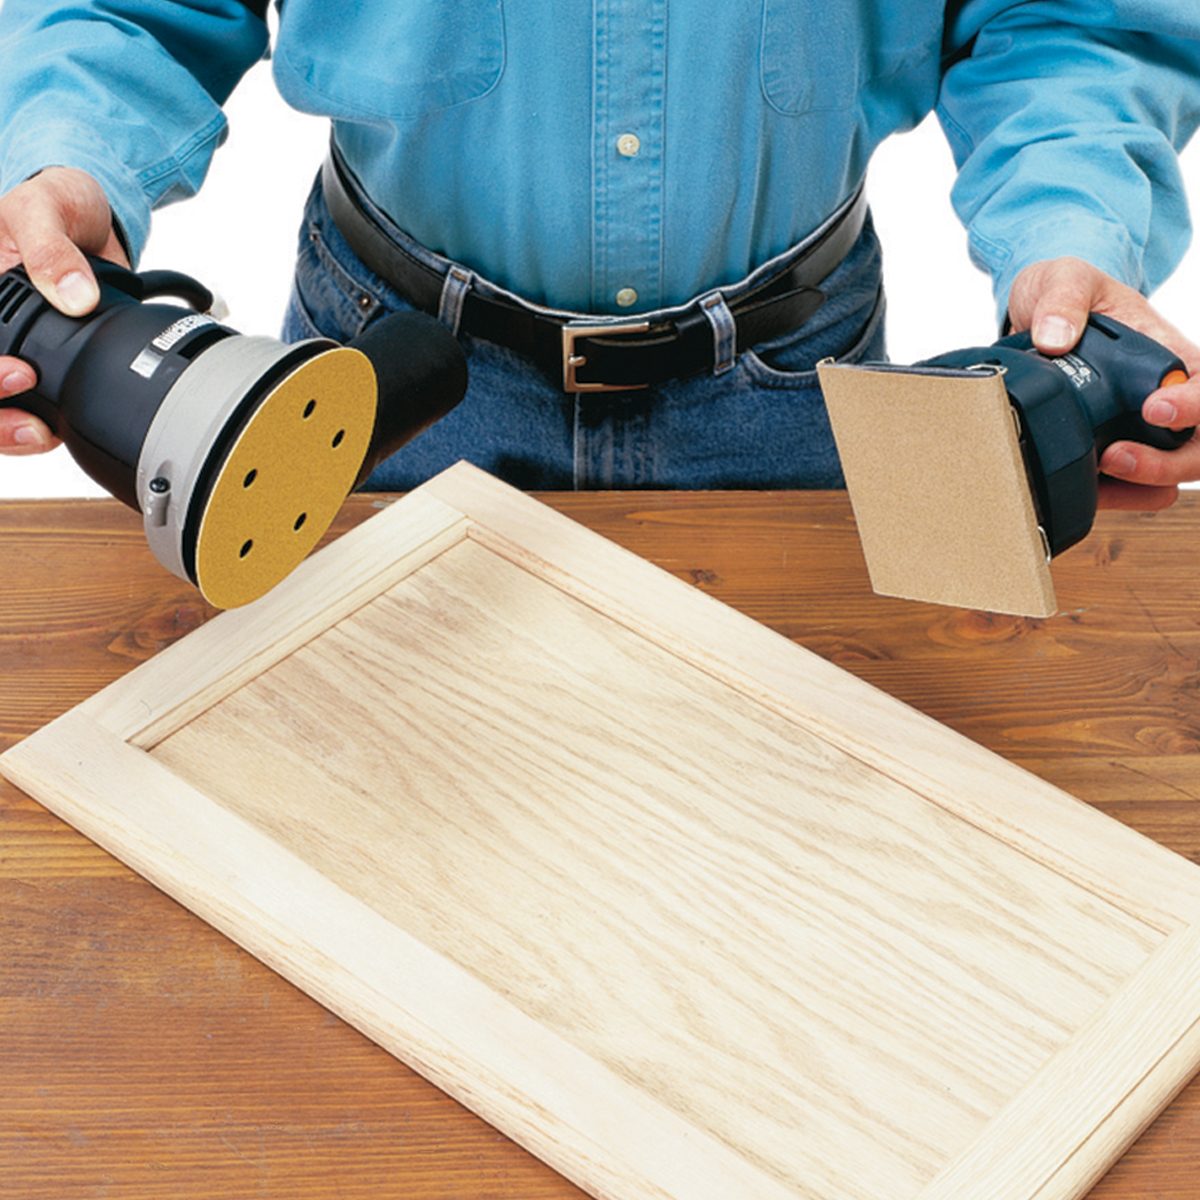
Using A Power Sander
A power sander speeds up the sanding process. It is useful for large cutting boards with flat surfaces.
Use a random orbital sander for smooth and even sanding. Keep the sander moving to prevent deep marks.
- Start with 80 grit sandpaper to remove roughness
- Switch to 120 and then 220 grit for a fine finish
- Hold the sander flat and apply light pressure
- Wear safety goggles and a mask to protect yourself
Sanding With The Grain
Sanding with the grain means sanding in the direction of the wood fibers. This avoids scratches across the surface.
Sanding against the grain can cause rough lines that are hard to remove. Always follow the wood’s natural lines.
- Identify the grain direction by looking at the wood pattern
- Sand in long, straight strokes along the grain
- Check the surface often to see if scratches remain
- Finish with fine grit sandpaper for a smooth feel
Credit: www.familyhandyman.com
Progressing Through Grits
Sanding a cutting board smooth is important for its use and look. Using the right sandpaper grit helps remove rough spots and scratches.
Start with coarse grit to shape the wood. Then use medium grit to smooth the surface. Finish with fine grit for a soft, clean finish.
Starting With Coarse Grit
Coarse grit sandpaper is rough and removes large bumps fast. It helps fix deep cuts or uneven spots on the board.
Use grit sizes like 60 or 80 to shape the wood. Sand with the grain to avoid scratches. Do not press too hard.
- Removes rough areas quickly
- Prepares surface for finer sanding
- Use with light, even strokes
Moving To Medium Grit
Medium grit sandpaper smooths out marks left by coarse grit. It refines the surface for a better finish.
Try grit sizes like 120 or 150. Sand along the wood grain carefully. This step makes the surface feel even.
- Removes scratches from coarse grit
- Prepares wood for fine sanding
- Use steady, gentle pressure
Finishing With Fine Grit
Fine grit sandpaper gives the cutting board a smooth, soft touch. It removes small scratches and dust.
Use grit sizes like 220 or 320. Sand lightly with the grain. This step makes the board ready for use and sealing.
- Creates a smooth surface
- Removes fine scratches
- Prepares wood for oiling or sealing
Removing Dust And Debris
Sanding a cutting board creates dust and small wood pieces. Removing these helps the board look smooth and clean.
Cleaning off dust also prepares the board for finishing or oiling. Use simple tools to clear all debris.
Wiping With A Damp Cloth
Take a clean cloth and dampen it with water. Wipe the cutting board gently to pick up dust.
Make sure the cloth is not too wet. Too much water can damage the wood or cause swelling.
Using Compressed Air
Compressed air can blow away dust from hard-to-reach areas. Hold the air nozzle close but not touching the board.
Use short bursts of air to avoid blowing dust back onto the surface. This method is quick and effective.
Applying A Finish
After sanding your cutting board, applying a finish protects the wood. It keeps the board safe and extends its life. Using the right finish also makes cleaning easier.
Food-safe finishes are important because your cutting board touches food. You want to choose oils or waxes that do not harm health and keep the wood strong.
Choosing Food-safe Oils
Not all oils are safe for food contact. Some oils go rancid and can smell bad. Others may contain chemicals that you do not want near food.
- Mineral oil: Popular, odorless, and easy to find.
- Walnut oil: Natural but watch for nut allergies.
- Beeswax: Often mixed with oils for extra protection.
- Carnauba wax: A plant-based wax, very hard and durable.
- Pure tung oil: Dries hard and resists water.
Always check that the oil or wax is labeled as food-safe. Avoid cooking oils like olive or vegetable oil. They can go bad and leave sticky residue.
How To Apply Oil Or Wax
Applying oil or wax is simple but requires care. The wood must be clean and dry before starting. Use a soft cloth or brush to apply the finish.
- Pour a small amount of oil or rub a bit of wax on the board’s surface.
- Spread evenly over the wood using circular motions.
- Let the oil soak in for at least 20 minutes.
- Wipe off any excess with a clean cloth.
- For wax, buff the surface gently after applying.
- Repeat the process 2–3 times for best results.
Regular re-application keeps the cutting board in good shape. Apply the finish whenever the wood looks dry or dull.
Maintaining A Smooth Surface
Sanding a cutting board keeps it smooth and safe to use. It removes rough spots and knife marks.
Regular sanding helps maintain the board’s surface and extends its life. It also improves hygiene.
Regular Sanding Schedule
Sanding your cutting board regularly keeps it smooth and clean. How often you sand depends on use.
If you use the board daily, sand it every 1 to 2 months. For less use, sand every 3 to 4 months.
- Check for rough spots or deep knife marks before sanding
- Use fine-grit sandpaper to avoid damage
- Sanding too often can wear down the board
Tips For Long-lasting Finish
After sanding, apply a food-safe oil to protect the wood. This keeps the board smooth and stops cracking.
Store your cutting board in a dry place. Avoid soaking it in water to keep the finish strong.
- Use mineral oil or beeswax for finishing
- Apply oil evenly and let it soak overnight
- Wipe off extra oil before use
- Keep the board dry and clean between uses

Credit: www.reddit.com
Frequently Asked Questions
How Often Should I Sand A Cutting Board?
Sanding frequency depends on usage and wear. Generally, sand your cutting board every few months. If you notice deep cuts or stains, it’s time to sand. Regular maintenance helps keep the surface smooth and safe for food preparation.
What Grit Sandpaper For Cutting Board?
Start with 120-grit sandpaper to remove deep scratches. Then, use 220-grit for smoothing the surface. Finish with 320-grit for a polished look. This sequence ensures a smooth and even surface on your cutting board.
Can I Sand An Oiled Cutting Board?
Yes, you can sand an oiled cutting board. First, remove any excess oil with a cloth. Sand the board using the recommended grit sequence. Once smooth, reapply food-safe oil to protect the wood and enhance its appearance.
Is It Safe To Sand Bamboo Cutting Boards?
Yes, it’s safe to sand bamboo cutting boards. Use the same grit sequence as for wood boards. Bamboo fibers require gentle sanding to avoid damage. Regular sanding helps maintain a smooth, safe surface for food preparation.
Conclusion
Sanding a cutting board keeps it smooth and safe to use. Start with coarse sandpaper, then move to finer grits. Always sand with the grain for best results. Clean the board well after sanding to remove dust. Regular sanding helps prevent cracks and stains.
A well-maintained cutting board lasts longer and looks better. Try this simple process to refresh your board at home. Your kitchen tool will feel like new again. Easy steps make a big difference in care. Keep sanding as part of your kitchen routine.