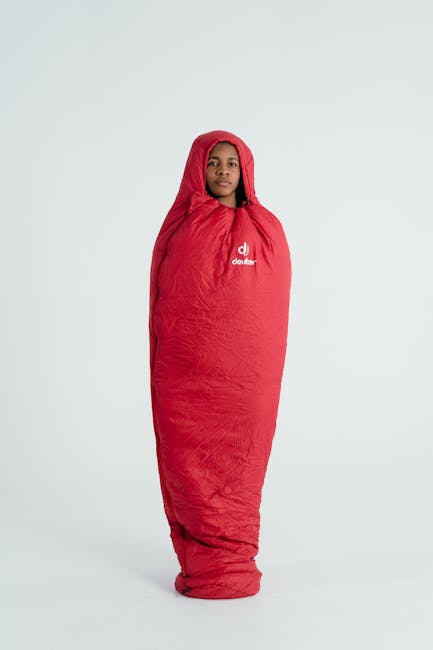
Have you ever dreamed of making your very own sleeping bag? Imagine having a cozy, custom-made sleeping bag that fits you perfectly and keeps you warm on every adventure.
Sewing a sleeping bag might sound tricky, but with the right steps, you can create one yourself. In this guide, you’ll discover simple tricks and clear instructions that make the process easy and fun. Ready to learn how to sew a sleeping bag that’s just right for you?
Let’s get started!
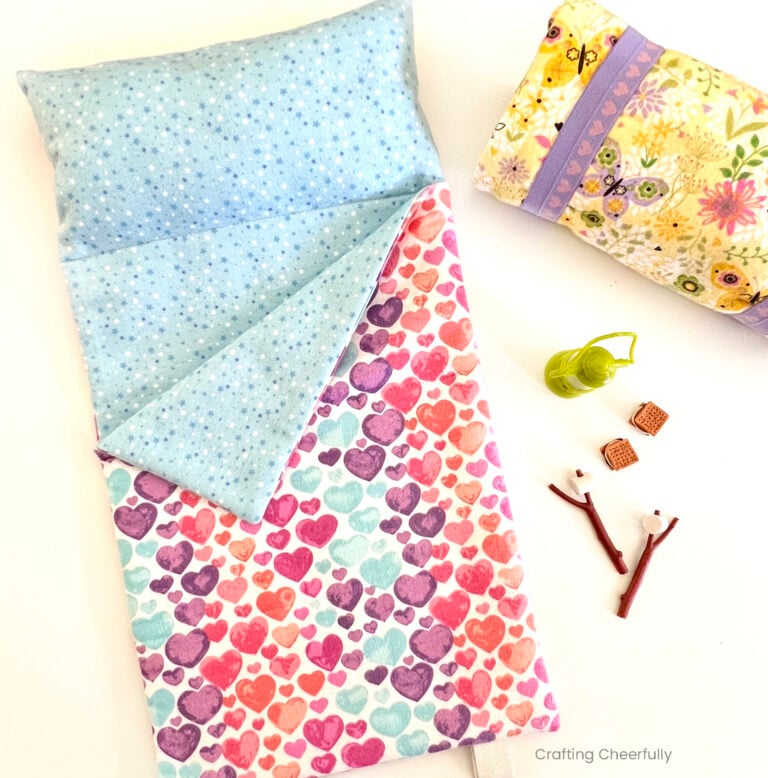
Credit: www.craftingcheerfully.com
Materials Needed
Making a sleeping bag requires the right materials. Choosing good fabrics and insulation helps keep you warm and comfortable.
Gathering proper sewing supplies makes the process easier and more precise. Below are key material categories for your project.
Fabric Choices
Choose a fabric that is durable and comfortable. Many sleeping bags use synthetic or natural fabrics with water-resistant finishes.
- Nylon: Lightweight and water-resistant
- Polyester: Durable and dries quickly
- Cotton: Soft but less water-resistant
- Ripstop fabrics: Resist tearing and ripping
Insulation Options
| Insulation Type | Warmth | Weight | Cost |
| Down | High | Light | Expensive |
| Synthetic | Medium | Heavier | Affordable |
| Wool | Medium | Heavy | Moderate |
Down insulation offers great warmth but costs more. Synthetic fills handle moisture better. Wool is natural but heavier.
Sewing Supplies
Having the right sewing tools ensures clean and strong seams. Use heavy-duty supplies suitable for thick fabric layers.
- Sewing machine with a strong needle
- Polyester thread for durability
- Fabric scissors or rotary cutter
- Measuring tape and fabric chalk
- Pins or clips to hold fabric
- Zippers and snaps for closures
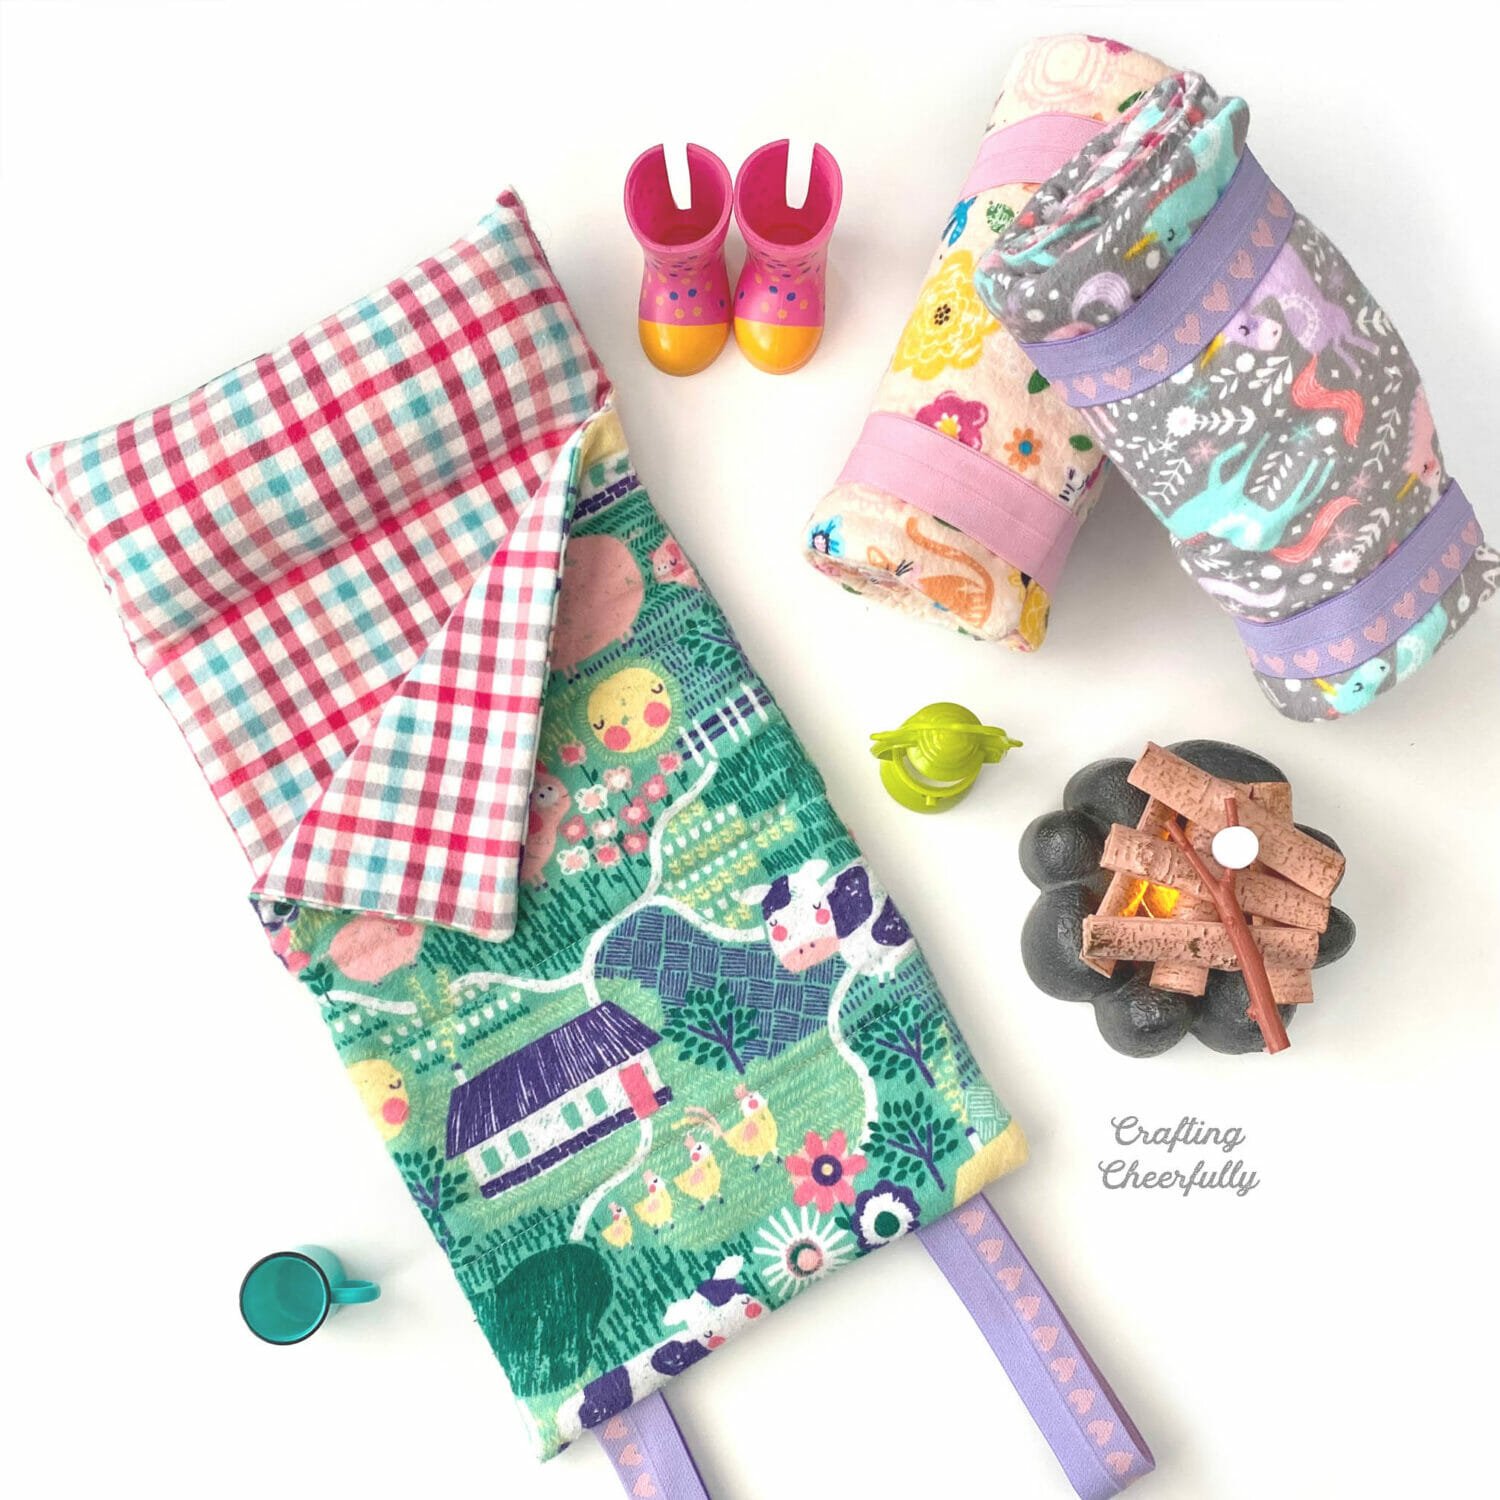
Credit: www.craftingcheerfully.com
Preparing The Pattern
Making a sleeping bag starts with a good pattern. This pattern guides your sewing and helps you get the right shape.
Preparing the pattern carefully saves time and avoids mistakes later. It ensures the sleeping bag fits well and looks neat.
Measuring For Size
Measure the person who will use the sleeping bag. Take the length from head to feet while lying down.
Also, measure the width across the shoulders and hips. Add a few inches for comfort and sewing seams.
- Length: from head to feet plus 6 inches
- Width: across shoulders plus 4 inches
- Width: across hips plus 4 inches
Creating Or Finding A Pattern
You can draw your own sleeping bag pattern on paper. Use the measurements to shape a rectangle with a rounded top.
Many free patterns are available online. Choose one that matches your size and style needs.
- Draw a rectangle for the main body
- Add a rounded hood shape at the top
- Mark seam allowances around edges
- Check online for free downloadable patterns
Cutting The Fabric
Cutting the fabric carefully is an important part of sewing a sleeping bag. It helps to get the right shape and size for comfort and warmth.
Before you start cutting, you must prepare the fabric and tools to make the process smooth and accurate.
Laying Out Fabric
Place your fabric on a clean, flat surface. Make sure it is smooth and free of wrinkles. Fold the fabric if your pattern requires it.
- Check the fabric grain and align it properly.
- Use weights or pins to hold the fabric in place.
- Double-check the fabric size matches your pattern pieces.
- Make sure the fabric is facing the right side up.
Marking And Cutting
Use fabric chalk or a washable marker to trace your pattern on the fabric. Mark seam allowances and important points clearly.
| Tool | Purpose |
| Fabric Chalk | Marks cutting lines and seam allowances |
| Scissors | Cut fabric pieces accurately |
| Ruler or Measuring Tape | Measure fabric and check pattern dimensions |
| Pins or Weights | Hold fabric and pattern in place while cutting |
Cut slowly and follow the marked lines. Keep your scissors sharp to avoid frayed edges. Cut each piece separately if needed.
Sewing The Outer Shell
The outer shell of a sleeping bag protects you from wind and moisture. Sewing it well keeps the bag durable and comfortable.
Use strong fabric and precise sewing to create a sturdy outer shell. This guide covers joining fabric pieces and seam techniques.
Joining Fabric Pieces
Start by cutting all fabric pieces to the right size. Align edges carefully before sewing to avoid mistakes.
- Place fabric pieces right sides together
- Pin edges evenly along the seam line
- Use a straight stitch for joining
- Press seams open with an iron
- Trim seam allowances to reduce bulk
Seam Types And Techniques
Choose seam types that add strength and weather resistance. Different seams serve different purposes in sleeping bag construction.
| Seam Type | Description | Best Use |
|---|---|---|
| Flat-felled Seam | Double-stitched and folded flat for durability | Outer shell edges and high-stress areas |
| French Seam | Encases raw edges for a clean finish | Thin or delicate fabrics |
| Overlocked Seam | Uses an overlocker to finish edges and prevent fraying | All-around seam finishing |
| Topstitched Seam | Reinforces seams with visible stitching | Decorative and extra-strong seams |
Adding Insulation
Adding insulation makes your sleeping bag warm and cozy. It helps keep your body heat inside during cold nights.
Choosing the right insulation and attaching it carefully improves comfort and warmth.
Attaching Insulation Layers
Start by cutting insulation to match the sleeping bag’s shape. Use lightweight, warm materials like polyester or down.
Lay the insulation flat between the outer fabric and the inner lining. Make sure it covers the whole sleeping bag area evenly.
- Cut insulation slightly larger than fabric pieces
- Align edges with fabric layers
- Pin layers together to avoid shifting
Securing Insulation In Place
Sew the insulation carefully to prevent bunching or shifting inside the bag. Use a sewing machine with a long stitch length.
You can sew horizontal or vertical lines across the insulation. This keeps it evenly spread and stops cold spots.
- Sew lines about 2 to 3 inches apart
- Use a walking foot to handle thick layers
- Secure edges with strong stitches

Credit: www.youtube.com
Sewing The Lining
The lining of a sleeping bag adds comfort and warmth. Sewing it correctly makes the bag more durable and cozy. This guide shows how to cut, assemble, and attach the lining.
Follow simple steps to make sure your sleeping bag lining fits well and stays in place inside the outer shell.
Cutting And Assembling Lining
Start by cutting the fabric for the lining using your sleeping bag pattern. Use soft, breathable material like cotton or nylon for comfort.
Cut all pieces carefully and pin them together. Sew the pieces with a straight stitch, leaving space for turning the lining right side out.
- Use the same pattern as the outer shell
- Cut fabric pieces on a flat surface
- Pin pieces with edges aligned
- Sew seams with ¼ inch allowance
- Leave an opening for turning
Attaching To Outer Shell
Place the lining inside the outer shell with wrong sides together. Align all edges and pin them carefully.
Sew around the edges to join the lining and shell. Leave the bottom open to add insulation later.
- Match lining and shell edges evenly
- Pin edges to prevent shifting
- Sew with a strong, straight stitch
- Leave opening for insulation and turning
- Check seams for gaps or loose threads
Inserting The Zipper
Adding a zipper to your sleeping bag is an important step. It lets you open and close the bag easily. You need to pick the right zipper and sew it carefully.
This guide covers how to choose the best zipper and the sewing methods to use for a strong finish.
Choosing The Right Zipper
Pick a zipper that fits your sleeping bag size and use. The zipper should be long enough and tough for outdoor use.
- Choose a zipper with nylon or plastic teeth for smooth use.
- Look for a two-way zipper if you want to open the bag from both ends.
- Select a zipper length that matches your sleeping bag height.
- Use a zipper with a locking slider to keep it from sliding open.
Sewing Techniques For Zippers
Use strong stitches and the right tools to attach the zipper. This will keep it secure and easy to use.
| Technique | Purpose | Tip |
| Pinning the zipper | Hold zipper in place | Pin carefully along edges |
| Using a zipper foot | Stitch close to teeth | Use a zipper foot on your sewing machine |
| Backstitching | Secure start and end | Sew a few stitches back and forth |
| Topstitching | Reinforce zipper area | Stitch along the zipper edge |
Finishing Touches
After sewing the main body of your sleeping bag, it is time to add final details. These touches improve comfort and durability.
Finishing touches help make your sleeping bag ready for use in all weather conditions.
Adding Drawstrings Or Hoods
Drawstrings let you tighten the sleeping bag around your head or shoulders. This keeps warm air inside and cold air out.
Hoods add extra warmth and protect your head from wind and cold. You can sew a hood directly to the top edge.
- Use a strong cord for drawstrings
- Insert drawstrings into sewn channels
- Add cord locks to keep drawstrings tight
- Sew the hood with soft lining for comfort
- Make the hood adjustable with a drawstring
Sealing Seams And Edges
Sealing seams stops air and water from entering the sleeping bag. It also strengthens the stitches.
Use seam tape or waterproof glue to seal inside seams. Fold edges neatly and sew with tight stitches.
- Trim excess fabric from seams
- Apply seam tape over stitches
- Use waterproof thread if possible
- Press seams flat with an iron
- Check for gaps or weak spots after sealing
Care And Maintenance
Taking care of your sleeping bag helps it last longer. Proper cleaning and storage keep it in good shape.
Simple care steps protect the fabric and insulation. Follow these tips to keep your sleeping bag cozy.
Cleaning Tips
Wash your sleeping bag only when needed to avoid damage. Use a gentle detergent made for delicate fabrics.
Hand washing is best, but a front-loading washing machine can work. Use cold water and a slow spin cycle.
- Close all zippers and Velcro before washing
- Use mild soap without bleach or fabric softeners
- Rinse thoroughly to remove all detergent
- Dry flat or hang in a well-ventilated area
- Avoid direct sunlight to prevent fabric fading
- Do not tumble dry unless the label says it is safe
Storage Recommendations
Store your sleeping bag loosely to keep the insulation fluffy. Avoid compressing it for long periods.
Use a large breathable storage sack or hang it in a dry place. Keep it away from heat and moisture.
- Do not store in the small stuff sack after use
- Keep away from damp areas to prevent mold
- Check for damage before storing
- Air out your sleeping bag occasionally
- Store in a cool, dark place
Frequently Asked Questions
What Materials Are Needed To Sew A Sleeping Bag?
To sew a sleeping bag, you’ll need fabric, insulation, a zipper, and thread. Choose durable, warm fabric like nylon or polyester. Use synthetic insulation for warmth. A long zipper will ensure easy access. Ensure you have a sewing machine and basic sewing tools for a smooth process.
How Do I Choose The Right Fabric?
Choose fabric based on durability and warmth. Opt for lightweight, water-resistant materials like nylon or polyester. These fabrics are perfect for outdoor use. Consider the climate you’ll use the sleeping bag in. Thicker fabrics are better for colder weather.
What Type Of Insulation Is Best For Sleeping Bags?
Synthetic insulation is ideal for sleeping bags. It’s lightweight, retains warmth even when wet, and dries quickly. Unlike down, synthetic materials are often more affordable and easier to maintain. Choose insulation that provides the warmth level you need based on your camping conditions.
How Do I Sew A Zipper Into A Sleeping Bag?
To sew a zipper, first pin it along the bag’s edge. Use a zipper foot on your sewing machine for precision. Sew slowly to ensure it aligns perfectly. Double-check for any gaps or misalignments. A well-placed zipper ensures easy access and durability.
Conclusion
Sewing your own sleeping bag can be a fun and useful skill. You control the size, warmth, and fabric choice. Follow each step carefully to get the best result. Take your time and enjoy the process. Soon, you will have a cozy sleeping bag made by your own hands.
This project saves money and lets you customize your gear. Try different materials to suit your needs. Happy sewing and happy camping!