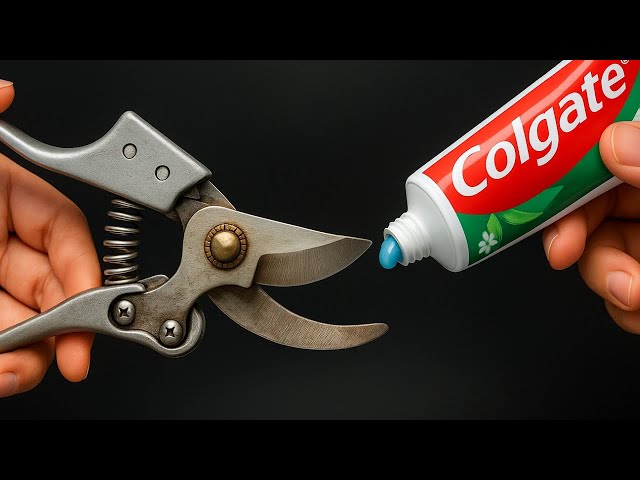
Are your gardening shears feeling a bit dull lately? You might notice they’re not cutting through branches as smoothly as they once did.
This common issue can turn your gardening tasks from a satisfying hobby into a frustrating chore. But don’t worry, there’s a simple solution that doesn’t involve purchasing a new pair. By learning how to sharpen your gardening shears, you can restore their effectiveness and make your gardening experience enjoyable again.
Imagine gliding through your garden with ease, trimming plants to perfection without the strain. Intrigued? Let’s dive into the step-by-step guide to sharpening your gardening shears so you can keep your garden looking its best with minimal effort.
Credit: www.airtasker.com
Tools Needed
Sharpening gardening shears keeps them cutting cleanly. Using the right tools makes the job easier and safer.
This guide covers the types of sharpeners and extra supplies you will need. Prepare your tools before you start.
Types Of Sharpeners
There are several sharpeners suitable for gardening shears. Each tool works differently and fits certain needs.
- Sharpening Stone:A flat stone used with water or oil to grind edges smoothly.
- Diamond File:A small, hard file with diamond grit for precise sharpening.
- Sharpening Rod:A round rod used to hone and refine blade edges.
- Electric Sharpener:A powered tool that quickly sharpens blades with rotating wheels.
Additional Supplies
Besides sharpeners, some supplies help keep your shears in good shape. These items protect and clean the blades.
| Supply | Purpose |
|---|---|
| Cleaning Cloth | Remove dirt and sap before sharpening |
| Lubricating Oil | Reduce friction and protect blades after sharpening |
| Safety Gloves | Protect hands during sharpening |
| Rust Remover | Clean old rust from blades before sharpening |

Credit: m.youtube.com
Preparing Shears
Before sharpening gardening shears, you need to prepare them properly. This helps you sharpen the blades safely and effectively.
Good preparation includes cleaning the blades and taking the shears apart if needed. These steps make sharpening easier and better.
Cleaning The Blades
Clean the blades to remove dirt, sap, and rust. Dirty blades can block your sharpening tools and cause uneven edges.
Use warm water and soap to wash the blades. A brush or cloth helps remove stuck debris. Dry the blades completely after cleaning.
- Prepare a bowl with warm, soapy water
- Use a soft brush or cloth to clean the blades
- Remove all dirt and sap carefully
- Dry the blades with a clean cloth
Disassembling If Necessary
Some gardening shears need to be taken apart for better sharpening. Disassembling helps you reach all blade edges easily.
Check if your shears have screws or bolts holding the blades. Use the right tool to remove these parts carefully. Keep the pieces safe to put back later.
- Look for screws or bolts on the shears
- Use a screwdriver or wrench to remove them
- Handle blades carefully to avoid injury
- Keep all parts in a safe place
Sharpening Techniques
Keeping your gardening shears sharp makes cutting easier and safer. Dull blades can damage plants and tire your hands. This guide covers three common sharpening methods.
Each method works well but needs different tools and steps. Choose one that fits your skill and what you have at home.
Using A Sharpening Stone
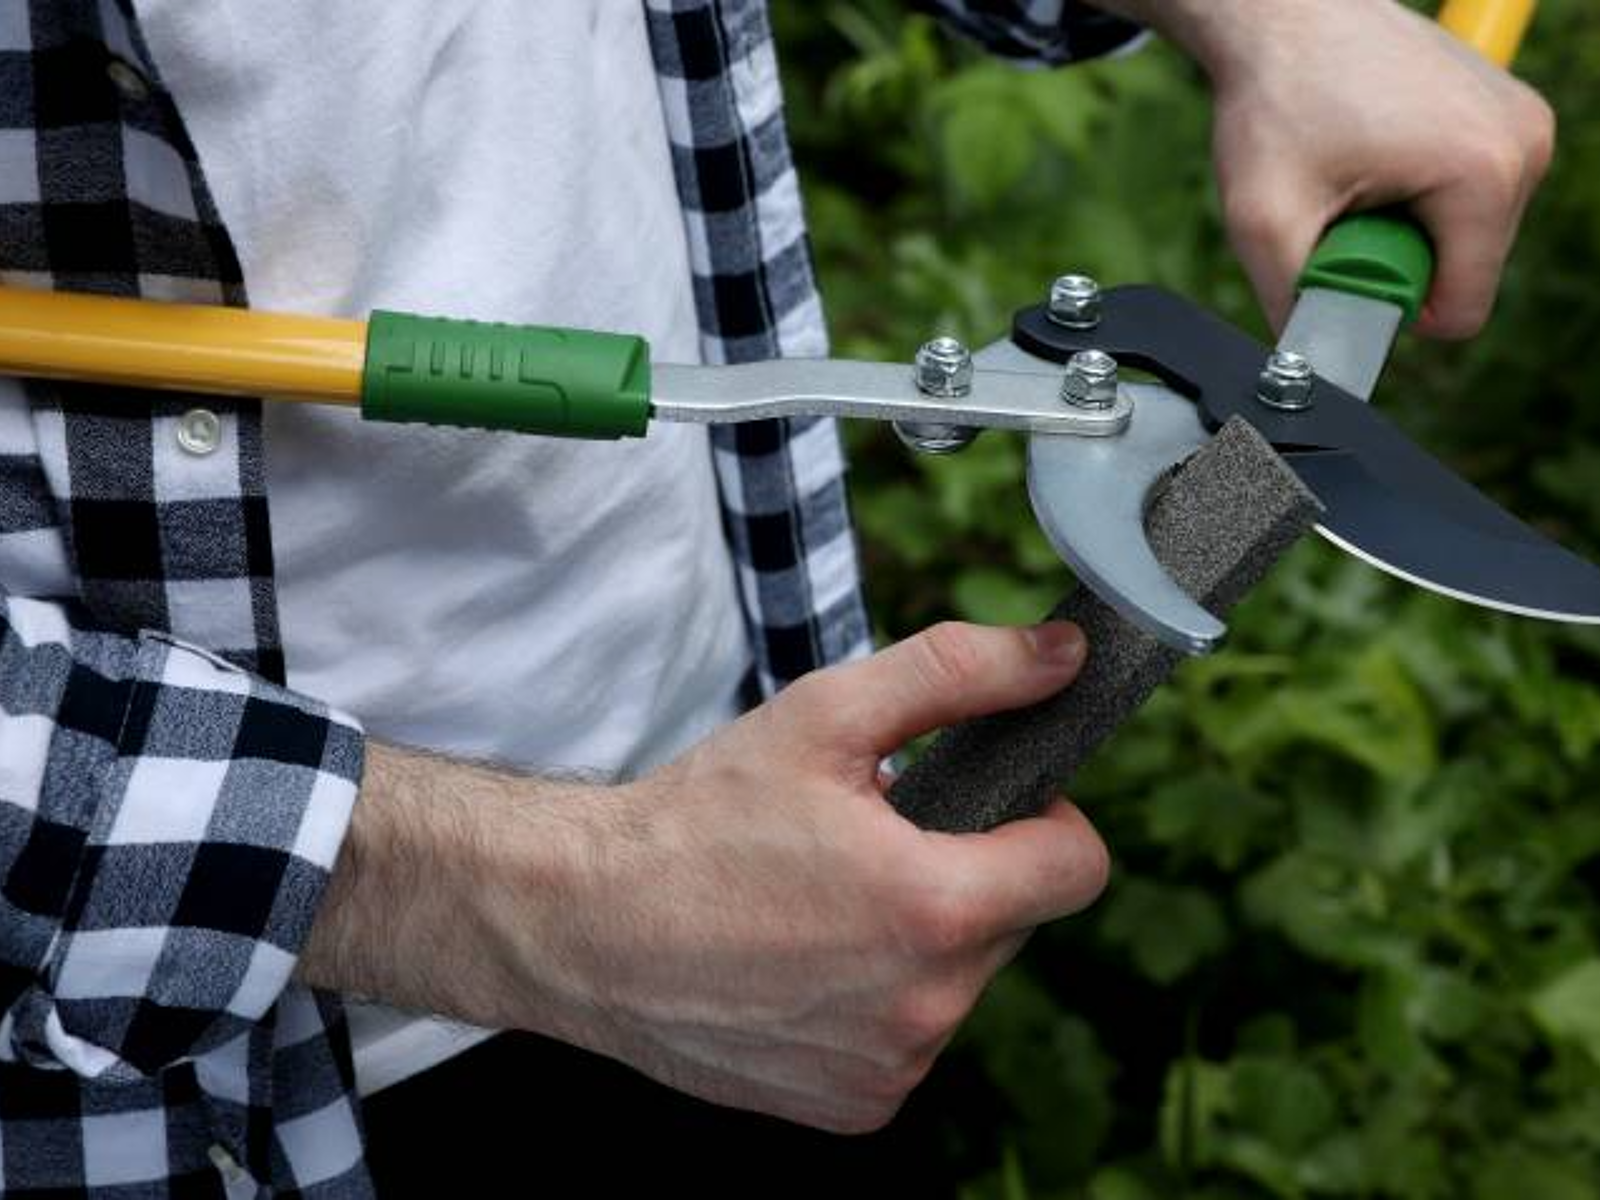
A sharpening stone helps you grind the blade edges smooth. You can use water or oil stones for this job. The key is to keep the blade angle steady while you sharpen.
- Clean the shears and remove any rust.
- Soak the stone if it is a water stone.
- Hold the blade at a 20-degree angle to the stone.
- Push the blade forward along the stone, keeping the angle steady.
- Sharpen both sides evenly.
- Wipe the blade clean and test the sharpness carefully.
Using A File
A file is a simple tool to sharpen gardening shears. It removes metal quickly and shapes the blade edge. Files work best for blades that are very dull or nicked.
| File Type | Use | Tip |
| Flat file | General sharpening | Use smooth, even strokes |
| Round file | Sharpening curved blades | Follow the blade curve closely |
| Mill file | Sharpening metal edges | Hold firm, use steady pressure |
Using A Sharpening Tool
Sharpening tools often have guides to keep the blade angle right. They are easy to use and quick. Some come with different slots for various blade sizes.
To sharpen with a tool:
- Secure the shears in a vice or hold firmly.
- Insert the blade into the correct slot on the tool.
- Pull the blade through the tool a few times.
- Check the sharpness and repeat if needed.
- Clean the blade after sharpening.
Sharpening Steps
Keeping your gardening shears sharp makes cutting plants easier. Sharp blades protect plants and reduce hand strain.
Follow these steps to sharpen your shears properly. Use simple tools and steady movements for best results.
Angle And Stroke Direction
Hold the sharpening stone at a 20 to 30-degree angle to the blade. This angle keeps the edge sharp and strong.
Move the stone in one direction along the blade edge. Stroke from the base to the tip for smooth sharpening.
- Keep the angle steady throughout
- Use long, even strokes
- Sharpen both sides if the blade is double-edged
Consistent Pressure
Apply firm but gentle pressure while sharpening. Too much force can damage the blade.
Keep the pressure even on each stroke. This helps create a smooth, sharp edge without nicks.
- Press enough to feel resistance
- Avoid pressing too hard
- Keep your hand steady for control
Checking Sharpness
Test the sharpness by carefully cutting a piece of paper or a thin stem. It should cut cleanly and easily.
Look for smooth edges on the blade. If the edge feels rough or dull, sharpen it more.
- Cut a thin plant stem
- Slice a piece of paper
- Check for smooth, clean cuts
Reassembling And Testing
After sharpening your gardening shears, put the parts back together carefully. Proper reassembly ensures the shears work well and stay safe to use.
Testing the cut quality helps you check if the sharpening was successful. It also shows if any adjustments are needed before regular use.
Putting Shears Back Together
Reassemble your gardening shears by following these steps. Each part must fit correctly for the shears to function smoothly.
- Place the sharpened blades back into position.
- Align the pivot bolt through the holes of the blades.
- Secure the bolt with a nut, tightening it just enough to allow smooth movement.
- Reattach any springs or washers removed during disassembly.
- Check that the handles open and close without sticking.
Testing Cut Quality
Test the sharpness of your shears by cutting different plant materials. This helps identify if the blades cut cleanly or need more sharpening.
| Material | Expected Result | Action if Not Clean |
| Soft stems (e.g., herbs) | Clean, smooth cut | Sharpen blades again |
| Thick branches | Effortless slicing | Check blade alignment |
| Leaves | No tearing | Adjust blade tension |
Maintenance Tips
Keeping your gardening shears sharp and clean helps them last longer.
Regular care makes your tools work better and safer.
Regular Cleaning
After each use, wipe your shears with a dry cloth to remove dirt and sap.
Use warm, soapy water to clean sticky residue, then dry the blades well.
Proper Storage
Store your gardening shears in a dry place to avoid rust.
- Keep shears in a closed toolbox or hang them on a rack.
- Use blade covers to protect the cutting edges.
- Check for moisture and clean before storing if needed.
Routine Sharpening
Sharpen your shears regularly to keep clean cuts on plants.
| Sharpening Tool | Purpose |
| Sharpening stone | Smooths and sharpens blade edges |
| Diamond file | Fixes small nicks and dull spots |
| Lubricating oil | Protects blades after sharpening |

Credit: www.youtube.com
Frequently Asked Questions
How Often Should I Sharpen Gardening Shears?
Sharpen gardening shears after every 10-15 hours of use. Regular sharpening keeps blades efficient and prevents plant damage. Frequent maintenance extends the tool’s lifespan and ensures clean cuts for healthier plants.
What Tools Are Best For Sharpening Gardening Shears?
Use a sharpening stone, diamond file, or a sharpening tool designed for blades. These tools provide precision and smooth edges. Avoid using coarse or inappropriate tools that can damage the blades.
Can I Sharpen Gardening Shears At Home?
Yes, you can sharpen shears at home using simple tools. Follow safety steps and maintain the correct blade angle. Home sharpening saves money and improves tool performance instantly.
How Do I Maintain Sharp Gardening Shears?
Clean blades after use, dry thoroughly, and oil pivot points regularly. Store shears in a dry place to prevent rust. Proper care keeps blades sharp and prolongs tool life.
Conclusion
Sharpening gardening shears keeps them cutting clean and easy. Dull blades can hurt plants and make work hard. Regular sharpening saves time and effort in the garden. Use simple tools and follow safe steps for best results. Keep your shears sharp to enjoy healthy plants and a neat garden.
Small care goes a long way in gardening success. Try sharpening today and see the difference yourself!