
Are your thinning shears not cutting as smoothly as they used to? Dull blades can make your haircuts uneven and frustrating, but sharpening your shears yourself is easier than you think.
Imagine saving money, improving your styling precision, and extending the life of your favorite tool—all by following a few simple steps. In this guide, you’ll discover how to sharpen your thinning shears quickly and safely, so you can get back to creating flawless looks with confidence.
Ready to bring your shears back to life? Let’s dive in.

Credit: www.youtube.com
Types Of Thinning Shears
Thinning shears are special scissors used to thin out hair. They help create texture and blend layers.
There are different types of thinning shears. Each type works best for certain hair styles and cutting needs.
Standard Vs Texturizing Shears
Standard thinning shears have teeth on one blade and a smooth blade on the other. They cut some hair strands while leaving others.
Texturizing shears have fewer teeth or wider gaps. They remove more hair and add texture to the hair style.
- Standard shears blend and soften hair lines.
- Texturizing shears create volume and remove bulk.
- Standard shears are good for light thinning.
- Texturizing shears work well on thick or coarse hair.
Blade Designs And Their Uses
Thinning shears come with different blade designs. Each design suits a specific cutting style.
| Blade Type | Description | Best Use |
| Convex Blade | Sharp and smooth edge | Precise, clean cuts |
| Beveled Blade | Angled edge for durability | General thinning |
| Micro-Serated Blade | Small teeth for grip | Control on slippery hair |
| Wide-Tooth Blade | Large gaps between teeth | Heavy texturizing |
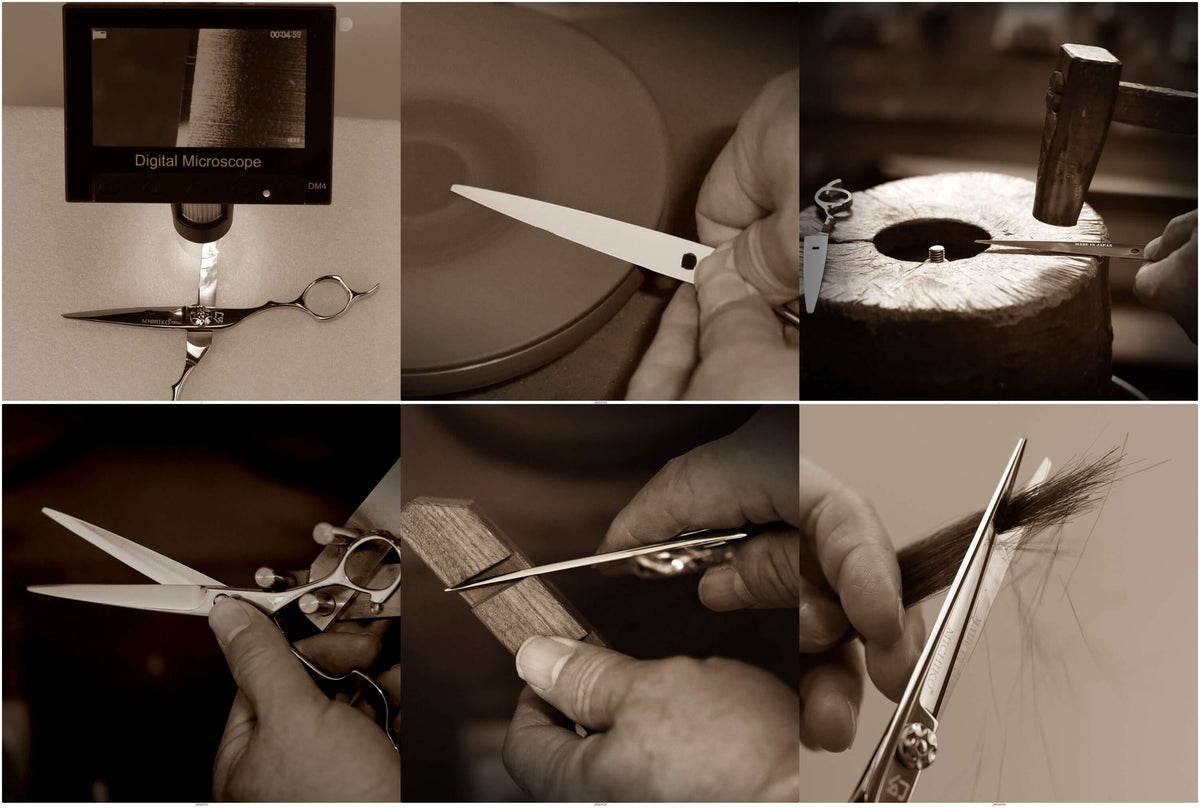
Credit: scissorwarrior.com
Tools Needed For Sharpening
Sharpening thinning shears requires the right tools to get a smooth and even edge. Using proper equipment helps keep your shears working well for a long time.
This guide lists the tools you need and the safety gear to protect yourself during sharpening.
Essential Sharpening Equipment
You will need a few key tools to sharpen thinning shears properly. These tools help you maintain the shape and sharpness of the blades.
- Sharpening stone or whetstone with fine and medium grit
- Small screwdriver or wrench to loosen screws
- Soft cloth for cleaning blades
- Lubricating oil to keep blades smooth
- Magnifying glass for close inspection of edges
Safety Gear And Precautions
Protecting yourself while sharpening is important. Use safety gear and follow simple rules to avoid injury.
| Safety Gear | Purpose |
|---|---|
| Protective gloves | Prevent cuts and protect hands |
| Safety glasses | Protect eyes from metal filings |
| Clean workspace | Reduce risk of accidents |
| Good lighting | Helps see edges clearly |
Preparing Shears For Sharpening
Sharpening thinning shears at home requires careful preparation. It ensures your shears remain in excellent condition.
Proper preparation also extends the life of your shears. Follow these steps to get started.
Cleaning And Disassembling
Before sharpening, clean your shears thoroughly. This removes any hair or debris that could interfere with sharpening.
- Wipe blades with a clean, soft cloth
- Use a small brush to remove trapped hair
- Rinse with warm water if needed
Disassembling your shears allows for better access to each blade. Carefully unscrew the pivot screw to separate the blades.
Inspecting For Damage
Inspect each blade for nicks or damages. This is vital to ensure safe and effective sharpening.
Use a magnifying glass for a closer look at the blade edges.
If you find severe damage, consider professional repair. Minor nicks can be smoothed during sharpening.
Sharpening Techniques
Thinning shears need regular sharpening to keep cutting well. Dull shears pull hair instead of cutting it cleanly.
There are different ways to sharpen your thinning shears. Choose the one that fits your tools and skills.
Using A Sharpening Stone
A sharpening stone is a common tool to sharpen thinning shears. It removes small amounts of metal to restore the blade edge.
Use a fine grit stone for thinning shears. Too rough a stone can damage the blades.
- Clean the shears before sharpening.
- Hold the blade at the correct angle on the stone.
- Move the blade gently along the stone in one direction.
- Repeat until the edge feels sharp.
- Wipe the blades clean and test them carefully.
Employing Professional Sharpeners
Professional sharpeners have special tools and skills. They can sharpen thinning shears quickly and precisely.
Sending your shears to a pro can save time. It also reduces the risk of damaging the blades.
- Find a sharpener with good reviews.
- Check if they specialize in thinning shears.
- Ask about turnaround time and cost.
- Pack your shears safely for shipping.
- Test the shears after sharpening.
Diy Methods At Home
You can sharpen thinning shears at home with simple tools. This works if you want quick fixes between professional sharpening.
Use items like aluminum foil or a fine nail file to touch up blades. These do not replace a real sharpening but help keep edges smooth.
- Fold aluminum foil several times.
- Cut through the foil with your shears multiple times.
- Use a fine nail file on the blade edges gently.
- Clean the blades with rubbing alcohol after.
- Test the shears on a small hair section.
Maintaining Shear Sharpness
Thinning shears need care to stay sharp and work well. Keeping them sharp saves time and effort.
Regular maintenance helps your shears cut smoothly and last longer.
Regular Cleaning Tips
Clean your thinning shears after each use. Dirt and hair can dull the blades quickly.
Use a soft cloth or brush to remove debris. Avoid using water directly on the blades.
- Wipe blades with a dry cloth
- Use a small brush for hair stuck between teeth
- Apply a drop of oil to the joint to keep it smooth
Proper Storage Practices
Store your shears in a dry place to stop rust. Keep them in a protective case or pouch.
Avoid dropping or banging shears. This can damage the blades and affect sharpness.
- Use a sheath or case for storage
- Keep shears away from moisture
- Store in a place safe from falls or knocks
When To Resharpen
Resharpen thinning shears when they do not cut cleanly. Dull blades pull or tear hair.
Check the sharpness often if you use your shears daily. Resharpening keeps your tools effective.
- Blades pull or snag hair during cutting
- Edges show visible dullness or damage
- Shears feel harder to open and close smoothly

Credit: www.youtube.com
Common Mistakes To Avoid
Sharpening thinning shears is a skill that needs care. Avoid errors that can damage the blades or reduce their life.
Learn about common mistakes to keep your shears sharp and effective for a long time.
Over-sharpening Risks
Sharpening too often wears down the blades. This reduces the shears’ ability to thin hair properly.
Excessive sharpening can change the blade shape. This leads to uneven cuts and blade damage.
- Wear down blades quickly
- Cause uneven blade edges
- Reduce cutting precision
- Increase repair or replacement needs
Incorrect Angle Handling
Holding the shears at the wrong angle while sharpening can harm the blade edge. It can make the shears less sharp.
Keep the original blade angle to keep the cutting edge smooth and effective.
- Use the same angle as the factory edge
- Do not sharpen the flat side too much
- Avoid changing the blade bevel angle
- Check the angle often during sharpening
Signs Shears Need Sharpening
Thinning shears lose their sharpness after repeated use. Recognizing the signs early helps keep them in good condition. Sharp shears cut smoothly and easily.
Knowing when to sharpen your thinning shears saves time and effort. It also protects the hair or material you are cutting.
Dull Cuts And Snags
Dull shears do not cut cleanly. You may see uneven or rough edges after cutting. Snags happen when the blades catch and pull the hair or material.
- Hair strands bend or get pulled instead of cut.
- Cut ends look frayed or split.
- Shears skip or drag during use.
- Small pieces remain uncut between the blades.
Increased Effort During Use
When thinning shears become dull, you need more force to cut. This extra effort tires your hand and reduces control. Increased pressure may also damage the shears.
| Issue | Effect | Cause |
|---|---|---|
| Hard to open and close | Hand strain and slow work | Blades are blunt or not aligned |
| Blades feel sticky | Cutting is uneven and rough | Dirt buildup or dull edges |
| Noise when cutting | Discomfort and less precision | Blade damage or loss of sharpness |
Frequently Asked Questions
How Often Should I Sharpen Thinning Shears?
Sharpen thinning shears every 3 to 6 months. Regular sharpening ensures clean cuts and prevents hair damage. Frequency depends on usage and hair type. Frequent use on thick hair may need more frequent sharpening to maintain performance.
What Tools Are Needed To Sharpen Thinning Shears?
Use a sharpening stone, fine-grit sandpaper, or a professional sharpener. A screwdriver helps disassemble the shears. Clean and lubricate blades after sharpening for smooth operation and longer blade life.
Can I Sharpen Thinning Shears At Home Safely?
Yes, with proper tools and technique, you can sharpen at home. Follow step-by-step instructions carefully to avoid damaging the blades. If unsure, consult a professional sharpener to maintain blade quality.
Why Do Thinning Shears Become Dull Quickly?
Thinning shears dull faster due to frequent cutting of thick or coarse hair. Improper cleaning and storage also cause blade damage. Regular sharpening and maintenance extend blade sharpness and tool lifespan.
Conclusion
Sharpening thinning shears keeps your tools working well. Clean blades cut hair smoothly and evenly. Regular sharpening saves money and improves results. Use the right tools and sharpen carefully. Practice makes the process easier and faster. Keep shears dry and store them safely.
Sharp shears help create better hairstyles every time. Try these tips to maintain your thinning shears. Your haircuts will look neater and more professional. Easy care extends the life of your shears.