Are you trying to save space in your laundry area without giving up your reliable GE washer and dryer? Learning how to stack your GE washer and dryer can be a game-changer for your home.
Not only does it free up valuable floor space, but it also creates a cleaner, more organized look. You’ll discover simple, step-by-step instructions to safely and securely stack your appliances. Whether you’re short on room or just want a smarter laundry setup, you’re about to find out exactly how to make it happen—quickly and easily.
Keep reading to transform your laundry space today!

Credit: www.appliancefactory.com
Benefits Of Stacking Washer And Dryer
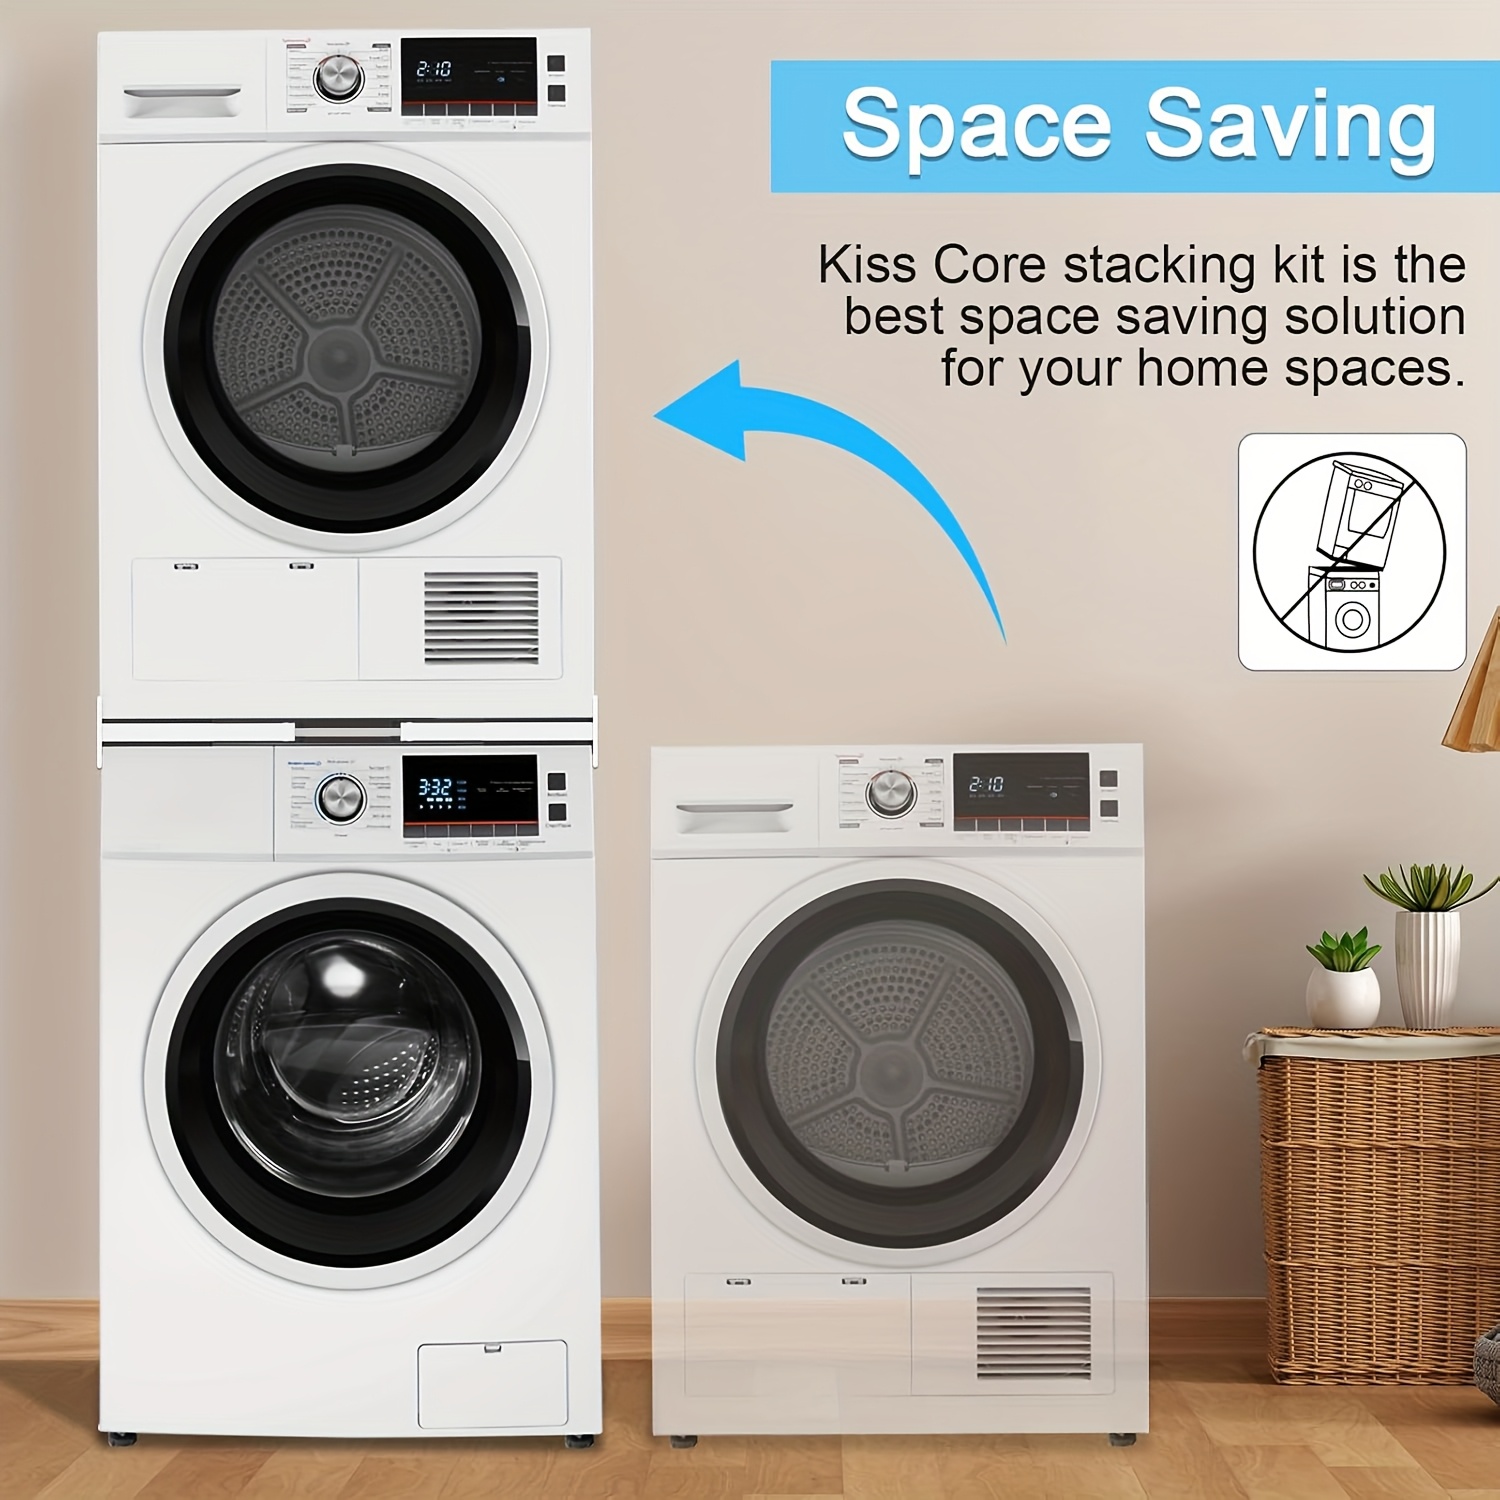
Stacking your washer and dryer saves space in your laundry room. It is a smart choice for small areas.
This setup also makes laundry chores easier and more organized. You can reach both machines quickly.
Saves Floor Space
Stacking uses vertical space instead of floor space. This frees up room for other uses.
It is great for apartments or homes with limited laundry areas. You can fit machines in tight spots.
Improves Laundry Room Organization
Stacked machines keep your laundry area neat and tidy. You have a clear surface for folding clothes.
It is easier to keep cleaning supplies and laundry baskets nearby. Everything stays within reach.
Makes Laundry Tasks More Efficient
With machines stacked, you spend less time moving between washer and dryer. You can switch loads faster.
This setup reduces bending and reaching. It helps you work comfortably and safely.
Adds A Modern Look To Your Space
Stacked washers and dryers look sleek and modern. They give your laundry room a clean style.
This design fits well with many home styles. It makes small laundry rooms appear larger and more open.

Credit: www.homehardware.ca
Checking Compatibility For Stacking
Stacking your GE washer and dryer saves space in your laundry area. It is important to check if your models are compatible for stacking. This ensures safety and proper operation.
Not all washers and dryers can be stacked. You need to look at specific model features and physical sizes. This helps avoid damage and instability.
Model Requirements
GE makes certain washer and dryer models that are stackable. You must use a washer and dryer designed for stacking. These models have flat tops and proper support points.
Check your model numbers in the user manual or on the GE website. Look for words like “stackable” or “stack kit compatible”. Using non-compatible models can cause problems.
- Use models made for stacking
- Confirm stack kit availability
- Follow GE’s model pairing guide
Weight And Size Considerations
Stacking requires the dryer to sit safely on the washer. The washer must support the dryer’s weight without damage. Check the weight limits in your washer’s manual.
Dimensions are important too. The washer and dryer should have matching widths and depths. Different sizes can cause balance issues or unsafe stacking.
- Confirm washer supports dryer’s weight
- Match washer and dryer width
- Match washer and dryer depth
- Use a GE stack kit for extra support
Required Tools And Materials
Stacking your GE washer and dryer saves space in your laundry room. You need the right tools and materials for a safe setup.
This guide lists the essential tools and materials to stack a GE washer and dryer properly.
Stacking Kit
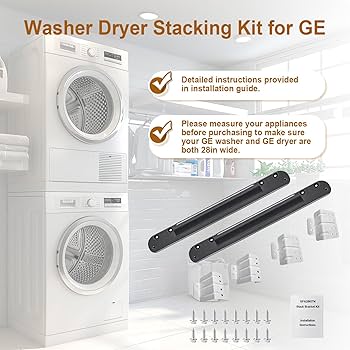
A stacking kit holds the dryer securely on top of the washer. GE washers and dryers need a compatible kit for safety.
The kit usually includes brackets, screws, and instructions for installation.
- Brackets to connect the washer and dryer
- Screws and bolts for secure fitting
- Installation guide specific to your models
Screwdriver
You need a screwdriver to attach the stacking kit parts. A Phillips-head screwdriver is usually required.
Make sure the screwdriver fits the screws included in your stacking kit to avoid damage.
Adjustable Wrench
An adjustable wrench helps tighten bolts and nuts on the stacking kit. It fits different sizes for versatility.
This tool ensures the stack is stable and safe during use.
Level
A level checks that the washer and dryer are even. Proper leveling prevents vibration and noise.
Use a small bubble level or a digital level for accurate results.
Measuring Tape
Measure your space and appliance dimensions before stacking. This ensures the dryer fits safely above the washer.
Measure the height, width, and depth of both machines and your laundry area.
Work Gloves
Wear gloves to protect your hands during the stacking process. They help with grip and prevent cuts or scrapes.
Choose gloves that fit well and allow good movement.
Helper Or Moving Straps
Get help from another person or use moving straps. Dryers can be heavy and hard to lift alone.
Moving straps help you lift and place the dryer safely on top of the washer.
Credit: www.temu.com
Preparing The Laundry Area
Stacking a GE washer and dryer saves space in your laundry room. Preparing the area properly helps everything fit safely and work well.
Check the space and air flow before stacking your washer and dryer. This makes sure the machines run smoothly.
Clearing The Space
Remove any items from the laundry area to make room for the stack. Clear the floor and walls around the space.
Make sure the floor is level and strong enough to hold both machines. This prevents movement and damage during use.
- Take out laundry baskets and cleaning supplies
- Clear wall hooks and shelves near the machines
- Check for any obstacles blocking the area
- Level the floor using shims if needed
- Confirm the floor can support the combined weight
Ensuring Proper Ventilation
Good air flow is important to keep your dryer working well. It also helps avoid heat and moisture build-up.
Check that the dryer vent is clear and leads outside. Leave space around the stack for air to move freely.
- Inspect dryer vent for blockages or damage
- Use a rigid or semi-rigid vent pipe
- Keep at least one inch of space behind the machines
- Do not block air vents on the washer or dryer
- Allow room on top for stacking kit installation
Step-by-step Stacking Process
Stacking your GE washer and dryer saves space and makes laundry easier. Follow simple steps to do it safely and correctly. This guide explains how to stack them step by step.
Before starting, make sure you have the right stacking kit made for your GE models. Keep tools like a screwdriver and a level nearby to help with assembly.
Securing The Stacking Kit
The stacking kit holds your washer and dryer together safely. Find the kit that fits your GE washer and dryer models. It usually includes brackets, screws, and instructions.
- Read the instructions in the kit carefully.
- Attach the brackets to the dryer using the screws provided.
- Double-check that all screws are tight to prevent wobbling.
- Keep the stacking kit parts organized for easy access.
Positioning The Washer
Place the washer where you want the stacked units. Make sure the floor is level and strong. Avoid placing near water pipes or heat sources.
- Check that the washer feet touch the floor evenly.
- Adjust the feet to level the washer if needed.
- Leave enough space around the washer for ventilation.
- Plug the washer into a grounded electrical outlet.
Placing And Aligning The Dryer
Lift the dryer carefully and place it on top of the washer. Align it so that the stacking brackets meet the washer edges. Use a level to check the dryer is straight.
| Check Points | Details |
|---|---|
| Dryer Position | Centered on washer with brackets aligned |
| Level Check | Use a bubble level on dryer top and sides |
| Clearance | Allow space behind for vents and cords |
| Dryer Stability | No rocking or tilting when pressed gently |
Fastening Units Together
After aligning, secure the dryer to the washer using the stacking kit screws. Tighten all fasteners firmly but avoid over-tightening to protect the units.
- Insert screws through stacking brackets into washer frame.
- Tighten screws using a screwdriver or drill.
- Check that the dryer does not move or shift.
- Connect dryer vent hose and power cord safely.
- Test both machines to ensure they work properly.
Safety Tips For Stacked Units
Stacking your GE washer and dryer saves space. It’s important to ensure they are stacked safely.
Follow these safety tips to avoid accidents and keep your appliances in good condition.
Secure The Stacking Kit
A stacking kit is crucial for stability. It helps keep the dryer securely on top of the washer.
- Use the kit provided by the manufacturer
- Follow the installation instructions carefully
- Ensure all screws and brackets are tight
Check The Floor Level
A level floor prevents tipping and ensures proper function. Check the floor before stacking your units.
Avoid Overloading The Units
Overloading can cause the dryer to become unstable. It also affects the washer’s performance.
| Appliance | Maximum Load (kg) |
| Washer | 7 kg |
| Dryer | 5 kg |
Regular Maintenance
Regular maintenance extends the life of your appliances. It also keeps them running efficiently.
- Clean the lint filter after each use
- Check hoses for leaks monthly
- Inspect electrical connections annually
Troubleshooting Common Issues
Stacking your GE washer and dryer can save space. Sometimes issues arise that need troubleshooting.
This guide helps you solve common problems with stacked units. Follow these steps to ensure smooth operation.
Washer Vibrates Excessively
If your washer vibrates a lot, check if it is level. Use a spirit level to adjust the feet. Tighten the lock nuts to secure them.
Ensure the load is balanced. Uneven loads cause excessive vibration. Redistribute clothes evenly in the drum.
- Check if the washer is on a stable surface
- Adjust the feet using a wrench
- Ensure clothes are evenly distributed
Dryer Not Heating
When the dryer does not heat, check the power supply. Ensure the dryer is plugged in and the circuit breaker is not tripped.
Clean the lint filter. A blocked filter can prevent proper heating. Remove lint after each load.
- Check the power connection
- Inspect the circuit breaker
- Clean the lint filter regularly
Washer Door Won’t Unlock
If the washer door stays locked, wait a few minutes. The door unlocks automatically after the cycle ends.
Check the control panel for error codes. Refer to your manual for specific error instructions.
- Wait for a few minutes after the cycle
- Look for error codes on the display
- Consult the user manual for solutions
Dryer Takes Too Long To Dry
Clean the vent system if the dryer takes too long. Blocked vents reduce airflow and efficiency.
Check the dryer settings. Ensure the correct cycle is selected for the load type.
- Inspect and clean the vent system
- Verify the selected drying cycle
- Ensure proper load size for the cycle
Frequently Asked Questions
Can I Stack Any Ge Washer And Dryer Models?
No, only specific GE washer and dryer models are designed for stacking. Check your model numbers and the manufacturer’s guide before stacking.
What Tools Are Needed To Stack Ge Washer And Dryer?
You’ll need a stacking kit, a screwdriver, and possibly a drill. The stacking kit is essential for safety and proper installation.
How Do I Install A Stacking Kit On Ge Units?
First, align the stacking kit on the dryer base. Secure it with screws, then carefully place the dryer on the washer.
Is Stacking Ge Washer And Dryer Safe?
Yes, if installed correctly using a stacking kit. Proper installation prevents tipping and ensures stability during operation.
Conclusion
Stacking your GE washer and dryer saves space effectively. Follow the steps carefully for safety and stability. Use the right stacking kit designed for your models. Make sure both machines are level before stacking. Secure connections prevent vibrations and noise during use.
Regular checks keep your setup working well over time. This setup helps you use laundry space wisely. Enjoy more room and convenience in your home.