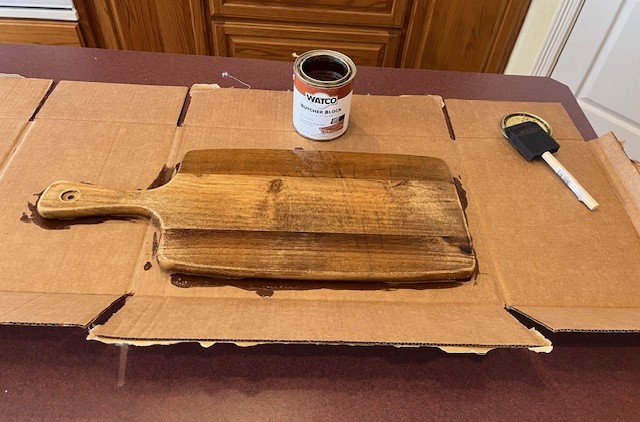
Your cutting board is more than just a kitchen tool—it’s a part of your daily routine and can add warmth to your cooking space. But over time, it can lose its shine or develop stains that make it look worn out.
What if you could bring it back to life and make it look brand new again? Learning how to stain a cutting board is easier than you think, and with a few simple steps, you can protect your board while enhancing its natural beauty.
Ready to transform your cutting board and keep it looking great for years? Let’s dive into the process that will make your kitchen feel fresh and inviting.

Credit: www.slightlycrookedworkshop.com
Choosing The Right Cutting Board
Choosing the right cutting board is important before staining it. The board’s material and size affect how the stain looks.
Some boards absorb stain better and last longer. Picking a good board helps your project turn out well.
Wood Types Suitable For Staining
Hardwoods are best for staining cutting boards. They soak up stain evenly and resist cuts and scratches.
Softwoods may absorb stain unevenly and get damaged easily. Avoid using them for cutting boards.
- Maple: Smooth surface and good stain absorption
- Walnut: Dark wood that stains well
- Cherry: Rich color and fine grain
- Beech: Light color and strong wood
Board Size And Thickness
Size matters for staining. Smaller boards stain faster and more evenly than large ones.
Thickness affects stain absorption. Thicker boards hold the stain better and last longer.
- Small boards are easier to handle and stain
- Thicker boards resist warping and cuts
- Choose a size that fits your kitchen space
New Vs. Used Boards
New boards have a clean surface that shows stain color clearly. They need light sanding before staining.
Used boards may have scratches or old stains. Sand them well to remove marks before applying new stain.
- New boards give a fresh look
- Used boards need more prep work
- Both can be stained well with proper sanding
Preparing The Cutting Board
Preparing your cutting board before staining is important. It helps the stain stick better and look nice.
Cleaning, sanding, and removing old finishes are key steps. These will make the surface smooth and ready.
Cleaning And Sanding
Start by cleaning the cutting board with warm water and mild soap. Remove any dirt or food bits.
After cleaning, let the board dry completely. Then, sand the surface with fine-grit sandpaper to smooth it.
- Use 120 to 220 grit sandpaper
- Sand in the direction of the wood grain
- Remove dust with a clean cloth
Removing Old Finish
If the cutting board has old paint or stain, remove it before applying new stain. This stops blotchy spots.
Use a chemical stripper or sand the old finish off. Be gentle to avoid damage to the wood.
- Apply chemical stripper with a brush
- Let it sit as directed on the label
- Scrape off old finish with a plastic scraper
- Sand lightly to remove residue
Ensuring A Smooth Surface
A smooth surface helps the stain soak in evenly. Sand the board again with fine sandpaper after cleaning or stripping.
Wipe away all dust with a damp cloth. Let it dry fully before staining to get the best results.
Selecting The Stain
Choosing the right stain is key to staining a cutting board. The stain changes the look and feel of the wood. It also protects the surface.
Pick a stain that matches your style and is safe for kitchen use. Different stains work best for different types of wood.
Types Of Wood Stains
Wood stains come in many types. Oil-based stains soak into the wood and last long. Water-based stains dry faster and have less odor.
Gel stains sit on the surface and give rich color. Paste stains are thick and good for uneven wood. Choose one that fits your project.
- Oil-based stains: Deep color and durability
- Water-based stains: Fast drying and low odor
- Gel stains: Thick and rich color
- Paste stains: Good for uneven surfaces
Color Options And Effects
Stains come in many colors. Light stains show the wood grain clearly. Dark stains hide flaws but change the wood look.
You can also find colors like red, blue, or green. Some stains add a matte or glossy finish. Pick a color that matches your kitchen style.
- Light colors: Show natural wood grain
- Dark colors: Hide imperfections
- Colored stains: Add unique style
- Matte or glossy: Change the finish look
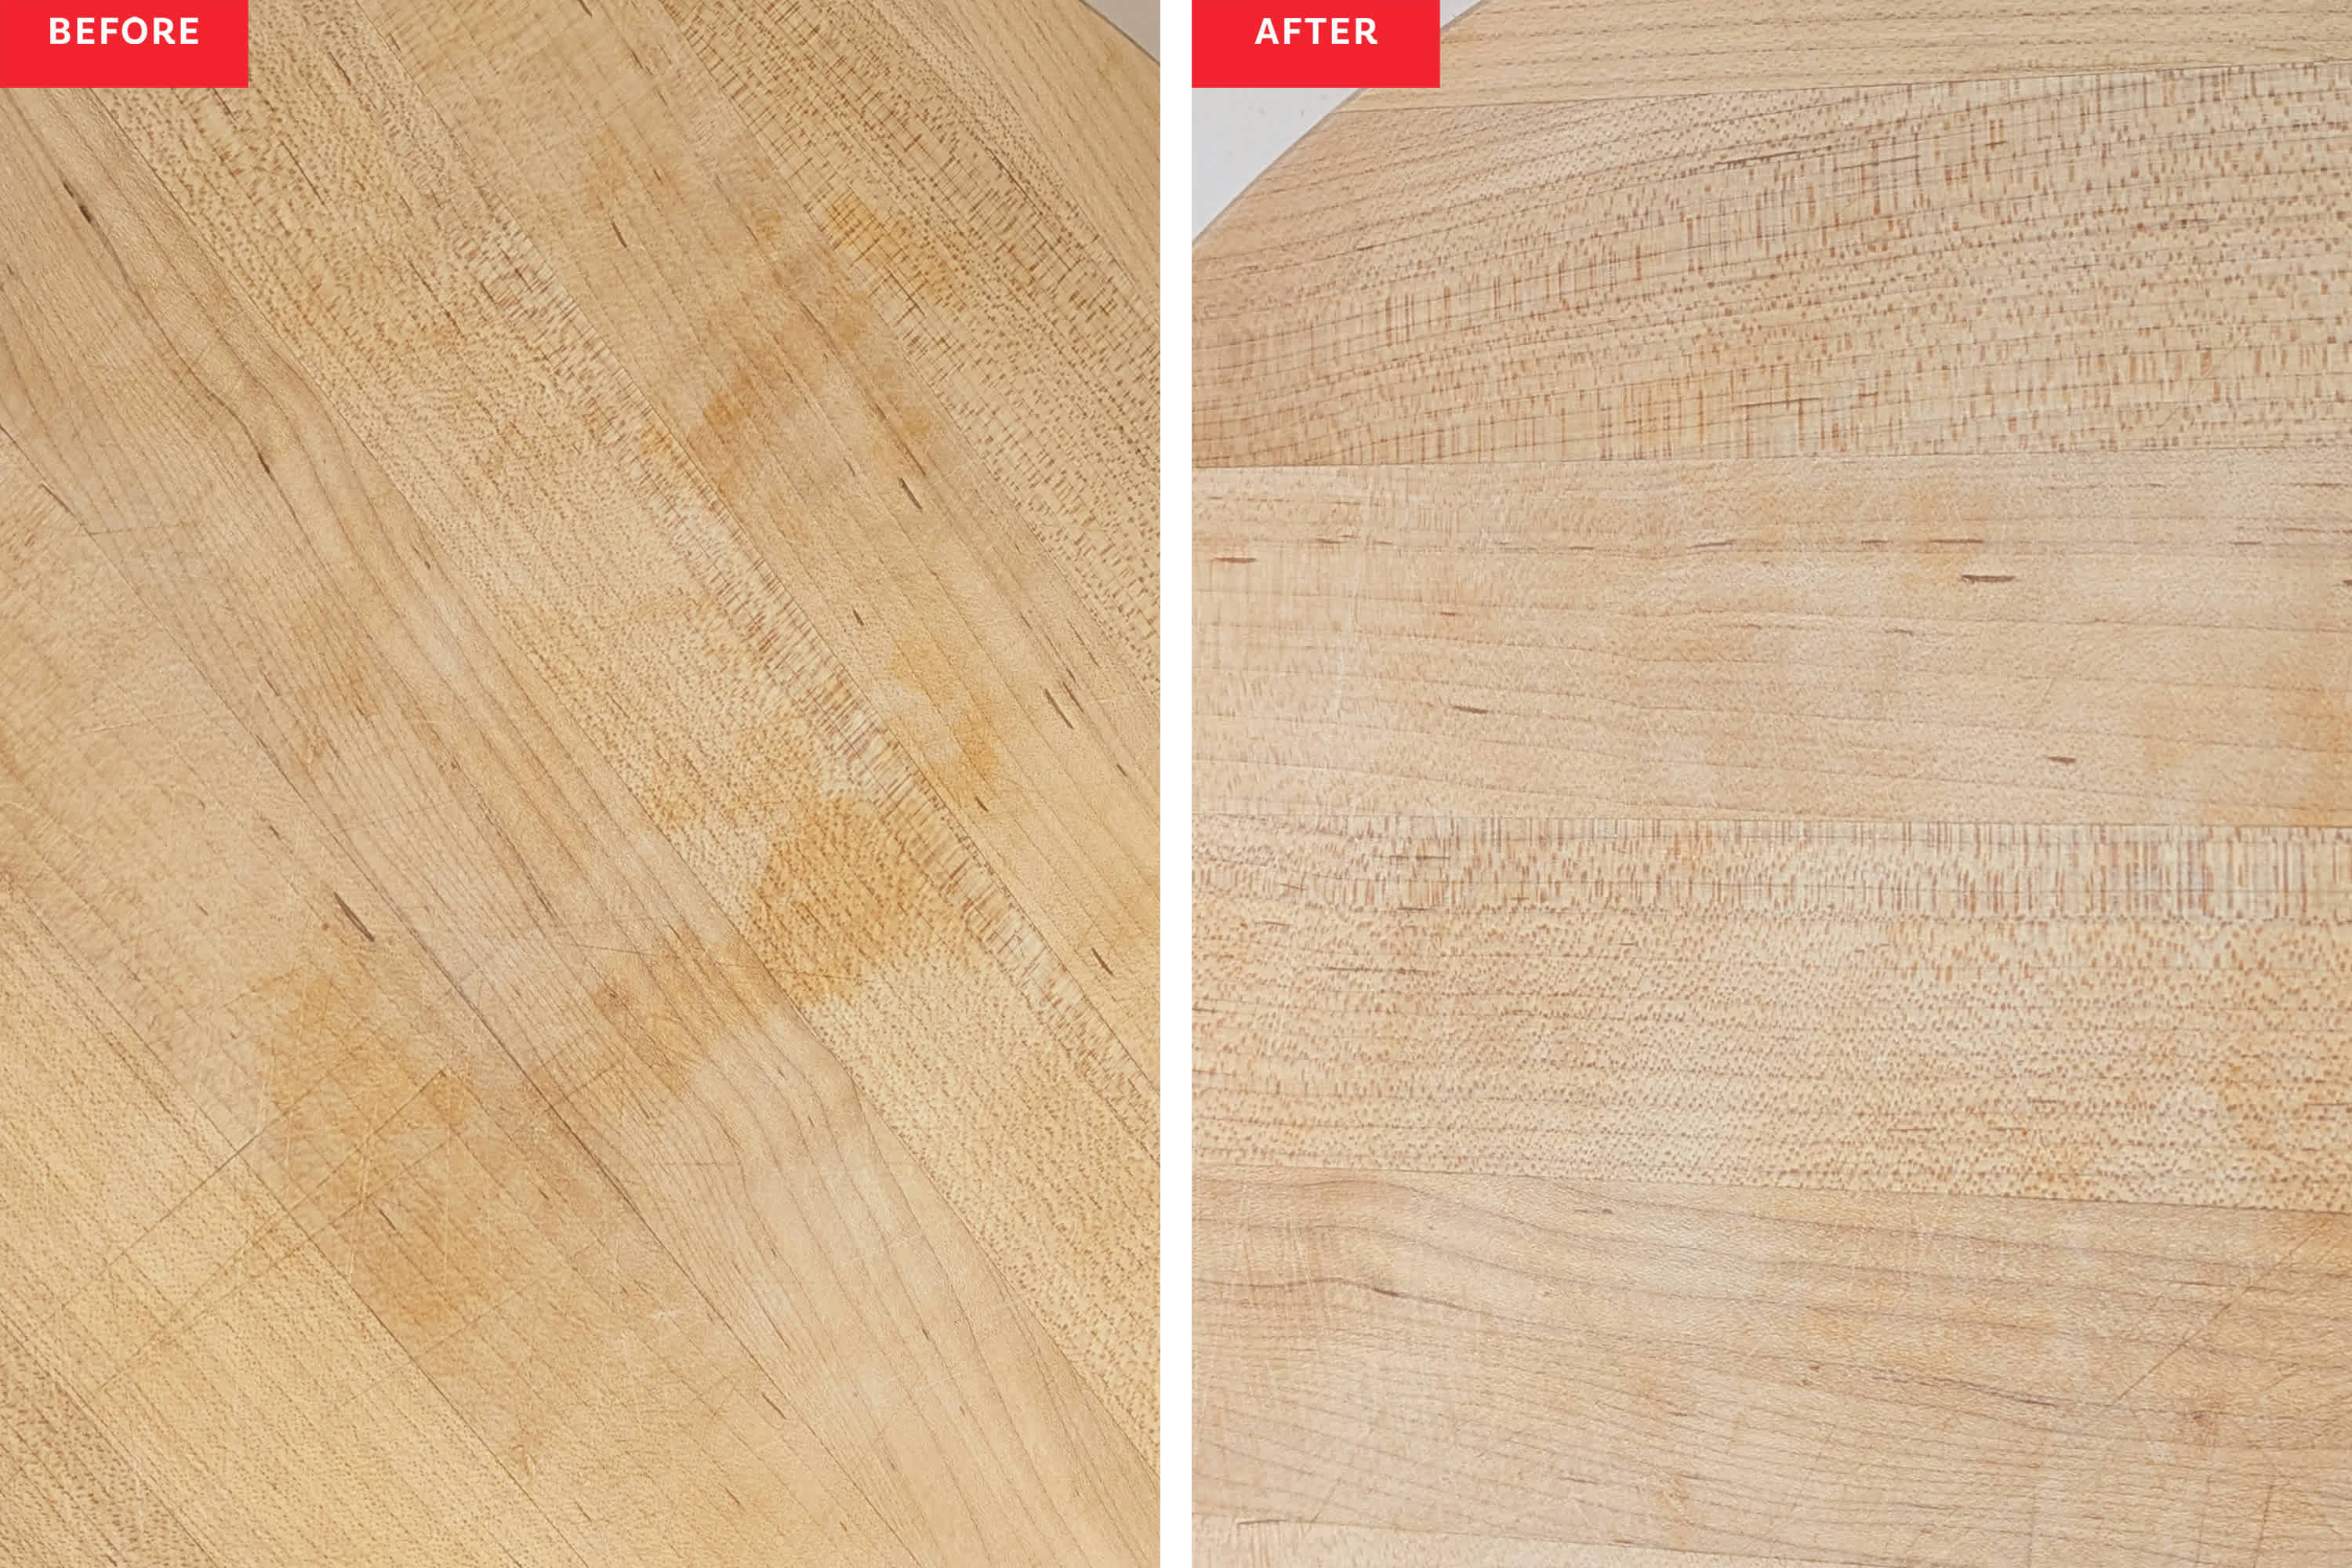
Food-safe Stain Choices
Cutting boards must use food-safe stains. Some stains have chemicals that are unsafe. Look for stains labeled as food safe.
Natural oils like mineral oil or walnut oil are safe and protect wood. Avoid stains with toxic solvents or heavy chemicals. Food-safe finishes keep your cutting board safe.
- Mineral oil: Safe and easy to apply
- Walnut oil: Natural and food safe
- Beeswax finishes: Add protection and shine
- Avoid stains with harmful chemicals
Credit: www.thekitchn.com
Applying The Stain
Staining a cutting board gives it a rich look and protects the wood. Applying the stain correctly helps the board last longer.
Follow simple steps to apply the stain evenly and safely on your cutting board.
Tools Needed
Gathering the right tools makes staining easier and cleaner. Use tools that help spread the stain smoothly.
- Fine-grit sandpaper (220 grit)
- Clean cloths or rags
- Natural bristle brush or foam brush
- Wood stain of your choice
- Gloves to protect your hands
- Plastic or newspaper to protect your work surface
Step-by-step Staining Process
Follow these steps to apply stain to your cutting board in a neat way. Work carefully to avoid blotches.
- Lightly sand the cutting board to open the wood pores.
- Wipe off dust with a clean cloth.
- Put on gloves to protect your skin.
- Use a brush or cloth to apply stain in the wood grain direction.
- Apply a thin, even coat and cover all surfaces.
- Let the stain sit for 5 to 15 minutes, depending on color depth desired.
- Wipe off excess stain with a clean cloth.
- Let the board dry completely before use.
Tips For Even Application
Even stain application improves the board’s look and protects it well. Use these tips for a smooth finish.
- Always apply stain with the wood grain, not against it.
- Use thin coats to avoid drips and blotches.
- Check the stain color by testing on a small corner first.
- Keep a clean cloth handy to remove extra stain quickly.
- Work in a well-ventilated area to help drying.
- Don’t rush; let each coat dry before applying more.
Sealing And Finishing
Sealing and finishing your stained cutting board protects it from damage. It also keeps the wood safe for food use. Choosing the right finish and applying it properly is very important.
This guide explains how to pick a food-safe finish, apply it well, and allow it to dry and cure correctly.
Choosing A Food-safe Finish
Not all finishes are safe for cutting boards. You want a finish that stops water and stains but is also safe if it touches food. Common food-safe finishes include mineral oil, beeswax, and certain plant oils.
- Mineral oil: non-toxic and easy to apply
- Beeswax: adds a protective layer and shine
- Walnut oil: natural and good for wood
- Tung oil: hardens well and resists water
- Coconut oil: avoid if prone to rancidity
Application Techniques
Apply the finish evenly with a soft cloth or brush. Make sure to cover all surfaces, including edges. Let the finish soak into the wood for best results.
- Clean the board before applying the finish
- Use a lint-free cloth to spread the finish
- Rub the finish into the wood in circular motions
- Wipe off extra finish after 15 minutes
- Repeat application for extra protection
Drying And Curing Times
Drying times vary by finish type. Some oils need hours to dry, while waxes may harden faster. Curing means the finish fully hardens and bonds with the wood.
| Finish Type | Drying Time | Curing Time |
| Mineral Oil | 1-2 hours | 24 hours |
| Beeswax | 30 minutes | 12 hours |
| Walnut Oil | 4-6 hours | 48 hours |
| Tung Oil | 6-8 hours | 72 hours |

Credit: www.smorhome.com
Maintenance And Care
Taking care of your stained cutting board helps it last longer. Proper maintenance keeps the wood safe and looking good.
Simple steps like cleaning, reapplying finish, and avoiding damage protect your cutting board every day.
Cleaning Tips
Clean your cutting board after every use. Use warm water and mild soap to remove food particles.
- Do not soak the board in water to avoid warping.
- Wipe the board dry with a clean towel after washing.
- Use a soft brush for tough stains, not abrasive pads.
- Sanitize by wiping with white vinegar or lemon juice.
Reapplying Finish
Reapply the finish regularly to keep the wood protected. Use food-safe oils or waxes made for cutting boards.
| Finish Type | Application Frequency | Benefits |
| Mineral Oil | Once a month | Prevents drying and cracking |
| Beeswax | Every 2-3 months | Adds a protective coating |
| Cutting Board Conditioner | Every 1-2 months | Combines oil and wax for deep care |
Avoiding Damage
Protect your cutting board by avoiding harsh actions that cause damage. Follow these tips to keep it strong.
- Do not put the board in the dishwasher.
- Avoid cutting with very sharp or serrated knives on the same spot repeatedly.
- Keep the board away from extreme heat or direct sunlight.
- Store the board in a dry place to prevent mold.
Common Mistakes To Avoid
Staining a cutting board can enhance its look and protect the wood. But some mistakes can ruin your work or damage the board.
Learn these common errors to avoid problems and get the best results when staining your cutting board.
Over-saturating The Wood
Applying too much stain makes the wood too wet. This causes uneven color and can damage the wood surface.
- Apply thin coats of stain for better control.
- Wipe off extra stain quickly with a clean cloth.
- Let each coat dry fully before adding another.
- Use a brush or rag that does not soak up too much stain.
- Test the stain on a small area before full application.
Using Toxic Products
Some stains and finishes contain harmful chemicals. These can be unsafe for kitchen use and food contact.
| Product Type | Safety for Cutting Boards | Reason |
| Oil-Based Stains | Not Recommended | May contain harmful solvents |
| Water-Based Stains | Generally Safe | Lower toxicity, less odor |
| Food-Safe Oils (e.g., mineral oil) | Safe | Non-toxic and protects wood |
| Shellac | Safe if pure | Natural resin, but check ingredients |
Skipping Preparation Steps
Not preparing the wood properly causes poor stain absorption and rough finish.
- Sand the board smooth with fine-grit sandpaper.
- Clean the surface to remove dust and oils.
- Allow the board to dry fully before staining.
- Use a wood conditioner if the wood is soft or porous.
Frequently Asked Questions
What Is The Best Stain For A Cutting Board?
Food-safe mineral oil is the best stain for cutting boards. It penetrates the wood, enhancing its natural color. It also provides protection from moisture and bacteria. Other options include beeswax or coconut oil. Always ensure the product is labeled as food-safe before applying it to your cutting board.
How Often Should I Stain My Cutting Board?
Stain your cutting board every three to four weeks. Regular staining maintains the board’s condition and prevents cracks. If you use it frequently, consider staining it more often. Apply a thin layer of food-safe oil, let it soak, then wipe off excess.
This keeps the board looking fresh and functional.
Can I Use Regular Wood Stain On Cutting Boards?
No, regular wood stains are not safe for cutting boards. They contain chemicals harmful to health. Instead, use food-safe stains like mineral oil or beeswax. These options are safe for surfaces that come into contact with food. Always ensure the product is labeled food-safe before application.
How Do I Prepare A Cutting Board For Staining?
Clean the board thoroughly with soap and water. Let it dry completely to ensure oil absorption. Lightly sand the surface with fine-grit sandpaper to remove any roughness. Wipe off any dust before applying the stain. This preparation ensures a smooth and effective staining process.
Conclusion
Staining a cutting board adds beauty and protects the wood. Choose the right stain and follow simple steps carefully. Always clean and dry the board before staining. Apply stain evenly and let it dry completely. Finish with a food-safe sealant to keep it safe.
Regular care helps your board last longer and look great. Enjoy your unique, stained cutting board in the kitchen every day. Simple steps lead to great results. Try it yourself and see the difference.