Have you ever baked a pie only to find the crust browning too quickly or getting soggy? Tenting a pie is a simple trick that can save your dessert and make it look perfect.
By covering your pie just right, you keep the crust golden and the filling delicious. In this guide, you’ll learn exactly how to tent a pie so your baking turns out flawless every time. Keep reading—you’re about to discover a game-changing tip that will make your pies stand out!

Credit: mycountrytable.com
Why Tent A Pie
Tenting a pie means covering it loosely with foil while baking. This simple step helps keep the pie looking and tasting great.
Tenting protects the crust and ensures the pie cooks evenly. It also stops the crust from getting too dark or burnt.
Protecting The Crust
The crust can burn or dry out if left uncovered in the oven. Tenting with foil shields it from direct heat.
This keeps the crust soft and golden instead of hard and dark. It also stops the edges from burning first.
Even Baking Benefits
Tenting helps the pie bake evenly. It slows down the cooking on top while the inside cooks through.
This way, the filling gets hot and sets without the crust burning. The pie finishes baking at the right time.
Preventing Over-browning
Without a tent, the crust can brown too quickly. This causes dark spots and a burnt taste.
Foil tents block some heat, stopping the crust from getting too dark. The pie looks better and tastes fresher.
Choosing The Right Foil
Tenting a pie with foil helps control its baking. It prevents over-browning and ensures even cooking.
Choosing the right foil is crucial. It impacts how well your pie bakes and the final outcome.
Types Of Foil
Different types of foil offer various benefits. Selecting the correct one is important for the best results.
- Standard Aluminum Foil: Good for general use and easy to shape.
- Heavy-Duty Foil: Offers more strength for larger pies.
- Non-Stick Foil: Prevents sticking, ideal for sticky fillings.
Shaping Tips
Proper shaping ensures the pie is covered well. It helps in even baking and keeps the pie moist.
Here’s a simple way to shape your foil tent:
- Cut a square of foil larger than your pie.
- Fold it in half diagonally, creating a triangle.
- Gently fold the edges to form a dome shape over the pie.
- Ensure the foil is not touching the pie filling.
Tenting Techniques
Tenting a pie helps protect the crust from burning. It also keeps the filling moist while baking. This guide explains simple tenting methods.
Use these techniques to cover your pie safely during baking. Each method fits different baking needs and pie types.
Basic Tent Method
To make a basic tent, use a large piece of aluminum foil. Fold it into a loose tent shape over the pie. This shields the crust from direct heat.
- Cut a foil piece larger than the pie.
- Fold it in half to create a crease.
- Place the crease over the pie center like a roof.
- Pinch the sides gently to avoid touching the filling.
- Remove the tent near the end for browning, if needed.
Using Foil Strips
Foil strips protect only the crust edges. This method allows the pie center to bake evenly while preventing edge burning.
| Foil Strip Width | Purpose |
|---|---|
| 1 inch | Protect thin crust edges |
| 2 inches | Cover thicker or decorative edges |
| Flexible length | Wrap around entire pie edge |
Wrap the strips around the crust edges and press gently to secure. Remove in the last 15 minutes to brown the edges lightly.
Adjusting During Baking
Check the pie periodically. Adjust or remove the tent if the crust browns unevenly. This helps avoid overbaking or sogginess.
- Look at the crust color through the foil.
- If edges brown too fast, tighten the foil tent.
- If the center is undercooked, remove the tent.
- Be careful when removing foil to avoid steam burns.
- Adjust every 10 to 15 minutes as needed.
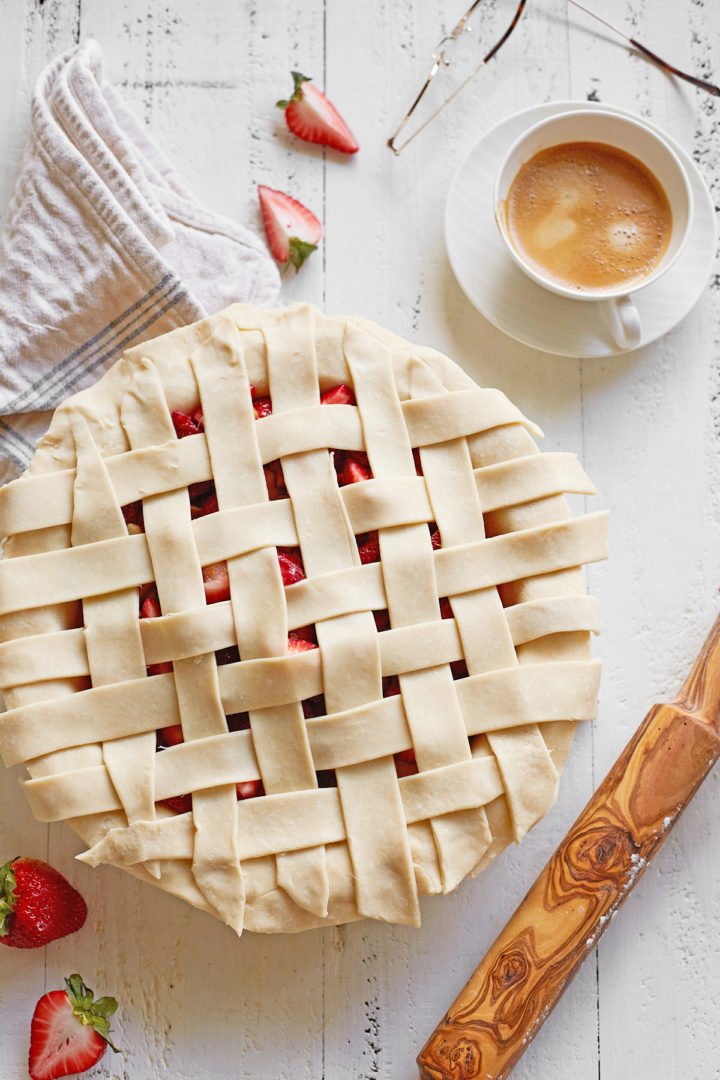
Credit: www.goodlifeeats.com
Timing The Tent
Tenting a pie means covering it loosely with foil or parchment. This helps protect the edges from burning while the filling cooks fully. Knowing when and how long to tent your pie is important for the best results.
Too early or too late can affect the crust texture and baking time. Use these tips to get your timing right and bake a perfect pie.
When To Cover The Pie
Cover the pie edges when they start to brown but the filling needs more time. This usually happens 20 to 30 minutes into baking. The tent keeps the crust from burning while the center cooks.
- Watch the pie after 20 minutes in the oven.
- Check if the crust edges look golden but not dark.
- If edges brown too fast, place a tent over them.
- Use foil or parchment to cover the edges loosely.
How Long To Keep It Tented
Keep the tent on the pie until the filling is fully set and bubbling. This usually takes another 15 to 30 minutes after covering. Removing the tent too soon can cause burnt crust edges.
| Time in Oven | Action |
| 0–20 minutes | Bake uncovered to brown crust edges |
| 20–50 minutes | Cover edges with tent if browning too fast |
| After 50 minutes | Remove tent if crust is golden and filling is set |
Common Mistakes To Avoid
Tenting a pie helps keep the crust from burning. It also lets the pie cook evenly. Many people make mistakes that stop tenting from working well.
Knowing what to avoid can help you get a perfect pie crust every time. Here are common errors to watch out for when tenting your pie.
Foil Too Tight Or Loose
Wrapping foil too tightly around the pie can stop heat from escaping. This makes the crust soft instead of crispy. Loose foil can let the crust burn on the edges.
Make sure the foil is loose enough to let air flow but not so loose that it touches the filling. This balance protects the crust well.
- Foil should form a tent over the pie, not wrap it tightly.
- Check that foil edges do not touch the pie filling.
- Leave some space between foil and crust for air circulation.
Not Checking The Pie
Many forget to check the pie while it cooks. Pie crusts can burn quickly if not watched. Checking helps you adjust foil or oven temperature if needed.
Open the oven carefully to peek at the pie. If the crust is browning too fast, add or adjust the foil tent. Keep an eye on the pie every 10 minutes.
- Check the pie crust color during baking.
- Adjust foil if crust browns too fast.
- Use an oven light to see inside without opening door.
Ignoring Oven Variations
Ovens do not all heat the same way. Some ovens have hot spots that burn parts of the pie. Ignoring this can ruin your crust despite tenting.
Know your oven’s hot spots and rotate the pie if needed. Use an oven thermometer to check if the temperature is correct for your recipe.
- Test your oven’s temperature with a thermometer.
- Rotate the pie halfway through baking for even heat.
- Adjust oven rack placement to avoid direct heat on crust.
Additional Baking Tips
Tenting a pie helps protect the crust from burning. It keeps the edges golden while the filling cooks through.
Try different methods to cover your pie for the best results. Small changes improve the final texture and look.
Using Pie Shields
Pie shields fit around the pie’s edge to stop burning. They let the center bake fully without overcooking the crust.
- Use metal or silicone shields for reuse.
- Foil shields are easy to shape for any pie size.
- Place shields on after 20 minutes of baking.
- Remove shields during the last 10 minutes for browning.
Alternative Covering Options
When you don’t have a pie shield, use foil or parchment paper. These cover the edges gently.
| Cover Type | How to Use | Best For |
| Foil | Fold into a ring and place around edge | Protecting edges from burning |
| Parchment Paper | Cut a large circle and tent over whole pie | Light coverage to reduce browning |
| Silicone Covers | Place directly on pie edges | Reusable and easy to clean |
Enhancing Crust Texture
Good texture comes from the right baking steps. You can improve flakiness and color with simple tricks.
- Brush crust edges with egg wash for shine.
- Chill the dough before baking to keep it firm.
- Use cold butter in the dough for flakier layers.
- Bake pie on the lower rack for even heat.
- Let pie cool before slicing to set the filling.
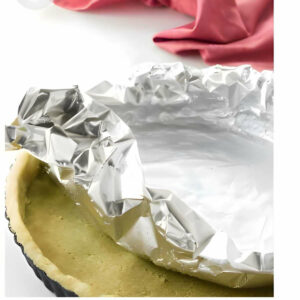
Credit: savorthebest.com
Frequently Asked Questions
What Does It Mean To Tent A Pie?
Tenting a pie means covering it loosely with foil while baking. This prevents the crust edges from burning. It also helps the filling cook evenly without drying out. Tenting is useful for longer baking times or high heat recipes.
When Should I Tent A Pie While Baking?
Tent a pie when the crust edges brown too quickly. Usually, this is halfway through the baking process. Check the pie after 20-30 minutes. If edges are darkening, cover loosely with foil to protect them.
How Do You Tent A Pie Properly?
Use a piece of aluminum foil shaped like a dome over the pie. Avoid sealing it tightly, so steam can escape. Ensure the foil only covers the crust edges. This allows the center to bake thoroughly.
Can Tenting Affect Pie Baking Time?
Tenting may slightly increase baking time. It slows crust browning, requiring a few extra minutes. Always check the pie’s doneness with a toothpick or visual cues. Adjust time as needed to avoid undercooked filling.
Conclusion
Tenting a pie helps keep the crust from burning. It lets the pie bake evenly and stay golden. Using foil or a pie shield works well for this. Watch the pie carefully and remove the tent when needed. This simple step makes your pie look and taste better.
Try tenting your next pie for a perfect finish. Baking becomes easier and more fun with this tip. Enjoy your delicious, well-baked pie every time!