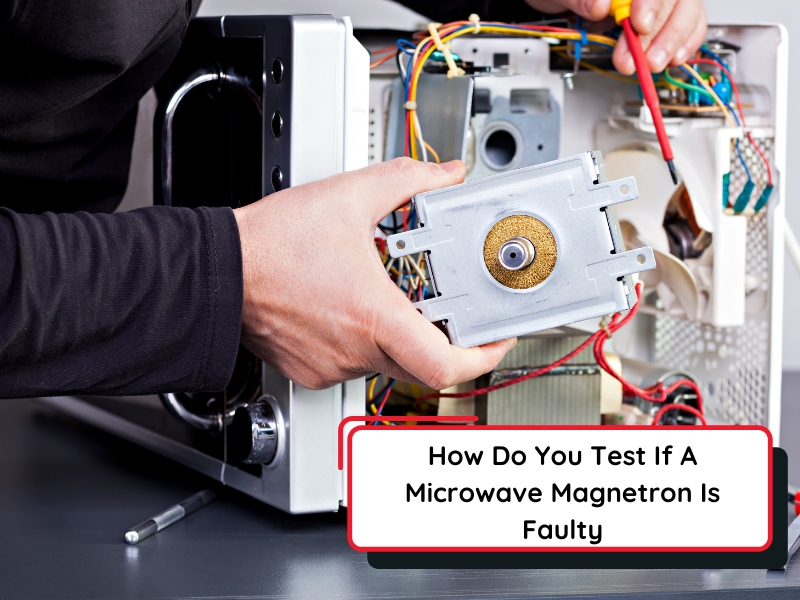
Have you ever noticed your microwave oven not heating food as it used to? It might be a problem with the diode.
Testing a microwave oven diode isn’t just for electricians or repair specialists—it’s something you can do yourself with a little guidance. Understanding how to test this small yet crucial component can save you time, frustration, and even money on repair costs.
You don’t need to be a tech guru to ensure your microwave runs smoothly. This guide will walk you through each step, making it simple and straightforward. Read on to discover how a simple diode test can restore your microwave’s efficiency and keep your kitchen running smoothly.
Credit: microwavefactory.com.au
Microwave Diode Basics
Understanding the basics of a microwave diode is essential before you test it. This small component plays a big role in how your microwave oven heats food. Knowing what it does and what can go wrong helps you troubleshoot effectively and avoid unnecessary repairs.
Role In Microwave Operation
The microwave diode works together with the capacitor and magnetron to convert electrical energy into microwave energy. It allows current to flow in only one direction, which boosts the voltage needed to power the magnetron. Without the diode, the microwave won’t produce the high-frequency waves that heat your food.
Think of it as a gatekeeper controlling electricity flow. If this gatekeeper fails, your microwave might stop heating even though it powers on. Have you noticed your microwave running but not heating? The diode could be the culprit.
Common Diode Issues
Microwave diodes often fail due to electrical surges or age. A common problem is a short circuit within the diode, which can cause the oven to stop heating or blow a fuse. Sometimes, the diode may open, meaning it stops conducting electricity altogether.
Signs of a faulty diode include sparking inside the microwave or a burning smell. Testing it with a multimeter can reveal if it has lost its ability to conduct in one direction. Have you checked these symptoms before deciding your microwave needs a new part?
Credit: www.eevblog.com
Tools Needed For Testing
Testing a microwave oven diode requires a few essential tools. These tools help check if the diode is working correctly or needs replacement. Having the right equipment makes the process safer and easier. Here is a look at the main tools needed for testing a microwave diode.
Multimeter Types
A multimeter measures electrical values like voltage and resistance. It is the most important tool for testing a diode.
- Digital Multimeter:Shows clear readings on a screen. Easy to use and read.
- Analog Multimeter:Uses a needle to show values. Can be less precise but still useful.
For diode testing, the digital multimeter with a diode test mode is best. It checks the diode’s forward and reverse resistance quickly.
Safety Equipment
Safety is key when working with microwave parts. These items protect you from electric shock and injury.
- Insulated Gloves:Prevent electric shocks while handling electrical components.
- Safety Glasses:Protect eyes from sparks or debris.
- Non-Conductive Tools:Use plastic or rubber-handled tools to avoid conduction.
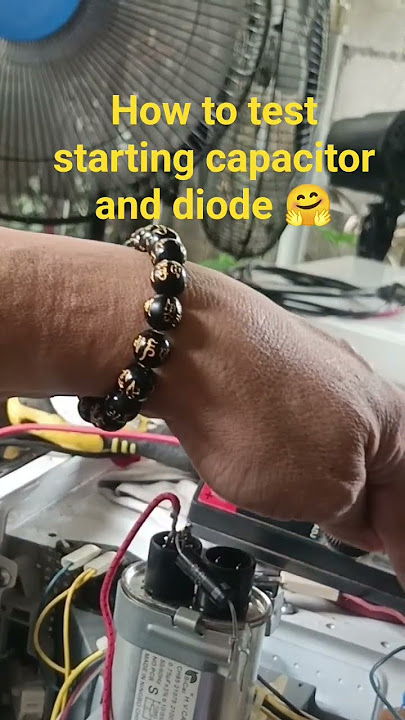
Always unplug the microwave before testing. Discharge the high-voltage capacitor to avoid shocks.
Preparing The Microwave For Testing
Preparing the microwave for testing ensures safety and proper access. Safety is the top priority before checking the diode. Taking the right steps helps avoid electric shocks and damage.
Unplugging And Discharging
Always unplug the microwave from the power outlet first. This stops any electricity from flowing into the device. The microwave capacitor can hold a high voltage charge even after unplugging. Discharge the capacitor carefully to avoid electric shock.
Use an insulated screwdriver or a resistor to discharge the capacitor. Hold the capacitor terminals with the tool to release stored energy. Repeat until you see no sparks or hear no clicking sounds. Wear rubber gloves and work in a dry place for added safety.
Accessing The Diode
Remove the microwave’s outer cover to reach the diode. Use a screwdriver to take out screws securing the back panel. Keep the screws safe for reassembly later. Gently lift the panel and set it aside.
Locate the diode near the magnetron and capacitor. The diode is usually a small, cylindrical part with wires connected. Avoid touching other components to prevent damage. Use a flashlight to see clearly inside the microwave cavity.
Testing The Diode With A Multimeter
Testing the diode in your microwave oven with a multimeter is a straightforward way to check if it’s working correctly. This process helps you identify whether the diode is allowing current to flow properly or if it’s damaged and needs replacement. Understanding how to set your multimeter and read the results can save you time and money on repairs.
Setting The Multimeter
Start by turning your multimeter to the diode testing mode, often marked with a diode symbol (→|–). If your multimeter doesn’t have this mode, use the resistance (ohm) setting instead. Ensure the microwave is unplugged before you begin to avoid any risk of electric shock.
Next, connect the multimeter probes correctly: the red lead goes to the positive terminal, and the black lead to the negative terminal of the diode. This setup allows you to measure the voltage drop across the diode, which is key to determining its condition.
Reading Forward And Reverse Bias
To test the diode in forward bias, place the red probe on the diode’s anode and the black probe on the cathode. A healthy diode usually shows a voltage drop between 0.5 and 0.8 volts. If you get a reading outside this range or no reading at all, the diode may be faulty.
Reverse bias the diode by swapping the probes—black on the anode and red on the cathode. The multimeter should show no continuity or a very high resistance. If it shows a low resistance or any voltage drop, the diode is likely damaged and needs replacement.
Interpreting Results
If your diode passes both forward and reverse bias tests, it’s generally in good shape. However, if it fails either test, it’s a sign the diode is malfunctioning. Sometimes, a diode can fail intermittently, so testing multiple times or under different conditions can confirm its status.
Have you ever found a tiny component causing a big problem? Testing the diode this way lets you pinpoint issues quickly, avoiding guesswork and unnecessary parts replacement. Your microwave’s performance depends on these small parts working right, so don’t overlook the diode’s health.
Alternative Testing Methods
Testing a microwave oven diode does not always require complex tools. Alternative testing methods can provide quick and reliable results. These methods help identify if the diode is faulty without advanced equipment. They are suitable for beginners and those with basic tools. Understanding these techniques ensures safety and accuracy in your testing process.
Using A Diode Tester
A diode tester is a simple tool designed to check diodes quickly. It measures the diode’s ability to allow current in one direction only. To use it, remove the diode from the microwave circuit first. Connect the tester leads to the diode terminals. The tester will show a reading if the diode is good.
If the reading shows no flow or infinite resistance both ways, the diode is likely bad. This method is faster and more accurate than guessing. It also prevents damage to other microwave parts.
Checking Continuity
Checking continuity with a multimeter can help test the diode’s condition. Set the multimeter to the continuity or resistance mode. Remove the diode from the microwave before testing. Touch the multimeter leads to each terminal of the diode.
A good diode should show low resistance in one direction and high resistance in the other. If the multimeter beeps or shows near zero resistance both ways, the diode is defective. This method is easy and uses common tools found at home.
Common Signs Of A Faulty Diode
A faulty diode in your microwave oven can cause various issues that affect its performance and safety. Recognizing the common signs early can save you time and prevent further damage. Understanding these symptoms helps you decide if testing or replacing the diode is necessary.
Microwave Not Heating
One clear sign of a bad diode is when your microwave runs but fails to heat food. You might hear the turntable spinning and the fan working, but your meal stays cold. This happens because the diode helps convert voltage to power the magnetron, which generates heat.
If you notice this issue, ask yourself: Is the microwave doing everything except heating? This is a strong hint the diode or magnetron might be the culprit. Testing the diode can confirm if it’s the cause or if you should look elsewhere.
Burning Smell Or Sparking
Have you ever smelled something burning or seen sparks inside your microwave? These are serious warning signs. A faulty diode can cause electrical shorts, leading to sparking or a burning odor from overheating parts.
Ignoring these signs risks permanent damage or even fire hazards. If your microwave shows these symptoms, stop using it immediately and check the diode. Your safety depends on addressing these problems without delay.
Replacing The Microwave Diode
Replacing the microwave diode is a crucial step if your appliance isn’t heating properly. The diode controls the flow of electricity to the magnetron, which generates heat. If the diode is faulty, the microwave won’t work efficiently or may not heat at all.
Finding Compatible Parts
Not all microwave diodes are the same. You need to find one that matches your model’s specifications exactly.
- Check the model number of your microwave—this is usually on the inside edge of the door or on the back.
- Look for the diode’s voltage and amperage ratings in the user manual or online.
- Buy from reputable suppliers who offer parts designed for your specific brand and model.
Have you ever tried to fit a part that looked similar but didn’t work? It wastes time and can cause damage. Double-check the specifications before purchasing.
Installation Tips
Before you start, unplug the microwave and discharge the high-voltage capacitor to avoid shocks. Safety first.
- Use insulated tools to remove the old diode carefully.
- Note how the original diode is connected—take a photo if needed.
- Install the new diode in the exact same position, making sure the polarity is correct.
- Secure all connections tightly to prevent loose contacts.
Don’t rush the process; a loose connection can cause the microwave to malfunction or create hazards. Have you considered wearing gloves to protect your hands and improve grip? It’s a simple step that makes a big difference.
Safety Tips During Testing
Testing a microwave oven diode requires careful attention to safety. The diode works with high voltage, which can be dangerous. Taking proper safety measures protects you from injury. Follow these safety tips to keep yourself safe during the testing process.
Handling High Voltage Components
Microwave ovens contain parts that hold high voltage even when unplugged. The capacitor can store dangerous electricity. Always discharge the capacitor before touching any parts. Use an insulated screwdriver to safely release stored power.
Wear rubber gloves and use tools with insulated handles. Avoid touching metal parts directly. Keep your work area dry and clear of clutter. Treat every component as if it is live and dangerous.
Avoiding Electric Shock
Electric shock is a serious risk when testing a diode. Never test the diode with the microwave plugged in. Always unplug the appliance before opening the cover. Use a multimeter with insulated probes for testing.
Stand on a dry, non-conductive surface like a rubber mat. Avoid wearing metal jewelry or watches. Keep your hands dry and avoid working in damp conditions. Move slowly and carefully to reduce the chance of slips or mistakes.

Credit: www.youtube.com
Frequently Asked Questions
How Do I Know If My Microwave Diode Is Faulty?
A faulty microwave diode causes uneven heating or no heating. Test it with a multimeter for continuity and proper resistance. If it shows no continuity or infinite resistance, the diode is likely defective and needs replacement.
What Tools Are Needed To Test A Microwave Diode?
You need a digital multimeter set to the diode or ohmmeter mode. Additionally, unplug the microwave and discharge the capacitor for safety before testing. No other special tools are required for this simple test.
Can I Test A Microwave Diode Without Removing It?
It’s best to remove the diode for accurate testing. Testing it while attached can give false readings due to circuit interference. Always disconnect the microwave from power and discharge the capacitor before removal.
What Resistance Reading Indicates A Good Microwave Diode?
A good microwave diode typically shows low resistance in one direction and high resistance in the other. This diode-like behavior confirms it is functioning correctly. Infinite or zero resistance both ways means it’s faulty.
Conclusion
Testing a microwave oven diode is simple with the right steps. Always unplug the microwave before starting. Use a multimeter to check the diode’s continuity. A good diode shows a reading in one direction only. No reading or reading both ways means the diode is faulty.
Regular checks help keep your microwave working safely. Taking time to test saves money on repairs. Remember, safety comes first when handling electrical parts. Now, you can confidently check your microwave diode yourself.