
Craving a quick and crunchy slice of toast but don’t have access to a toaster? No worries!
You can achieve that perfect golden crispiness using just your microwave oven. It’s fast, convenient, and perfect for busy mornings or late-night snack cravings. Imagine waking up to the smell of warm, toasted bread without the hassle of waiting in line for the toaster.
You might be surprised at how simple it is to transform your regular bread into a crispy delight right in your microwave. Curious to know how this kitchen magic works? Stick around, and you’ll discover the secrets to making perfect toast in your microwave oven every single time.

Credit: www.beryl.nyc
Choosing The Right Bread
Choosing the right bread is a crucial step before you start toasting in your microwave oven. Not all bread reacts the same way to microwave heat, so picking the right type can save you from a disappointing, soggy snack. Think about what texture and taste you want after toasting—crispy, chewy, or soft—and select your bread accordingly.
Best Bread Types For Microwaving
Some breads hold up better in the microwave than others. Dense breads like sourdough and whole wheat tend to toast more evenly and develop a pleasant crunch. White bread works too, but it can quickly become rubbery if overheated.
Try these bread types for better results:
- Sourdough:Thick crust and firm crumb help maintain texture.
- Whole Wheat:Slightly denser, adds nuttiness when toasted.
- Multigrain:Seeds and grains add extra flavor and crunch.
Thin sandwich bread or very soft breads are generally not the best choice. They may become chewy or soggy instead of toasted. Have you noticed how thin bread sometimes just heats but never crisps? Avoid that by choosing sturdier slices.
Avoiding Soggy Results
Microwaves heat differently from toasters; they cook by steaming the moisture inside the bread. This often causes sogginess if you don’t manage it properly. To keep your toast crisp, consider these tips:
- Use a microwave crisper pan or place bread on a microwave-safe plate to allow airflow.
- Toast in short bursts and check frequently to avoid overheating.
- Let the bread rest for a minute after microwaving to allow moisture to escape.
Have you ever microwaved bread and ended up with a chewy mess? That’s usually because the moisture had nowhere to go. By choosing the right bread and using these simple tricks, you can enjoy microwave toast that’s surprisingly close to the real thing.
Preparing Bread For Toasting
Preparing bread properly is key to making great toast in a microwave oven. The right preparation helps the bread toast evenly and taste better. Simple steps like choosing the right slice thickness and adding a bit of fat improve texture and flavor. These small details make a big difference for microwave toasting.
Slicing Thickness Tips
Slice bread evenly for consistent toasting. Thin slices toast faster but can become dry quickly. Thick slices stay soft inside but may need longer time. Aim for slices about 1/2 inch thick. Avoid very thick or very thin slices to get the best results.
Adding Butter Or Oil
Spread a thin layer of butter or oil on each slice. This adds flavor and helps the bread crisp up. Use softened butter or a small amount of olive oil. Avoid too much fat to prevent sogginess. Butter or oil also helps brown the bread nicely in the microwave.
Microwave Settings And Time
Getting the microwave settings right is crucial for toasting bread without turning it soggy or burnt. Microwaves don’t toast like conventional ovens, so adjusting the power and timing makes all the difference. Let’s look at how you can set your microwave to get that perfect crisp.
Power Levels To Use
Microwaves have different power levels, usually ranging from 1 (low) to 10 (high). For toasting bread, avoid using the highest power as it can overcook the edges while leaving the center soft.
- Medium-high (around 7 or 8):This is often the sweet spot for toasting bread evenly.
- Medium (level 5):Good for thinner slices or when you want a gentler toast.
- Low power levels:Can dry out the bread without crisping it well, so generally not recommended.
Try experimenting with your specific microwave’s power settings. Your goal is to achieve a balance where the bread is toasted but not rubbery.
Recommended Toasting Duration
Toast timing in a microwave is short but precise. Most slices will take between 30 seconds to 1 minute at medium-high power.
| Bread Type | Power Level | Time |
|---|---|---|
| White bread slice | 7-8 | 40-50 seconds |
| Whole wheat bread | 7 | 50-60 seconds |
| Thicker bread (bagel, artisan) | 5-7 | 60-70 seconds |
Keep a close eye on the bread the first few times you try this. Microwaves vary, and you don’t want to miss the perfect moment.
Have you noticed your bread getting too chewy or unevenly toasted? Adjust the time by 5 to 10 seconds increments next time. This small tweak can change your breakfast game completely.
Using Microwave Accessories
Using microwave accessories can improve your toasting results. These tools help heat the bread evenly and prevent sogginess. They also protect the microwave from crumbs and spills. Choosing the right accessory makes toasting in a microwave easier and better.
Microwave-safe Plates And Trays
Microwave-safe plates and trays are common tools to toast bread. They allow heat to spread evenly around the bread. Use ceramic or glass plates labeled microwave-safe. Avoid metal or plastic that can melt or spark.
Some plates have ridges or raised edges. These help air circulate under the bread. This keeps the crust crisp instead of soft. Place the bread slices spaced apart on the plate. This prevents steaming and sogginess.
Special Microwave Toasting Tools
Special toasting tools designed for microwaves improve texture and flavor. These include microwave toasters and crisper trays. They use materials that absorb microwave energy and become hot.
Microwave toasters mimic the heat of a regular toaster. They crisp the bread better by creating dry heat. Crisper trays create a hot surface under the bread. This helps make the crust crunchy and golden.
These tools are affordable and easy to use. Always follow the manufacturer’s instructions for safe use. Using the right tool can make microwaved toast much tastier.
Avoiding Common Mistakes
Toasting bread in a microwave oven seems simple. Many make mistakes that spoil the texture and taste. Avoiding these common errors helps get perfect toast every time. Follow tips to improve your microwave toasting experience.
Preventing Uneven Toast
Microwave ovens heat food unevenly. This can cause some bread parts to burn and others to stay soft. Place bread slices on a microwave-safe plate in a single layer. Avoid stacking slices or overlapping them.
Use a microwave-safe rack or paper towel under the bread. This helps heat circulate evenly. Rotate the plate halfway through the toasting time. This ensures all sides get equal heat.
Keeping Bread Crisp
Microwaves trap moisture, making bread soggy. To keep bread crisp, use short heating bursts. Check the bread between bursts to avoid overcooking.
Place a dry paper towel under the bread slice. It absorbs moisture and keeps the bread dry. After heating, let bread rest for a minute. This allows steam to escape and maintains crispness.
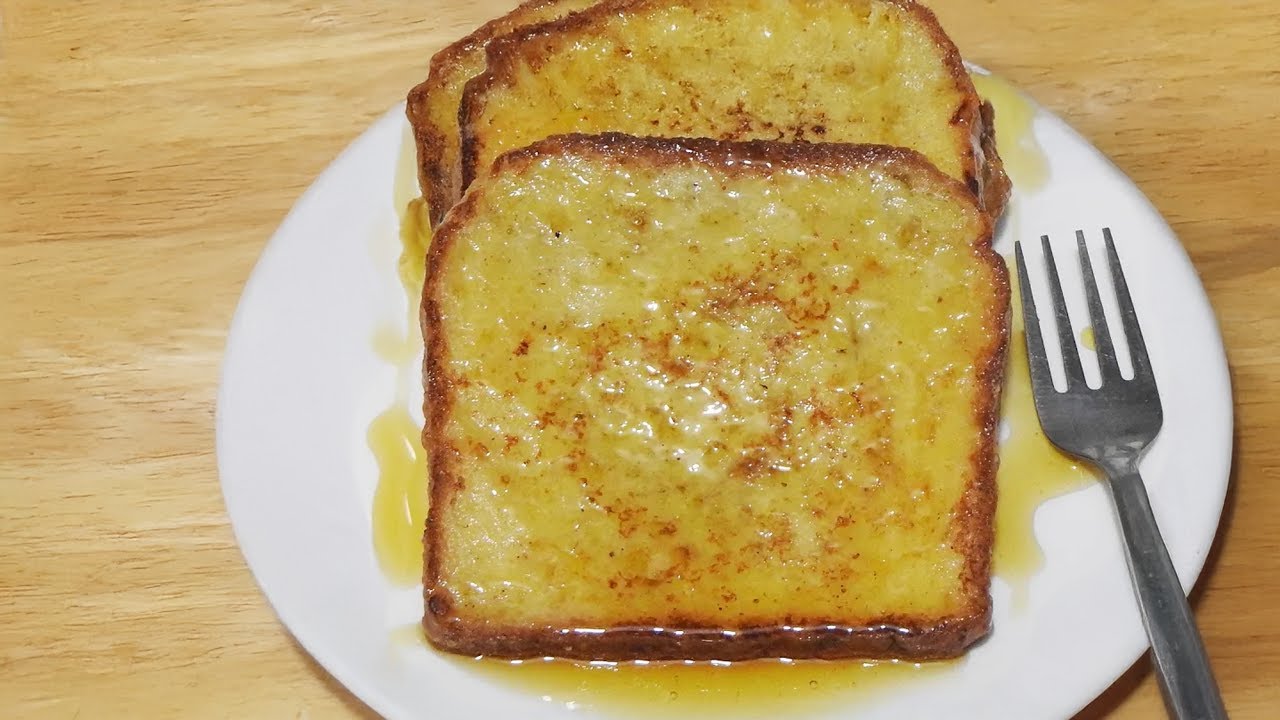
Credit: www.youtube.com
Enhancing Flavor And Texture
Toasting bread in a microwave oven can sometimes leave you wondering if the flavor and texture are truly satisfying. But with a few smart tweaks, you can turn a simple slice into a delicious treat that’s crispy on the outside and soft inside. Let’s look at how adding toppings before toasting and boosting flavors afterward can make all the difference.
Adding Toppings Before Toasting
Have you ever tried butter or cheese on your bread before microwaving? Adding toppings like butter, garlic spread, or a sprinkle of cinnamon sugar can enhance the taste and help create a better texture.
- Spread a thin layer of butter or olive oil to encourage browning and crispiness.
- Sprinkle herbs or spices such as oregano or cinnamon to infuse extra flavor.
- Top with shredded cheese for a melty, golden crust.
Try placing your bread on a microwave-safe plate and use a microwave crisper pan if available. This will help the toppings meld with the bread and give you a texture closer to traditional toasting. How does your favorite topping change the crunch or taste?
Post-toasting Flavor Boosters
Once your bread is toasted, don’t stop there. A quick flavor boost after microwaving can take your toast from ordinary to memorable.
- Brush a little honey or jam for a sweet touch that melts slightly into the warm bread.
- Add a sprinkle of flaky sea salt to contrast the sweetness or richness.
- Try fresh herbs or a squeeze of lemon juice on avocado toast for a bright, fresh finish.
Consider how quickly flavors absorb into warm bread. Adding toppings right after toasting helps them blend perfectly. What’s your go-to flavor enhancer that makes every bite exciting?
Alternatives For Better Toast
Getting a good toast in a microwave can be tricky. Regular microwaves heat bread but do not crisp it well. There are better ways to enjoy toasted bread using your microwave or a mix of appliances.
These alternatives help create a crunchier and more flavorful toast. They bring the browning and texture usually missing in plain microwave heating. Try these options to improve your toast experience.
Using A Microwave With Grill Function
Some microwaves have a grill feature. This function uses a heating element to brown the bread. It works like a small oven or broiler inside the microwave.
- Place the bread on a microwave-safe grill rack.
- Set the microwave to grill mode for 1-3 minutes.
- Check frequently to avoid burning.
This method produces a crisp surface and warm inside. It is faster than a toaster oven and fits small kitchens.
Combining Microwave And Toaster Oven
Use the microwave to heat the bread first. This warms the bread quickly without drying it out.
- Heat bread in microwave for 15-20 seconds.
- Transfer to toaster oven to toast for 1-2 minutes.
- Toast until golden and crisp.
This combo saves time and gives better texture. The microwave softens the bread, and the toaster oven adds crunch.

Credit: m.youtube.com
Frequently Asked Questions
How Do You Toast Bread In A Microwave Oven?
Place bread on a microwave-safe plate. Use the microwave’s grill or convection mode. Heat for 1-2 minutes. Check for desired crispiness. Avoid overheating to prevent sogginess.
Can Microwave Toasting Replace A Toaster?
Microwave toasting works but may lack even crisping. It’s convenient for quick use but doesn’t fully replicate a toaster’s texture and flavor.
What Settings Are Best For Toasting Bread In Microwave?
Use the grill or convection setting if available. Set power to medium or high. Toast for 1-2 minutes, checking frequently to avoid burning.
Will Microwave-toasted Bread Be Crispy?
Microwave-toasted bread can get slightly crispy, especially with grill mode. However, it won’t be as evenly crisp as traditional toasting.
Conclusion
Toasting bread in a microwave oven is quick and easy. Just follow simple steps for best results. Remember to watch the bread closely to avoid burning. Use a microwave-safe plate or paper towel. Adjust time based on your microwave’s power.
This method works well when you need toast fast. Enjoy your warm, crispy bread anytime without a toaster. Simple, fast, and handy—perfect for busy mornings or snacks. Give it a try and enjoy fresh toast in minutes.