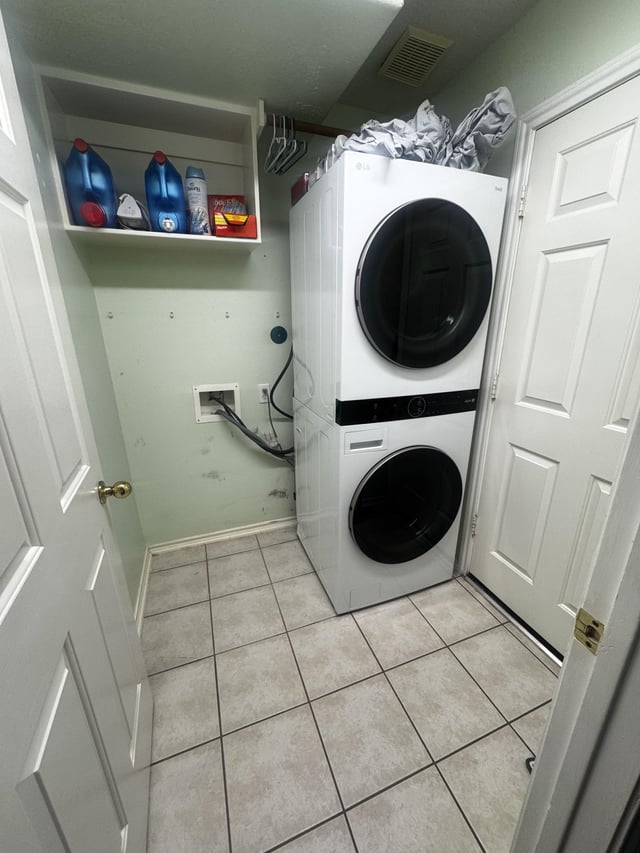
Are you looking to unstack your washer and dryer but don’t know where to start? You’re not alone.
Many people find the process tricky and worry about damaging their machines or making a mess. The good news is, with the right steps, you can easily separate your washer and dryer without stress. In this guide, you’ll discover simple, clear instructions that anyone can follow.
By the end, you’ll feel confident handling the job yourself—and save time and money along the way. Keep reading to learn exactly how to unstack your washer and dryer safely and smoothly.

Credit: www.maytag.com
Prepare The Area
Unstacking a washer and dryer needs a clean and safe workspace. Preparing the area helps you work easily and avoid accidents.
Start by making sure you have enough room and all tools ready. Also, turn off power and water before you begin.
Clear Surrounding Space
Remove any items near the washer and dryer. This gives you enough space to move and work safely.
Make sure the floor is clean and dry. Clear space helps prevent trips and makes the process smoother.
Gather Necessary Tools
Get all tools you need before starting. Having tools ready saves time and avoids frustration.
- Screwdrivers (flathead and Phillips)
- Wrench or socket set
- Utility knife
- Work gloves
- Flashlight
- Helper for lifting
Turn Off Power And Water
Safety is important. Turn off the power to the washer and dryer at the circuit breaker.
Also, close the water valves to stop water flow. Disconnect hoses carefully to avoid leaks.

Credit: www.allsurplus.com
Disconnect Washer And Dryer
Unstacking a washer and dryer starts with disconnecting them safely. This prevents damage and keeps you safe during the process.
Focus on unplugging electrical cords, detaching water hoses, and removing the ventilation duct before moving the machines.
Unplug Electrical Cords
First, locate the power cords behind your washer and dryer. Unplug each cord from the electrical outlet.
Pull the plug gently to avoid damaging the cord or outlet. Do not yank the cord.
Disconnect Water Hoses
Turn off the water supply valves near the washer. These are usually behind or beside the machine.
Use a wrench to loosen the hose connectors. Detach the hoses from the water supply and washer.
- Place a bucket or towel to catch leftover water
- Disconnect both hot and cold water hoses
- Check hoses for leaks or damage before reusing
Remove Ventilation Duct
Find the ventilation duct connected to the dryer’s exhaust. It helps remove hot air and lint.
Loosen the clamp or screws holding the duct in place. Carefully pull the duct away from the dryer.
- Check the duct for lint buildup
- Handle the duct gently to avoid tears
- Keep the duct for reattachment later
Remove Stacking Kit
Stacked washers and dryers save space in small laundry areas. To unstack them, you need to remove the stacking kit. The stacking kit holds the dryer securely on top of the washer.
Removing the stacking kit requires care and the right tools. Follow the steps below to safely take the units apart.
Locate Mounting Brackets
First, find the mounting brackets that connect the dryer to the washer. These brackets are usually metal and placed at the sides or front.
Look at the back or the sides of the stacked units to spot the brackets. They hold the dryer firmly in place.
Unscrew Fasteners
Use a screwdriver or socket wrench to remove the screws or bolts on the mounting brackets. Keep the fasteners in a safe place to reuse later.
Remove all screws carefully. The dryer may become loose once the fasteners are removed, so be ready to support its weight.
- Use the correct tool size for screws or bolts.
- Keep fasteners in a small container.
- Ask for help if the dryer feels heavy.
Separate The Units
After removing the fasteners, gently lift the dryer off the washer. It is best to have another person help with this.
Place the dryer on a flat, stable surface. Now the washer and dryer are separate and ready to move or use independently.

Credit: www.youtube.com
Safely Separate Washer And Dryer
Unstacking a washer and dryer requires care to avoid damage and injury. Follow safe steps to separate the units properly.
Make sure you prepare the area and have help ready before starting. Keep safety your top priority.
Get Assistance For Heavy Lifting
The washer and dryer are heavy and bulky. Ask someone to help you lift and move the machines.
Having a partner reduces the chance of dropping or damaging the units. It also lowers the risk of injury.
Use Proper Lifting Techniques
Bend your knees and keep your back straight when lifting. Use your legs to lift, not your back.
Hold the units close to your body for better control. Avoid twisting your body while carrying the washer or dryer.
- Stand close to the machine
- Bend knees, keep back straight
- Lift with legs, not back
- Keep the load close to your chest
- Do not twist while lifting or carrying
Move Units To Desired Location
Once separated, move the washer and dryer carefully to the new spot. Check for any obstacles on the path.
Use sliders or dollies if possible. This helps protect your floors and makes moving easier.
- Clear the path before moving
- Use furniture sliders or a dolly
- Move slowly and steadily
- Place units gently in the new location
Post-removal Tips
After unstacking your washer and dryer, take time to care for your appliances. This helps keep them in good shape and ready to use again.
Follow these tips to check for damage, clean the surfaces, and handle the stacking kit properly.
Inspect For Damage
Look over both the washer and dryer carefully. Check for dents, scratches, or loose parts that may have happened during removal.
Pay special attention to the control panels and door seals. These parts can be fragile and need extra care.
- Check power cords and plugs for damage
- Look inside the drum for dents or debris
- Test doors to ensure they open and close smoothly
Clean Appliance Surfaces
Clean the outside and inside of both machines to remove dust and dirt. Use a soft cloth and mild cleaner to avoid damage.
Do not use harsh chemicals that might harm the finish. Wipe dry to prevent water spots and rust.
- Use a damp cloth for general cleaning
- Clean rubber seals gently with mild soap
- Dry all surfaces with a clean towel
Store Or Dispose Of Stacking Kit
Decide if you want to keep the stacking kit for future use or dispose of it properly. Keep all parts together to avoid losing them.
If you store the kit, place it in a dry, safe spot. If you dispose of it, follow local recycling rules for metal and plastic parts.
- Label the kit parts for easy identification
- Store in a sealed box to prevent dust buildup
- Recycle parts at authorized centers if discarding
Frequently Asked Questions
How Do I Safely Unstack A Washer And Dryer?
First, unplug both units and turn off the water supply. Remove the stacking kit screws carefully. Have a helper support the dryer while you lift it off the washer. Place the dryer on a stable surface to avoid damage or injury.
What Tools Are Needed To Unstack A Washer And Dryer?
You’ll need a screwdriver, wrench, and possibly a pry bar. A helper is essential for safety. Keep all screws and brackets in a safe place for future use. Having these tools ready makes the process smooth and efficient.
Can I Unstack My Washer And Dryer Alone?
It’s not recommended to unstack appliances alone due to their weight. A second person helps prevent accidents and damage. Always ask for help when lifting heavy units. Safety should be your top priority during this process.
How Do I Prevent Damage When Unstacking Appliances?
Use a soft surface like a blanket to place the dryer down. Avoid sudden movements or dropping the units. Keep all parts organized to avoid losing screws or brackets. Handle the units gently throughout the process.
Conclusion
Unstacking a washer and dryer can seem hard at first. Taking it step by step makes the job easier. Always remember to unplug the machines for safety. Use the right tools and ask for help if needed. This way, you avoid damage or injury.
After unstacking, you can move or clean your appliances better. A little patience goes a long way here. Now you are ready to handle your washer and dryer with confidence. Simple tasks like this keep your home running smoothly.