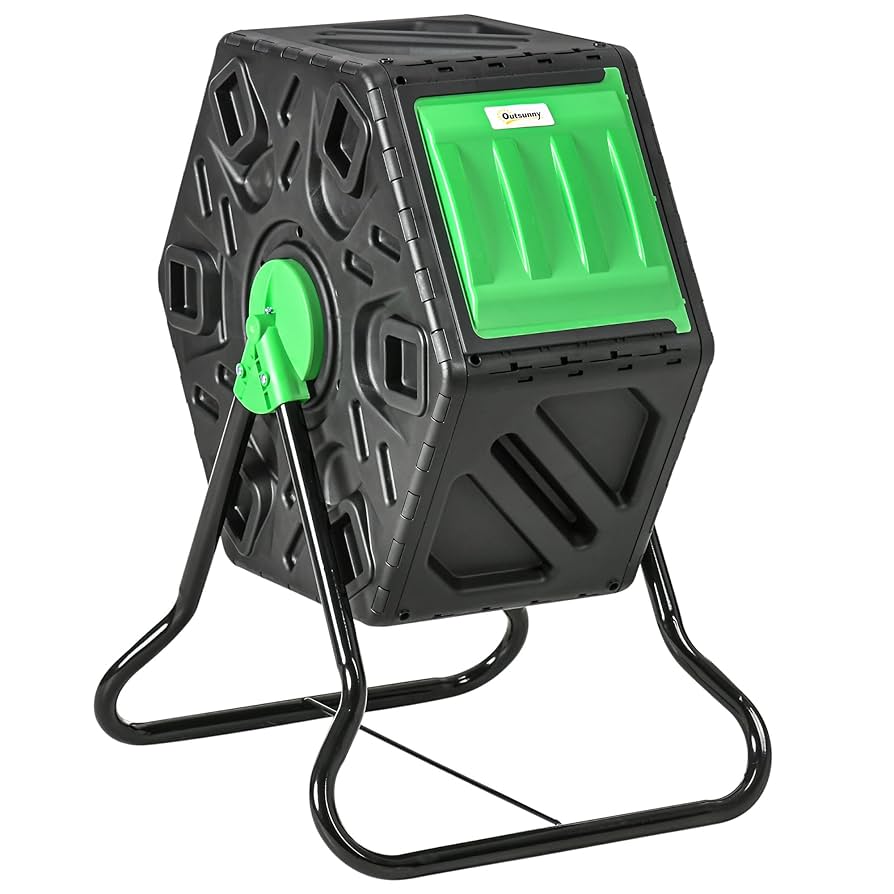
Are you looking to turn your kitchen scraps and yard waste into rich, nutrient-packed compost? A rotating compost bin is one of the easiest and fastest ways to do just that.
But if you’re new to composting, you might wonder how to get started or how to use it effectively. This guide will walk you through simple steps to make the most of your rotating compost bin. By the end, you’ll know exactly how to speed up decomposition, reduce odors, and create healthy soil for your garden—all with just a little effort.
Ready to transform your waste into garden gold? Let’s dive in.
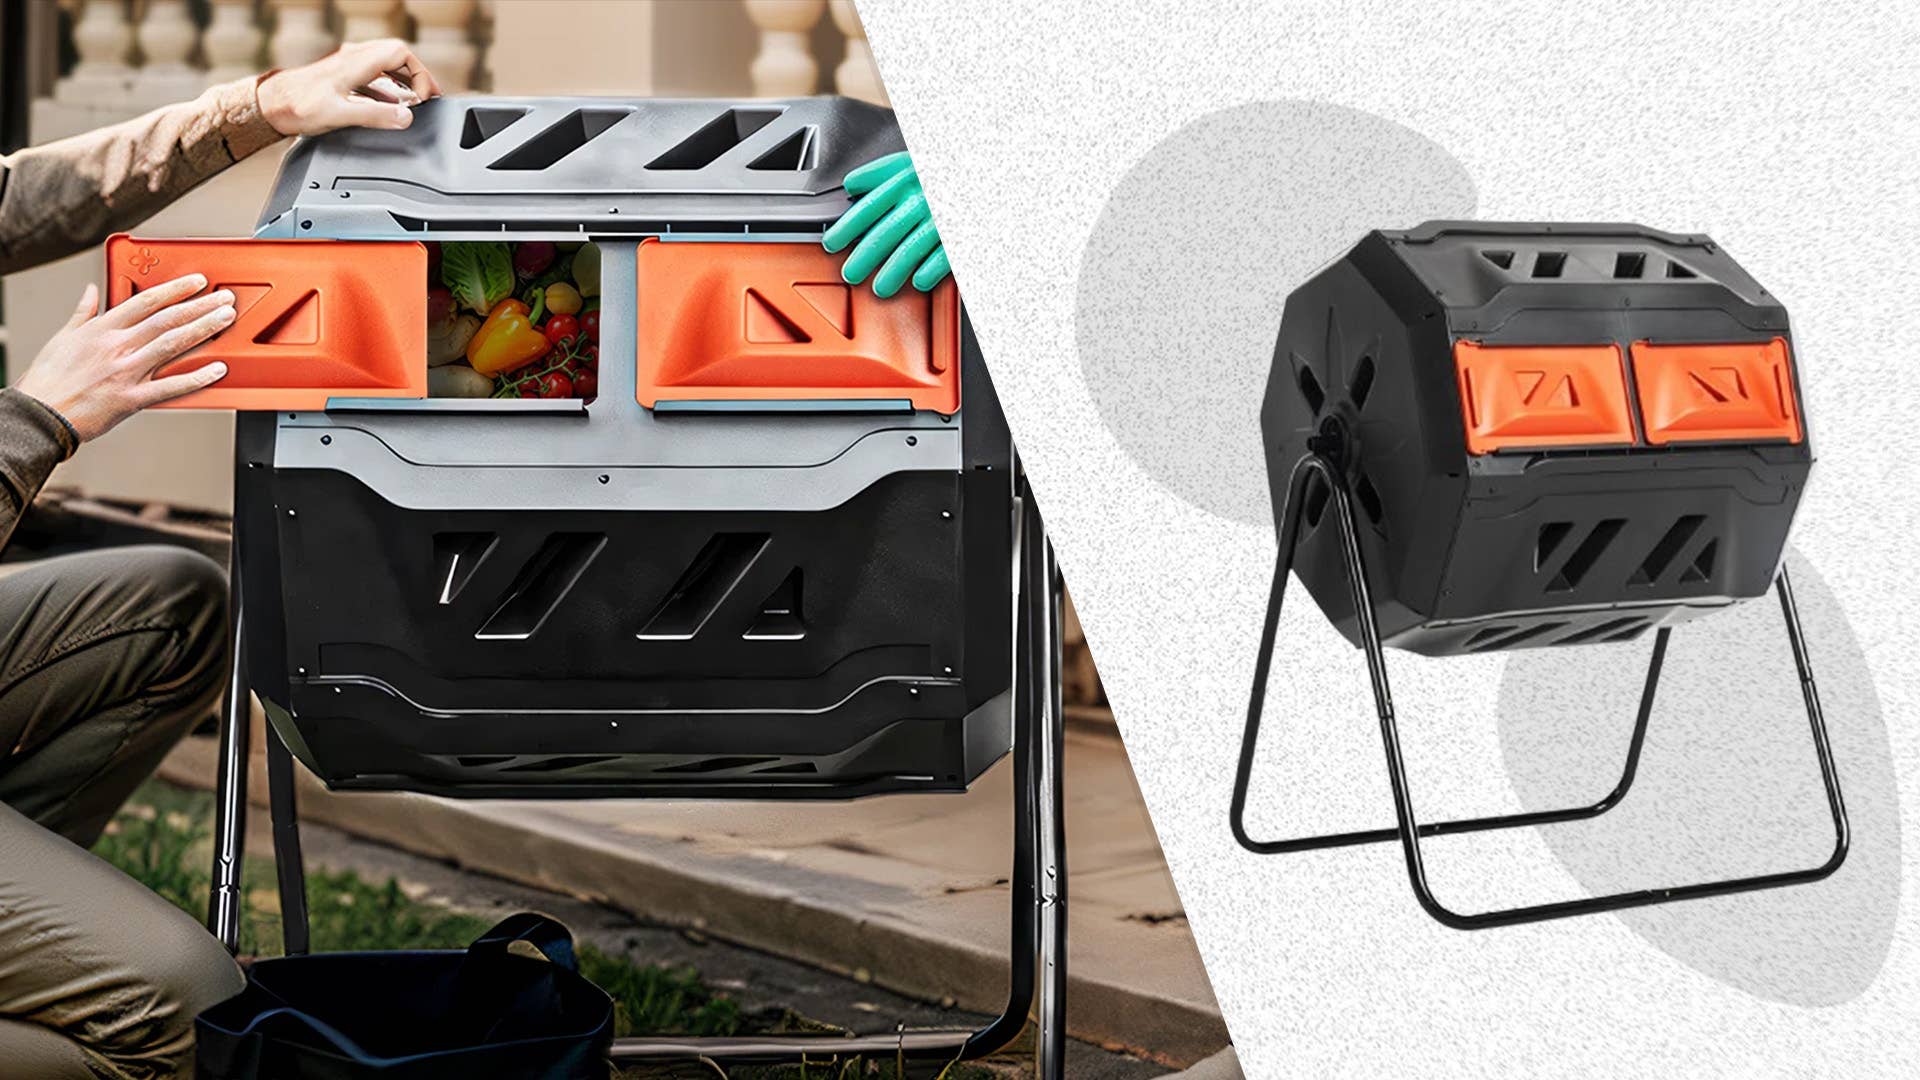
Credit: www.mensjournal.com
Choosing The Right Bin
Picking the right compost bin makes your composting easier. The bin needs to fit your space and the amount of waste you have.
Rotating bins help mix compost quickly. You should think about materials and size before buying.
Material And Size Options
Compost bins come in plastic, metal, and wood. Each type has its good and bad points. Size matters too. It depends on how much waste you create.
- Plastic binsare light and last long. They do not rust but can crack in the sun.
- Metal binsare strong and keep heat well. They can rust if not coated.
- Wood binslook natural and breathe well. They may rot over time.
- Small binshold less waste, good for small families or gardens.
- Large binshold more waste and are better for big gardens or groups.
Placement Tips
| Tip | Reason |
|---|---|
| Place on level ground | Keeps bin stable and easy to turn |
| Choose a shaded area | Prevents bin from drying out too fast |
| Keep near water source | Makes adding water to compost easier |
| Allow good air flow | Helps compost break down faster |
| Easy access | Saves time when adding or turning compost |
Setting Up Your Bin
Setting up your rotating compost bin correctly helps you start composting easily. It makes the process smooth and fast.
This guide shows how to prepare the base and add the first compost layers.
Preparing The Base
Choose a dry, flat spot to place your bin. This keeps it stable and helps with airflow.
Clear the ground of grass or weeds. You can put a layer of coarse material under the bin to improve drainage.
- Pick a level surface outdoors
- Remove grass and debris
- Use straw, wood chips, or small branches under the bin
- Ensure good air flow around the base
Adding Initial Compost Layers
Start your bin with layers of green and brown materials. This balance helps compost break down well.
Add green items like vegetable scraps and fresh grass. Then add brown materials such as dry leaves or shredded paper.
- Begin with a layer of brown material
- Add a layer of green material next
- Alternate layers to keep balance
- Do not add large chunks, chop them small
- Keep the pile moist but not wet
What To Compost
Composting helps turn kitchen and garden waste into rich soil. Knowing what to compost keeps your bin healthy and working well.
It is important to balance green and brown materials. These materials provide nutrients and help the compost break down properly.
Green Vs Brown Materials
Green materials are fresh and moist. They add nitrogen to the compost. Brown materials are dry and add carbon. Both types are needed for good compost.
- Green materials: fruit scraps, vegetable peels, coffee grounds, grass clippings
- Brown materials: dry leaves, straw, shredded paper, cardboard pieces
A good mix means about two parts brown to one part green. Too much green makes the bin smelly. Too much brown slows down composting.
Avoiding Common Mistakes
Some mistakes can slow compost or cause bad odors. Avoid these to keep your compost bin working well.
| Mistake | Effect | How to Fix |
| Adding meat or dairy | Smell and pests | Use only plant waste |
| Too much moisture | Smelly, soggy compost | Add dry brown materials |
| Not turning the bin | Slow breakdown | Rotate the bin regularly |
| Adding weeds or diseased plants | Spreading problems | Avoid adding these materials |
Rotating Techniques
Rotating a compost bin helps in breaking down materials faster. Regular turning mixes the contents and introduces air.
Using a rotating compost bin is simple if you follow the right techniques. Let’s explore how often to rotate and best practices for turning.
How Often To Rotate
Rotating frequency depends on the type of materials in the bin. Wetter materials require more frequent turning.
- For green materials, rotate every 2-3 days.
- For brown materials, rotate every week.
- If the compost smells, rotate immediately.
Best Practices For Turning
Proper turning ensures the composting process runs smoothly. It prevents bad odors and speeds up decomposition.
| Technique | Description |
| Full Rotation | Turn the bin completely upside down. |
| Partial Turn | Rotate halfway to mix the top layer. |
| Shake Method | Gently shake the bin for even distribution. |
Maintaining Moisture And Airflow
Using a rotating compost bin helps break down waste faster. Keeping the right moisture and air levels is important for good compost.
Too dry or too wet compost slows the process. Good airflow helps microbes work well inside the bin.
Checking Moisture Levels
Check moisture by squeezing compost in your hand. It should feel like a wrung-out sponge, not dripping wet.
If the compost is too dry, add water little by little. If it is too wet, add dry materials like leaves or shredded paper.
- Squeeze a handful of compost firmly
- If water drips, compost is too wet
- If it crumbles, compost is too dry
- Adjust moisture by adding water or dry material
Improving Aeration
Turn the compost bin regularly to add air. Rotating helps mix materials and lets oxygen reach microbes.
Good airflow stops bad smells and speeds up composting. Avoid packing materials too tightly inside the bin.
- Rotate the bin every few days
- Do not overfill the bin
- Break up large clumps inside the bin
- Use a mix of coarse and fine materials
Troubleshooting Issues
Using a rotating compost bin can be easy, but sometimes problems happen. These issues can slow down composting or cause unpleasant effects. This guide helps you fix common troubles.
Two main problems with compost bins are bad smells and pests. Knowing how to handle these keeps your compost healthy and your yard clean.
Dealing With Odors
Bad smells come from too much moisture or not enough air. Rotating the bin helps, but you may need more actions.
- Check if the bin is too wet. Add dry materials like leaves or shredded paper.
- Turn the bin often to add air and reduce smell.
- Make sure food scraps are mixed well with brown materials.
- Avoid putting meat, dairy, or oily foods in the bin.
- Keep the bin in a shaded area to slow down decay that causes odors.
Handling Pests
Pests like rodents or insects come for food scraps. To stop them, keep your compost bin secure and clean.
| Common Pest | Cause | How to Prevent |
| Rodents | Meat or oily food in compost | Do not add these items; seal bin tightly |
| Flies | Exposed food scraps | Cover scraps with brown materials |
| Ants | Dry compost or sugary food | Keep compost moist; avoid sweet food |
| Raccoons | Easy access to bin | Use locking lids and place bin on stand |
Harvesting Finished Compost
Rotating compost bins make composting easy and fast. After some time, the compost will be ready to use.
Knowing when to harvest the compost helps you get the best material for your garden.
Signs Compost Is Ready
Finished compost looks dark and crumbly. It smells fresh and earthy, not rotten or sour.
You will see little or no food scraps or large pieces. The compost feels cool or slightly warm to touch.
- Dark brown or black color
- Earthy smell
- Crumbly texture
- No visible food scraps
- Cool or slightly warm temperature
Using Compost In Your Garden
You can add finished compost to your garden soil to help plants grow strong and healthy.
Mix compost into flower beds, vegetable gardens, or use it as mulch around plants.
- Mix compost with soil before planting
- Spread compost as mulch to keep soil moist
- Add compost to potted plants for extra nutrients
- Use compost to improve lawn soil

Credit: www.aosom.ca

Credit: www.yourhomeandgarden.co.nz
Frequently Asked Questions
How Often Should I Rotate A Compost Bin?
Rotate your compost bin every 2 to 3 days. Regular turning speeds up decomposition. It mixes materials and adds oxygen, which helps microbes break down waste efficiently.
What Materials Can I Add To A Rotating Compost Bin?
Add kitchen scraps, garden waste, leaves, and paper. Avoid meat, dairy, and oily foods. Use balanced green and brown materials for effective composting.
How Do I Know When Compost Is Ready?
Compost is ready when it’s dark, crumbly, and smells earthy. This usually takes 4 to 6 weeks with regular rotation and proper moisture.
Can A Rotating Compost Bin Reduce Odors?
Yes, rotating the bin aerates the compost and prevents bad smells. Proper balance of green and brown materials also helps minimize odors.
Conclusion
Using a rotating compost bin makes composting simple and fast. Turn the bin often to mix materials well. This helps break down food and garden waste. You get rich compost to feed your plants. Keep adding scraps like vegetable peels and dry leaves.
Avoid putting meat or dairy inside. Watch the compost change from waste to dark soil. Enjoy cleaner waste and healthy soil for your garden. Start small and learn as you go. Composting this way saves money and helps the environment too.