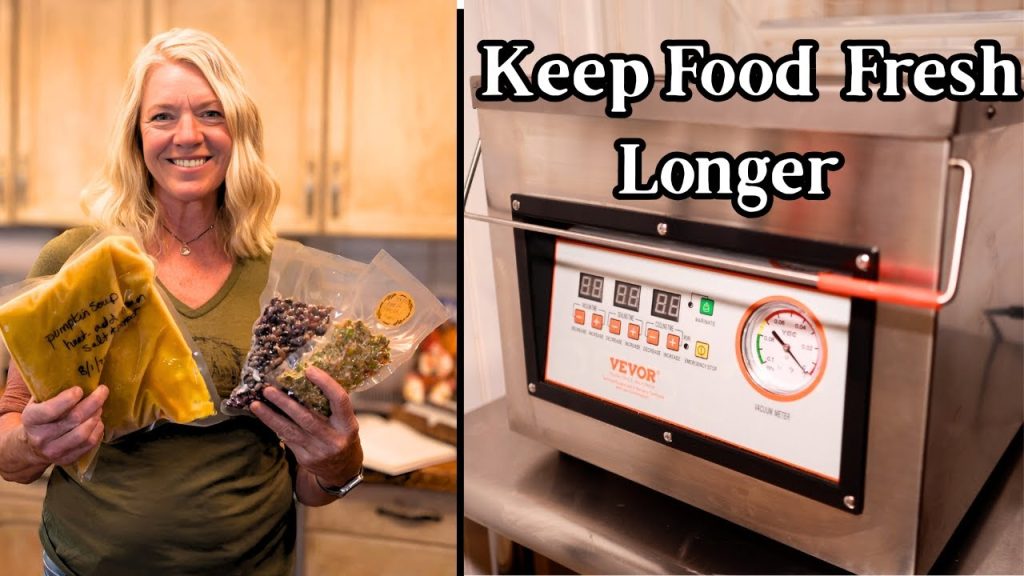
Imagine having a delicious homemade soup that tastes just as fresh and flavorful weeks later as it did on the day you made it. Sounds too good to be true?
It’s not, and all it takes is learning how to vacuum seal your soup properly. Vacuum sealing your soup not only preserves its taste and nutrients but also saves you time and reduces food waste. Are you tired of throwing away leftovers or struggling with freezer burn?
Vacuum sealing is your solution. This guide will show you the simple steps to vacuum seal soup effectively, keeping your meals fresh and ready whenever you need them. Stick around to discover the secrets that will transform the way you store your soup forever!
Credit: lemproducts.com
Benefits Of Vacuum Sealing Soup
Vacuum sealing soup offers many benefits. It keeps soup fresh longer and saves space. This method protects soup quality and helps avoid waste. Understanding these benefits encourages better food storage habits.
Extending Shelf Life
Vacuum sealing removes air, which slows down spoilage. Soup lasts much longer in the fridge or freezer. This method prevents freezer burn and bacterial growth. You can store homemade or store-bought soup safely for weeks.
Maintaining Flavor And Nutrients
Sealing soup tightly preserves its taste and texture. Nutrients stay locked in without exposure to air. Soup stays fresh and delicious even after months. This keeps meals healthy and enjoyable every time.
Reducing Food Waste
Vacuum sealing allows portion control and better meal planning. Soup can be stored in small amounts to use as needed. This stops leftovers from spoiling quickly. Less waste means saving money and resources.
Choosing The Right Vacuum Sealer
Choosing the right vacuum sealer can make a huge difference in how well your soup stays fresh and flavorful. Not all sealers work the same, especially when dealing with liquids like soup. Picking one that suits your needs ensures you save time and avoid messes in the kitchen.
Types Of Vacuum Sealers
There are mainly two types of vacuum sealers you’ll encounter: external and chamber sealers. External sealers are great for home use and smaller portions. They work by sucking air out of specially designed bags and sealing them shut.
Chamber sealers, on the other hand, are more powerful and handle liquids better. They remove air from the entire chamber, so you don’t have to worry about soup getting sucked into the machine. If you plan to seal large batches or frequently vacuum seal soups, a chamber sealer might be worth considering.
Features To Look For
- Liquid suction mode:Prevents soup from being sucked into the machine during sealing.
- Adjustable sealing time:Allows you to customize the seal depending on the bag thickness and contents.
- Easy-to-clean design:Soup spills are inevitable, so a model that’s simple to wipe down saves headaches.
- Compatibility with different bag sizes:Gives you flexibility for portion sizes.
- Automatic moisture detection:Helps the sealer adjust settings to create a perfect seal every time.
These features help you seal soup quickly and securely, reducing waste and preserving taste.
Budget Considerations
Vacuum sealers come in a wide price range, from budget-friendly models under $50 to professional-grade machines costing several hundred dollars. Think about how often you’ll be sealing soup and other liquids. If it’s occasional, a basic external sealer might be enough.
However, if you regularly prepare large batches, investing in a higher-end sealer with liquid handling features can save money and time in the long run. Would you rather deal with frequent reseals and leaks, or pay a bit more upfront for reliability?
Remember to factor in the cost of compatible bags, as cheaper sealers might require more expensive or specialized supplies.
Preparing Soup For Vacuum Sealing
Getting your soup ready for vacuum sealing is a crucial step that impacts both the flavor and shelf life of your stored meal. Taking the time to prepare it correctly helps avoid common issues like soggy textures or freezer burn. Let’s break down the essential actions you need to take before sealing your soup.
Cooling Soup Properly
Hot soup can create steam inside the vacuum bag, which interferes with sealing and promotes bacterial growth. You want to cool your soup to room temperature before sealing it. Placing the pot in an ice bath or dividing the soup into shallow containers speeds up this process.
Have you noticed how leaving soup out too long changes its taste? Cooling it quickly preserves the fresh flavors and prevents harmful bacteria from forming.
Straining Excess Solids
Thick chunks or large pieces can puncture your vacuum bag or prevent a tight seal. Strain out excess solids or blend the soup slightly if it’s very chunky. This step ensures a smooth texture inside the bag and a better seal.
If you prefer soup with chunks, consider vacuum sealing the broth separately and adding solids later. This method keeps everything fresh and prevents texture issues.
Portioning For Storage
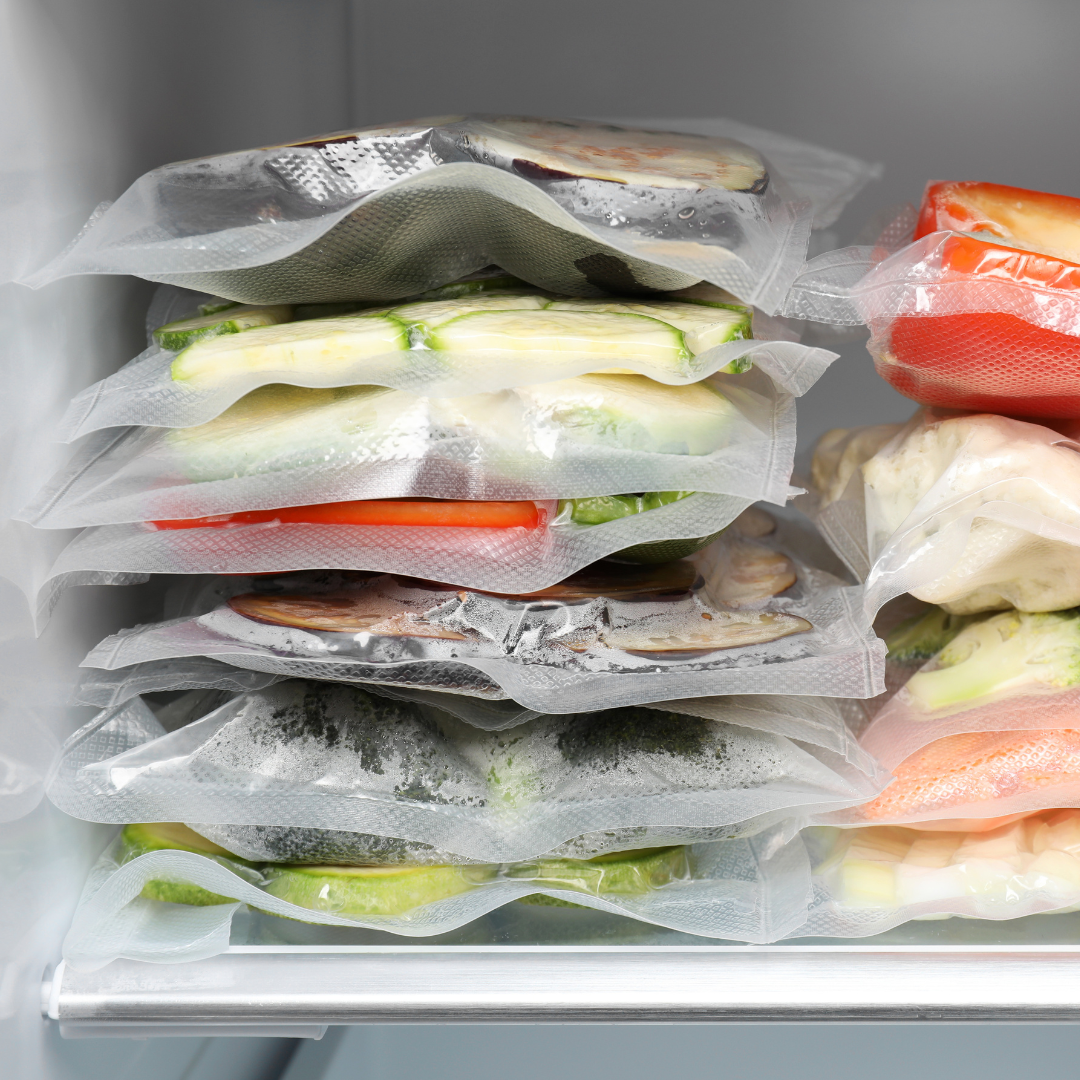
Portioning soup before vacuum sealing makes reheating easier and reduces waste. Use containers or bags sized for single or family meals depending on your needs. This way, you only thaw what you plan to eat.
Think about your typical meal sizes—packing soup in smaller portions can save time and energy during busy weekdays. It also helps maintain the soup’s quality over multiple meals.
Credit: packfreshusa.com
Vacuum Sealing Process
Vacuum sealing soup preserves freshness and extends shelf life effectively. The process removes air, preventing freezer burn and slowing bacterial growth. Proper technique ensures the soup retains its flavor and texture after storage.
Selecting The Appropriate Bag
Choose vacuum seal bags designed for liquids or moisture. These bags are thicker and less likely to puncture. Check the bag size to fit your container or soup amount. Avoid thin or regular storage bags that may leak or tear.
Sealing Liquids Without Spills
Cool the soup before sealing to reduce steam and pressure. Partially freeze the soup until it becomes firm but not solid. This prevents liquid from being sucked into the vacuum sealer. Place the soup in the bag carefully, avoiding spills near the seal area.
Using The Pulse Or Gentle Mode
Use the pulse or gentle vacuum mode to control suction power. This mode prevents liquid from being drawn out of the bag. Apply suction slowly, stopping if liquid moves toward the seal. Seal the bag tightly immediately after vacuuming to avoid leaks.
Freezing And Storing Vacuum-sealed Soup
Freezing and storing vacuum-sealed soup is a smart way to keep your meals fresh and flavorful for weeks. Proper handling during this stage ensures your soup maintains its texture and taste without freezer burn or spoilage. Let’s look at some key practices that will help you enjoy your soup just like it was freshly made.
Labeling And Dating
Labeling your vacuum-sealed soup bags is essential. Write the soup type and the date you sealed it directly on the bag with a permanent marker or use a label sticker. This simple step helps you track freshness and prevents food waste by reminding you what needs to be eaten first.
Have you ever found a frozen bag of soup and wondered if it was still good? Clear labeling solves that problem instantly.
Optimal Storage Times
Vacuum-sealed soup can last significantly longer than soup stored in regular containers. Most soups stay fresh for 2 to 3 months in the freezer when vacuum sealed properly. Cream-based soups may last closer to 1 to 2 months, while brothy soups often keep well for up to 4 months.
Remember, longer storage can affect texture and flavor. So, plan to consume your soup within these time frames to enjoy it at its best.
Thawing Tips
Thaw your vacuum-sealed soup slowly in the refrigerator overnight to keep the texture intact. Avoid microwaving frozen soup in its sealed bag as it can cause uneven heating or damage to the packaging. Once thawed, reheat gently on the stove to preserve flavor and avoid scorching.
Do you notice a difference when you thaw soup gradually instead of rushing it? Taking your time here makes a real difference in taste and quality.
Troubleshooting Common Issues
Vacuum sealing soup can save space and keep flavors fresh. Some common problems may arise during the process. Learning how to fix these issues helps protect your soup and prevents waste.
Dealing With Air Leaks
Air leaks stop the vacuum from sealing properly. Check the bag edges for dirt or moisture. Clean and dry the sealing area before sealing. Use bags designed for vacuum sealers for a better fit. Avoid overfilling the bag to ensure a tight seal. Press the bag flat before sealing to remove trapped air.
Preventing Bag Punctures
Sharp ingredients can puncture vacuum bags. Let soup cool before sealing to prevent steam damage. Use a double bag method for extra protection. Place soft paper towels inside the bag to cushion sharp pieces. Handle bags gently to avoid tears. Avoid overfilling to reduce pressure on the bag.
Avoiding Freezer Burn
Freezer burn ruins soup texture and taste. Vacuum sealing removes air to prevent this. Use thick, high-quality bags for better protection. Remove as much air as possible before sealing. Store sealed bags flat to freeze evenly. Label and date bags to use soup before it spoils.
Additional Tips For Soup Preservation
Preserving soup properly extends its shelf life and keeps its flavors fresh. Using the right techniques helps maintain texture and taste. These additional tips improve your vacuum sealing process and soup storage.
Using Mason Jars With Vacuum Sealers
Mason jars are excellent for vacuum sealing liquid soups. Use jars designed for vacuum sealing to avoid breakage. Leave about an inch of space at the top to allow expansion. Make sure the soup is cool before sealing to prevent jar damage. Use a vacuum sealer lid attachment for best results. Store jars upright to avoid leaks and spills.
Vacuum Sealing Other Soups And Broths
Soups with low solids, like broths, seal well with special bags or jars. Cool the soup before sealing to stop bacteria growth. Freeze soup in flat layers inside vacuum bags for easy stacking. Thick or chunky soups need extra care to avoid crushing solids. Use double sealing to ensure no air enters the bag. Label packages with the date and type of soup for easy identification.
Incorporating Herbs And Spices
Add fresh herbs and spices before sealing to boost flavor during storage. Chop herbs finely to release their aroma. Avoid adding delicate herbs like basil before freezing; add after reheating instead. Use dried herbs for longer storage without flavor loss. Seal soups with spices in separate bags for better taste control. This method keeps flavors vibrant and fresh.

Credit: www.reddit.com
Frequently Asked Questions
How Do You Prepare Soup For Vacuum Sealing?
Cool the soup completely before sealing to prevent steam and bacteria. Strain large solids to avoid punctures. Portion soup into freezer-safe vacuum bags, leaving space for expansion.
Can You Vacuum Seal Hot Soup Directly?
No, always cool soup first. Hot liquids can damage vacuum sealers and cause improper sealing. Cooling prevents bacteria growth and ensures a safe, secure vacuum seal.
What Is The Best Vacuum Sealer For Soup?
A vacuum sealer with a liquid or moist setting works best. It gently removes air without sucking out the soup. Look for sealers with adjustable suction and strong seals.
How Long Can Vacuum-sealed Soup Last In The Freezer?
Vacuum-sealed soup can last 6 to 12 months in the freezer. The vacuum seal prevents freezer burn and preserves flavor longer than traditional freezing.
Conclusion
Vacuum sealing soup keeps it fresh for longer times. It stops freezer burn and saves space. Use the right bags and cool soup before sealing. Seal carefully to avoid leaks or spills. Label each bag with the date and type of soup.
This simple method helps reduce food waste at home. Enjoy homemade soup anytime without worry. Try vacuum sealing to keep your meals tasty and fresh.