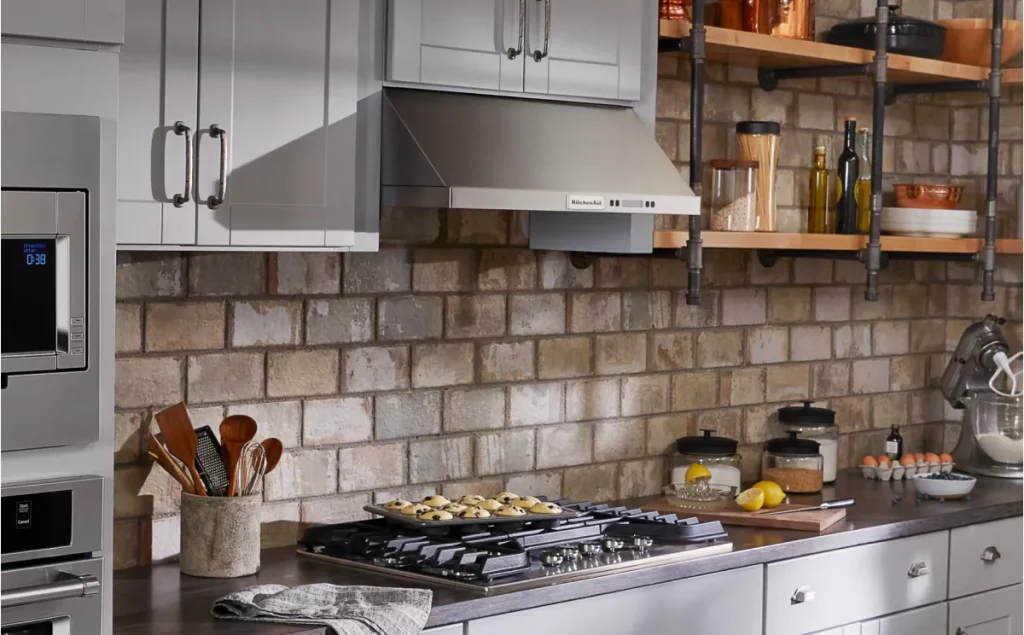
If you’re tired of lingering cooking smells and greasy buildup in your kitchen, venting your range hood to the outside is the solution you need. But how do you do it right?
Proper venting not only improves air quality but also keeps your home cleaner and safer. In this guide, you’ll learn simple, step-by-step tips to vent your range hood effectively—even if you’re not a DIY expert. Stick with me, and by the end, you’ll know exactly how to breathe fresh air into your kitchen and enjoy cooking without the hassle.
Choosing The Right Range Hood
Properly venting a range hood to the outside removes smoke and odors from your kitchen. Choose the shortest, straightest duct path to improve airflow and efficiency. Use rigid metal ducts for better performance and easier cleaning.
Choosing the right range hood is essential for a functional kitchen. It not only removes smoke and odors but also enhances kitchen aesthetics. Understanding the types of range hoods, their venting options, and size considerations can help you make the best choice.Types Of Range Hoods
Range hoods come in several styles. Wall-mounted hoods attach to the wall above the stove. They are visible and often a focal point. Under-cabinet hoods fit beneath cabinets. They save space and provide a seamless look. Island hoods hang from the ceiling. Perfect for kitchen islands. Insert hoods are installed into custom cabinetry. They offer a discreet appearance. Choose based on your kitchen layout and design preference.Vent Vs. Ductless Models
Vented models expel air outside your home. They are effective at removing heat, moisture, and odors. They require ductwork, which may increase installation costs. Ductless models recirculate air through a filter. They are easier to install and more flexible. They are less effective at removing moisture. Consider your kitchen setup and budget when choosing between these two options.Sizing Your Range Hood
Size is crucial for effective ventilation. A range hood should be wider than your cooking area. Standard width is 30 to 36 inches. For optimal performance, choose a hood with a capacity of 100 CFM for every 12 inches of stove width. Consider your cooking style. If you fry or grill often, a higher capacity is better. Measure your space and consult a professional to ensure proper fit and function.
Credit: www.reddit.com
Planning The Ventilation Route
Planning the ventilation route is essential for effective range hood installation. A well-planned route ensures proper airflow and removes cooking odors efficiently. It also reduces strain on the fan and keeps your kitchen fresh. Careful planning avoids costly mistakes and complicated fixes later on.
Selecting The Vent Location
Choose a vent location that leads directly outside. Avoid venting into attics, crawl spaces, or garages. Look for an exterior wall or roof spot near your range hood. The vent should be clear of obstacles like windows or doors. Pick a place that allows easy access for maintenance and cleaning.
Measuring Vent Length And Bends
Measure the distance from the range hood to the vent exit point. Include all bends and turns in your measurement. Each bend reduces airflow, so keep them to a minimum. Use smooth, wide ducts for better air movement. Check manufacturer limits for maximum vent length and bends allowed.
Considering Building Codes
Check local building codes before installation. Codes dictate vent material, size, and placement. Some areas require metal ducts, not plastic or vinyl. Codes may specify vent caps and screens to prevent pests. Follow rules to ensure safety and pass inspections easily.
Gathering Required Tools And Materials
Before venting a range hood to the outside, gathering the right tools and materials is crucial. Having everything ready makes the job smoother and faster. It also helps avoid interruptions during installation. Understanding what you need ensures safety and efficiency.
Essential Tools List
- Measuring tape – for accurate measurements
- Drill with bits – to make holes in walls or cabinets
- Screwdriver set – for securing screws
- Utility knife – to cut ducting and insulation
- Level – to keep ducts straight and even
- Tin snips – for cutting metal ducts
- Caulking gun – to seal gaps
- Stud finder – to locate wall studs
- Marker or pencil – to mark cutting points
Materials Needed For Venting
- Duct pipe – usually aluminum or galvanized steel
- Vent hood cap – to cover the outside vent
- Metal tape – for sealing duct joints
- Wall or roof vent – depending on venting route
- Screws and anchors – for mounting parts securely
- Insulation – to prevent heat loss and condensation
- Backdraft damper – to stop outside air from entering
Safety Equipment
- Safety goggles – to protect eyes from debris
- Work gloves – to protect hands from sharp edges
- Dust mask – to avoid inhaling dust particles
- Ear protection – if using loud power tools
- Step ladder – for reaching high spots safely
Installing The Vent Duct
Installing the vent duct is a key part of venting your range hood to the outside. It ensures that smoke, steam, and cooking odors leave your kitchen efficiently. Getting this step right improves air quality and prevents moisture damage in your home.
Cutting The Vent Hole
Start by choosing the best location for your vent hole, usually on an exterior wall or roof. Use a stud finder to avoid cutting into wiring or pipes. Mark the size of the vent pipe on the wall, then carefully cut the hole with a reciprocating saw or hole saw.
Take your time to make a clean, straight cut. A rough hole can cause air leaks and make sealing difficult. Have you checked twice to avoid unnecessary patchwork?
Attaching The Vent Pipe
Attach the vent pipe to the range hood’s exhaust outlet first. Secure the connection with metal foil tape or clamps to ensure it doesn’t come loose. Run the duct through the hole you cut, keeping the pipe as straight as possible to avoid airflow restrictions.
If bends are necessary, use wide, gradual curves instead of sharp angles. This keeps air moving smoothly. Have you thought about how tight bends can reduce your range hood’s performance?
Sealing And Insulating Ducts
Seal all joints and seams with high-quality foil tape to prevent leaks. Avoid using duct tape, as it won’t hold up well to heat and moisture. Insulate the duct, especially if it passes through unheated spaces, to prevent condensation and heat loss.
Insulation also helps keep your kitchen comfortable by reducing heat transfer. Would you want cold drafts or moisture problems sneaking back into your home?
Connecting The Range Hood
Connecting the range hood properly is essential for effective ventilation and safety. This step ensures the hood stays in place and that air flows smoothly outside. Correct installation prevents leaks and noise, making your kitchen more comfortable.
Securing The Hood To The Wall Or Cabinet
First, align the hood with the mounting area on the wall or under the cabinet. Use a level to keep it straight. Mark the screw holes to guide your drilling.
Drill pilot holes to avoid splitting the wood or drywall. Use screws designed for the material, such as wood screws for cabinets or wall anchors for drywall. Tighten screws firmly to hold the hood securely.
Check that the hood does not wobble. A stable hood improves performance and safety.
Connecting The Duct To The Hood
Attach the duct to the hood’s vent collar. Use foil tape or a metal clamp to seal the connection tightly. Avoid using duct tape, as it degrades over time.
Make sure the duct runs straight and smooth with minimal bends. Sharp bends reduce airflow and increase noise. Support the duct with straps or brackets to prevent sagging.
Use rigid or semi-rigid metal ducts for best airflow. Avoid flexible plastic ducts as they trap grease and reduce venting efficiency.
Testing Airflow
Turn on the range hood fan to check airflow. Stand outside near the vent to feel air moving out. Use a tissue or a small piece of paper to see if it pulls in firmly.
Listen for unusual noises like rattling or whistling. These signs may indicate loose parts or leaks. Tighten connections or adjust the duct as needed.
Good airflow means your range hood will remove smoke, odors, and moisture effectively from your kitchen.

Credit: www.reddit.com
Maintaining Your Vent System
Maintaining your range hood vent system keeps your kitchen air fresh and safe. Regular care helps the system work efficiently and lasts longer. It also prevents smoke and odors from building up inside your home.
Cleaning The Vent Duct
Clean the vent duct every few months to remove grease and dust. Use a long brush or vacuum to reach inside the duct. This stops blockages and keeps air flowing smoothly.
Wipe the duct opening with a damp cloth to clear any surface dirt. Avoid harsh chemicals that can damage the duct material.
Checking For Blockages
Inspect the vent system regularly for any blockages. Look for leaves, bird nests, or debris near the outdoor vent cap. Clear these obstacles to allow air to exit freely.
Listen for strange noises from the vent fan. Unusual sounds can signal a blockage or mechanical issue.
Replacing Filters
Change the range hood filters every 1 to 3 months. Filters trap grease and dust, so they get dirty fast. Use the right size and type of filter for your model.
Wash reusable filters with warm soapy water or replace disposable ones. Clean filters improve air quality and fan performance.

Credit: www.create-enjoy.com
Frequently Asked Questions
How Do I Vent A Range Hood To The Outside?
To vent a range hood outside, install ductwork from the hood to an exterior vent. Use rigid metal ducts for best airflow and seal all joints tightly. Avoid plastic or flexible ducts, which reduce efficiency and collect grease.
What Materials Are Best For Range Hood Venting?
Rigid galvanized steel or aluminum ducts are ideal for venting range hoods. They resist heat and grease buildup, ensuring safe and efficient airflow. Avoid flexible or plastic ducts, as they can trap grease and reduce ventilation effectiveness.
Can I Vent A Range Hood Through A Wall?
Yes, venting a range hood through a wall is common. Install a wall cap with a damper outside to prevent backdrafts. Ensure the duct run is as short and straight as possible to maintain strong airflow.
How Far Should Range Hood Ducting Extend Outside?
The duct should vent directly outside, ending with a vent cap. Avoid long duct runs to maintain airflow efficiency. Typically, keep duct length under 25 feet with minimal bends for optimal performance.
Conclusion
Venting a range hood outside keeps your kitchen fresh and safe. Proper venting removes smoke, steam, and odors quickly. Choose the right duct size and material for best airflow. Seal all joints tightly to avoid leaks. Keep the vent clear of blockages for good performance.
Following these steps helps your range hood work well. Enjoy cleaner air and a more pleasant cooking space. Simple care can make a big difference every day.