
Wiring a range hood might sound tricky, but with the right steps, you can do it yourself and save money. Imagine turning on your kitchen fan with a simple switch you installed, clearing smoke and odors instantly.
This guide will walk you through every step, making the process clear and easy to follow. By the end, you’ll feel confident handling your range hood wiring safely and efficiently. Ready to take control of your kitchen setup? Let’s get started!
Tools And Materials Needed
Wiring a range hood requires specific tools and materials. Having the right equipment makes the task easier and safer. It’s crucial to gather all necessary items before you start the installation process. This ensures a smooth workflow and minimizes interruptions.
Essential Tools
- Screwdriver Set:Both flathead and Phillips screwdrivers are needed.
- Wire Strippers:These help in removing insulation from electrical wires.
- Drill:Use a power drill for creating holes in walls if required.
- Voltage Tester:Ensures the power is off before working with wires.
- Tape Measure:Accurate measurements are key for proper installation.
Required Materials
- Electrical Cable:Choose the correct gauge for your appliance.
- Wire Connectors:These secure the wire connections in place.
- Range Hood:The main component of your installation.
- Mounting Brackets:Use these to secure the hood to the wall or ceiling.
- Cable Clamps:They help in organizing and securing wires.
Safety Gear
- Safety Glasses:Protect your eyes from dust and debris.
- Gloves:Keep your hands safe from cuts and electrical hazards.
- Dust Mask:Use this to avoid inhaling dust particles.
- Non-slip Shoes:Ensure stability when working on ladders or high places.
Preparing The Installation Site
Preparing the installation site is the first important task before wiring your range hood. This step ensures safety and a smooth setup process. Proper preparation prevents mistakes and saves time during installation. Focus on choosing the right place, measuring correctly, and securing power safety.
Choosing The Location
Pick a spot above the cooking surface. The hood should cover the entire stove area. Check for existing vents or ducts. Avoid placing the hood near cabinets or walls that block airflow. Make sure the location allows easy wiring access.
Measuring And Marking
Measure the width of your range hood. Mark the center point on the wall or ceiling. Use a level to draw straight lines. Mark where screws and wiring will go. Double-check measurements to avoid errors.
Turning Off Power
Safety first. Turn off power at the circuit breaker. Use a voltage tester to confirm no electricity flows. This prevents shocks while working with wires. Never skip this step before starting any electrical task.
Wiring Basics For Range Hoods
Wiring a range hood might seem tricky, but understanding the basics makes the task manageable and safe. Knowing how to handle electrical connections and recognizing the right wires can save you from costly mistakes. Let’s break down the core wiring essentials you need before starting your project.
Understanding Electrical Connections
Range hoods usually connect to your home’s electrical system through a junction box or direct wiring. The key connections include the hot wire, neutral wire, and ground wire. Each plays a specific role: the hot wire carries current, the neutral wire completes the circuit, and the ground wire ensures safety.
Always turn off the power at the breaker before you touch any wires. Double-checking with a voltage tester prevents accidental shocks. Have you ever underestimated the importance of this simple safety step? It’s easy to overlook but crucial for your safety.
Identifying Wire Types
Wires come in different colors and gauges, which indicate their purpose and capacity. Typically, black or red wires are hot, white is neutral, and green or bare copper is ground. Using the correct wire gauge ensures your range hood receives adequate power without overheating.
- 14-gauge wiresuits range hoods up to 15 amps.
- 12-gauge wireis needed for higher amperage models.
Misidentifying wires can cause shorts or damage your appliance. Have you checked your range hood’s manual to confirm the required wire type?
Checking Voltage Requirements
Range hoods typically operate on either 120 volts or 240 volts, depending on the model. Knowing your range hood’s voltage requirement is critical before wiring. Connecting a 120-volt hood to a 240-volt circuit can cause permanent damage.
Look for a label on the hood or in the user manual that states the voltage. If your home’s wiring doesn’t match, you might need an electrician to install the correct circuit. Do you know how to verify your home’s circuit voltage safely?
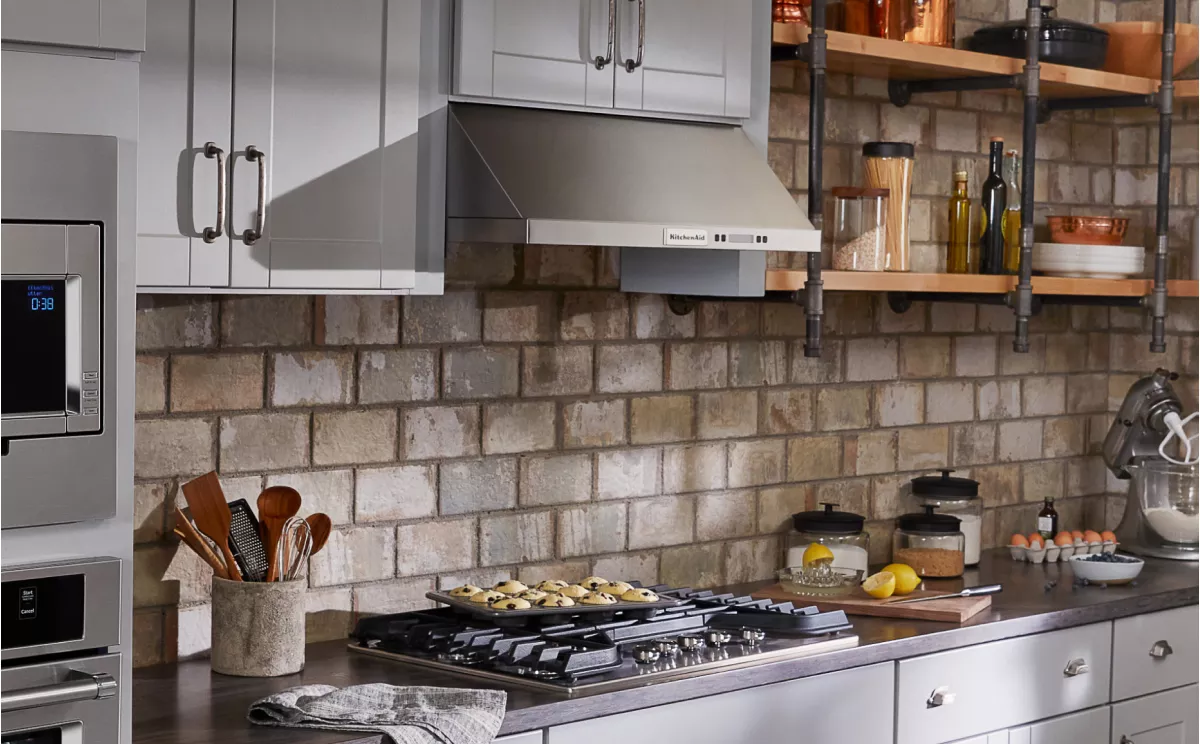
Credit: www.kitchenaid.com
Step-by-step Wiring Process
Wiring a range hood might seem intimidating, but breaking it down into clear steps makes the task manageable. Each part of the process ensures your new hood works safely and efficiently. Ready to get your hands a little wired? Let’s dive into the key steps.
Removing The Old Unit
Before you connect any wires, the old range hood needs to come down carefully. First, turn off the power at the circuit breaker to avoid any shocks. Then, remove the screws or brackets holding the hood in place.
Gently pull the hood away from the wall or cabinet, exposing the wiring behind it. Take a moment to note how the wires are connected or snap a quick photo—this can help you later. Have a spot ready to safely set the old unit aside.
Connecting Wires Safely
Now, focus on matching the wires from your new range hood to the house wires. Usually, you will find black (live), white (neutral), and green or bare copper (ground) wires. Connect black to black and white to white, twisting the ends together firmly.
Never assume wire colors are correct; use a voltage tester if you’re unsure which wire is live. Safety matters more than speed—double-check every connection before moving forward. If the wires are too short, add wire extensions designed for electrical use.
Securing Wire Nuts And Connectors
Wire nuts keep your connections stable and safe. After twisting wires together, screw on a wire nut tightly until the wires are secure inside. Give each wire a gentle tug to confirm it won’t slip out.
Use electrical tape around the wire nuts for extra security if you like. This simple step can prevent future loosening and potential hazards. Remember, loose connections can cause sparks or failures, which you definitely want to avoid.
Grounding The Range Hood
Grounding completes the safety circle by preventing electrical shocks. Attach the ground wire from the range hood to the grounding wire in your home—usually a green or bare copper wire. Use a grounding screw or clip if provided with your hood.
If your home’s wiring doesn’t have a ground wire, consult a professional electrician before proceeding. Proper grounding protects you and your family every time you use the kitchen. Are you confident your grounding is secure before you finish?
Mounting The Range Hood
Mounting your range hood correctly is crucial for both safety and performance. It needs to be secure enough to handle daily use and positioned properly to capture smoke and odors effectively. Getting this step right ensures your kitchen stays fresh and your appliance lasts longer.
Attaching The Bracket
Start by locating the wall studs where your range hood will hang. Use a stud finder to make sure the bracket has strong support. Attach the mounting bracket with heavy-duty screws, making sure it’s level—this will prevent any tilting or movement later.
Double-check the bracket’s position against your hood’s specifications. Sometimes, the height above your stove varies depending on the model, so don’t guess. A misaligned bracket can make the installation frustrating and affect hood performance.
Installing The Hood
With the bracket securely in place, lift the range hood and hang it onto the bracket. This step often requires two people; I learned this the hard way trying to do it alone. Support the weight carefully to avoid damaging the hood or your walls.
Once hung, tighten any screws or fasteners that secure the hood to the bracket. Check that the hood is stable and doesn’t wiggle. If it feels loose, revisit the bracket attachment to ensure everything is firmly anchored.
Sealing And Finishing Touches
After the hood is mounted, seal any gaps between the hood and the wall with a high-quality caulk or sealant. This prevents grease and moisture from sneaking into the wall cavity. A neat seal also improves your kitchen’s appearance.
Finally, install any covers or trim pieces that came with your hood. These finishing touches hide screws and give your installation a professional look. Have you noticed how a clean finish can make even a DIY job look like it was done by a pro?
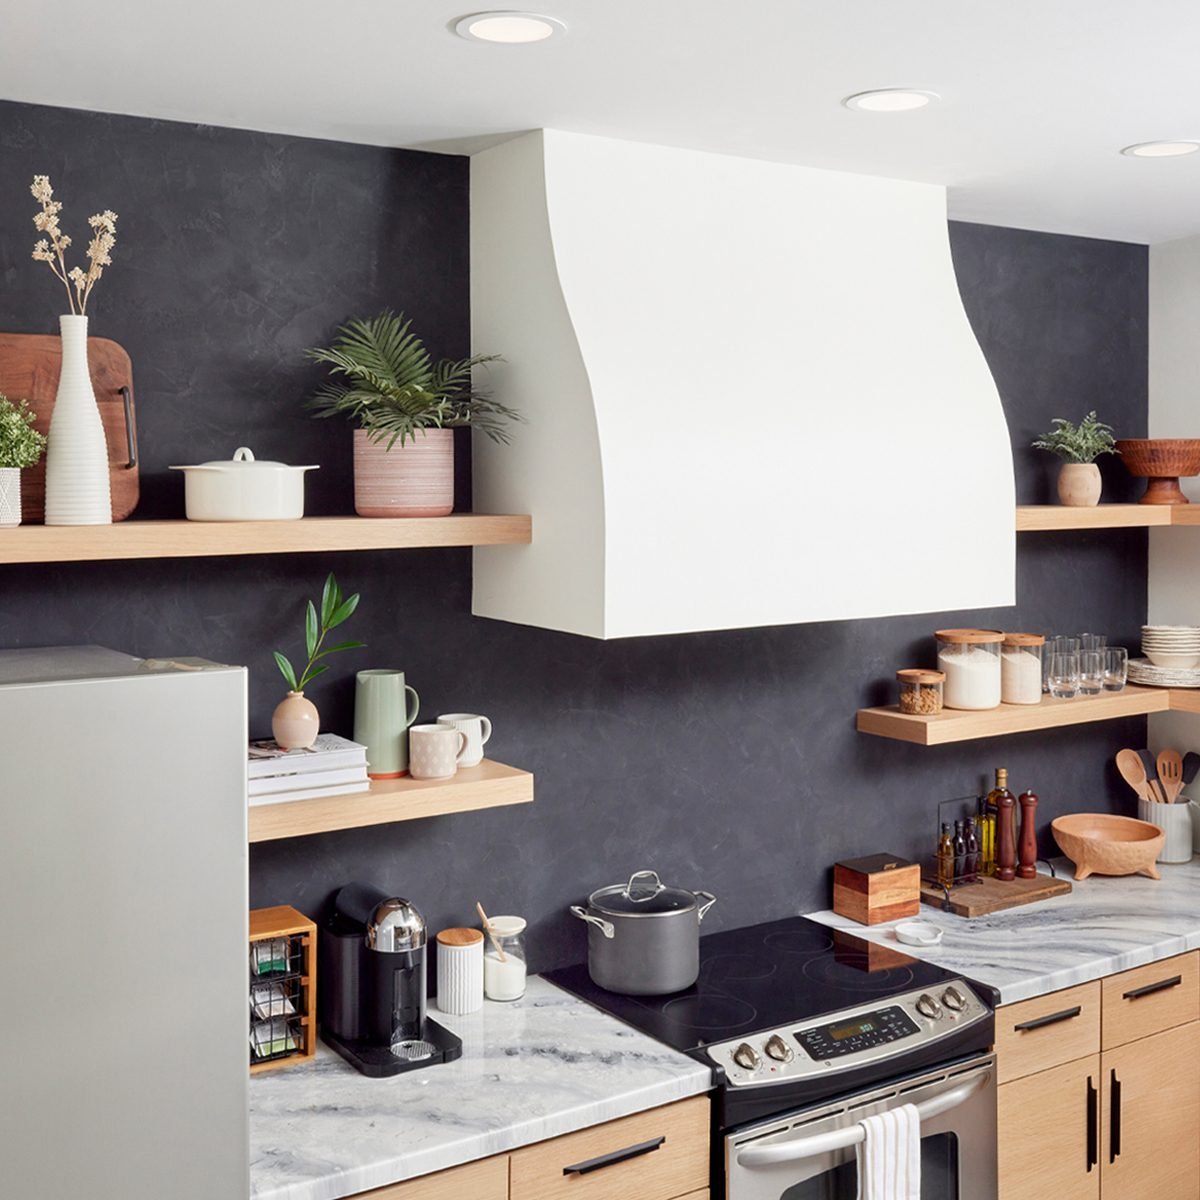
Credit: www.familyhandyman.com
Testing And Troubleshooting
Testing and troubleshooting are crucial after wiring a range hood. This phase ensures the device works safely and efficiently. It helps catch mistakes early and prevents damage or hazards. Simple checks can save time and money in the long run.
Restoring Power
Before testing, restore power to the circuit. Turn the circuit breaker back on or replace the fuse. Use a voltage tester to confirm power reaches the range hood wires. Never touch wires without confirming power is off first. Safety is the top priority.
Checking Fan And Lights
Switch on the range hood to test the fan and lights. Listen for unusual noises from the fan. Lights should turn on without flickering or dimming. Check all fan speeds to ensure they work properly. Replace bulbs if the lights do not illuminate.
Common Wiring Issues
Look for loose or disconnected wires. Check for crossed or reversed wires that can cause malfunctions. Inspect wire nuts to confirm they are tight and secure. Verify grounding wires connect properly to avoid electrical shocks. Use a multimeter to test for continuity and correct voltage.
Safety Tips And Best Practices
Wiring a range hood involves working with electricity, which means safety must be your top priority. Ignoring basic safety tips can lead to serious hazards, including shocks, short circuits, or even fires. Let’s look at key safety practices that keep your project smooth and secure.
Avoiding Electrical Hazards
Always turn off the power at the circuit breaker before you start any wiring work. Never rely on just the wall switch to cut power—it may not fully disconnect the circuit.
Use a voltage tester to confirm there is no electricity flowing through the wires before handling them. Wearing insulated gloves can add an extra layer of protection.
Make sure your wiring and connections comply with local electrical codes. Using the wrong wire gauge or skipping grounding can create hidden dangers you might not notice until it’s too late.
When To Call A Professional
If you feel unsure about any part of the wiring process, don’t hesitate to call an electrician. Complex wiring setups or older homes with outdated electrical systems are better handled by experts.
Sometimes, your range hood may require a dedicated circuit or additional electrical work beyond simple wiring. Trying to do this without proper knowledge can cause damage to your home or void warranties.
Ask yourself: Do you fully understand the wiring diagram? Are you confident in handling electrical tools safely? If the answer is no, a professional can save you time and prevent costly mistakes.
Maintaining Your Range Hood
After wiring your range hood, regular maintenance keeps it running safely and efficiently. Clean the filters and fan blades often to prevent grease buildup, which can be a fire risk.
Inspect the wiring and connections periodically for signs of wear or damage. Loose wires can cause sparks or intermittent power issues.
Replacing bulbs and checking for unusual noises can alert you early to electrical or mechanical problems. Your attention here can extend the life of your range hood and keep your kitchen safe.

Credit: prolinerangehoods.com
Frequently Asked Questions
How Do I Wire A Range Hood Safely?
Turn off the power before starting. Use appropriate wire connectors and follow the manufacturer’s wiring diagram. Connect the ground wire first, then the neutral and hot wires. Secure all connections tightly and test the hood after wiring to ensure safety and functionality.
What Tools Are Needed To Wire A Range Hood?
Essential tools include a voltage tester, wire strippers, screwdrivers, electrical tape, and wire nuts. These tools help ensure safe and efficient wiring. Having the right tools makes the installation process smoother and prevents wiring mistakes.
Can I Wire A Range Hood To A Regular Outlet?
No, range hoods usually require a dedicated circuit. They often need a hardwired connection to handle power demands. Check your local electrical codes and the hood’s specifications before wiring to ensure compliance and safety.
How Do I Connect The Ground Wire On A Range Hood?
Locate the green or bare copper wire from the hood. Connect it securely to the grounding screw or the home’s grounding wire. Proper grounding prevents electrical shocks and ensures the range hood operates safely.
Conclusion
Wiring a range hood can seem tough at first. Step-by-step work makes it easier. Always turn off power before starting any wiring. Follow safety rules to avoid accidents. Use the right tools and parts for the job. Take your time and double-check connections.
A well-wired range hood improves kitchen air quality. It helps remove smoke, steam, and smells fast. With care and patience, anyone can do this task safely. Now, your kitchen will feel fresher and cleaner every day.