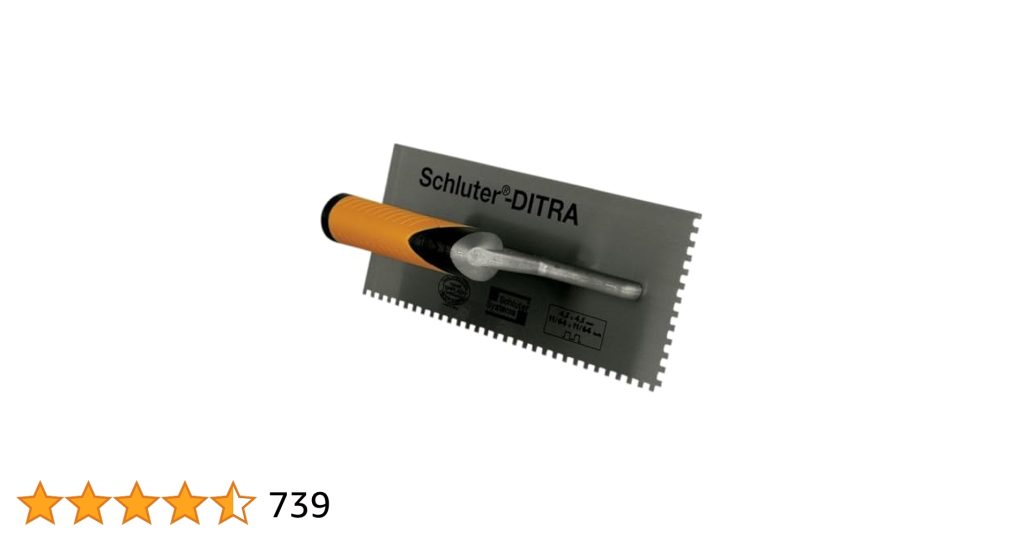
Choosing the right trowel size for your Kerdi membrane installation can make all the difference between a smooth, watertight seal and costly mistakes. If you’re planning a tiling project, you might wonder which trowel will give you the perfect thin-set coverage without wasting material or risking weak spots.
Getting this detail right not only saves you time and money but also ensures your waterproofing lasts for years. Keep reading to discover exactly what size trowel you need and why it matters for your project’s success.

Credit: www.amazon.ca
Kerdi Membrane Basics
Kerdi Membrane is a waterproofing material for wet areas. It helps stop water damage in places like showers and bathrooms.
This membrane is thin and flexible. It works with thin-set mortar to create a strong water barrier.
Key Features Of Kerdi Membrane
Kerdi Membrane has special features that make it ideal for wet spaces. It is easy to install and reliable.
- Waterproof and vapor-tight
- Resistant to mold and mildew
- Flexible to fit corners and curves
- Easy to cut and shape
- Works with standard thin-set mortar
- Creates a strong, seamless barrier
Common Applications
Kerdi Membrane is used in many wet and damp areas. It protects surfaces from water leaks.
| Application Area | Description |
| Shower walls and floors | Prevents water damage behind tiles |
| Bathroom floors | Stops water from seeping into subfloor |
| Kitchen backsplashes | Protects walls from moisture and stains |
| Sauna and steam rooms | Handles high humidity levels |
| Balconies and terraces | Waterproofs outdoor tiled areas |
Trowel Types For Tile Work
Choosing the right trowel is key for installing Kerdi membrane. The size and type affect how well the adhesive spreads. Using the correct trowel helps avoid problems later.
This guide explains flat and notched trowels. It also covers materials and handle styles. This helps you pick the best tool for your tile project.
Flat Vs. Notched Trowels
Flat trowels have a smooth edge. They spread adhesive evenly for thin layers. Notched trowels have teeth. These create ridges in the adhesive to improve grip.
- Flat trowels:Good for smooth surfaces and thinset.
- Notched trowels:Better for uneven surfaces and thicker adhesive.
- Kerdi membrane:Usually needs a notched trowel to hold adhesive well.
Materials And Handle Options
| Material | Advantages | Disadvantages |
| Stainless Steel | Durable, rust resistant | More expensive |
| Plastic | Lightweight, cheap | Less durable, breaks easily |
| Aluminum | Lightweight, rust resistant | Can bend or dent |
Handle types include wood, plastic, and rubber. Wood handles feel sturdy but can get slippery. Plastic is lighter and easy to clean. Rubber handles offer good grip and comfort.
Choosing The Right Trowel Size
Picking the right trowel size for Kerdi membrane is important. It helps ensure proper installation and durability.
The size of the trowel affects the adhesive spread. A good choice makes the work easier and more effective.
Recommended Notch Sizes For Kerdi
Kerdi membranes need specific trowel sizes. The recommended notch size is usually 1/4 x 3/16 inch V-notch.
This size helps spread the thin-set evenly. It ensures good adhesion and prevents voids under the membrane.
- 1/4 x 3/16 inch V-notch for standard installations
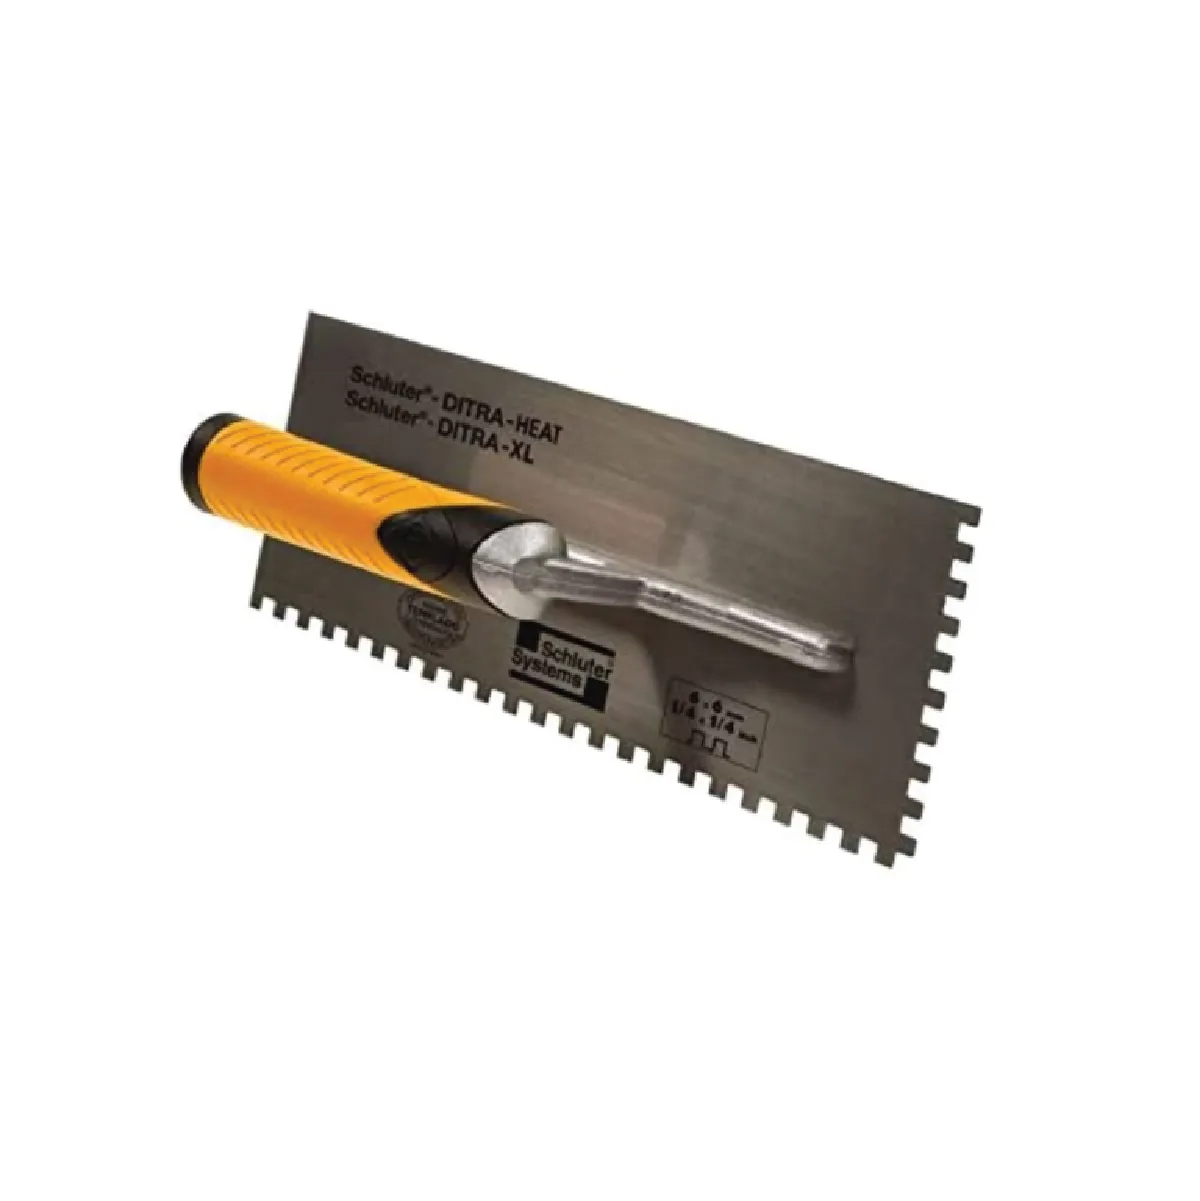
- 1/4 x 1/4 inch square notch for uneven surfaces
Factors Influencing Trowel Choice
Several factors influence the choice of trowel. The surface type and tile size are important considerations.
The type of thin-set mortar also matters. A thicker mortar may need a larger notch to spread evenly.
| Surface Type | Recommended Trowel |
| Flat and smooth | 1/4 x 3/16 inch V-notch |
| Rough or uneven | 1/4 x 1/4 inch square notch |
Credit: www.shagtools.com
Application Techniques
Using the right trowel size is key for applying Kerdi membrane correctly. It helps spread thin-set mortar evenly for a strong bond.
Proper application avoids issues like gaps or bubbles under the membrane. Good technique ensures a long-lasting waterproof layer.
Applying Thin-set Mortar Evenly
Use a 1/4 inch by 3/16 inch square-notch trowel for Kerdi membrane. This size helps spread thin-set in even ridges.
Hold the trowel at a 45-degree angle to create consistent ridges. Press mortar firmly onto the surface before placing the membrane.
- Use a flat edge to apply mortar first
- Comb the mortar with the notched side
- Keep ridges uniform for good coverage
- Work in small sections to prevent drying
Avoiding Common Installation Mistakes
Do not use a trowel that is too large or small. Too much mortar causes lumps. Too little mortar leads to poor adhesion.
Make sure the substrate is clean and dry. Dust or moisture can weaken the bond. Press membrane firmly to avoid air pockets.
- Use correct trowel size for even mortar layer
- Clean surface before applying mortar
- Press membrane evenly to remove air bubbles
- Seal overlaps tightly to prevent leaks
Tips For Perfect Installation
Choosing the right trowel size is key for installing the Kerdi membrane correctly. It helps spread thinset evenly and ensures a secure bond.
Below are tips on coverage and handling corners and seams for a smooth, lasting installation.
Ensuring Full Coverage
Use a 1/4 inch by 1/4 inch square-notched trowel for most Kerdi membrane applications. This size helps spread thinset evenly.
- Apply thinset in straight, even lines.
- Back-butter the membrane for better adhesion.
- Press the membrane firmly into the thinset.
- Check for gaps or bubbles after installation.
Working With Corners And Seams
Corners and seams need careful attention. Use pre-formed Kerdi corners or cut the membrane neatly.
| Area | Trowel Size | Tip |
| Inside Corners | 1/8 inch by 1/8 inch | Apply thinset thinly for flexibility |
| Outside Corners | 1/4 inch by 1/4 inch | Use corner pieces for neat fit |
| Seams | 1/4 inch by 1/4 inch | Overlap by 2 inches and press firmly |

Credit: www.ebay.com
Troubleshooting Installation Issues
Using the right trowel size is key when installing Kerdi membrane. It helps avoid common problems like air bubbles and poor adhesion.
This guide covers how to fix issues during installation and keep your project on track.
Dealing With Air Bubbles
Air bubbles form if thin-set mortar does not spread evenly under the membrane. The right trowel size creates consistent coverage.
Use a 1/4 inch by 1/4 inch square-notched trowel for most Kerdi membranes. This size spreads mortar evenly and reduces air pockets.
- Apply mortar firmly but avoid overloading the trowel
- Press the membrane down with a flat trowel or roller
- Smooth out bubbles by pushing them toward edges
- If bubbles persist, lift and reapply mortar carefully
Fixing Adhesion Problems
Poor adhesion happens if mortar is too thin or the wrong trowel is used. Too small a trowel spreads mortar too thin.
Use a 1/4 inch by 1/4 inch square-notched trowel to ensure the right mortar thickness. Check that the surface is clean and dry before applying.
- Do not skip cleaning the substrate before installation
- Apply mortar evenly with proper trowel size
- Press membrane firmly to bond with mortar
- Reapply thin-set if adhesion is weak
Frequently Asked Questions
What Size Trowel Is Best For Kerdi Membrane Installation?
A 1/4 inch by 1/4 inch square-notch trowel is ideal for Kerdi membrane. It ensures proper thin-set coverage and adhesion without excess mortar buildup.
Can I Use A Larger Trowel For Kerdi Membrane?
Using a larger trowel risks uneven mortar application and poor membrane bonding. Stick to the recommended 1/4″ x 1/4″ trowel for best results.
Why Is Trowel Size Important For Kerdi Membrane?
Correct trowel size ensures consistent mortar thickness. This creates a strong bond and prevents water infiltration beneath the membrane.
How To Apply Thin-set With The Right Trowel For Kerdi?
Use the 1/4″ x 1/4″ trowel to spread thin-set evenly. Comb mortar in one direction for uniform coverage before laying the membrane.
Conclusion
Choosing the right trowel size is key for Kerdi membrane success. A 1/4 inch by 3/16 inch square-notch trowel works best. It helps spread thinset evenly and creates a strong bond. Avoid using larger trowels that leave gaps or too little thinset.
Proper application keeps your waterproofing reliable and long-lasting. Always follow product instructions for best results. Simple steps like these make your tile job easier and more durable.