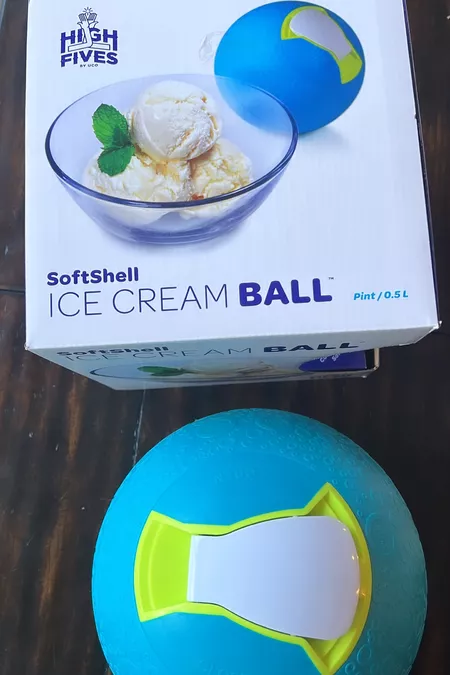
Imagine enjoying creamy, homemade ice cream that you made yourself—without fancy machines or complicated recipes. How?
By using an ice cream ball! This fun and easy method lets you create delicious ice cream right in your hands. In this guide, you’ll discover simple steps to make your favorite flavors come to life with just a few ingredients and some shaking.
Ready to impress your friends and treat yourself? Keep reading, and you’ll be enjoying fresh, cold ice cream in no time!

Credit: funmoneymom.com
Choosing Your Ingredients
Choose fresh cream, sugar, and your favorite flavorings for the best ice cream taste. Using quality ingredients makes the process easy and the result delicious.
Choosing the right ingredients is key to making delicious ice cream in a ball. Each choice impacts the taste and texture of your treat. Let’s dive into selecting the best options for creaminess, sweetness, and flavor.Selecting Cream And Milk
The foundation of ice cream is cream and milk. For rich ice cream, use heavy cream. It gives a smooth texture. Whole milk adds creaminess. For lighter options, choose low-fat milk. It makes ice cream less creamy but still tasty. Balance cream and milk for desired richness.Picking Sweeteners And Flavors
Sweeteners are crucial for ice cream. Granulated sugar is common. It dissolves easily. For natural sweetness, try honey or maple syrup. They add unique flavors. Vanilla extract is classic for flavor. For a twist, use almond or mint extract. Experiment with different flavors to suit your taste.Optional Mix-ins
Mix-ins add fun to ice cream. Nuts give crunch. Use chopped almonds or pecans. For a fruity touch, add berries. Fresh or frozen work well. Chocolate chips or candy pieces are popular choices. Swirl in caramel or fudge for extra flavor. Mix-ins personalize your ice cream.
Credit: makeovermyleftover.com
Preparing The Ice Cream Mixture
Preparing the ice cream mixture is a crucial step to ensure your ice cream ball adventure ends with a creamy, delicious treat. The right blend of ingredients sets the foundation for smooth texture and rich flavor. Taking the time to mix and chill your base properly will make a noticeable difference in the final result.
Combining Ingredients
Start with fresh, high-quality ingredients. You’ll need heavy cream, whole milk, sugar, and your favorite flavorings like vanilla extract or cocoa powder. Measuring accurately helps maintain the perfect balance between creaminess and sweetness.
Use a large bowl to mix everything. First, add the sugar to the milk and stir until it dissolves completely. Then, pour in the heavy cream and flavorings, and gently whisk the mixture until it’s smooth and uniform.
Have you noticed how sometimes ice cream turns out icy instead of creamy? This step is where you prevent that by ensuring all ingredients are well combined and the sugar is fully dissolved.
Chilling The Mixture
Chill your mixture for at least 1 to 2 hours before using it in the ice cream ball. Cold mixture freezes more evenly and improves the texture dramatically. I usually put mine in the fridge overnight when I have time — the difference is worth it.
Cover the bowl with plastic wrap to avoid absorbing any fridge odors. If you’re in a hurry, placing the mixture in an ice bath for 30 minutes can speed up chilling. But remember, the colder the mixture, the better the ice cream’s consistency will be.
Have you tried making ice cream without chilling the mixture first? It often leads to a grainy texture. Give chilling a serious shot and see how much smoother your homemade ice cream becomes.
Setting Up The Ice Cream Ball
Setting up the ice cream ball correctly is key to turning your ingredients into creamy, delicious ice cream. It’s a simple process, but getting the right balance of ice and salt and properly adding your ice cream mixture can make all the difference. Let’s break down how you can prepare your ice cream ball for the best results.
Filling With Ice And Salt
Start by opening the outer compartment of your ice cream ball. Fill it halfway with ice cubes, making sure the ice is packed but not crushed. Then, sprinkle a generous layer of rock salt over the ice. The salt lowers the freezing point of the ice, which helps the mixture freeze faster and creamier.
Keep adding alternating layers of ice and salt until the compartment is full. Don’t forget: the more salt you use, the colder the ice will become, so don’t be shy with it. Have you noticed how this simple trick can speed up freezing compared to just ice alone?
Adding The Mixture
Now, take your ice cream mixture—whether it’s a classic vanilla blend or a fun fruit flavor—and pour it into the inner container of the ice cream ball. Make sure the lid is sealed tightly to prevent any leaks. This inner container will spin inside the icy outer shell, churning your mixture evenly.
Place the inner container back into the outer shell filled with ice and salt. Secure the ball and get ready to roll it around! The friction and cold work together to churn and freeze your ice cream. How long do you think it takes to get that perfect creamy texture? Try rolling it for 10-15 minutes and see the magic happen right before your eyes.
Shaking And Freezing Process
The shaking and freezing process is key to making ice cream in an ice cream ball. This step mixes ingredients well and chills the mixture quickly. It turns liquid cream into a smooth, creamy dessert. The right technique helps create perfect texture and flavor.
Proper Shaking Techniques
Hold the ice cream ball firmly with both hands. Shake it back and forth in a steady motion. Try to keep the ball moving evenly. Avoid slow or jerky shaking to prevent uneven freezing.
Use your whole arm, not just your wrists. This helps keep a good rhythm without tiring your hands. Shake continuously for best results. Pause only if the ball feels too cold to hold.
Estimated Time For Freezing
Shaking usually takes about 10 to 15 minutes. The exact time depends on the outside temperature and ice quality. Check the texture every few minutes to avoid over-freezing.
The ice cream is ready when it feels firm but still soft inside. If it becomes too hard, it may lose creaminess. Stop shaking once the mixture thickens and no liquid remains.
Serving Your Homemade Ice Cream
Serving your homemade ice cream fresh from the ice cream ball is a rewarding moment. You get to enjoy the creamy texture and rich flavor that only you created. How you open the ball and present your ice cream can enhance the entire experience.
Opening The Ice Cream Ball
First, make sure the ice cream ball is completely stopped before opening it to avoid any mess. You might feel eager to see your creation, but a gentle twist and careful pull apart will keep everything neat. If the ice cream sticks to the sides, use a plastic spatula or spoon to loosen it without scratching the surface.
Have you noticed how cold and firm the ice cream feels right after making it? This firmness means it’s ready to scoop, but if it’s too hard, let it sit for a minute or two to soften slightly for easier serving.
Adding Toppings And Serving Tips
Now that you have your fresh scoop, think about toppings that complement your flavor. Crunchy nuts, fresh fruit, or a drizzle of chocolate sauce can add texture and excitement. Don’t hesitate to get creative—adding a sprinkle of sea salt can even bring out unexpected flavors.
- Serve the ice cream in chilled bowls to keep it from melting too fast.
- Offer small spoons to encourage savoring each bite.
- Consider pairing your ice cream with a warm dessert like brownies for a delightful contrast.
How do you want your guests to experience your ice cream? Simple and classic, or with a twist of adventurous toppings? Your serving style can turn a homemade treat into a memorable dessert moment.
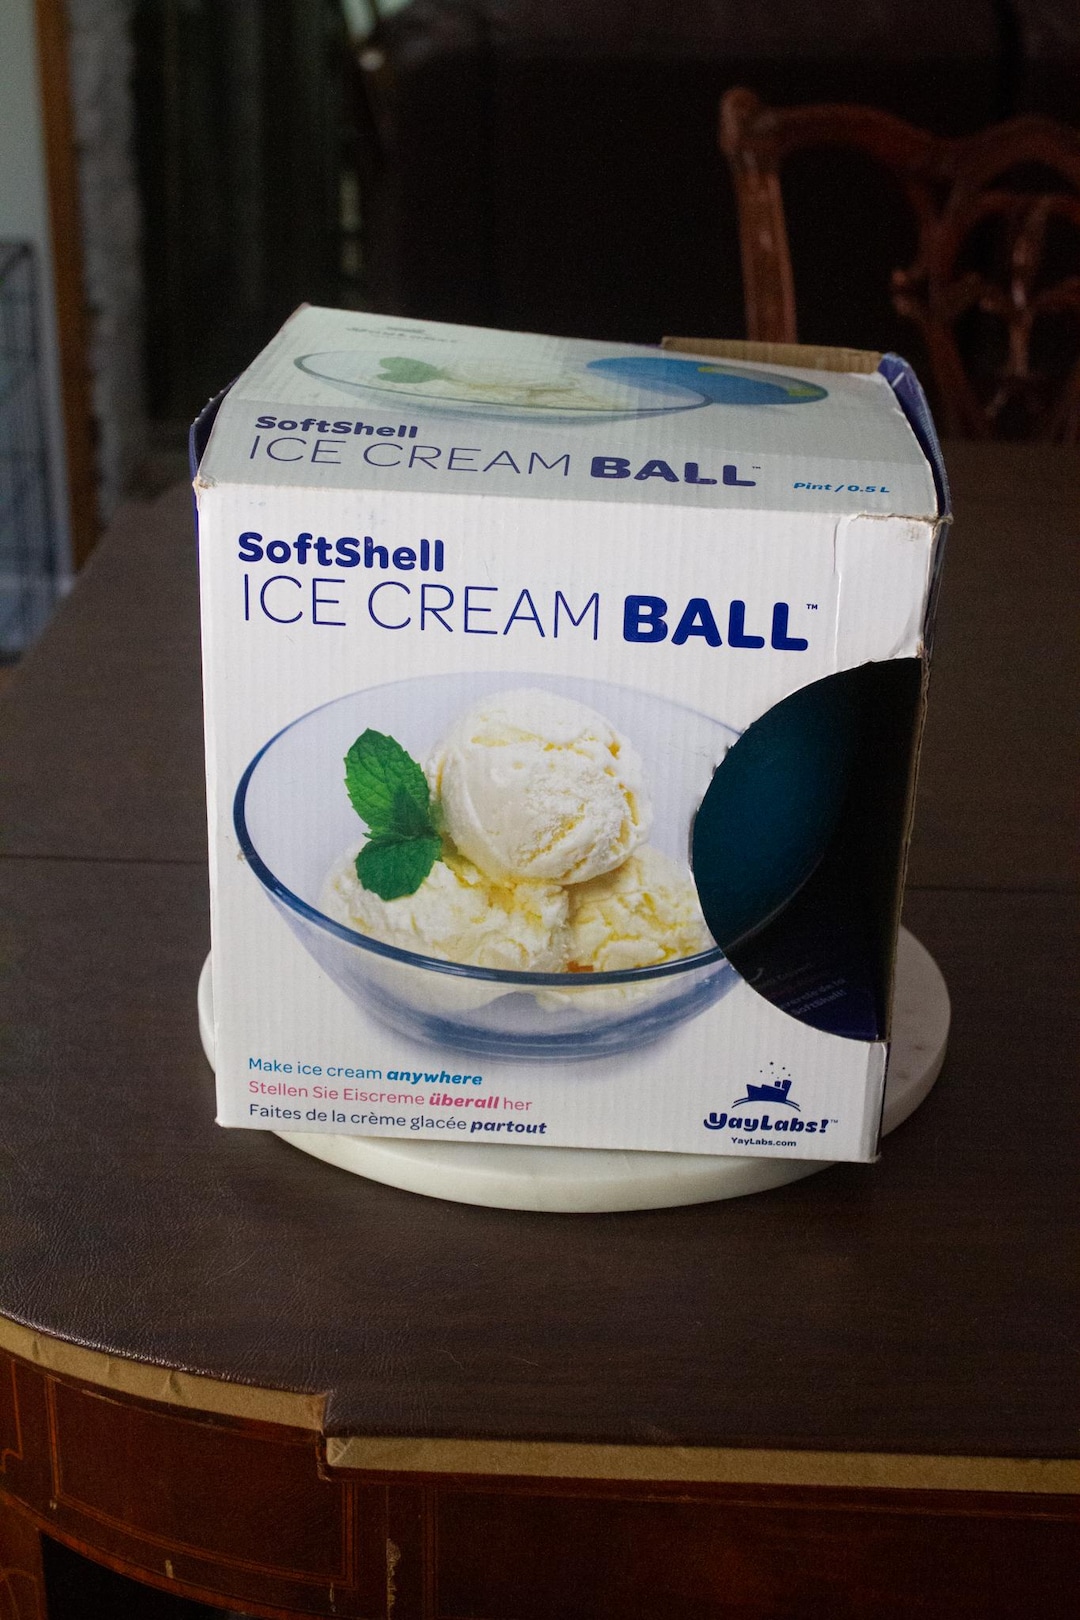
Credit: www.etsy.com
Cleaning And Maintenance
Keeping your ice cream ball clean is key for tasty results every time. Proper care stops bad smells and keeps the ball ready for your next ice cream adventure. Regular cleaning also helps the ball last longer and stay in good shape.
Disassembling The Ice Cream Ball
Take the ball apart carefully after use. Remove the outer shell and inner container. Check the lid and any seals or gaskets. These parts often hold residue that can spoil your ice cream. Handle each piece gently to avoid damage.
Washing And Storing
- Wash all parts with warm, soapy water. Use a soft sponge to avoid scratches.
- Rinse thoroughly to remove soap traces.
- Dry each part completely with a clean towel.
- Store in a cool, dry place to prevent mold or mildew.
- Avoid stacking heavy items on top to keep the shape intact.
Troubleshooting Common Issues
Troubleshooting common issues while making ice cream in an ice cream ball can save you from frustration and wasted ingredients. Sometimes, despite following the recipe, the texture or freezing process might not turn out as expected. Understanding these common problems helps you adjust your technique and get the perfect creamy treat every time.
Ice Cream Too Soft
If your ice cream feels too soft, it might be because the mixture didn’t freeze long enough or the ratio of ingredients was off. Make sure you shake the ice cream ball continuously for the recommended time—usually 10 to 15 minutes—to allow it to firm up properly.
Also, check the recipe’s cream-to-milk ratio. A higher cream content usually makes the ice cream thicker. Adding a bit more sugar can help too, as sugar lowers the freezing point and affects texture.
Have you tried chilling the ice cream ball itself before adding the mixture? A colder surface helps the ice cream freeze faster and firmer. If you live in a warm climate, consider adding more ice and salt to the ball to improve freezing efficiency.
Mixture Not Freezing Evenly
Uneven freezing often happens when the ice and salt aren’t distributed well around the ice cream ball. Shake the ball gently but consistently to keep the mixture moving and prevent pockets of unfrozen liquid.
Make sure you use enough ice and rock salt—these two work together to lower the temperature around the ball. If you skimp on salt or ice, the freezing process slows down and becomes uneven.
Also, avoid opening the ball too often during the process. Each time you open it, warm air enters, interrupting freezing. Instead, trust the time and shaking to do the work.
What if you notice certain spots inside the ball remain liquid while others freeze solid? Try rotating the ball more frequently or using a towel to grip and shake with better control. This small change can make a big difference in texture and freezing consistency.
Creative Variations To Try
Creative variations make the ice cream ball experience more fun and tasty. Trying new ideas brings fresh flavors and textures. These simple changes can turn basic ice cream into a special treat. Experimenting is easy and a great way to enjoy homemade ice cream.
Experimenting With Flavors
Start by mixing classic flavors or bold new ones. Vanilla and chocolate work well, but try mint, coffee, or caramel too. Spices like cinnamon or nutmeg add warmth. Use extracts such as almond or coconut for unique notes. Small amounts of flavor can make a big difference.
Adding Fruits And Nuts
Fresh fruits add color and a natural sweetness. Try chopped strawberries, blueberries, or mango pieces. Nuts give a nice crunch and rich taste. Consider walnuts, almonds, or pecans. Toasting nuts enhances flavor and texture. Mix fruits and nuts into the ice cream before shaking the ball for even distribution.
Frequently Asked Questions
How Does An Ice Cream Ball Work?
An ice cream ball uses shaking to freeze the mixture quickly. Ice and salt surround the inner container. Shaking creates cold temperatures that freeze the ice cream evenly. It’s a fun, hands-on way to make homemade ice cream without electricity.
What Ingredients Do I Need For The Ice Cream Ball?
You need heavy cream, sugar, vanilla extract, and milk for basic ice cream. Ice and rock salt are essential for freezing. Optional add-ins include chocolate chips or fruit. Using fresh, quality ingredients improves taste and texture.
How Long Does It Take To Make Ice Cream?
It usually takes 15 to 30 minutes of shaking. The exact time depends on shaking speed and ice quantity. Consistent shaking helps the mixture freeze evenly. Check the texture regularly to avoid over or under freezing.
Can Kids Safely Use An Ice Cream Ball?
Yes, with supervision, kids can safely use the ice cream ball. It’s a great interactive activity that teaches them about freezing. Ensure they handle the ball carefully and avoid spilling ice or salt. Adult help is recommended for best results.
Conclusion
Making ice cream with an ice cream ball is fun and easy. Just mix your ingredients, shake the ball, and watch the magic happen. You can enjoy fresh, homemade ice cream anytime. It’s a great activity for friends and family.
Plus, you control the flavors and sweetness. Try different recipes to find your favorite taste. This simple method brings joy and delicious treats together. Give it a try and enjoy your tasty creation!