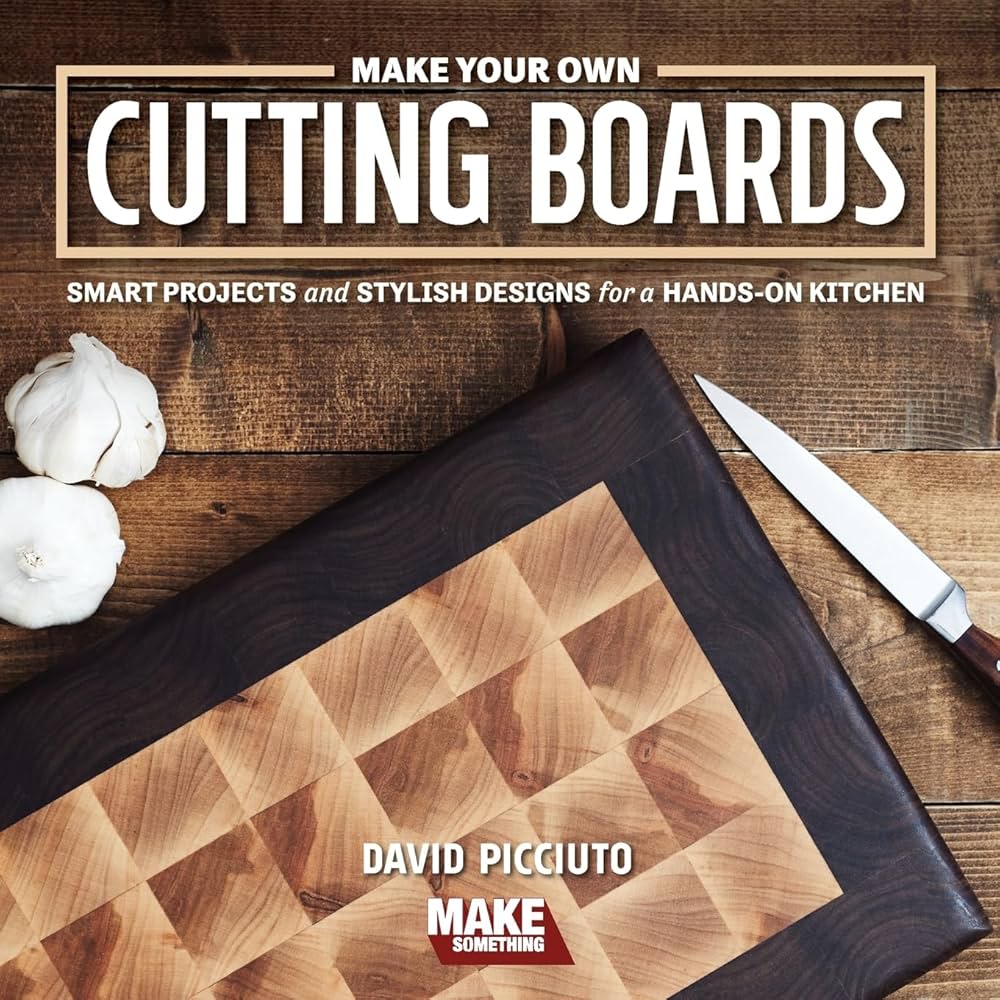
Are you tired of using flimsy, store-bought cutting boards that wear out quickly? Imagine having a sturdy, beautiful cutting board made by your own hands—one that lasts for years and adds a personal touch to your kitchen.
Making your own cutting board isn’t as hard as you might think. With just a few tools and simple steps, you can create a piece that’s both practical and unique. Keep reading, and you’ll discover how to turn basic wood into a kitchen essential you’ll be proud to use every day.
Choosing The Right Wood
Picking the right wood is key to making a great cutting board. The wood should be safe, strong, and last a long time.
Some woods work better than others. Learning about wood types helps you choose the best one for your board.
Best Wood Types For Cutting Boards
Hardwoods are the best choice for cutting boards. They resist cuts and do not damage knives.
- Maple: Strong and light-colored, very popular
- Walnut: Dark, rich color, and durable
- Cherry: Smooth texture and nice color
- Beech: Hard and affordable
- Teak: Natural oils help resist water
Wood Grain And Durability
Look for wood with tight, closed grain. It holds up better against cuts and water.
End grain boards are the most durable. They show knife marks less and last longer.
- Closed grain means fewer gaps for bacteria
- End grain has fibers standing up for softness
- Face grain is less durable but easier to make
Sourcing Quality Lumber
Choose wood that is dry and well-seasoned. Wet wood can warp or crack later.
Look for lumber from trusted suppliers. Ask if the wood is untreated and safe for kitchen use.
- Buy hardwood lumber from local sawmills or stores
- Check for no cracks, knots, or defects
- Ensure wood is free from chemicals or finishes
Credit: litmag.co.uk
Gathering Tools And Materials
Making your own cutting board is a fun woodworking project. First, you need the right tools and materials. This helps you work safely and get good results.
In this guide, we will look at the essential tools, safety gear, and wood finish options. These will prepare you to start your cutting board project.
Essential Tools List
You need some basic tools to make a cutting board. These tools help you cut, shape, and smooth the wood.
- Table saw or circular saw for cutting wood pieces
- Jointer or hand plane to flatten the wood
- Belt sander or orbital sander for smoothing surfaces
- Clamps to hold pieces together while gluing
- Measuring tape or ruler for accurate measurements
- Pencil for marking cut lines
- Wood glue for joining wood pieces
- Sandpaper of various grits for finishing touches
Recommended Safety Gear
Safety gear protects you from injuries while working with tools. Always use the right equipment before starting.
- Safety glasses to protect your eyes from wood chips
- Hearing protection like earplugs or earmuffs
- Dust mask or respirator to avoid breathing sawdust
- Work gloves to protect your hands from splinters
- Proper clothing that fits well and covers your body
Selecting Wood Finish Options
After shaping your cutting board, you need to protect the wood with a finish. This keeps the board safe to use and looks nice.
Choose finishes that are food safe and water resistant. Some finishes need time to dry before using the board.
- Mineral oil: easy to apply and food safe
- Beeswax: adds a smooth, water-resistant layer
- Tung oil: natural and durable finish
- Walnut oil: penetrates wood and protects it
- Salad bowl finish: made for kitchen wood items
Preparing The Wood
Preparing the wood is an important part of making your own cutting board. Good preparation helps the board last longer and stay safe to use.
This section covers measuring and marking, cutting to size, and sanding techniques to get your wood ready.
Measuring And Marking
Start by measuring your wood carefully. Mark the lines where you will cut. Use a pencil and a ruler or tape measure for accuracy.
- Measure twice to avoid mistakes
- Use a square to mark straight lines
- Mark both sides of the wood for clear guidance
- Choose the size that fits your kitchen space
Cutting To Size
Cut the wood along the marked lines using the right saw. Keep your cuts straight and smooth to make assembly easier later.
| Tool | Best Use |
| Hand Saw | Simple, small cuts |
| Table Saw | Quick, straight cuts |
| Jigsaw | Curved or detailed cuts |
Sanding Techniques
Sanding smooths the wood surface and removes rough edges. This step keeps your cutting board safe and pleasant to use.
Follow these sanding tips:
- Start with coarse grit sandpaper (80-100 grit)
- Progress to medium grit (150-180 grit) for a smoother finish
- Use fine grit (220 grit) for the final sanding
- Sand along the wood grain, not against it
- Wipe dust off between sanding steps
Assembling The Board
Assembling your cutting board is a key step in making it strong and useful. You will join the wooden pieces carefully to form a solid surface.
Each part of the process helps make sure the board lasts and looks good. Pay attention to details for the best results.
Gluing And Clamping
Use wood glue on the edges of each piece before pressing them together. Spread the glue evenly to avoid gaps or weak spots.
After applying glue, clamp the pieces tightly. Clamps hold the board firmly while the glue dries. Make sure the pressure is even across the board.
- Apply a thin layer of glue on each edge
- Align pieces so edges meet perfectly
- Use clamps to press pieces together
- Check for any glue squeeze-out and wipe it off
- Keep clamps tight but avoid crushing the wood
Ensuring Flatness
Keep the board flat during assembly to avoid bumps or warps. Use a flat surface underneath and check with a straight edge.
- Place the glued board on a flat table
- Use a straight ruler or level across the surface
- Adjust clamps if any part raises or dips
- Keep checking until glue sets firmly
Drying Time And Tips
Let the glued board dry fully for a strong bond. Drying time depends on the glue used and room conditions.
| Glue Type | Recommended Drying Time | Temperature |
| Wood Glue (PVA) | 24 hours | 70°F (21°C) |
| Polyurethane Glue | 6-8 hours | 65-75°F (18-24°C) |
| Epoxy | 12-24 hours | 70°F (21°C) |
Keep the board in a dry place away from direct sunlight or heat. Avoid moving it before drying completes.
Finishing Touches
After shaping your cutting board, finishing touches make it safe and beautiful. These steps protect the wood and improve its feel.
Careful finishing helps your board last longer and stay clean for daily use.
Final Sanding And Smoothing
Use fine-grit sandpaper to smooth all surfaces of the board. Sand edges and corners to avoid splinters.
Wipe the board with a damp cloth to remove dust between sanding steps. Repeat sanding if needed to get a smooth surface.
Applying Food-safe Finish
Choose a food-safe finish like mineral oil or beeswax. These finishes protect the wood and keep it from drying out.
Apply the finish evenly with a clean cloth. Let it soak into the wood for a few hours, then wipe off the extra.
- Use mineral oil for easy application and quick drying
- Beeswax adds a soft shine and extra protection
- Reapply finish every few weeks or when the board looks dry
Maintaining Your Cutting Board
Clean the board with warm, soapy water after use. Avoid soaking it in water to prevent warping.
Dry the board fully before storing. Regularly apply food-safe finish to keep it smooth and protected.
- Do not put the board in the dishwasher
- Use a scrub brush for deep cleaning if needed
- Store in a dry, well-ventilated area
Creative Design Ideas
Making your own cutting board lets you add personal touches. Creative designs can make your board stand out.
Try different styles and features to suit your kitchen and cooking style. Small details can make a big difference.
Adding Juice Grooves
Juice grooves catch liquids from fruits, meats, and vegetables. They help keep your counters clean and dry.
- Cut a shallow groove around the board’s edge
- Keep the groove wide enough to catch liquids
- Use a router or hand tool for clean edges
- Ensure the groove depth is not too deep to weaken the board
Incorporating Handles
Handles make it easier to carry and hang your cutting board. You can choose from many handle styles.
| Handle Type | Description | Benefits |
| Cutout Handles | Simple holes on each side | Easy to hold and clean |
| Attached Wooden Handles | Separate pieces joined to the board | Strong grip and decorative look |
| Leather Loop Handles | Loops fastened with screws | Flexible and stylish |
Customizing With Wood Inlays
Wood inlays add color and patterns to your cutting board. They create a unique and artistic design.
Inlay Ideas:
- Use contrasting wood types for stripes or shapes
- Cut shapes like hearts or stars and fill them with different wood
- Embed small geometric patterns around the edges
- Sand and finish smoothly for a seamless look
Common Mistakes To Avoid
Making your own cutting board can be fun and rewarding. Avoid mistakes that can ruin your work.
Simple errors in wood choice, sanding, and finishing affect the board’s quality and safety.
Using The Wrong Wood
Not all woods are good for cutting boards. Some woods are too soft or contain harmful oils.
- Do not use soft woods like pine or cedar. They scratch easily.
- Avoid woods with strong smells or toxic oils, such as walnut or cherry.
- Choose hardwoods like maple, beech, or birch for durability and safety.
- Check for wood that resists moisture to prevent warping.
Skipping Sanding Steps
Skipping sanding can leave rough spots that trap bacteria or cause splinters.
| Sanding Grit | Purpose |
| 80-100 | Remove rough saw marks and shape edges |
| 120-150 | Smooth the surface for finer finish |
| 220-320 | Prepare surface for sealing or oiling |
Follow these sanding steps in order to get a smooth and safe cutting surface.
Ignoring Finish Safety
Not all finishes are safe for food contact. Using the wrong finish can harm health.
Safe finishing tips:
- Use food-safe oils like mineral oil or beeswax.
- Do not use varnishes, polyurethane, or paint on cutting surfaces.
- Reapply finish regularly to protect wood and keep it safe.
- Let the finish dry fully before using the board.

Credit: www.amazon.com

Credit: www.amazon.com
Frequently Asked Questions
What Tools Do I Need To Make A Cutting Board?
To make a cutting board, you’ll need a saw, sander, clamps, and wood glue. A planer and router are optional but helpful for precision. Ensure you have safety gear like goggles and gloves. These tools will help you craft a durable and smooth cutting board.
What Type Of Wood Is Best For Cutting Boards?
Hardwoods like maple, walnut, and cherry are ideal for cutting boards. They are durable, dense, and have tight grains. These qualities prevent deep cuts and resist bacteria. Avoid softwoods as they can harbor bacteria and get damaged easily, compromising the board’s longevity.
How Do I Finish A Homemade Cutting Board?
Finish your cutting board with food-safe mineral oil or beeswax. Apply the oil generously, letting it soak in. Wipe off excess and allow it to dry. This process should be repeated regularly. It ensures your board remains hydrated and resistant to water damage and warping.
How To Prevent Cutting Board From Warping?
To prevent warping, store your cutting board upright and away from heat. Regularly oil it with mineral oil to maintain moisture balance. Avoid soaking it in water and always dry thoroughly after cleaning. These practices ensure your board remains flat and functional over time.
Conclusion
Making your own cutting board is simple and rewarding. Choose the right wood and tools. Take your time to sand and finish it well. A homemade cutting board lasts long and looks great. It adds a personal touch to your kitchen.
Try this project to enjoy cooking even more. Start small and learn with each board you make. Crafting your own board brings pride and usefulness together. Give it a go and see the results yourself.