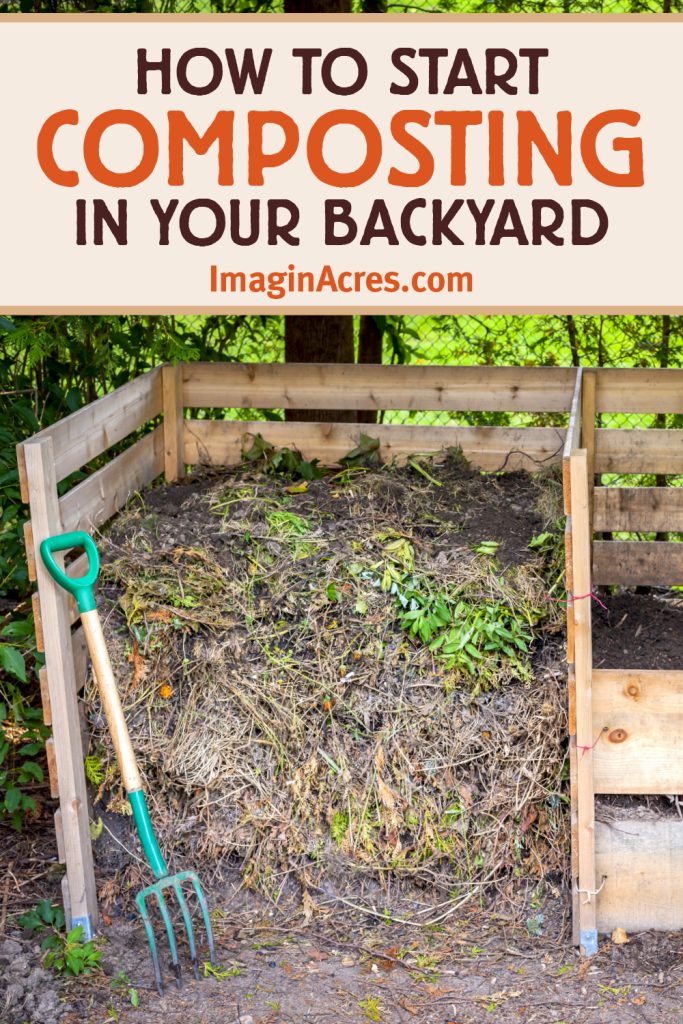
Are you looking to create rich, healthy compost right in your backyard? Knowing how to layer your compost bin correctly can make all the difference.
When you get the layering just right, you speed up the breakdown process and end up with nutrient-packed soil for your garden. You’ll discover simple, effective steps to build your compost layers like a pro. Stick with me, and you’ll soon turn your kitchen scraps and yard waste into black gold that your plants will love.
Ready to get started? Let’s dive in!
Credit: urbanwormcompany.com
Choosing The Right Compost Bin
Choosing the right compost bin helps you recycle kitchen and garden waste well. A good bin makes composting easier and keeps your space neat.
Consider the type, size, and where to place your bin before you start composting. This guide will help you pick the best option.
Types Of Compost Bins
Compost bins come in many shapes and materials. Some are open, and others are closed containers. Pick one that fits your needs and space.
- Plastic Bins:Lightweight and usually have lids to keep pests out.
- Wire Bins:Allow good airflow but do not keep animals away.
- Wooden Bins:Natural look and good for bigger gardens.
- Tumbler Bins:Can be turned to mix compost easily and speed up the process.
Size And Location Tips
| Size | Location |
| Small (up to 50 gallons) | Place near your kitchen for easy food scrap access. |
| Medium (50-100 gallons) | Keep in a shaded spot to maintain moisture. |
| Large (100+ gallons) | Put at the back of your yard to reduce odors. |
Make sure the spot has good drainage and is easy to reach. Avoid placing bins in direct sunlight or too close to your house.
Gathering Compost Materials
Creating a healthy compost bin starts with gathering the right materials. Good compost needs a balance of different types of waste.
Knowing what to add and what to avoid helps speed up decomposition and keeps pests away.
Greens And Browns Explained
Compost materials fall into two groups: greens and browns. Greens are rich in nitrogen. Browns provide carbon.
- Greens:vegetable scraps, grass clippings, coffee grounds
- Browns:dry leaves, straw, cardboard, paper
Mix greens and browns in roughly equal amounts. This mix helps materials break down faster and prevents bad smells.
Materials To Avoid
| Material | Reason to Avoid |
|---|---|
| Meat and dairy | Attract pests and cause odors |
| Oils and fats | Slow decomposition and smell bad |
| Diseased plants | Can spread disease in compost |
| Weeds with seeds | May grow in your garden |
| Pet waste | Contains harmful bacteria |
Preparing The Base Layer
Setting up your compost bin properly is important for effective composting. The base layer is where the decomposition process begins.
Creating a good foundation in your compost bin helps in breaking down waste efficiently. Here’s how to start.
Starting With Browns
Browns are dry materials like leaves and twigs. They provide carbon to the compost pile.
- Gather dry leaves and small branches.
- Ensure no large sticks are present.
- Spread a layer about 4 inches thick.
Adding Airflow
Airflow is crucial for keeping the compost active and odor-free. Proper airflow helps microorganisms to thrive.
Consider using a raised platform or adding holes in the bin base to improve airflow.
| Material | Function |
| Dry leaves | Carbon source |
| Small branches | Aeration |
| Platform | Improves airflow |
Building The Layers
Building a compost bin starts with layering materials carefully. Layers help break down waste faster and better.
Use the right mix of materials and keep the pile moist. This creates the best conditions for composting.
Alternating Greens And Browns
Start with a layer of brown materials like dry leaves or straw. Then add a layer of green materials like kitchen scraps or grass clippings.
- Brown layers provide carbon and help air flow.
- Green layers add nitrogen and moisture.
- Keep the layers about 3 to 6 inches thick.
- Repeat the layers until the bin is full.
Maintaining Moisture
Moisture is key to help microbes break down compost. The pile should feel like a damp sponge, not soaking wet.
| Moisture Level | Effect on Compost |
| Too Dry | Slow decomposition |
| Ideal | Fast breakdown and no odor |
| Too Wet | Bad smell and slow composting |
Turning And Maintaining The Pile
Keeping your compost pile healthy needs regular attention. Turning the pile helps air reach all materials. This speeds up the breakdown of organic waste.
Proper maintenance also keeps bad odors away. It stops the compost from getting too wet or dry. Let’s look at when to turn the compost and what tools to use.
When To Turn Compost
Turning the compost pile at the right times is key. It helps mix materials and adds oxygen. You should turn your pile every few days to weeks.
- Look for heat inside the pile. It means microbes are active.
- If the pile smells bad or sour, turn it to add air.
- When the pile looks dry, turning helps spread moisture.
- After heavy rain, turn to let the pile dry out.
- Turn the pile more often in warm weather for faster composting.
Tools For Turning
Using the right tools makes turning easier and cleaner. You need tools that can reach the center of the pile and mix materials well.
| Tool | Use | Benefit |
| Pitchfork | Lift and turn compost | Good for small to medium piles |
| Garden fork | Mix and aerate layers | Strong and easy to handle |
| Compost aerator | Poke holes to add air | Works well for deep piles |
| Shovel | Move large amounts | Useful for big piles |

Credit: creators.yahoo.com
Troubleshooting Common Issues
Using a compost bin can be simple, but some problems may arise. These issues affect how well your compost breaks down and smells. Knowing how to fix them helps keep your compost healthy.
This guide covers two common issues: bad odors and slow decomposition. Follow the tips to improve your compost bin’s condition.
Bad Odors
Bad smells often come from too much moisture or lack of air. When your compost smells bad, it may attract pests or cause discomfort. Fixing this issue is key to successful composting.
- Turn the compost to add air and reduce moisture.
- Add dry brown materials like leaves or shredded paper.
- Avoid adding meat, dairy, or oily foods.
- Check for proper drainage to prevent water buildup.
- Keep the compost bin covered but ventilated.
Slow Decomposition
When compost breaks down slowly, it may lack the right balance of materials or conditions. Temperature, moisture, and particle size affect how fast decomposition happens.
| Cause | Effect | Solution |
| Too dry | Decomposition slows down | Add water evenly to moist but not wet |
| Too wet | Compost becomes smelly and slow | Add dry materials and turn pile |
| Large pieces | Material breaks down very slowly | Chop or shred items before adding |
| Not enough nitrogen | Slow microbial activity | Add green materials like grass clippings |
| Too cold | Microbes work slowly | Place bin in sunny spot or insulate it |
Harvesting Finished Compost
Harvesting finished compost is a key part of using your compost bin well. Knowing when and how to collect the compost helps keep your garden healthy and growing strong.
Finished compost adds nutrients to soil and improves plant growth. It is dark, crumbly, and smells earthy. Let’s learn how to spot ready compost and use it in your garden.
Signs Compost Is Ready
Look for these signs to know if your compost is ready to harvest:
- The compost is dark brown or black in color.
- It has a crumbly texture, like soil.
- There is a fresh, earthy smell without any bad odors.
- Most original food scraps and leaves are no longer visible.
- The temperature inside the pile has cooled down.
Using Compost In Your Garden
Use finished compost to feed plants and improve soil quality. Here are ways to use it:
| Method | Description |
| Top Dressing | Spread compost around plants to keep soil moist and fertile. |
| Soil Mix | Mix compost with garden soil before planting seeds or seedlings. |
| Potting Mix | Add compost to pots for indoor and outdoor plants. |
| Mulching | Use compost as mulch to reduce weeds and hold moisture. |

Credit: www.youtube.com
Frequently Asked Questions
What Materials Should I Layer In A Compost Bin?
Layer brown materials like dry leaves and cardboard with green materials such as kitchen scraps and grass clippings. This balance ensures proper decomposition and reduces odors.
How Thick Should Each Compost Layer Be?
Aim for layers about 2 to 4 inches thick. Alternating green and brown layers of this thickness helps maintain airflow and moisture balance for faster composting.
How Often Should I Turn Or Mix Compost Layers?
Turn or mix compost every 1 to 2 weeks. This aerates the pile, speeds up decomposition, and prevents unpleasant smells.
Can I Add Meat Or Dairy To Compost Layers?
Avoid adding meat or dairy as they attract pests and cause odors. Stick to plant-based kitchen scraps for safe composting.
Conclusion
Layering a compost bin is simple and effective. Start with coarse materials at the bottom. Add green and brown layers alternately. Keep the pile moist but not wet. Turn the compost regularly for air and faster breakdown. Watch for heat as a sign of progress.
Patience brings rich, dark compost over time. This natural process helps reduce waste and feed your garden. Give it a try and enjoy healthier plants. Composting feels good and benefits the Earth.