Have you ever wondered if you can freeze beeswax wraps without ruining them? If you’re using these eco-friendly alternatives to plastic wrap, you might be curious about how they hold up in the freezer.
Knowing the answer can save you money and help you keep your food fresh longer. You’ll discover the truth about freezing beeswax wraps and get simple tips to make the most of them. Keep reading to protect your wraps and reduce waste effortlessly!
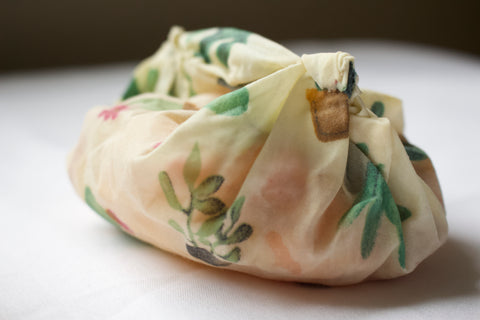
Credit: bajabee.com
Freezing Beeswax Wraps
Beeswax wraps are a popular eco-friendly alternative to plastic wraps. They keep food fresh and reduce plastic waste. But can they handle the cold of a freezer? Let’s explore the possibilities of freezing beeswax wraps.
Can Beeswax Wraps Go In The Freezer?
Yes, beeswax wraps can go in the freezer. They are durable and can withstand low temperatures. Use them to wrap bread, cheese, or vegetables before freezing. This helps maintain freshness and flavor. Ensure the wraps are sealed properly around the food. This prevents freezer burn and maintains quality.
Effects Of Freezing On Beeswax Wraps
Freezing impacts beeswax wraps minimally. They remain flexible and reusable. The cold may stiffen them slightly. But they soften quickly at room temperature. The wax coating stays intact, keeping the wrap effective. Regular use and washing can extend their lifespan.
Preparing Wraps For Freezing
Preparing your beeswax wraps properly before freezing is key to keeping them fresh and effective for future use. The right preparation helps maintain their shape, texture, and cleanliness, so they continue to protect your food well. Let’s look at how you can get your wraps ready step-by-step.
Cleaning Before Freezing
Start by gently washing your beeswax wraps in cool water with mild soap. Avoid hot water as it can melt the wax coating. Rinse thoroughly to remove all soap residue, which can affect the wrap’s stickiness and safety.
Have you noticed how stubborn bits of food can cling to the fabric? Use a soft sponge or cloth to carefully scrub those spots without damaging the wax layer. This keeps the wrap hygienic and ready for freezing without introducing any unwanted odors or bacteria.
Drying And Folding Techniques
After washing, air-dry your wraps completely. Lay them flat or hang them in a clean, dry place away from direct sunlight. Moisture left on the wraps can cause mold or reduce their lifespan in the freezer.
Once dry, fold your wraps neatly to save space and prevent creasing. Try folding them like a letter or rolling them loosely to maintain flexibility. Have you tried folding them into smaller squares? It makes grabbing the right size easier when you need them later.
Storage Tips In The Freezer
Storing beeswax wraps in the freezer can extend their lifespan and keep them fresh for longer use. However, you need to handle them with care to maintain their texture and effectiveness. Here are some practical tips to help you store your beeswax wraps properly in the freezer.
Ideal Packaging Options
Choose breathable packaging that protects your beeswax wraps but allows some air circulation. Using parchment paper or reusable silicone bags works well because they prevent moisture buildup without sealing the wraps completely airtight.
Avoid plastic wrap or heavy-duty freezer bags that trap moisture, as this can cause the wraps to lose their stickiness or develop mold. If you want to stack multiple wraps, place a sheet of parchment paper between each one to keep them from sticking together.
Avoiding Damage And Contamination
Keep your beeswax wraps away from strong-smelling foods in the freezer to prevent unwanted odors from transferring. You might not want your wraps to smell like frozen fish or garlic the next time you use them.
Also, avoid folding them tightly or placing heavy items on top. This can crack the wax coating and reduce the wrap’s flexibility. Instead, lay them flat or loosely rolled to maintain their shape and usability.
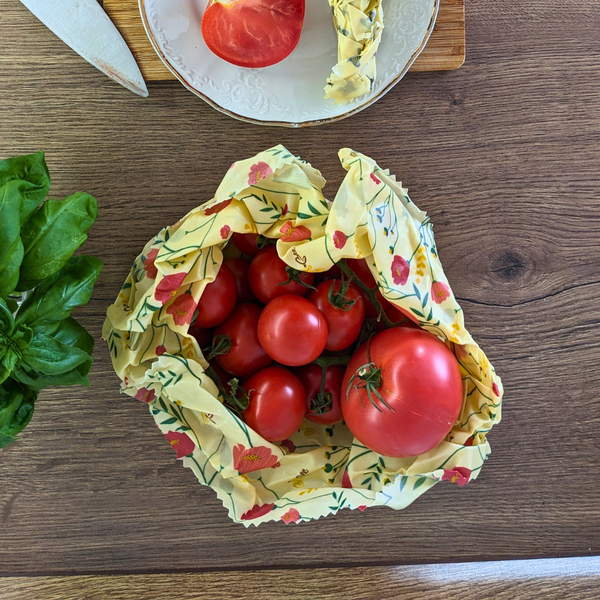
Credit: wiselymarket.com
Thawing And Reusing
Thawing and reusing beeswax wraps after freezing them is easier than you might think. Handling them carefully ensures they maintain their natural properties and last longer. Let’s look at how you can thaw them safely and bring back their flexibility and stickiness.
Safe Thawing Methods
To thaw your beeswax wraps, avoid using direct heat sources like microwaves or stoves, as intense heat can damage the wax coating. Instead, let them sit at room temperature for about 30 to 60 minutes. This gradual thaw helps preserve the wrap’s texture and makes it ready for reuse.
If you’re in a hurry, you can gently warm the wrap by holding it between your hands. The natural warmth from your palms softens the wax, restoring its pliability without melting it. Just be careful not to press too hard or stretch the wrap while it’s still cold and brittle.
Restoring Flexibility And Stickiness
Sometimes, after being frozen, beeswax wraps lose a bit of their stickiness and become stiff. To bring them back to life, you can rub the wrap lightly with a warm, dry cloth. This helps reactivate the wax and oils, making the wrap easier to mold around containers or food items.
If the wrap feels too dry or less adhesive, you might consider refreshing it with a small amount of beeswax. Melt a bit of beeswax onto the wrap using a hairdryer or by placing it briefly in a warm oven (around 150°F or 65°C). This step can give your wrap a new burst of stickiness and extend its usability.
Have you noticed your beeswax wrap losing its grip after freezing? Try these simple techniques and see how well your wrap bounces back. Reusing wraps effectively not only saves money but also reduces waste in your kitchen.
Maintaining Beeswax Wraps Longer
Maintaining your beeswax wraps so they last longer is easier than you might think. With just a few simple habits, you can keep them fresh and functional for many uses. Caring for your wraps properly not only saves money but also reduces waste, making your kitchen greener.
Daily Care Routines
After each use, gently wash your beeswax wrap with cool water and mild soap. Avoid hot water as it can melt the wax and damage the wrap’s effectiveness.
Let your wrap air dry completely before folding or storing it. Folding while damp can cause it to stick together or develop mildew.
Store your wraps in a dry, cool place away from direct sunlight. Heat and sunlight can weaken the wax coating over time.
Signs Of Wear And When To Replace
Notice if your wraps lose their stickiness or start to feel rough and brittle. These are signs that the wax coating is wearing off.
Small tears or cracks reduce the wrap’s ability to seal properly. If you see these, it’s time to replace the wrap to avoid food spoilage.
Have you ever tried to revive a tired wrap by re-waxing it? This can extend its life, but only if the fabric isn’t too damaged.

Credit: www.idealwrap.com
Frequently Asked Questions
Can Beeswax Wraps Be Frozen Safely?
Yes, beeswax wraps can be frozen safely. They maintain their shape and effectiveness in the freezer. Avoid direct contact with sharp objects to prevent damage. Freezing helps keep food fresh and reduces plastic use.
How Long Do Beeswax Wraps Last In The Freezer?
Beeswax wraps can last several months in the freezer. Their lifespan depends on usage and care. Proper cleaning and drying before freezing extend their usability. Avoid heat exposure to maintain their wax coating.
Do Frozen Beeswax Wraps Lose Their Stickiness?
No, frozen beeswax wraps generally do not lose their stickiness. The wax remains effective even at low temperatures. Gently warming wraps with your hands restores any lost tackiness for better sealing.
Can Frozen Beeswax Wraps Protect Food From Freezer Burn?
Yes, beeswax wraps help protect food from freezer burn. They create a breathable, water-resistant barrier around food. This reduces moisture loss and freezer burn risk. Use multiple layers for extra protection.
Conclusion
Beeswax wraps can handle freezing well with care. They stay flexible and keep food fresh longer. Avoid sharp folds to stop cracking or damage. Clean wraps gently before freezing for best results. Using beeswax wraps reduces plastic waste around your home.
Try freezing with them to save money and earth. Small steps like this help create a greener lifestyle. Keep your wraps clean and dry after use. Enjoy fresh food and eco-friendly storage every day.