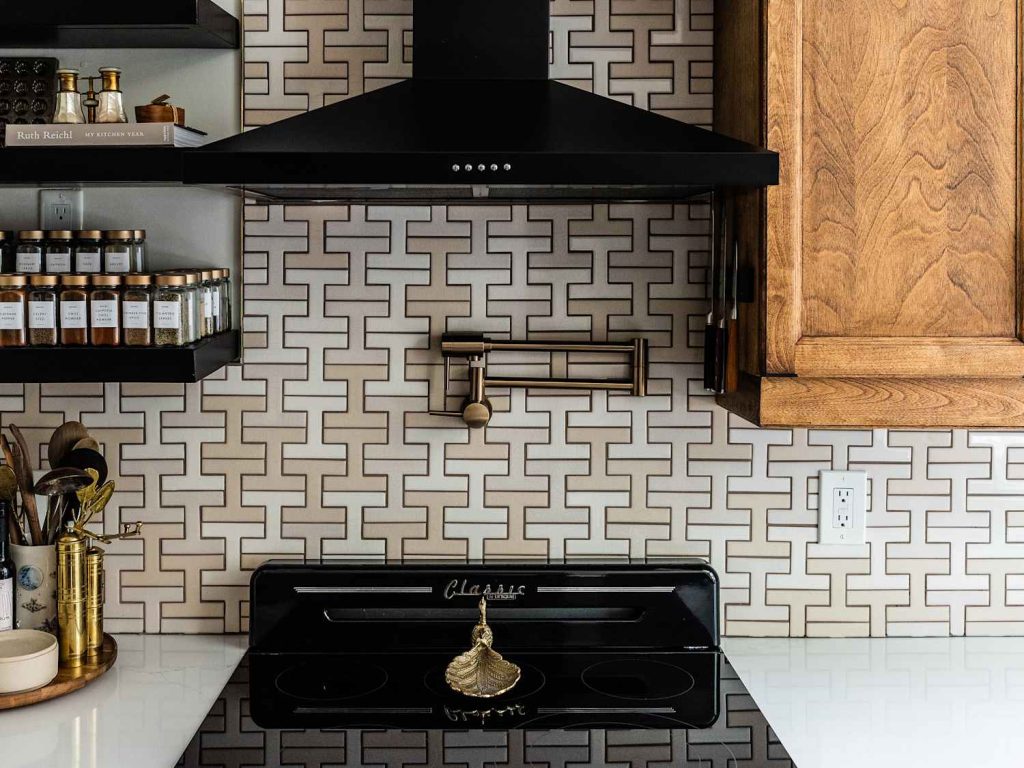
Are you tired of your dull or outdated range hood but don’t want to spend a lot on a new one? You might be wondering, can you paint a range hood yourself to give your kitchen a fresh look?
The answer is yes—but there are some important things you need to know before picking up that paintbrush. You’ll discover the best tips and tricks to transform your range hood safely and beautifully. Keep reading to find out how you can make your kitchen feel brand new without breaking the bank.

Credit: www.reddit.com
Choosing The Right Paint
Choosing the right paint for your range hood is crucial to ensure durability and an appealing finish. The paint must withstand heat, grease, and regular cleaning without peeling or fading. Picking the wrong type can lead to costly mistakes and extra work down the line.
Types Of Paint For Metal Surfaces
Range hoods are typically metal, so you need paint made specifically for metal surfaces. Look for oil-based or enamel paints; these offer excellent adhesion and durability. High-temperature spray paints designed for grills or radiators also work well because they handle heat without cracking.
Acrylic paints are easier to work with but might not hold up as well under heat and grease. If you want to try a DIY approach, test the paint on a small hidden area first to see how it reacts. Have you ever painted something only to find the paint bubbling or peeling after a few days? Avoid that by choosing metal-friendly paints.
Color Selection Tips
Think about the overall style of your kitchen before picking a color. Neutral shades like black, white, or stainless steel tones blend well with most kitchens and won’t show dirt easily. Bold colors can make your range hood a statement piece, but they require more upkeep to stay fresh.
Consider how lighting affects the color—natural light can make colors look different than artificial light. If your kitchen is small, lighter shades can make it feel more open. Ask yourself if you want your range hood to blend in or stand out. Your choice here will change the entire kitchen vibe.
Finishes That Work Best
Finish matters as much as color. A semi-gloss or satin finish is ideal because it balances shine with easy cleaning. Matte finishes look modern but tend to show stains and grease marks more clearly.
Glossy finishes reflect light and make the surface look smoother, but they can highlight imperfections. If you’re repainting an older hood, a satin finish can help hide minor dents or scratches. Which finish will match your kitchen’s style while making maintenance easier for you?

Credit: www.reddit.com
Preparing The Range Hood
Preparing the range hood properly is key to a smooth painting job. It helps the paint stick well and last longer. Taking time to clean, sand, and remove parts makes the surface ready for paint.
This preparation also protects the hood’s function and appearance. A well-prepped surface gives a neat, professional look. Follow these steps carefully for the best results.
Cleaning And Degreasing
Start by cleaning the range hood to remove grease and dirt. Use a strong degreaser or dish soap mixed with warm water. Wipe the entire surface with a cloth or sponge. Pay attention to corners and edges.
Rinse with clean water and dry with a soft cloth. Make sure no grease or dust remains. A clean surface prevents paint from peeling or bubbling.
Sanding For Better Adhesion
Lightly sand the hood’s surface to roughen it up. Use fine-grit sandpaper, around 220 grit. Sanding helps the paint stick to the metal or plastic.
Focus on glossy or smooth areas. Avoid heavy sanding that could damage the surface. After sanding, wipe away dust with a damp cloth.
Removing Hardware And Filters
Take off any removable parts like filters, screws, and handles. This makes painting easier and neater. Keep all hardware in a safe place for reassembly.
Some parts may need special cleaning or painting separately. Removing these parts protects the mechanical parts from paint damage.
Painting Techniques
Painting your range hood can dramatically refresh your kitchen without the cost of replacement. To get a smooth, lasting finish, you need the right painting techniques. These steps help your paint stick better and make the whole project easier and more rewarding.
Priming The Surface
Priming is a crucial step before painting your range hood. It creates a base that helps the paint stick and prevents peeling. Use a high-quality primer suitable for metal surfaces since most range hoods are made of stainless steel or aluminum.
Make sure the surface is clean and dry before applying primer. Any grease or dust can ruin the adhesion. You can use a degreaser and a lint-free cloth to prepare the hood properly.
Brush Vs. Spray Painting
Choosing between a brush and spray painting depends on your comfort and the look you want. Brushes give you control but can leave visible strokes if not careful.
Spray painting offers a smooth, even coat and is faster, but it requires more prep work to protect surrounding areas from overspray. If you want a professional finish and your range hood has curves or edges, spray painting might be your best bet.
Applying Multiple Coats
Applying several thin coats of paint is better than one thick coat. Thin layers dry faster and reduce the risk of drips or uneven texture.
After each coat, wait until the paint feels dry to the touch before applying the next. This step-by-step build-up improves durability and gives your range hood a flawless finish.
Have you noticed how many DIY paint jobs fail because people rush this part? Taking your time here makes all the difference.
Drying And Curing
Drying and curing are key steps after painting your range hood. They help the paint set properly and last longer. Skipping these steps can cause peeling or damage. Understanding the right conditions and time needed ensures a smooth and durable finish.
Ideal Drying Conditions
Choose a well-ventilated area with low humidity to dry the paint. Keep the temperature between 65°F and 75°F for best results. Avoid direct sunlight or extreme heat, which can cause cracks or bubbles. Make sure the air moves gently around the hood to speed drying.
Curing Time For Durability
After drying, the paint needs time to cure fully. Curing allows the paint to harden and resist scratches or stains. This process can take from 3 days to 2 weeks. Avoid heavy use or cleaning during this time to protect the finish. Patience pays off with a strong, lasting paint job.
Maintenance After Painting
After painting your range hood, proper maintenance is key to keeping it looking fresh and vibrant. The finish can be delicate, so how you clean and touch it up makes a big difference. Taking a few simple steps will extend the life of your paint job and keep your kitchen looking sharp.
Cleaning Tips To Preserve Finish
Use a soft, damp cloth for regular cleaning instead of harsh scrubbing tools. Abrasive sponges or rough brushes can scratch the paint and cause it to peel over time.
Choose gentle cleaners like mild dish soap mixed with water. Avoid strong chemicals or degreasers that might eat away at the paint’s protective layer.
- Wipe spills immediately to prevent stains.
- Dry the surface thoroughly after cleaning to avoid moisture damage.
- Clean your range hood weekly to prevent grease buildup that can dull the paint.
Have you noticed how neglecting even a small grease spot can change the look of your hood? Staying consistent with gentle cleaning keeps the finish intact and vibrant.
Touch-up Strategies
Even with careful cleaning, chips or scratches may appear over time. Keep a small amount of the original paint for quick touch-ups. It’s easier to fix tiny flaws before they spread.
Use a fine brush to apply paint only on damaged spots. Avoid painting large areas at once, which can cause uneven texture and color mismatches.
- Lightly sand the chipped area with fine-grit sandpaper before applying paint.
- Allow the paint to dry completely between coats for a smooth finish.
- If you don’t have leftover paint, try to match the color at a local hardware store.
Have you ever ignored a small scratch thinking it was no big deal, only to regret it later? Timely touch-ups prevent minor damage from turning into costly repairs.

Credit: www.reddit.com
Common Mistakes To Avoid
Painting a range hood can refresh your kitchen’s look, but it’s easy to make mistakes that ruin the finish or cause long-term problems. Avoiding common errors will save you time, money, and frustration. Here are some pitfalls you need to watch out for to get the best results.
Skipping Surface Preparation
Surface preparation is the foundation of a successful paint job. If you don’t clean, sand, and prime the range hood properly, the paint won’t stick well and could peel quickly.
Imagine spending hours painting only to see paint bubbles or chips within weeks. Take your time to remove old paint, dirt, and dust completely before you start. Sanding creates a rough texture that helps the paint grip better.
Using The Wrong Paint
Not all paints are made for kitchen appliances or metal surfaces. Using regular wall paint or low-quality paint can lead to poor adhesion and discoloration.
You need heat-resistant, oil-resistant, and durable paint designed for metal or appliances. Have you checked the label on your paint can? Choosing the right type saves you from repainting sooner than expected.
Painting Over Grease
Grease is the enemy of paint adhesion. Range hoods collect grease from cooking, and if you paint over it, the paint will fail to bond properly.
Clean the surface thoroughly with a degreaser or a strong detergent before painting. Think about your last kitchen cleanup—did you remove all greasy spots? Leaving any grease behind is a recipe for paint failure.
Frequently Asked Questions
Can You Paint A Metal Range Hood Safely?
Yes, you can paint a metal range hood safely. Use heat-resistant spray paint designed for appliances. Clean and sand the surface first for better adhesion.
What Type Of Paint Is Best For Range Hoods?
Heat-resistant enamel or appliance spray paint works best. These paints withstand kitchen heat and moisture, ensuring durability and a smooth finish.
How To Prepare A Range Hood Before Painting?
Clean thoroughly to remove grease and dust. Lightly sand the surface to create texture. Use a primer suitable for metal for optimal paint adhesion.
Will Painting A Range Hood Affect Its Performance?
Painting does not affect performance if done correctly. Avoid blocking vents or filters. Use heat-resistant paint to prevent damage from cooking heat.
Conclusion
Painting a range hood is a practical task. It offers a fresh look. You need the right tools and paint. Clean the surface thoroughly first. Sanding ensures better paint adhesion. Choose heat-resistant paint for safety. Follow the instructions carefully for best results.
Painting can save you money. It transforms the kitchen’s appearance. Remember to ventilate well during the process. This ensures your safety and health. Enjoy your refreshed kitchen space. It’s a rewarding DIY project.