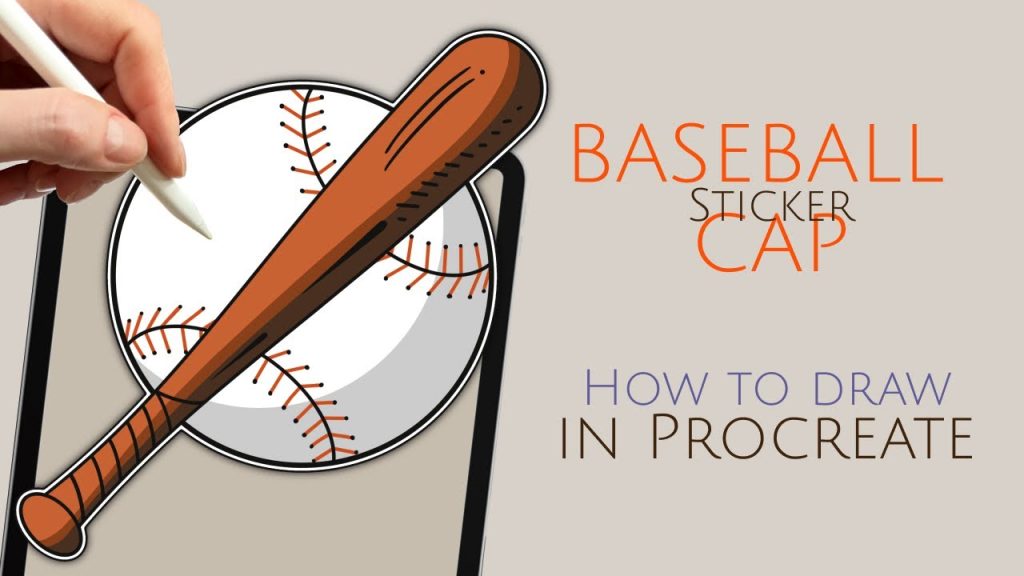
Have you ever wanted to draw a baseball bat but didn’t know where to start? Whether you’re a beginner or just looking to improve your skills, this guide will help you create a simple and realistic baseball bat step by step.
By the end, you’ll be surprised at how easy it is to bring your drawing to life. Ready to impress yourself and others with your art? Let’s dive in and get your pencil moving!
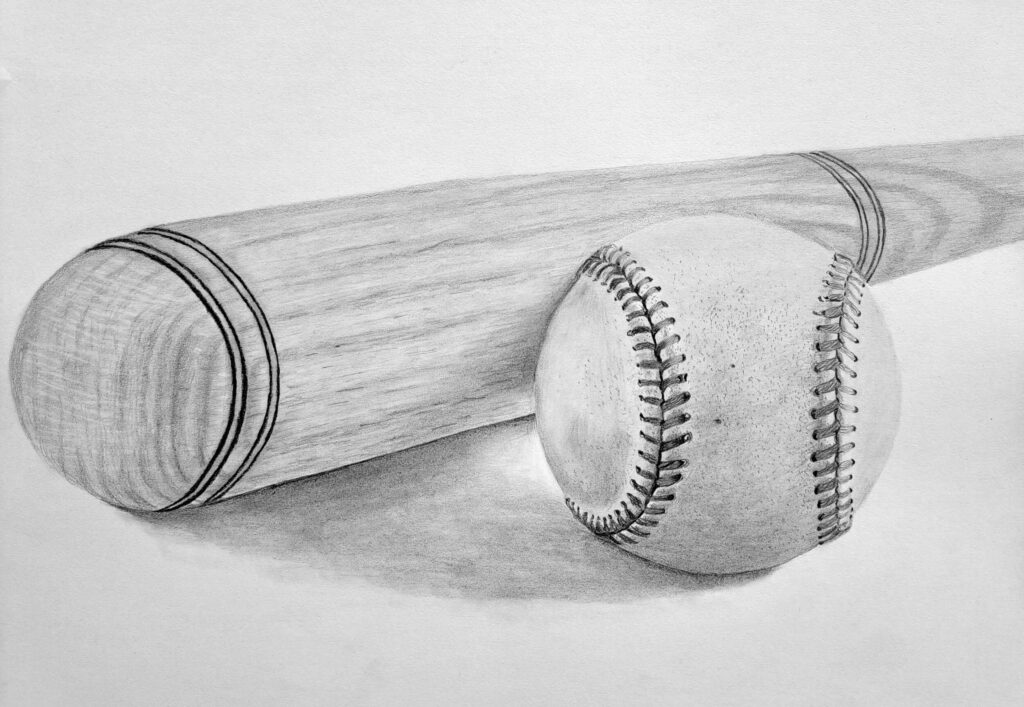
Credit: muusart.com
Materials Needed
Drawing a baseball bat is simple if you have the right tools. These materials help you create clean and clear lines.
Gathering your materials before you start makes the process smoother. You will need basic art supplies that are easy to find.
Paper
Choose a smooth sheet of paper for your drawing. A standard white drawing paper works best to show pencil marks clearly.
Pencils
Use different pencils for sketching and shading. A softer pencil like 2B or 4B is good for outlines, while harder pencils can add details.
Eraser
An eraser helps correct mistakes and refine shapes. A kneaded eraser is useful because it removes pencil marks gently without damaging the paper.
Ruler
A ruler helps you draw straight lines for the bat’s edges. It keeps your drawing neat and proportional.
Optional Coloring Tools
- Colored pencils for adding color
- Markers for bold outlines
- Watercolors for a soft look
Materials Comparison Table
| Material | Purpose | Tip |
| Paper | Base for drawing | Use smooth white paper |
| Pencils | Sketching and shading | Use 2B for outlines |
| Eraser | Correction | Kneaded eraser is gentle |
| Ruler | Straight lines | Measure edges carefully |
| Coloring Tools | Adding color | Choose based on style |

Credit: www.vecteezy.com
Basic Shapes To Start
Drawing a baseball bat begins with simple shapes. Start with basic forms to guide your drawing.
Understanding the main parts helps in creating a realistic bat. Break it down into manageable steps.
Drawing The Barrel
The barrel is the thickest part of the bat. Use a long, oval shape to represent it.
This part makes contact with the ball. Keep it slightly curved for a realistic look.
Creating The Handle
The handle is thinner and longer. Draw a straight line extending from the barrel.
It should taper as it moves away from the barrel. This tapering gives the handle a natural look.
Adding The Knob
The knob is at the end of the handle. Draw a small circle or oval to represent it.
This part prevents the bat from slipping. Make sure it looks secure and attached.
- Start with the barrel’s oval shape
- Extend a tapered line for the handle
- Finish with a small circle for the knob
Sketching The Outline
Drawing a baseball bat starts with a simple outline. This step helps create the basic shape before adding details. Focus on the bat’s long and slim form.
Keep your lines light so you can change them if needed. Use basic shapes to guide your sketch and keep proportions correct.
Start With Basic Shapes
Begin by drawing a long, thin rectangle. This shape will be the main body of the bat. Make sure it is slightly wider at one end for the barrel.
Add The Handle And Barrel
The handle is thinner and longer than the barrel. At the opposite end, draw a larger oval to represent the barrel’s rounded tip.
- Draw a narrow cylinder for the handle
- Attach a wider oval shape for the barrel
- Ensure the handle and barrel connect smoothly
Check Proportions
Check if the handle is about one-third the length of the bat. The barrel should be the remaining two-thirds. This balance makes the bat look realistic.
| Part | Proportion |
| Handle | 1/3 of total length |
| Barrel | 2/3 of total length |
Refine The Outline
Erase extra lines and smooth the edges. The bat should look rounded, not boxy. Use curved lines to show its cylindrical shape.
Tip:Use light pencil strokes at first. This makes it easier to fix mistakes.
Adding Details
Adding details to your baseball bat drawing makes it look real. Small features bring your art to life.
Focus on textures and shapes that make the bat unique. These details show your skill and care.
Handle Texture
The handle is where players hold the bat. Adding texture here makes it feel more natural.
Draw small lines or dots to show a rough or smooth surface. This helps to show the wood grain or tape.
- Use short, curved lines for wood grain
- Add tiny dots for a taped handle
- Keep lines close to each other for roughness
Bat Barrel
The bat barrel is the thick part that hits the ball. It should look solid and rounded.
Draw smooth curves for the shape. Add shading on one side to create depth and roundness.
- Use soft shadows to show round edges
- Add small scratches or dents for realism
- Draw the brand logo or marks lightly
Grip Features
The grip helps players hold the bat firmly. Show details like tape or rubber grips.
Use patterns like crisscross lines or wrapped bands to show tape. Add small folds or bumps for texture.
- Draw diagonal lines for tape wrap
- Add small shadows for folds
- Include tiny dots for rubber grips
Shading Techniques
Shading adds realism to your baseball bat drawing. It shows how light falls on the bat and gives it shape.
Using shading well makes the bat look three-dimensional and solid on paper.
Light Source
Decide where the light is coming from before shading. This helps you know which parts are bright and which parts are dark.
- Pick a direction for the light, such as left or right.
- Shade the side opposite the light source darker.
- Keep the side facing the light lighter.
- Use soft shading for gradual light change.
- Make shadows sharper if the light is strong.
Creating Depth
Depth makes the bat look round and not flat. Use different shading techniques to create this effect.
| Technique | Description | Effect |
| Hatching | Draw parallel lines close together | Shows light to dark areas |
| Cross-hatching | Draw intersecting lines | Adds more shadow and texture |
| Blending | Use a tool or finger to smooth shading | Creates soft transitions |
| Stippling | Use dots for shading | Gives a textured look |
Highlighting
Highlights show where light hits the bat most directly. These are the brightest spots on your drawing.
To add highlights:
- Leave some areas white or very light.
- Use an eraser to lift shading gently.
- Place highlights on the edge facing the light source.
- Keep highlights small and sharp for a shiny look.
Coloring Your Drawing
Adding color brings your baseball bat drawing to life. It makes your artwork look more real and interesting.
Use the right colors and techniques to create depth and texture. This helps your bat look wooden and smooth.
Choosing Colors
Pick colors that match a baseball bat’s natural wood tones. Browns, tans, and light yellows work well.
- Use light brown for the base color
- Add darker brown for shadows and details
- Use a soft yellow to highlight the bat’s shine
- Apply a small amount of gray for worn or shaded areas
Blending Tips
Blending helps your colors flow smoothly. It makes your bat look polished and natural.
| Blending Method | How to Use |
|---|---|
| Layering | Apply light colors first, then add darker shades on top gently. |
| Smudging | Use a blending stump or finger to soften edges between colors. |
| Cross-Hatching | Draw fine lines in different directions to mix colors subtly. |
| Brush Blending | Use a dry brush to blend colors smoothly on paper or canvas. |
Common Mistakes To Avoid
Drawing a baseball bat looks simple but has many small details. Avoiding common mistakes helps your drawing look real and clear.
Learn what errors to watch for when sketching a baseball bat. Fixing these will improve your art quickly.
Ignoring The Bat’s Shape
Many beginners draw a baseball bat as just a straight stick. The bat actually has a thick handle, a taper, and a wider barrel. Leaving out these parts makes the bat look flat and fake.
Wrong Proportions
Proportions are key. The handle should be thin and about one-third of the bat’s length. The barrel is the thickest part and takes up the rest. Wrong proportions make the bat look strange.
- Start with a long, thin handle.
- Gradually widen the bat toward the barrel.
- Make the barrel round and thick.
- Keep the bat’s length about three times its width.
Skipping Details On The Handle
The handle usually has a knob at the bottom. Skipping this makes the bat look unfinished. Adding small lines for grip texture helps the drawing feel real.
Using Flat Colors Or No Shading
Flat colors make the bat look two-dimensional. Shading shows the round shape and gives depth. Avoid coloring without light and shadow.
Shading tips:
- Shade one side darker to show light direction.
- Add highlights on the barrel for shine.
- Use soft shadows on the handle to show roundness.

Credit: www.freepik.com
Tips For Stunning Art
Drawing a baseball bat takes practice and attention to detail. Using simple tips can help you create better art. This guide shares ways to improve your drawing skills.
Focus on learning how real bats look and use images to guide your work. Keep practicing to see steady progress in your drawings.
Practice Regularly
Draw baseball bats often to improve your hand control and understanding of shapes. Daily practice helps your brain remember the lines and curves needed.
- Set aside time each day to draw
- Try different styles and angles
- Use simple shapes at first
- Draw from memory and from images
- Review old sketches to see progress
Study Real Bats
Look closely at baseball bats in real life. Notice their shape, length, and details like the handle and barrel. Understanding these parts helps your drawing look more real.
| Bat Part | Description |
| Handle | Thin end where players hold the bat |
| Knob | Small rounded piece at the bottom of the handle |
| Barrel | Wide part used to hit the ball |
| Taper | Section where the bat gets wider from handle to barrel |
Use Reference Images
Reference images help you see details and shapes that are hard to remember. They guide you in drawing correct proportions and angles.
Try these tips with your reference images:
- Choose clear images of baseball bats from different views
- Focus on one part at a time, like the handle or barrel
- Compare your drawing with the image often
- Use tracing to understand shapes, then draw freehand
Frequently Asked Questions
How Do You Start Drawing A Baseball Bat?
Begin by sketching a long, narrow rectangle with rounded edges. This forms the bat’s main body. Add a tapered handle at one end for accuracy.
What Materials Are Best For Drawing A Baseball Bat?
Use pencils for initial sketches and fine-tip pens for outlines. Colored pencils or markers help add realistic wood texture and shading.
How Can I Make A Baseball Bat Look Realistic?
Add shading along the bat’s curves to create depth. Include wood grain lines and highlights to enhance the 3D effect.
What Proportions Are Ideal For A Baseball Bat Drawing?
The bat should be about 3 to 4 times longer than its width. The handle should taper smoothly to a narrower end.
Conclusion
Drawing a baseball bat is simple with these clear steps. Start with basic shapes and add details slowly. Practice helps improve your lines and shapes. Try different styles to find what you like best. Keep your drawing neat and use light strokes first.
Soon, your baseball bat will look just right. Drawing can be fun and relaxing. Grab your pencil and enjoy the process today.