
Are you tired of your old, noisy range hood and ready for an upgrade? Replacing a range hood might seem like a daunting task, but it’s easier than you think.
Imagine cooking in a kitchen with better ventilation, less smoke, and a sleek design that complements your style. Sounds appealing, right? This guide is here to make that vision a reality. You’ll discover step-by-step instructions, tips, and tricks that make the process simple and stress-free.
Whether you’re a DIY newbie or a seasoned handyman, this article will equip you with the knowledge you need to confidently replace your range hood. Stick around, and soon you’ll be enjoying the fresh, clean air in your beautifully transformed kitchen!

Credit: www.create-enjoy.com
Tools And Materials Needed
Replacing a range hood requires the right tools and materials to ensure a smooth process. Having everything ready helps avoid delays and mistakes. Proper preparation saves time and effort.
Essential Tools
- Screwdrivers (Phillips and flathead)
- Drill with drill bits
- Measuring tape
- Wire stripper
- Voltage tester
- Pliers
- Utility knife
- Level
- Stud finder
- Safety goggles
- Work gloves
These tools help you remove the old hood and install the new one safely and accurately. A voltage tester ensures electrical safety during the replacement.
Choosing The Right Range Hood
Select a range hood that fits your kitchen size and cooking style. Check the hood’s size to match your stove width. Proper fit improves performance and appearance.
Look for the right ventilation type: ducted or ductless. Ducted hoods vent air outside, while ductless models use filters. Choose based on your kitchen setup.
| Feature | Why It Matters |
|---|---|
| CFM (Cubic Feet per Minute) | Measures airflow; higher CFM means better smoke removal |
| Noise Level | Lower decibels create a quieter kitchen environment |
| Lighting | Good lighting improves visibility while cooking |
| Filter Type | Metal filters last longer; charcoal filters need replacement |
Choose a hood with the right features for your needs. This makes cooking safer and more comfortable.
Preparing For Removal
Preparing to remove your range hood is a crucial step that sets the foundation for a smooth replacement process. Taking the time to get everything ready can prevent accidents and save you frustration later. It’s about making sure your space is safe and organized before you start handling electrical and gas connections.
Turning Off Power And Gas
Safety is your top priority, so start by cutting off the power supply to the range hood. Locate the circuit breaker in your electrical panel and switch it off to avoid any risk of electric shock. Remember, even if the hood seems off, power could still be running through the wires.
If your range hood runs on gas, you must shut off the gas valve connected to it. This step is vital to prevent any leaks or accidents during removal. Don’t skip this just because you think the gas line looks intact—small leaks can be dangerous.
Clearing The Work Area
Clear the space around your cooking area thoroughly. Remove pots, pans, and any kitchen tools that could get in your way or be damaged. A clutter-free area helps you move freely and reduces the chance of knocking things over.
Lay down a drop cloth or old towels on countertops and the floor to catch dust and debris. This little effort makes cleanup easier and protects your surfaces. Have a flashlight or portable light handy if your kitchen lighting is dim once the power is off.
Removing The Old Range Hood
Removing the old range hood is a critical first step before installing a new one. It involves careful handling of electrical components and detaching the unit safely from its mounting. Taking your time here can prevent damage to your kitchen walls and avoid electrical hazards.
Disconnecting Electrical Wiring
Before touching any wires, make sure you turn off the power at the circuit breaker. This simple step can save you from electric shock. Once the power is off, check the wires inside the range hood’s junction box.
Use a voltage tester to confirm there’s no electricity running through the wires. Then, carefully unscrew the wire nuts connecting the hood’s wires to your home wiring. Keep track of which wires connect to each other by labeling them with tape or taking a photo. This makes reconnecting easier when installing the new hood.
Detaching The Hood From The Wall Or Cabinet
Range hoods are usually mounted with screws or brackets attached to the wall or under cabinets. Start by locating all the screws holding the hood in place. Sometimes, these are hidden behind filters or panels, so remove those first.
Support the hood with one hand or have someone help you hold it while you remove the screws. This prevents the hood from falling and causing injury or damage. Once all screws are out, gently pull the hood away from the wall or cabinet.
If the hood is vented, you might need to disconnect the ductwork. Loosen any clamps or tape securing the duct, then carefully separate it. Don’t rush this step—damaged ducting can lead to poor ventilation later.

Credit: www.create-enjoy.com
Installing The New Range Hood
Installing the new range hood is a crucial step that ensures your kitchen stays smoke-free and fresh. This process involves securely mounting the hood and connecting it properly to your home’s electrical and ventilation systems. Taking your time here will pay off with a smoothly operating hood that looks great and functions well.
Mounting The Hood Securely
Start by locating the studs in the wall where you plan to mount your range hood. Using a stud finder can save you from drilling into drywall only to find no support behind it. Secure the mounting bracket firmly to these studs to support the weight of the hood.
Make sure the hood is level before tightening all screws. An unlevel hood not only looks off but can affect its performance. Double-check measurements to align the hood perfectly with your stove below.
Have you noticed how a solid mount prevents annoying vibrations and noise? This step is often overlooked but makes a big difference in your daily cooking experience.
Connecting Electrical And Ventilation
Turn off the power to your kitchen at the circuit breaker before touching any wiring. Safety first—never skip this.
Connect the range hood’s wiring to your home’s electrical system, matching the colors carefully: black to black, white to white, and green or bare copper to ground. Using wire nuts and electrical tape ensures a safe, tight connection.
Next, attach the ventilation duct to the hood’s exhaust outlet. Use metal tape—not duct tape—to seal the connection and prevent leaks. This helps your hood vent air efficiently outside your home.
Have you checked if your ductwork is clear before connecting? Blockages can reduce the hood’s power and cause unpleasant smells to linger.
Testing And Finishing Touches
After installing your new range hood, testing and finishing touches ensure it works well and looks great. This step confirms your effort was successful and your kitchen is safe. Take time to test all functions carefully.
Checking For Proper Operation
Turn on the range hood to check its power and sound. The fan should run smoothly without strange noises. Test all fan speeds to make sure they respond correctly. Check the lights to see if they illuminate the cooking area well.
Listen for any vibrations or rattling sounds. These could mean loose parts or improper installation. Verify the exhaust vents air outside the kitchen effectively. You can hold a tissue near the vent to see if it moves, indicating airflow.
Sealing And Cleaning Up
Seal any gaps around the hood with heat-resistant caulk. This prevents air leaks and improves efficiency. Clean dust and debris from the hood and surrounding area. Wipe down surfaces with a damp cloth for a neat finish.
Remove all tools and packaging materials from the workspace. Check that electrical cords are safely tucked away. Clean the filter if your hood has a reusable one. Proper sealing and cleanup keep your kitchen fresh and your range hood working well.
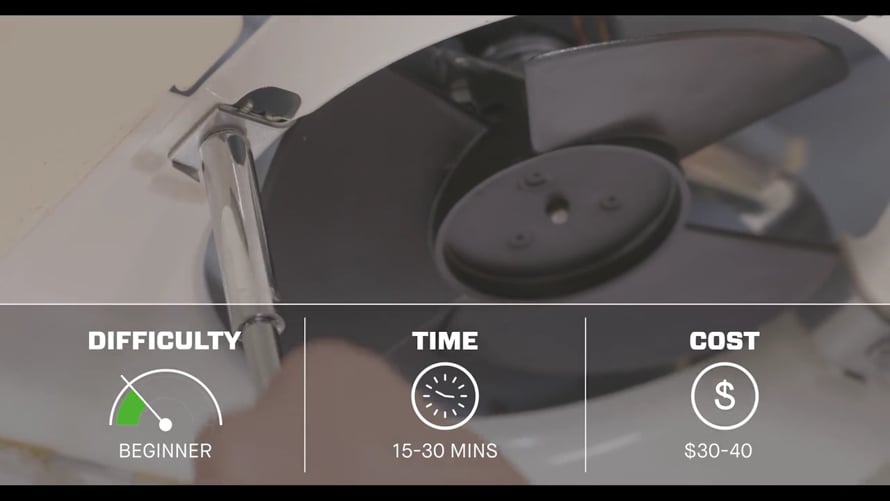
Credit: vimeo.com
Tips For A Smooth Upgrade
Upgrading your range hood can improve kitchen air quality and add style. Preparing well helps the process go smoothly. Focus on safety and avoid common errors to save time and effort. These tips guide you through a safe and effective upgrade.
Safety Precautions
- Turn off the power at the circuit breaker before starting.
- Wear safety gloves and goggles to protect hands and eyes.
- Use a sturdy ladder or step stool for high installations.
- Check for hidden wires or pipes behind walls before drilling.
- Ensure the new hood matches the kitchen’s electrical capacity.
- Follow the manufacturer’s instructions for installation carefully.
- Have a fire extinguisher nearby during work.
Common Mistakes To Avoid
- Skipping the measurement step can cause fitting problems.
- Using the wrong vent size reduces hood efficiency.
- Ignoring the duct material leads to poor air flow.
- Not securing the hood firmly can cause noise or accidents.
- Forgetting to reconnect the power safely risks shocks.
- Choosing a hood with too low power for your stove.
- Neglecting to clean the area before installation.
Frequently Asked Questions
How Do You Remove An Old Range Hood Safely?
First, disconnect the power supply to the range hood. Then, carefully unscrew and detach it from the wall or cabinet. Disconnect the ductwork and electrical wiring. Always wear safety gloves and goggles during removal to protect yourself from sharp edges and debris.
What Tools Are Needed To Replace A Range Hood?
You will need a screwdriver, drill, measuring tape, wire stripper, and possibly a voltage tester. A ladder or step stool is helpful for reaching high areas. Having duct tape and mounting brackets on hand ensures a secure installation.
How Do You Connect The Electrical Wiring For A Range Hood?
Turn off the power at the circuit breaker before starting. Match the wires by color: black to black, white to white, and green or copper to ground. Use wire nuts to secure connections and wrap with electrical tape for safety.
Can I Install A Range Hood Without Ductwork?
Yes, you can install a ductless or recirculating range hood. It uses filters to clean the air and then recirculates it back into the kitchen. This option is easier to install but may be less effective at removing smoke and odors.
Conclusion
Replacing a range hood is easier than it seems. Start by measuring your space and choosing the right model. Turn off power and carefully remove the old hood. Connect the new one, making sure wires and ducts fit well. Test the fan and lights before finishing.
Taking your time helps avoid mistakes. A new range hood keeps your kitchen fresh and clean. Try it yourself and enjoy better cooking air. Simple steps lead to a great result.