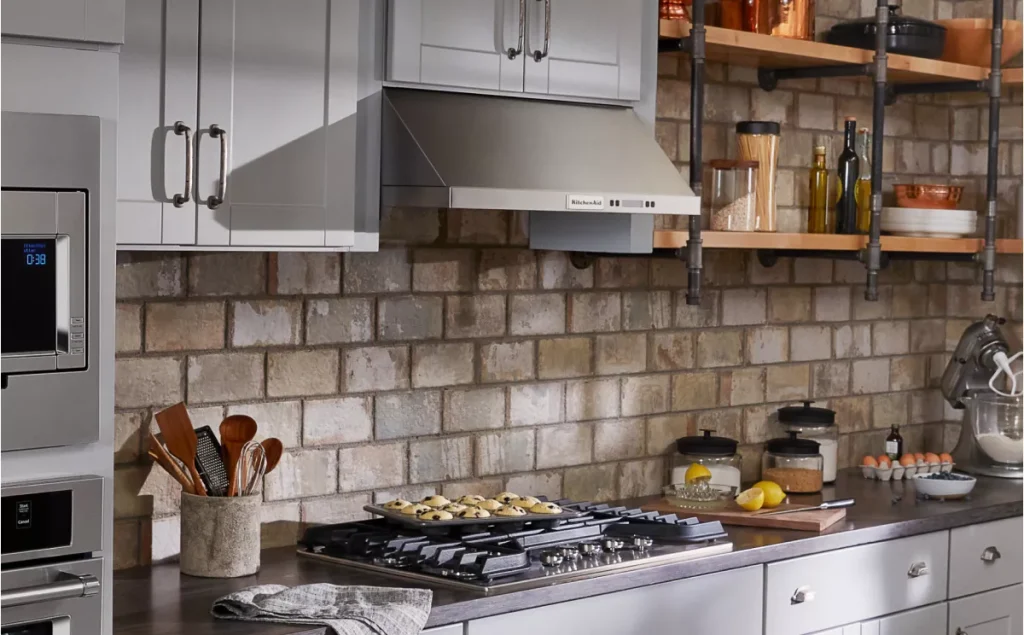
Is your kitchen range hood looking outdated, or perhaps it’s not functioning as well as it used to? Changing your range hood might seem like a daunting task, but it’s easier than you think.
Imagine transforming your kitchen space with a sleek, modern hood that not only enhances the look but also boosts efficiency. You deserve a kitchen that works for you, and understanding how to change a range hood is your first step.
In this guide, you’ll discover simple, step-by-step instructions to upgrade your range hood effortlessly. Stay with us, and you’ll soon enjoy a fresher, more stylish kitchen. Ready to dive in? Let’s get started!
Tools And Materials Needed
Changing your range hood can seem tricky, but having the right tools and materials makes the job much smoother. Without them, you might find yourself stuck halfway or causing damage. Gathering everything before you start saves time and frustration.
Essential Tools For Changing A Range Hood
- Screwdrivers:Both flathead and Phillips are necessary for removing and installing screws.
- Drill with bits:Speeds up screw removal and helps with new mounting holes.
- Measuring tape:Ensures your new hood fits perfectly in place.
- Wire stripper/cutter:For safely handling electrical connections.
- Level:Keeps the hood straight and balanced.
- Pliers:Handy for gripping and twisting wires or small parts.
- Utility knife:Useful for cutting duct tape or trimming insulation.
Materials You’ll Need
- New range hood:Choose one that matches your kitchen’s size and style.
- Ducting:Flexible or rigid ductwork to connect the hood to the vent.
- Electrical wire:If the existing wiring is old or incompatible.
- Wire nuts and electrical tape:For safe and secure electrical connections.
- Mounting brackets and screws:Sometimes included with the new hood but double-check before starting.
- Caulk or sealant:To seal around the duct and prevent air leaks.
Why Preparation Makes A Difference
When I first replaced my range hood, I underestimated the importance of having all these items ready. I had to pause multiple times to find a missing screwdriver or wire nuts, which stretched the project over two days.
Think about your last DIY project. Did missing tools or materials slow you down? Preparing these essentials beforehand helps you stay focused and finish faster.

Credit: www.create-enjoy.com
Preparing The Area
Preparing the area is an important first step before changing your range hood. It ensures safety and makes the installation easier. Clear the workspace and gather all tools. This preparation saves time and avoids problems during the process.
Turn Off Power Supply
Safety is the top priority. Switch off the power supply to the range hood at the circuit breaker. Double-check that the power is off by testing the hood’s controls. This prevents electrical shocks and accidents.
Remove Old Range Hood
Start by disconnecting the vent duct and electrical wires carefully. Use a screwdriver to remove screws holding the old hood in place. Take the hood down gently. Keep screws and parts for reference or reuse.
Clean The Installation Space
Remove grease, dust, and debris from the wall and ceiling. Use a mild cleaner and a cloth. Check for damage or holes that need repair before installing the new hood. A clean space helps the new range hood fit properly and work well.
Selecting The Right Range Hood
Selecting the right range hood is key to improving kitchen air quality. It helps remove smoke, odors, and grease. Choosing the correct model ensures efficiency and complements your kitchen design.
Measure Your Space
Start by measuring the width and height of your current range hood area. Measure from the cooktop to the bottom of the cabinet or wall. This ensures the new hood fits well without blocking cabinets or lights. Check the depth to avoid a bulky look. Accurate measurements help pick a hood that works perfectly in your kitchen.
Choose Venting Type
Range hoods come with different venting options. Ducted hoods vent air outside and offer better air quality. Ductless hoods use filters to clean air and recirculate it back. Consider your kitchen layout and ventilation possibilities. Ducted models need an external vent, while ductless models are easier to install. Pick the venting type that matches your kitchen setup and needs.
Consider Noise Levels And Features
Noise can affect kitchen comfort. Check decibel ratings before buying. Look for quiet models with noise levels under 60 decibels. Think about features like multiple fan speeds, LED lights, and easy-to-clean filters. Some hoods have smart controls or heat sensors for better performance. Choose features that suit your cooking habits and make your kitchen experience better.
Installing The New Range Hood
Installing the new range hood is a crucial part of upgrading your kitchen ventilation. It ensures your cooking space stays fresh and smoke-free. Taking your time during installation can save you from future headaches and improve your kitchen’s overall functionality.
Mounting The Hood
Start by positioning the range hood where it will be installed. Check that it aligns perfectly with your stove for optimal smoke capture. Use a level to make sure the hood sits straight on the wall or cabinet.
Secure the mounting bracket to the wall using screws and anchors rated for your wall type. If your hood is heavy, make sure to find and screw into wall studs for better support. Remember, a loosely mounted hood won’t work well and can be dangerous.
Connecting Electrical Wiring
Before touching any wires, turn off the power at your circuit breaker. Confirm with a voltage tester that no electricity is flowing to the old wiring. This simple step protects you from electric shock.
Match the wires from your new range hood to the existing house wires by color—usually black to black (live), white to white (neutral), and green or bare copper to ground. Use wire nuts to connect them securely and wrap with electrical tape for extra safety.
Do you have a hard time identifying wires? Check your hood’s manual or consult an electrician to avoid mistakes that could cause shorts or fires.
Attaching Vent Ducts
Proper ventilation depends on correctly attaching the ductwork. Use metal duct tape or clamps to connect the vent pipe tightly to the hood’s exhaust outlet. Avoid using screws that protrude inside the duct, as they can catch grease and reduce airflow.
If your duct runs through tight spaces, consider flexible ducting—but keep the length short to maintain strong airflow. Insulate ducts that run through unheated areas to prevent condensation buildup.
Have you checked if your vent leads outside or recirculates air? Ensuring the vent path is clear and correctly installed improves your kitchen’s air quality instantly.
Testing And Finishing Touches
After installing your new range hood, the final phase is all about testing and perfecting the setup. This ensures your kitchen stays smoke-free and your appliance runs smoothly. Don’t rush through this part—your safety and comfort depend on it.
Check For Proper Ventilation
Start by turning on your range hood to see if the airflow feels strong and consistent. Stand near the vent outside your home to confirm air is exiting properly. If you notice weak airflow or strange noises, there might be a blockage or an issue with the ducting.
Think about the last time you cooked and noticed lingering odors—could poor ventilation be the cause? Fixing ventilation now saves you from smoky kitchens later. Also, check for any visible gaps around the vent where air might leak back in.
Test Electrical Connections
Next, switch on the range hood’s lights and fan to verify all electrical parts work correctly. Flickering lights or a fan that doesn’t start smoothly can indicate wiring problems. Make sure the power supply matches the range hood’s requirements to avoid damage.
Have you ever had an appliance that buzzed or clicked oddly? That’s a warning sign not to ignore. If you feel unsure about the wiring, it’s safer to consult a professional than risk a short circuit or fire hazard.
Seal And Secure The Installation
Once the ventilation and electrical systems are confirmed working, seal any gaps between the range hood and the wall or ceiling with high-quality caulk or foam. This prevents air leaks and keeps your kitchen energy-efficient. Use screws or brackets to firmly attach the hood, ensuring it won’t loosen over time.
Imagine the frustration of your hood rattling every time you cook—proper securing prevents that annoyance. Take a moment to wipe down the hood and surrounding surfaces to remove dust and fingerprints for a clean, polished finish.

Credit: www.create-enjoy.com
Maintenance Tips For Longevity
Proper maintenance extends your range hood’s life. Small actions keep it running smoothly. Clean parts work better and last longer. Regular care avoids costly repairs and replacements. Follow simple steps to maintain your appliance.
Regular Cleaning
Wipe the exterior with a damp cloth weekly. Use mild soap for grease spots. Avoid harsh chemicals that damage surfaces. Clean the fan blades every few months. Remove dust and buildup to improve airflow.
Filter Replacement
Check filters monthly for dirt and grease. Replace charcoal filters every 3 to 6 months. Metal filters need washing in warm water and soap. Let filters dry completely before reinstalling. Clean filters improve air quality and efficiency.
Troubleshooting Common Issues
Listen for unusual noises during operation. Check for loose screws or parts. Inspect the light bulb and replace if needed. Ensure the vent is not blocked or clogged. Address problems early to prevent bigger damage.

Credit: www.create-enjoy.com
Frequently Asked Questions
How Do I Remove An Old Range Hood Safely?
Turn off power and gas supply first. Disconnect wiring and ductwork carefully. Use a ladder and proper tools to avoid injury. Follow manufacturer guidelines for your specific model.
What Tools Are Needed To Change A Range Hood?
You’ll need a screwdriver, drill, measuring tape, wire nuts, and possibly a wrench. Safety gear like gloves and goggles is also recommended for protection.
How Do I Choose The Right Size Range Hood?
Measure your cooktop width to match the hood size. The hood should be as wide or wider than your stove for optimal ventilation.
Can I Install A Range Hood Without Ducting?
Yes, ductless or recirculating range hoods use filters to clean air. However, they are less effective at removing smoke and odors than ducted models.
Conclusion
Changing your range hood can improve kitchen air and style. Start by measuring the space carefully. Turn off power before removing the old hood. Follow the steps to install the new one safely. Use the right tools and take your time.
Clean the area and test the fan after installation. Small effort brings fresh air and better cooking. You can do this yourself with patience. Enjoy a cleaner kitchen and better ventilation every day.