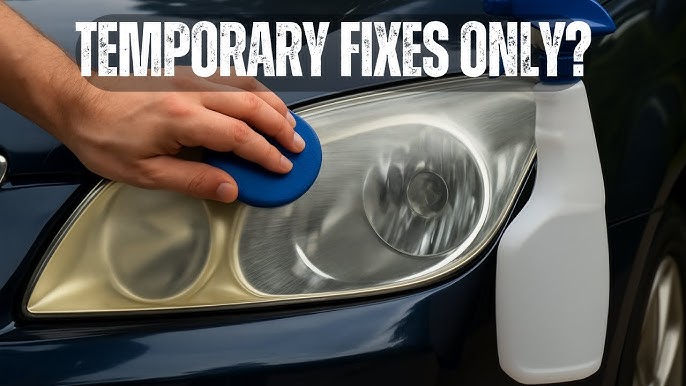
Are your car headlights looking dull or foggy? This not only makes your car look older but can also reduce your visibility at night, putting your safety at risk.
The good news is, you don’t need expensive products or a trip to the mechanic to fix this. With simple items you probably already have at home, you can restore your headlights to clear, bright perfection. Keep reading to discover easy, effective home remedies that will make your headlights shine like new—and help you drive safer every time.

Credit: www.youtube.com
Causes Of Headlight Dullness
Car headlights can become dull over time. This reduces the light they give and can make driving unsafe. Understanding the causes helps you clean them well at home.
Three main causes make headlights lose their shine. These are exposure to UV rays, road debris and dirt, and the oxidation process.
Exposure To Uv Rays
Sunlight has ultraviolet (UV) rays that damage the plastic on headlights. The rays break down the surface, making it cloudy and yellow over time. This damage lowers the brightness of the headlights.
Road Debris And Dirt
Driving on roads causes small stones, dust, and dirt to hit the headlights. These particles scratch and coat the surface. Dirt and grime can build up, blocking the light from shining clearly.
- Small stones cause tiny scratches on headlights
- Dust covers the lens, making it look foggy
- Dirt sticks to the surface after rain or mud splashes
- Road salt in winter can cause corrosion and dullness
Oxidation Process
Oxidation happens when plastic reacts with oxygen and moisture. It forms a cloudy layer on the headlight lens. The longer oxidation happens, the thicker this layer grows.
| Stage | Effect on Headlight |
| Early | Minor cloudiness, slight loss of brightness |
| Moderate | Yellowing and visible dull spots |
| Severe | Heavy cloudiness, greatly reduced light output |
Signs Your Headlights Need Cleaning
Clear headlights help you see the road better at night. Dirt and damage can make your headlights less bright. Knowing the signs can keep you safe while driving.
This guide explains common signs that show your headlights need cleaning. Check your headlights often to keep them in good shape.
Reduced Light Output
Your headlights look dimmer than before. They do not shine as far or as bright. This can make driving at night more dangerous.
Reduced light output means dirt, grime, or damage blocks the light. Cleaning can restore brightness and improve safety.
Yellowing Or Cloudiness
Headlights may turn yellow or cloudy over time. This happens because of sun damage and dirt buildup. The plastic lens loses its clear look.
Yellow or cloudy headlights reduce how much light passes through. Cleaning and polishing can remove this discoloration.
Visible Scratches And Stains
Look closely at your headlights for scratches or stains. Small cracks or marks can scatter light and lower brightness.
Cleaning can remove some stains, but deep scratches may need special care. Clear headlights improve your car’s look and function.
Common Household Items For Cleaning
Car headlights can get dirty and cloudy over time. Cleaning them at home is easy. You can use simple items found in your kitchen or bathroom.
These household items help remove dirt and grime. They make headlights clearer and brighter again.
Baking Soda And Vinegar
Baking soda and vinegar work well to clean headlights. Baking soda scrubs away dirt. Vinegar helps remove tough stains.
Mix baking soda and vinegar to make a paste. Apply it to the headlight with a cloth. Rub gently in circles, then rinse with water.
- Mix 2 tablespoons baking soda with 1 tablespoon vinegar
- Apply paste to headlight surface
- Rub softly using a clean cloth
- Rinse with water and dry
Toothpaste And Cloth
Toothpaste is a mild abrasive. It cleans headlights without scratching. Use regular white toothpaste, not gel types.
Put toothpaste on a soft cloth. Rub the headlight in small circles. Wipe clean with a damp cloth and dry well.
- Use a small amount of white toothpaste
- Apply with a soft, clean cloth
- Rub in circular motions
- Wipe off with a damp cloth
- Dry the headlight completely
Dish Soap And Water
Dish soap and water are good for light cleaning. Soap removes dirt and grease. This method is gentle and safe for headlights.
Mix dish soap with warm water. Use a sponge or cloth to clean the headlights. Rinse well and dry with a towel.
- Mix a few drops of dish soap in warm water
- Use a soft sponge or cloth to clean
- Rinse headlights with clean water
- Dry with a soft towel to prevent spots
Step-by-step Cleaning Process
Cleaning car headlights at home can improve your night driving safety. This guide shows an easy way to make headlights clearer.
Use simple materials and follow these steps to restore your headlights without costly tools.
Prepare The Headlight Surface
Start by washing the headlights with soap and water. Remove dirt and grime to help cleaning solutions work better.
- Use a soft cloth and mild soap
- Rinse with clean water
- Dry with a lint-free towel
- Mask areas around headlights with tape to protect paint
Apply Cleaning Solution
You can use toothpaste or baking soda paste as a cleaning agent. Apply it evenly on the headlight surface.
- Spread a thin layer of toothpaste or paste made from baking soda and water
- Cover the entire headlight lens
- Let it sit for 5 minutes
Scrub And Rinse
Gently scrub the headlights with a soft brush or cloth in circular motions. This removes haze and dirt.
| Tool | Action |
|---|---|
| Soft cloth | Rub in small circles over the headlight |
| Soft-bristle toothbrush | Scrub corners and edges carefully |
| Clean water | Rinse off the cleaning solution thoroughly |
Dry And Polish
After rinsing, dry the headlights with a clean towel. Then polish to add shine and protection.
- Use a microfiber cloth to dry the surface
- Apply a small amount of car wax or polish
- Buff the headlight gently to a clear finish
Alternative Remedies To Try
Car headlights can become cloudy or yellowed with time. Cleaning them at home saves money and improves visibility. Several simple remedies work well without special tools.
This guide covers three popular methods to restore your headlights: sandpaper grits, UV sealant, and commercial headlight kits.
Using Sandpaper Grits
Sanding is a common method to remove the outer layer of dirt and oxidation. Start with coarse grit sandpaper, then move to finer grits for a smooth finish.
- Wet the headlight surface and sandpaper before use.
- Begin with 800 grit sandpaper to remove heavy haze.
- Follow with 1500 grit sandpaper for smoothing.
- Finish with 3000 grit sandpaper to polish the surface.
- Wipe the headlight clean and dry completely.
Applying Uv Sealant
After cleaning, a UV sealant protects headlights from future damage. It forms a clear layer that blocks harmful sun rays and prevents yellowing.
| Benefit | Description |
| Protection | Blocks UV rays that cause fading and discoloration |
| Durability | Extends the life of the headlight cleaning |
| Appearance | Keeps headlights clear and shiny longer |
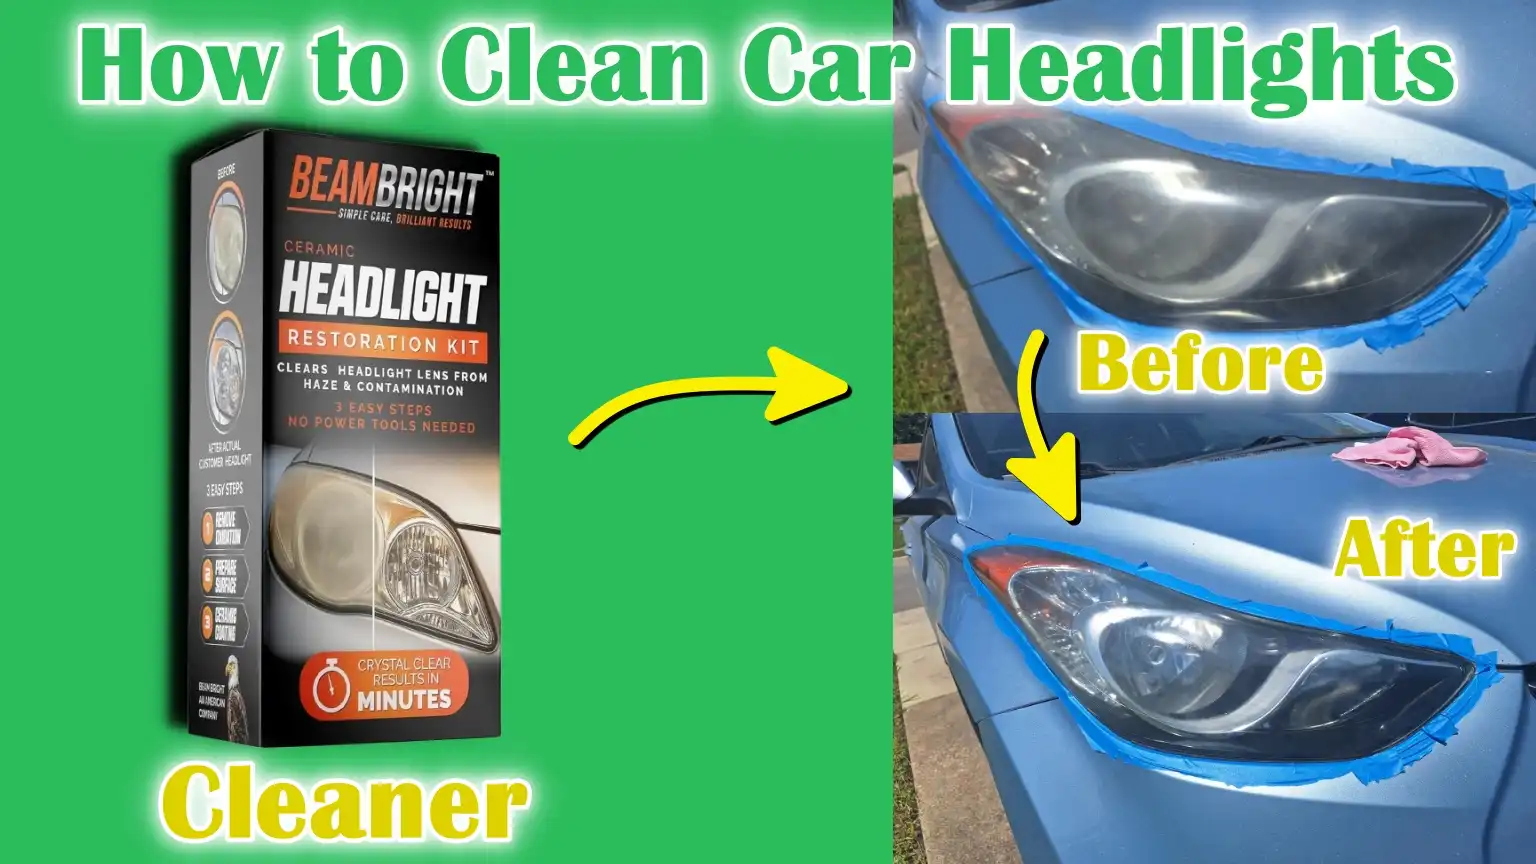
Using Commercial Headlight Kits
These kits include everything needed for headlight restoration. They often have cleaners, sandpaper, and protective coatings in one package.
- Easy to use with instructions included
- Designed for safe cleaning and polishing
- Usually contain UV protection products
- Save time by having all materials together
Maintenance Tips To Keep Headlights Clear
Keeping your car headlights clean is important for safe driving at night. Dirt and grime can make headlights dim and less effective.
Simple home remedies and regular care help maintain clear headlights. This guide shares easy tips you can follow.
Regular Cleaning Schedule
Clean your headlights every two weeks to prevent build-up of dirt and bugs. Use a soft cloth and mild soap with water.
- Rinse headlights with water first
- Apply soap and gently scrub with a soft cloth
- Rinse off soap completely
- Dry with a clean towel to avoid water spots
Parking In Shade
Park your car in the shade to protect headlights from sun damage. UV rays can cause plastic lenses to yellow and fog.
Shade parking keeps headlights clearer for longer by reducing heat and sun exposure.
Protective Coatings
Applying a protective coating can extend the life of your headlights. Wax or sealants create a barrier against dirt and UV rays.
| Coating Type | Benefits |
| Car Wax | Shields from dirt and water |
| UV Sealant | Prevents yellowing and cracking |
| Plastic Polish | Removes minor scratches and fog |
Safety Precautions During Cleaning
Cleaning car headlights at home can improve visibility and safety. Taking safety steps helps protect your skin and car parts.
Use gentle methods and protect yourself to avoid accidents or damage. Follow simple safety tips before you start cleaning.
Wear Protective Gloves
Always wear gloves to keep your hands safe from dirt and chemicals. Gloves also prevent skin irritation from cleaning products.
Use rubber or latex gloves for better protection. Change gloves if they tear or get too dirty during cleaning.
Avoid Harsh Chemicals
Do not use strong chemicals like bleach or ammonia on headlights. These can damage the plastic and make headlights cloudy.
Choose mild cleaners such as soap and water or natural remedies like baking soda. These are safer for your car’s surface.
- Harsh chemicals can cause plastic to crack
- Mild cleaners protect the headlight lens
- Natural remedies reduce risk of damage
Test On Small Area First
Before cleaning the whole headlight, try your chosen cleaner on a small spot. This helps check for bad reactions or damage.
If the small test area looks fine after cleaning, you can safely clean the rest of the headlight. Stop if you see any damage.

Credit: www.youtube.com
Credit: dondodicarcustoms.com
Frequently Asked Questions
How Can I Clean Car Headlights At Home Effectively?
You can clean car headlights using household items like baking soda and vinegar. Mix them into a paste, apply gently, then rinse with water. This method removes dirt and yellowing safely without harsh chemicals.
What Household Items Work For Headlight Restoration?
Common items like toothpaste, baking soda, vinegar, and lemon juice can restore headlights. These ingredients help remove grime and oxidation, improving clarity without expensive kits.
How Often Should I Clean My Car Headlights?
Cleaning headlights every 3 to 6 months keeps them bright and clear. Regular maintenance prevents buildup of dirt and oxidation, ensuring safe night driving.
Can Diy Headlight Cleaning Improve Visibility?
Yes, cleaning headlights at home removes haze and yellowing. Clear headlights enhance light output and night driving safety significantly.
Conclusion
Cleaning car headlights at home is simple and effective. Regular maintenance keeps them bright and clear. Safe driving needs clear headlights. Use household items for cost-effective cleaning. Vinegar and baking soda work wonders. Toothpaste also helps remove grime. Always dry headlights after cleaning.
Avoid scratching surfaces with rough materials. Enjoy improved visibility on the road. Save time and money with these easy remedies. Keep headlights shining bright for safe travels. Happy driving with clear, clean headlights!