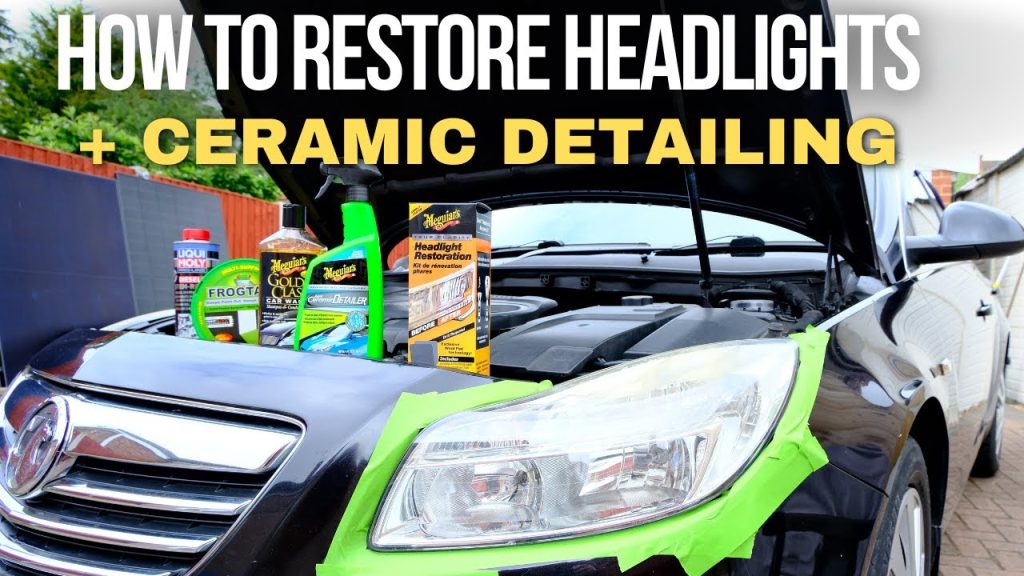
Are your car headlights looking foggy or dull? Cloudy headlights don’t just make your car look older—they can also reduce your visibility at night, putting you at risk.
But don’t worry, you don’t need to spend a fortune or visit a mechanic to fix this. You’ll discover simple, effective ways to clean your cloudy headlights and bring back their shine. Keep reading, and you’ll learn easy steps that anyone can follow to improve your safety and your car’s appearance.
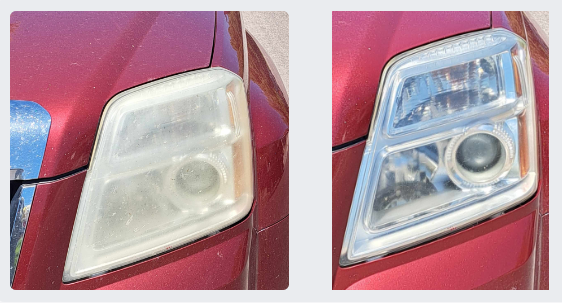
Credit: www.wd40.com
Causes Of Cloudy Headlights
Cloudy headlights reduce how well you see at night. They also make your car look old. Understanding the causes helps you fix them faster.
Several factors cause headlights to become cloudy. These include sun damage, dirt buildup, and chemical changes on the surface.
Effects Of Uv Exposure
Sunlight contains ultraviolet (UV) rays that harm plastic headlights. These rays break down the clear coat layer on the headlights. Over time, this damage makes the surface yellow and cloudy.
Impact Of Dirt And Grime
Dirt, dust, and road grime stick to headlight lenses. This layer can block light and create a dull look. If not cleaned, it can harden and cause scratches.
- Road dust and mud
- Tree sap and bird droppings
- Insect residue
- Salt and debris from winter roads
Role Of Oxidation
Oxidation happens when oxygen reacts with the plastic surface. This chemical change causes the headlights to look cloudy and hazy.
| Oxidation Stage | Appearance | Effect on Light |
|---|---|---|
| Early | Light yellow tint | Minor dimming |
| Moderate | Foggy and hazy | Noticeable light loss |
| Severe | White and chalky | Greatly reduced brightness |
Tools And Materials Needed
Cloudy headlights reduce your car’s visibility at night. Cleaning them restores brightness and improves safety. You need the right tools and materials for the job.
This guide covers common household items, specialized cleaning kits, and safety gear. Use what fits your needs and budget.
Common Household Items
You can clean cloudy headlights using items found at home. These items are easy to get and often cost little or nothing.
- Toothpaste (non-gel type)
- Baking soda
- White vinegar
- Soft cloths or microfiber towels
- Masking tape
- Water and spray bottle
- Sandpaper (fine grit, like 1000 or 2000)
Specialized Cleaning Kits
Cleaning kits are made for headlights and include all needed materials. They save time and often give better results.
- Headlight restoration kit with sanding pads
- Polishing compound
- Protective sealant or UV coating
- Applicator pads or sponges
- Instructions for use
Safety Gear
Protect yourself while cleaning your headlights. Safety gear keeps dust and chemicals away from your skin and eyes.
- Gloves (latex or nitrile)
- Safety glasses or goggles
- Mask to avoid inhaling dust
- Old clothes or apron
Preparation Before Cleaning
Cleaning cloudy car headlights starts with good preparation. This helps you get the best results safely.
Gathering materials and protecting your car are important first steps. These make the process easier and protect your vehicle.
Washing The Headlights
Before cleaning, wash the headlights with soap and water. This removes dirt and grime on the surface.
- Use a mild car soap and warm water
- Apply with a soft cloth or sponge
- Rinse thoroughly with clean water
- Dry with a microfiber towel
Protecting Surrounding Areas
Protect the paint and trim around the headlights before cleaning. This prevents damage from cleaning products.
| Area to Protect | Protection Method |
|---|---|
| Car Paint | Use painter’s tape around the headlight edges |
| Rubber Seals | Cover with plastic wrap or masking tape |
| Chrome Trim | Apply a thin layer of petroleum jelly |

Credit: www.youtube.com
Step-by-step Cleaning Methods
Cloudy headlights reduce your car’s visibility at night. Cleaning them is easy and can be done at home. Below are four simple methods to clear up foggy headlights.
Each method uses common materials or products. Follow the instructions carefully for the best results.
Using Toothpaste
Toothpaste contains mild abrasives that help remove haze from headlights. It is a quick and affordable way to clean them.
- Clean the headlight surface with soap and water.
- Apply a small amount of toothpaste to a soft cloth.
- Rub the toothpaste on the headlight in circular motions.
- Continue rubbing for about 5 minutes to remove the cloudiness.
- Rinse the headlight with clean water and dry with a cloth.
Applying Baking Soda And Vinegar
Baking soda and vinegar create a natural cleaning paste. This mixture helps to break down dirt and oxidation on headlights.
- Mix two tablespoons of baking soda with one tablespoon of vinegar.
- Stir to form a thick paste.
- Apply the paste to the headlight using a soft cloth.
- Rub gently in circular motions for 3 to 4 minutes.
- Rinse the headlight with water and wipe dry.
Using Sandpaper And Polishing
This method removes the top layer of oxidation with sandpaper. It is best for headlights with heavy cloudiness.
| Materials | Purpose |
| 400-grit sandpaper | Remove heavy oxidation |
| 800-grit sandpaper | Smooth surface |
| Polishing compound | Restore shine |
| Soft cloth | Apply polish and clean |
- Wet the headlight and 400-grit sandpaper.
- Sand the headlight surface gently in horizontal strokes.
- Switch to 800-grit sandpaper and sand in vertical strokes.
- Dry the headlight with a clean cloth.
- Apply polishing compound and buff with a soft cloth until shiny.
Employing Commercial Headlight Restorers
Commercial kits include all tools and instructions. They are designed for safe and effective headlight cleaning.
- Read the instructions on the product carefully.
- Clean the headlights with soap and water.
- Use the provided sandpaper or pads as directed.
- Apply the restorer solution or polish as shown.
- Allow headlights to dry completely before driving.
Post-cleaning Care
Cleaning cloudy car headlights is only the first step. Proper care after cleaning helps keep headlights clear longer. Taking extra steps prevents yellowing and damage.
Follow these tips to protect your headlights and maintain brightness for a long time.
Applying Uv Sealant
After cleaning, apply a UV sealant to protect headlights from sun damage. UV rays cause plastic to yellow and become cloudy again.
Use a clean cloth to spread the sealant evenly over the headlight surface. Let it dry completely before driving.
- Choose a sealant made for car headlights
- Apply in a shaded, dry area
- Reapply every 3 to 6 months
- Follow the product instructions carefully
Regular Maintenance Tips
Keep headlights clean by wiping them regularly with a soft cloth. Dirt and grime reduce light output and speed up cloudiness.
Check headlights monthly for signs of dullness or damage. Early action helps avoid costly restoration.
- Wash headlights with mild soap and water
- Avoid harsh chemicals that can damage plastic
- Park in shaded areas to reduce sun exposure
- Cover headlights if parking outside for long times
- Inspect and replace bulbs as needed
When To Seek Professional Help
Cloudy headlights reduce your ability to see at night. They also make your car look older. Some problems you can fix at home. Others need a professional touch.
Knowing when to get expert help saves time and keeps you safe on the road. This guide explains when to call a specialist.
Severe Headlight Damage
Some headlight issues are too serious for DIY cleaning. Cracks, deep scratches, and broken seals let moisture inside. This can cause fogging or water damage that worsens over time.
- Cracked or chipped headlight lenses
- Permanent yellowing or fading inside the lens
- Water or condensation trapped inside the headlight
- Electrical problems causing flickering or dim lights
If you see these signs, a professional can replace or restore the headlight properly. They have tools to fix hidden damage and ensure the light works correctly.
Choosing A Reliable Service
Finding the right service is key to fixing your headlights well. You want skilled workers and good customer care. Prices and warranties also matter.
| Factor | What to Look For |
|---|---|
| Experience | Years working with headlight repair |
| Reviews | Positive feedback from past customers |
| Warranty | Guarantee on parts and labor |
| Price | Fair and transparent costs |
| Turnaround Time | Quick service without rushing |
Check these points before choosing a shop. This helps avoid problems and extra costs later.
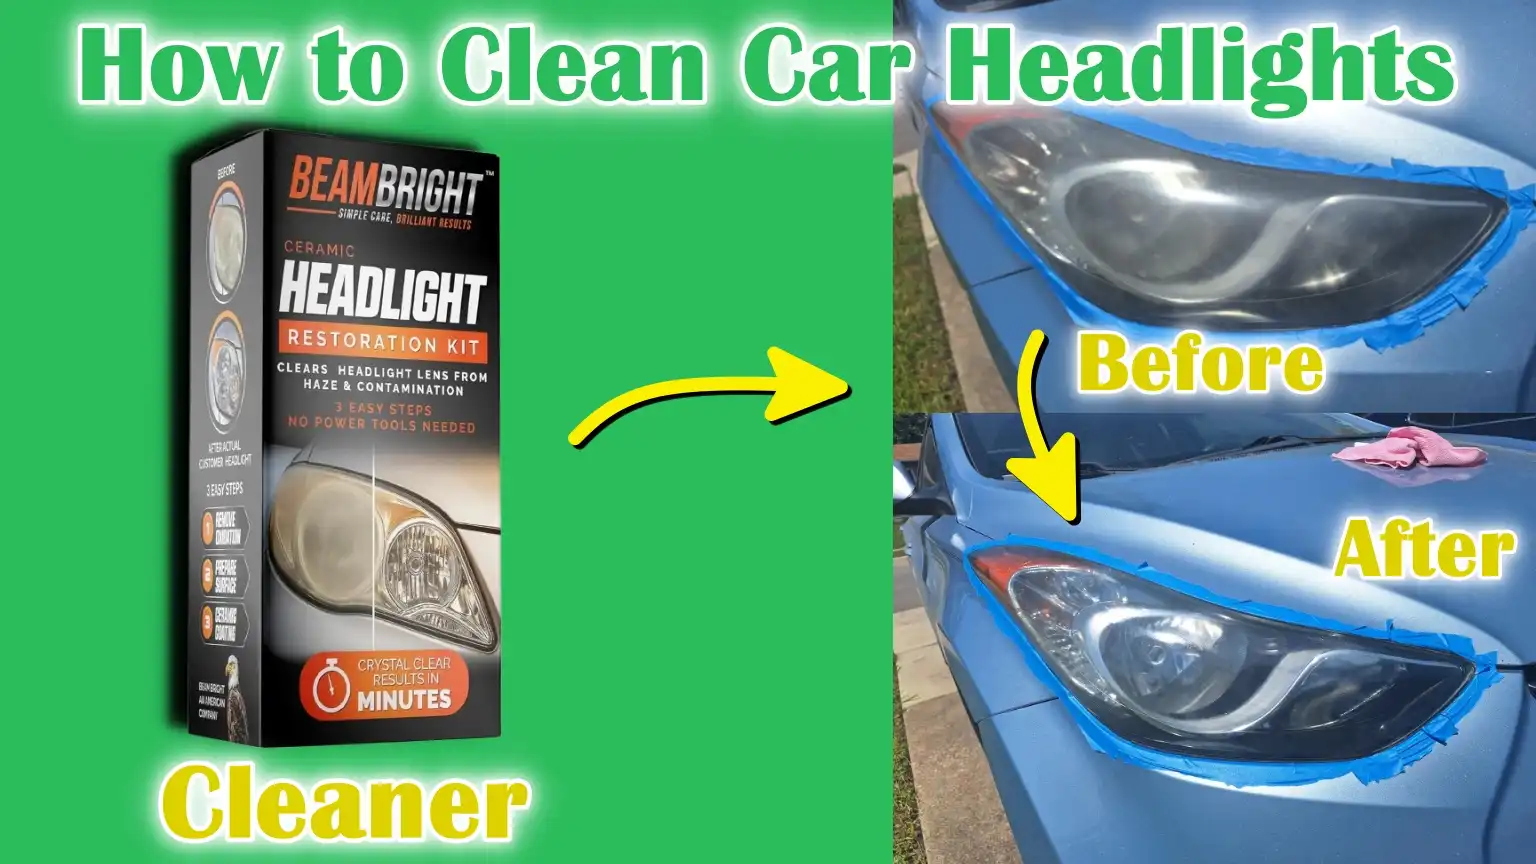
Credit: dondodicarcustoms.com
Frequently Asked Questions
What Causes Cloudy Car Headlights?
Cloudy headlights are often caused by oxidation from UV exposure. Dirt, road debris, and harsh weather also contribute. This cloudiness reduces headlight brightness and affects visibility. Regular maintenance can help prevent this issue. Using a headlight restoration kit is an effective solution for clearing cloudiness.
How Can I Clean Cloudy Headlights?
You can clean cloudy headlights using a headlight restoration kit. Start by washing the headlights with soap and water. Use the kit’s sandpaper to remove oxidation. Apply the polish included to restore clarity. This process can improve visibility and safety.
Can Toothpaste Really Clear Cloudy Headlights?
Yes, toothpaste can be used to clear cloudy headlights temporarily. Its mild abrasives help remove surface oxidation. Apply a small amount to a cloth and rub the headlight in circular motions. Rinse with water and dry. However, for longer-lasting results, a headlight restoration kit is recommended.
How Often Should I Clean My Headlights?
You should clean your headlights every few months. Regular cleaning prevents oxidation and maintains clarity. Inspect them frequently for signs of cloudiness or yellowing. Addressing issues early helps maintain optimal visibility and safety.
Conclusion
Cleaning cloudy headlights improves your car’s look and safety. Clear lights help you see better at night. Simple cleaning steps save money and time. Regular care keeps headlights bright longer. Try these easy methods at home today. Bright headlights mean safer driving for you.
Don’t wait until lights get too dim. Shine your headlights and enjoy clearer roads.