Craving something cool, creamy, and packed with a unique nutty flavor? Pista ice cream might just be what you need.
Imagine enjoying a rich, smooth scoop of this vibrant green delight right at home, made with simple ingredients you can trust. Whether you’re new to making ice cream or a kitchen pro, this guide will walk you through easy steps to create your own delicious pista ice cream.
Ready to impress your taste buds and your friends? Let’s dive in and make your dessert dreams come true!
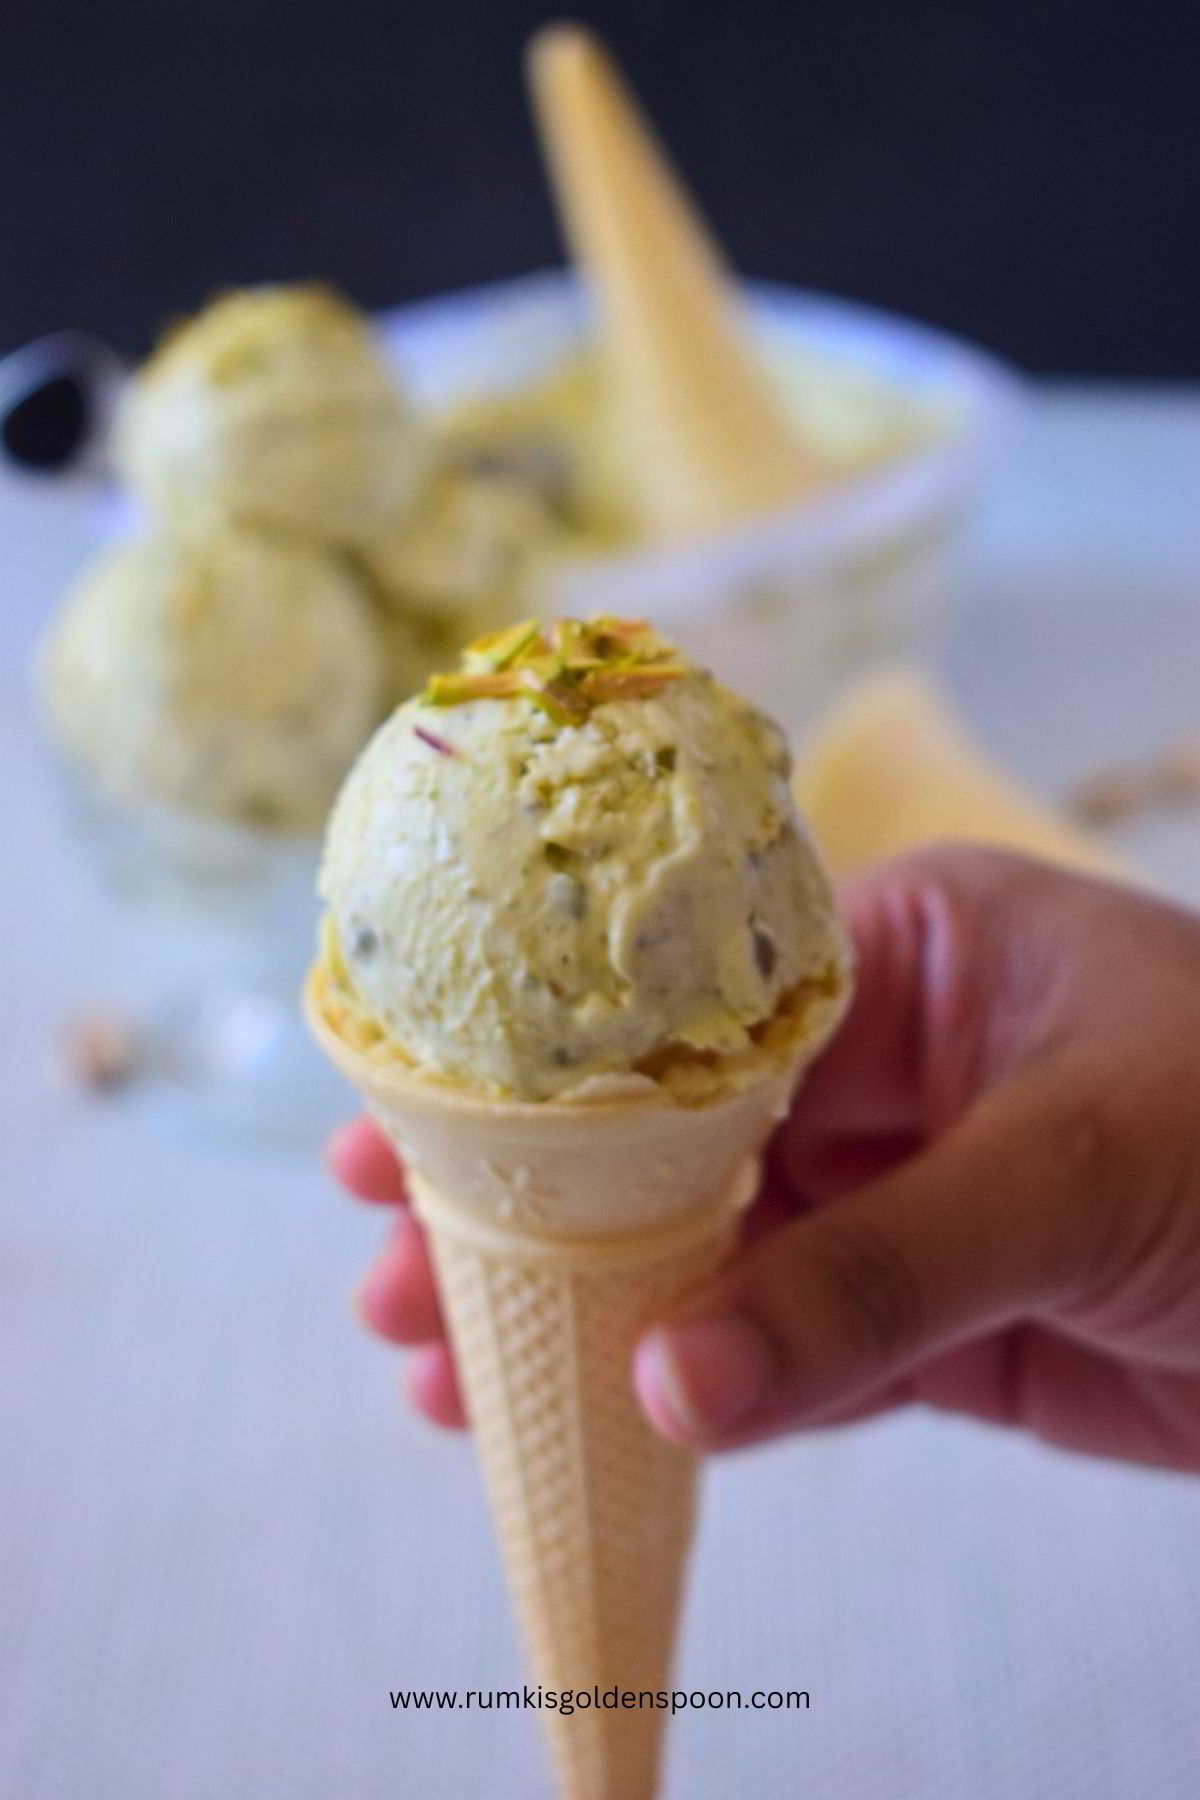
Credit: rumkisgoldenspoon.com
Ingredients Needed
Gathering the right ingredients is key to making delicious pista ice cream that stands out. You want to balance richness, flavor, and texture for that perfect scoop. Knowing what you truly need versus what you can add for extra flair makes your process smoother and your ice cream tastier.
Essential Ingredients
- Pistachios:Use fresh, unsalted pistachios for the best flavor and crunch.
- Milk:Whole milk adds creaminess, but you can adjust based on your preference.
- Heavy Cream:This boosts the richness and smooth texture of the ice cream.
- Sugar:Granulated sugar balances the natural earthiness of pistachios.
- Egg Yolks:They help create a creamy, custard base that feels indulgent.
- Cardamom Powder:A pinch adds a warm, aromatic depth to the flavor.
- Salt:Just a small amount enhances the overall taste.
Have you ever noticed how a pinch of salt can transform sweetness? It’s a small trick that makes your ice cream more vibrant.
Optional Add-ons
- Rose Water:Adds a subtle floral note typical in many traditional pistachio ice creams.
- Vanilla Extract:Enhances the creamy base without overpowering the pistachio flavor.
- Chopped Pistachios:For extra crunch and visual appeal in the final product.
- Condensed Milk:Can be used for a sweeter, thicker texture if you prefer.
- White Chocolate Chips:Adds a sweet contrast that melts smoothly in your mouth.
Think about what you want from your ice cream—do you prefer it simple and nutty or with a twist? Trying these add-ons in small batches can help you find your ideal balance.
Preparing The Pista Paste
Preparing the pista paste is a key step in making delicious pista ice cream. The paste gives the ice cream its rich nutty flavor and creamy texture. Using fresh pistachios and making your own paste will enhance the taste significantly.
Roasting And Grinding Pistachios
Start with raw, shelled pistachios for the best flavor. Spread them evenly on a baking sheet. Roast at 350°F (175°C) for about 5-7 minutes. Watch closely to avoid burning. Roasting brings out the natural oils and aroma in the nuts.
Let the roasted pistachios cool completely. Then, grind them into a fine powder using a food processor. Pulse in short bursts to prevent overheating. You can add a pinch of salt to balance the sweetness. The ground pistachios will form the base of the paste.
Making The Pista Paste
Transfer the ground pistachios to a blender. Add a small amount of milk or cream to help blend smoothly. Blend until you get a thick, smooth paste. Scrape down the sides to mix evenly. The paste should be creamy, not dry or grainy.
For extra richness, stir in a teaspoon of sugar or honey. This step is optional but adds sweetness to the paste. Your pista paste is now ready to use in the ice cream mixture. Fresh pista paste will give your ice cream a vibrant color and authentic flavor.
Making The Ice Cream Base
Creating the perfect pista ice cream starts with a rich base. This foundation sets the stage for creamy, luscious flavors. Let’s dive into crafting this essential component.
Mixing Milk And Cream
Start with whole milk and heavy cream. These provide a rich, creamy texture. Pour them into a large saucepan. Heat gently over medium heat. Stir continuously to prevent burning. The mixture should be warm, not boiling.
Adding Sugar And Stabilizers
Once the milk and cream are warm, add sugar. Stir until completely dissolved. Sugar not only sweetens but also improves texture. Consider using stabilizers like cornstarch. They help thicken and smooth the mixture. Stir well to combine all ingredients. Ensure no lumps remain for a silky finish.
Combining Pista Paste With Base
Combining pista paste with the ice cream base is a crucial step for a rich, creamy dessert. This process ensures the flavor spreads evenly throughout the mix. The key is to blend the ingredients smoothly without losing the natural taste of pistachios.
Blending For Smooth Texture
Start by gently warming the ice cream base to a lukewarm temperature. Add the pista paste slowly while stirring continuously. Use a blender or hand mixer for a uniform mix. Avoid over-blending to keep the texture light. The goal is a smooth, creamy blend without lumps.
Adjusting Flavors
Taste the mixture after blending to check the flavor balance. Add a little sugar or cardamom if needed for extra sweetness or spice. A pinch of salt can enhance the pistachio taste. Mix well after each addition. Adjust slowly to avoid overpowering the natural flavor.
Churning And Freezing
Churning and freezing are key steps in making smooth, creamy pista ice cream. Churning mixes air into the ice cream base. This process prevents ice crystals from forming. Freezing helps the ice cream set and develop its texture. Both steps require care to get the perfect consistency.
Using An Ice Cream Maker
An ice cream maker makes churning easy and fast. Pour the pista ice cream mixture into the machine. Turn it on and let it churn for 20 to 30 minutes. The machine stirs the mixture while cooling it evenly. This creates a soft, creamy texture without ice lumps.
Once done, transfer the ice cream to a container. Freeze it for 2 to 4 hours to firm up. This step improves the texture and flavor. The ice cream maker saves effort and gives consistent results.
Freezing Without A Machine
Without an ice cream maker, you can still enjoy homemade pista ice cream. Pour the mixture into a shallow, freezer-safe container. Freeze for 30 minutes, then take it out. Stir the ice cream vigorously with a fork or whisk. This breaks ice crystals and mixes air inside.
Repeat this stirring every 30 minutes for 2 to 3 hours. The ice cream will become creamy and smooth. This manual method takes more time but works well. Patience brings delicious, homemade pista ice cream without special tools.
Serving Suggestions
Serving pista ice cream offers a chance to elevate its flavor and texture with thoughtful presentation and complementary tastes. How you serve it can turn a simple dessert into a memorable experience. Let’s explore some creative ways to present your pista ice cream that will impress both your eyes and your palate.
Garnishing Ideas
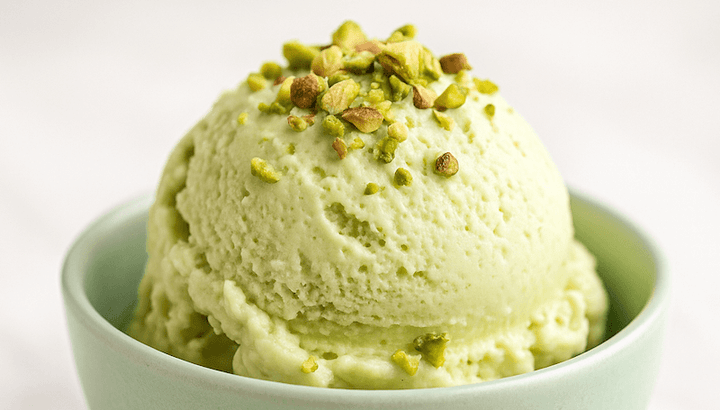
Adding the right garnish can bring out the nutty richness of pista ice cream. Try sprinkling chopped pistachios on top for a delightful crunch and vibrant green color. A drizzle of honey or rose syrup adds a subtle sweetness and floral aroma.
Fresh fruits like sliced mango or pomegranate seeds create a refreshing contrast. You can also add a pinch of cardamom powder or a few saffron strands to enhance the exotic flavor profile. Don’t forget a sprig of mint for a burst of freshness and a pop of color.
Pairing With Desserts
Pista ice cream pairs wonderfully with many desserts, adding creaminess and a nutty twist. Scoop it alongside warm gulab jamun or jalebi to balance the syrupy sweetness with cool richness. It also complements dry desserts like almond biscotti or pistachio shortbread perfectly.
For a modern touch, serve pista ice cream with a slice of dark chocolate cake or a warm brownie. The bitterness of chocolate contrasts the creamy, nutty ice cream beautifully. Ever tried it with a fruit tart? The combination of tangy fruits and sweet pista ice cream can surprise your taste buds.
Tips For Creamy Texture
Getting that perfectly creamy texture in your pista ice cream can be tricky, but a few smart tips can make all the difference. Creaminess isn’t just about the ingredients; it’s about how you handle and store your ice cream too. Let’s dive into some practical advice that will help your ice cream stay smooth and luscious every time.
Avoiding Ice Crystals
Ice crystals are the enemy of smooth ice cream. They form when water in the mixture freezes unevenly, making your pista ice cream gritty instead of creamy.
To stop this, chill your mixture thoroughly before freezing. This reduces the time the ice cream spends in the freezer, limiting crystal growth.
Also, stir or churn the ice cream regularly during freezing. This breaks up ice crystals as they form, giving you that velvety texture you want.
Adding a bit of fat or sugar can help too. Both ingredients lower the freezing point, which means less ice crystal formation. Have you noticed how some ice creams feel icy while others are silky? That’s why these small adjustments matter.
Storage Advice
How you store your pista ice cream affects its texture long after you’ve made it. Freezing and thawing repeatedly causes ice crystals to grow, ruining creaminess.
Use an airtight container to keep out moisture and odors from the freezer. This keeps your ice cream fresh and flavorful.
Place a piece of parchment paper or plastic wrap directly on the surface of the ice cream before sealing. This simple step prevents ice crystals from forming on top.
Try to keep your ice cream at a constant temperature. Opening the freezer door less often and storing it in the coldest part helps maintain texture. Have you ever noticed how ice cream left near the freezer door gets icy faster? That’s why location matters.

Credit: www.youtube.com
Credit: www.whitakerschocolates.com
Frequently Asked Questions
What Ingredients Are Needed For Pista Ice Cream?
Pista ice cream requires pistachios, milk, cream, sugar, and cardamom. These ingredients create a rich, creamy, and flavorful dessert. Using fresh pistachios enhances the taste and texture of the ice cream.
How Do You Make Pista Ice Cream At Home?
First, blend pistachios into a fine paste. Then, mix with milk, cream, sugar, and cardamom. Heat the mixture until sugar dissolves. Chill it before freezing in an ice cream maker or freezer for smooth texture.
Can I Use Roasted Pistachios For Pista Ice Cream?
Yes, roasted pistachios add a deeper flavor. Light roasting enhances the nutty aroma and taste. Ensure they are unsalted to avoid altering the ice cream’s sweetness and balance.
How Long Does Homemade Pista Ice Cream Last?
Homemade pista ice cream lasts about 1 to 2 weeks in the freezer. Store it in an airtight container to maintain freshness and avoid ice crystals. Consume within this time for best taste and texture.
Conclusion
Making pista ice cream at home is simple and fun. You only need a few ingredients and some patience. The fresh, nutty flavor of pistachios makes this treat special. Enjoy it on a hot day or as a dessert after meals.
Try different toppings or mix-ins for variety. Homemade ice cream always tastes better and feels rewarding. Give this recipe a try and enjoy every cool, creamy bite.