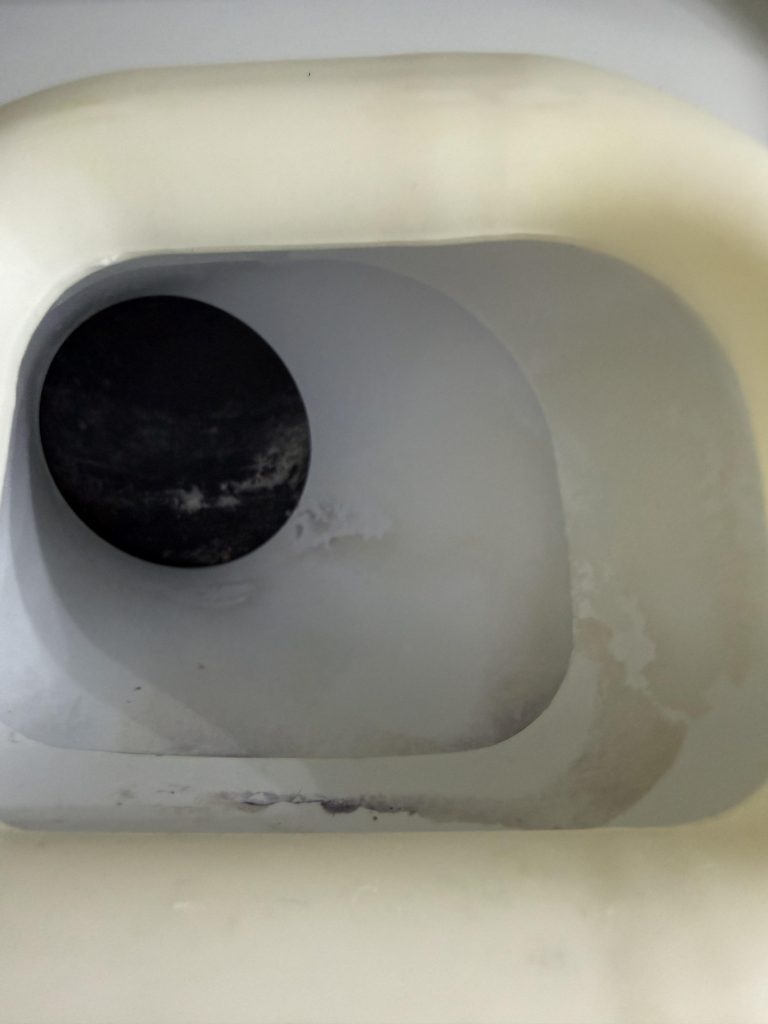
Are you tired of finding mysterious specks in your ice cubes or dealing with an ice maker that just doesn’t seem to function as it should? Cleaning your ice maker chute might be the solution you didn’t even know you needed.
Imagine serving crystal-clear ice at your next gathering, impressing your guests with its quality and your knowledge. In this guide, we’ll show you exactly how to clean your ice maker chute, ensuring that every cube is pure, refreshing, and free from any hidden nasties.
By the end of this article, you’ll have the confidence and know-how to keep your ice maker in top shape, making your life just a bit cooler and a whole lot easier.
Why Clean The Ice Maker Chute
Keeping your ice maker chute clean is more important than you might think. This small part plays a big role in the quality and safety of the ice you use daily. Neglecting it can lead to problems that affect both taste and hygiene.
Impact On Ice Quality
Dirty ice maker chutes can change the taste of your ice. Residue from old ice or spills can build up and cause the ice to taste stale or even unpleasant.
Have you ever noticed your drinks tasting off even though everything else is fresh? The chute could be the culprit.
Cleaning it regularly ensures your ice stays pure and fresh, just like it should be.
Preventing Odors And Bacteria
Moisture and leftover ice create the perfect home for bacteria and mold inside the chute.
These unwanted guests can cause bad smells that spread to your ice and drinks.
By cleaning the chute, you stop odors before they start and keep your ice maker hygienic.
Tools And Materials Needed
Cleaning the ice maker chute requires a few simple tools and materials. Having the right supplies helps make the task quick and effective. Prepare everything before you start to avoid interruptions.
Cleaning Solutions
- Warm water mixed with mild dish soap works well.
- White vinegar can remove mineral buildup naturally.
- Commercial ice maker cleaners are available for tough stains.
- A spray bottle helps apply the solution evenly.
Brushes And Cloths
- A soft-bristle brush cleans small and hard-to-reach areas.
- A toothbrush is perfect for detailed scrubbing.
- Microfiber cloths absorb water and wipe surfaces gently.
- Paper towels can be used for quick drying.
Safety Gear
- Rubber gloves protect your hands from cleaning agents.
- Safety glasses prevent splashes from reaching your eyes.
- Wear old clothes to avoid stains or damage.
- Ensure good ventilation to avoid strong odors.
Preparing The Ice Maker
Preparing the ice maker is the first step to a thorough cleaning. It helps avoid damage and ensures safety. Take your time to get everything ready for cleaning.
Turning Off The Machine
Start by unplugging the ice maker from the power source. This stops the machine from running during cleaning. If your ice maker has a power switch, turn it off as well. Safety first to avoid any accidents.
Removing Ice And Parts
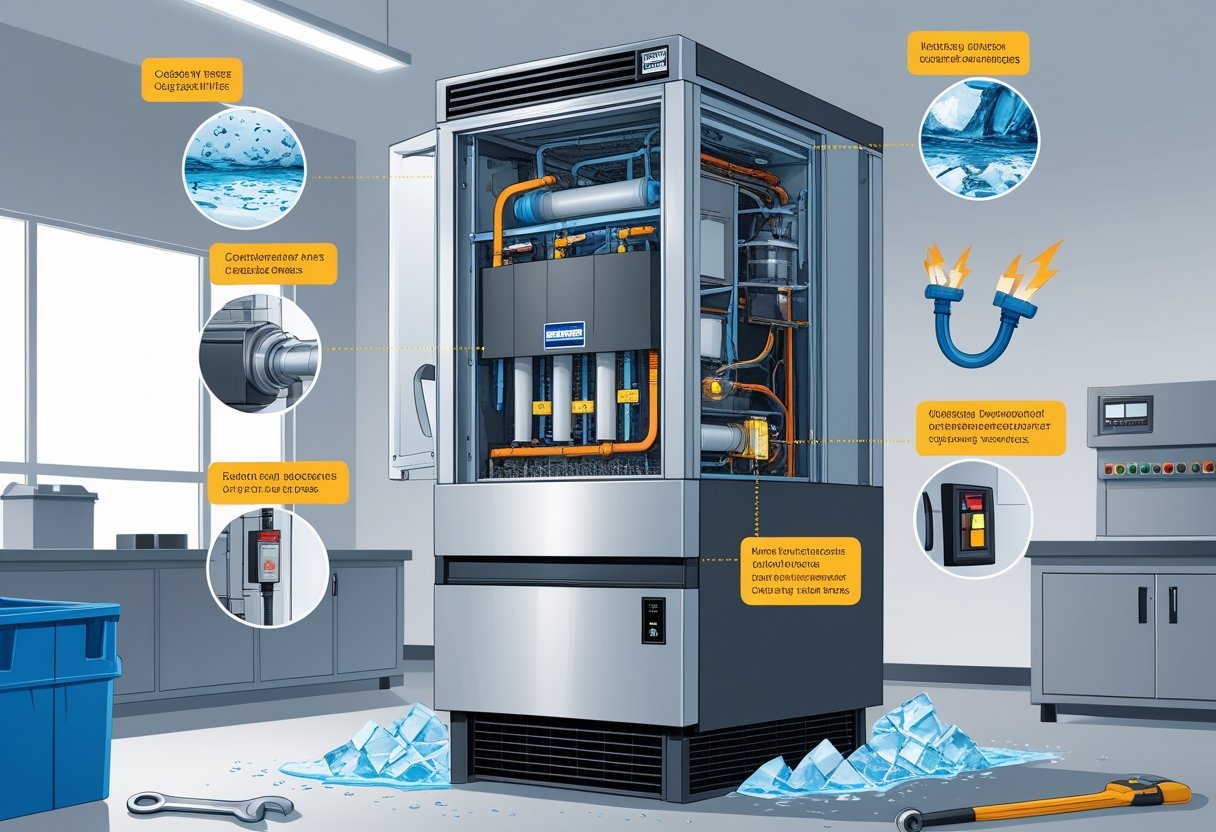
Empty the ice bin completely. Throw away any old or stuck ice cubes. Next, remove parts like the ice chute, tray, or any removable panels. Check your user manual for which parts can be taken out. Clean parts separately for better results.
Credit: memphisice.com
Step-by-step Cleaning Process
Cleaning the ice maker chute is key to keeping your ice fresh and your machine working well. Follow these simple steps to make sure every part of the chute is clean and free of dirt or mold. This process helps stop bad smells and keeps your ice safe to use.
Wiping The Chute Interior
Start by unplugging the ice maker for safety. Use a soft cloth dampened with warm, soapy water. Gently wipe all inside surfaces of the chute. Remove any visible dirt or stains. Avoid using harsh cleaners that can damage the chute.
Scrubbing Hard-to-reach Areas
Use a small brush or an old toothbrush for tight corners. Focus on edges and crevices where dirt can hide. Move the brush in small circles to lift stubborn grime. Be careful not to scratch the surface.
Rinsing And Drying
Wipe the chute with a clean cloth dampened with plain water. This removes soap residue that can affect ice taste. Dry the chute fully with a soft towel. Leave the ice maker open for a few minutes to air dry completely.
Reassembling And Testing
After cleaning the ice maker chute, reassembling and testing are crucial steps. Proper assembly ensures the ice maker works correctly and stays clean longer. Testing confirms everything functions smoothly and prevents future issues.
Putting Parts Back
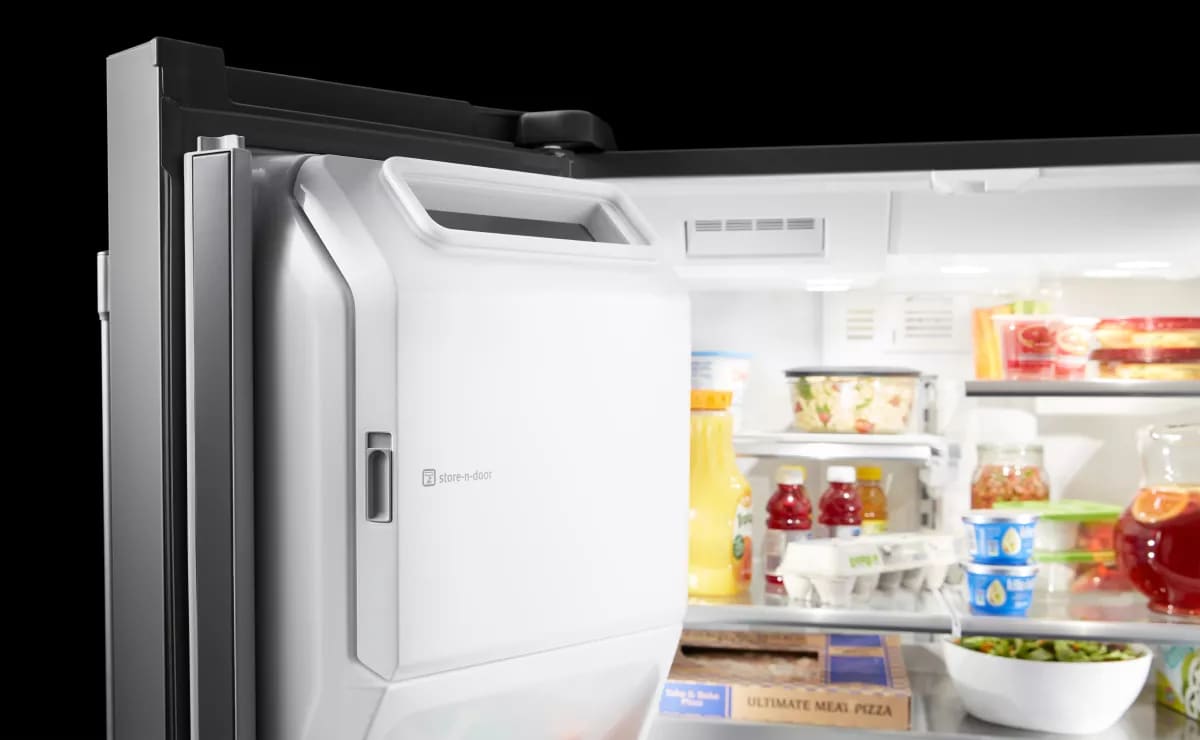
Start by carefully placing each part in its original position. Align the chute and any removed panels correctly. Secure screws and clips firmly but avoid overtightening. Check that the ice chute moves freely without obstruction. Make sure all seals are intact to prevent leaks.
Running A Test Cycle
Power on the ice maker and start a test cycle. Watch for any unusual noises or slow ice movement. Check if ice cubes pass through the chute smoothly. Inspect for water leaks around the chute area. If problems appear, turn off the machine and recheck assembly.
Credit: www.maytag.com
Maintenance Tips For Longevity
Proper maintenance keeps your ice maker chute working well for years. Dirt and ice build-up reduce its efficiency. Cleaning and care protect the chute and improve ice quality. Follow simple steps to maintain your ice maker chute regularly.
Regular Cleaning Schedule
Set a cleaning routine for the ice maker chute. Clean it at least once a month. If you use the ice maker heavily, clean it every two weeks. Use warm water and mild soap for cleaning. Avoid harsh chemicals that can damage the chute.
Wipe the chute with a soft cloth or sponge. Rinse thoroughly to remove soap residue. Dry the chute completely before using the ice maker again. Regular cleaning stops mold and bacteria growth. It also prevents ice jams and clogs.
Avoiding Common Mistakes
- Do not use sharp tools to scrape ice. It can damage the chute surface.
- Avoid using bleach or strong cleaners. They may harm plastic parts.
- Never skip drying the chute after cleaning. Moisture causes mold.
- Do not ignore strange noises or ice jams. Address problems early.
- Keep the freezer temperature stable to avoid excess ice build-up.
Following these tips helps your ice maker chute last longer. It keeps ice fresh and machines running smoothly.

Credit: www.housework.com
Frequently Asked Questions
How Often Should I Clean My Ice Maker Chute?
Clean your ice maker chute every 3 to 6 months. Regular cleaning prevents mold, mildew, and odors. It keeps ice fresh and safe to consume.
What Tools Do I Need To Clean The Ice Maker Chute?
Use a soft cloth, warm water, mild soap, and a small brush. Avoid harsh chemicals to prevent damage. These tools help remove dirt and buildup safely.
Can Vinegar Clean The Ice Maker Chute Effectively?
Yes, vinegar is a natural cleaner that kills bacteria and removes mineral deposits. Mix vinegar with water for safe, effective cleaning. Rinse thoroughly to avoid taste issues.
Is It Safe To Use Bleach On The Ice Maker Chute?
Use bleach cautiously, diluted in water. It disinfects well but can leave harmful residues. Always rinse thoroughly and follow manufacturer guidelines to ensure safety.
Conclusion
Cleaning the ice maker chute keeps your ice fresh and safe. Regular care stops clogs and bad smells. Use simple tools and mild cleaner for best results. Clean it once a month or when ice tastes strange. A clean chute helps your ice maker work well longer.
Small steps make a big difference in ice quality. Keep your freezer and ice maker fresh and ready. Easy to do. Worth the effort.