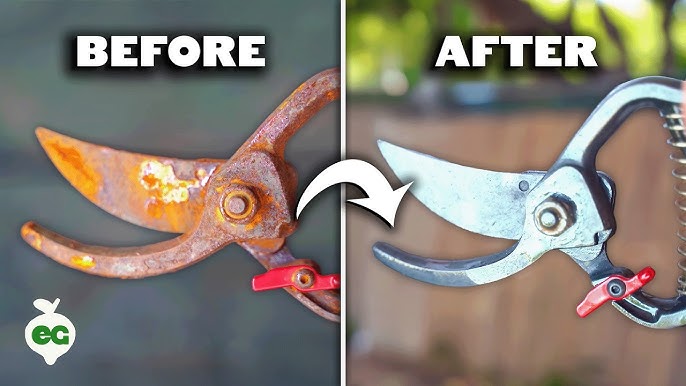
If you want your pruners to work smoothly and last longer, keeping them clean is a must. Dirty blades can make your cuts uneven and even spread plant diseases.
But don’t worry—cleaning your pruners is easier than you think. In this guide, you’ll learn simple steps to get your tools spotless and sharp, so every cut you make is precise and healthy for your plants. Ready to give your pruners the care they deserve?
Let’s dive in!
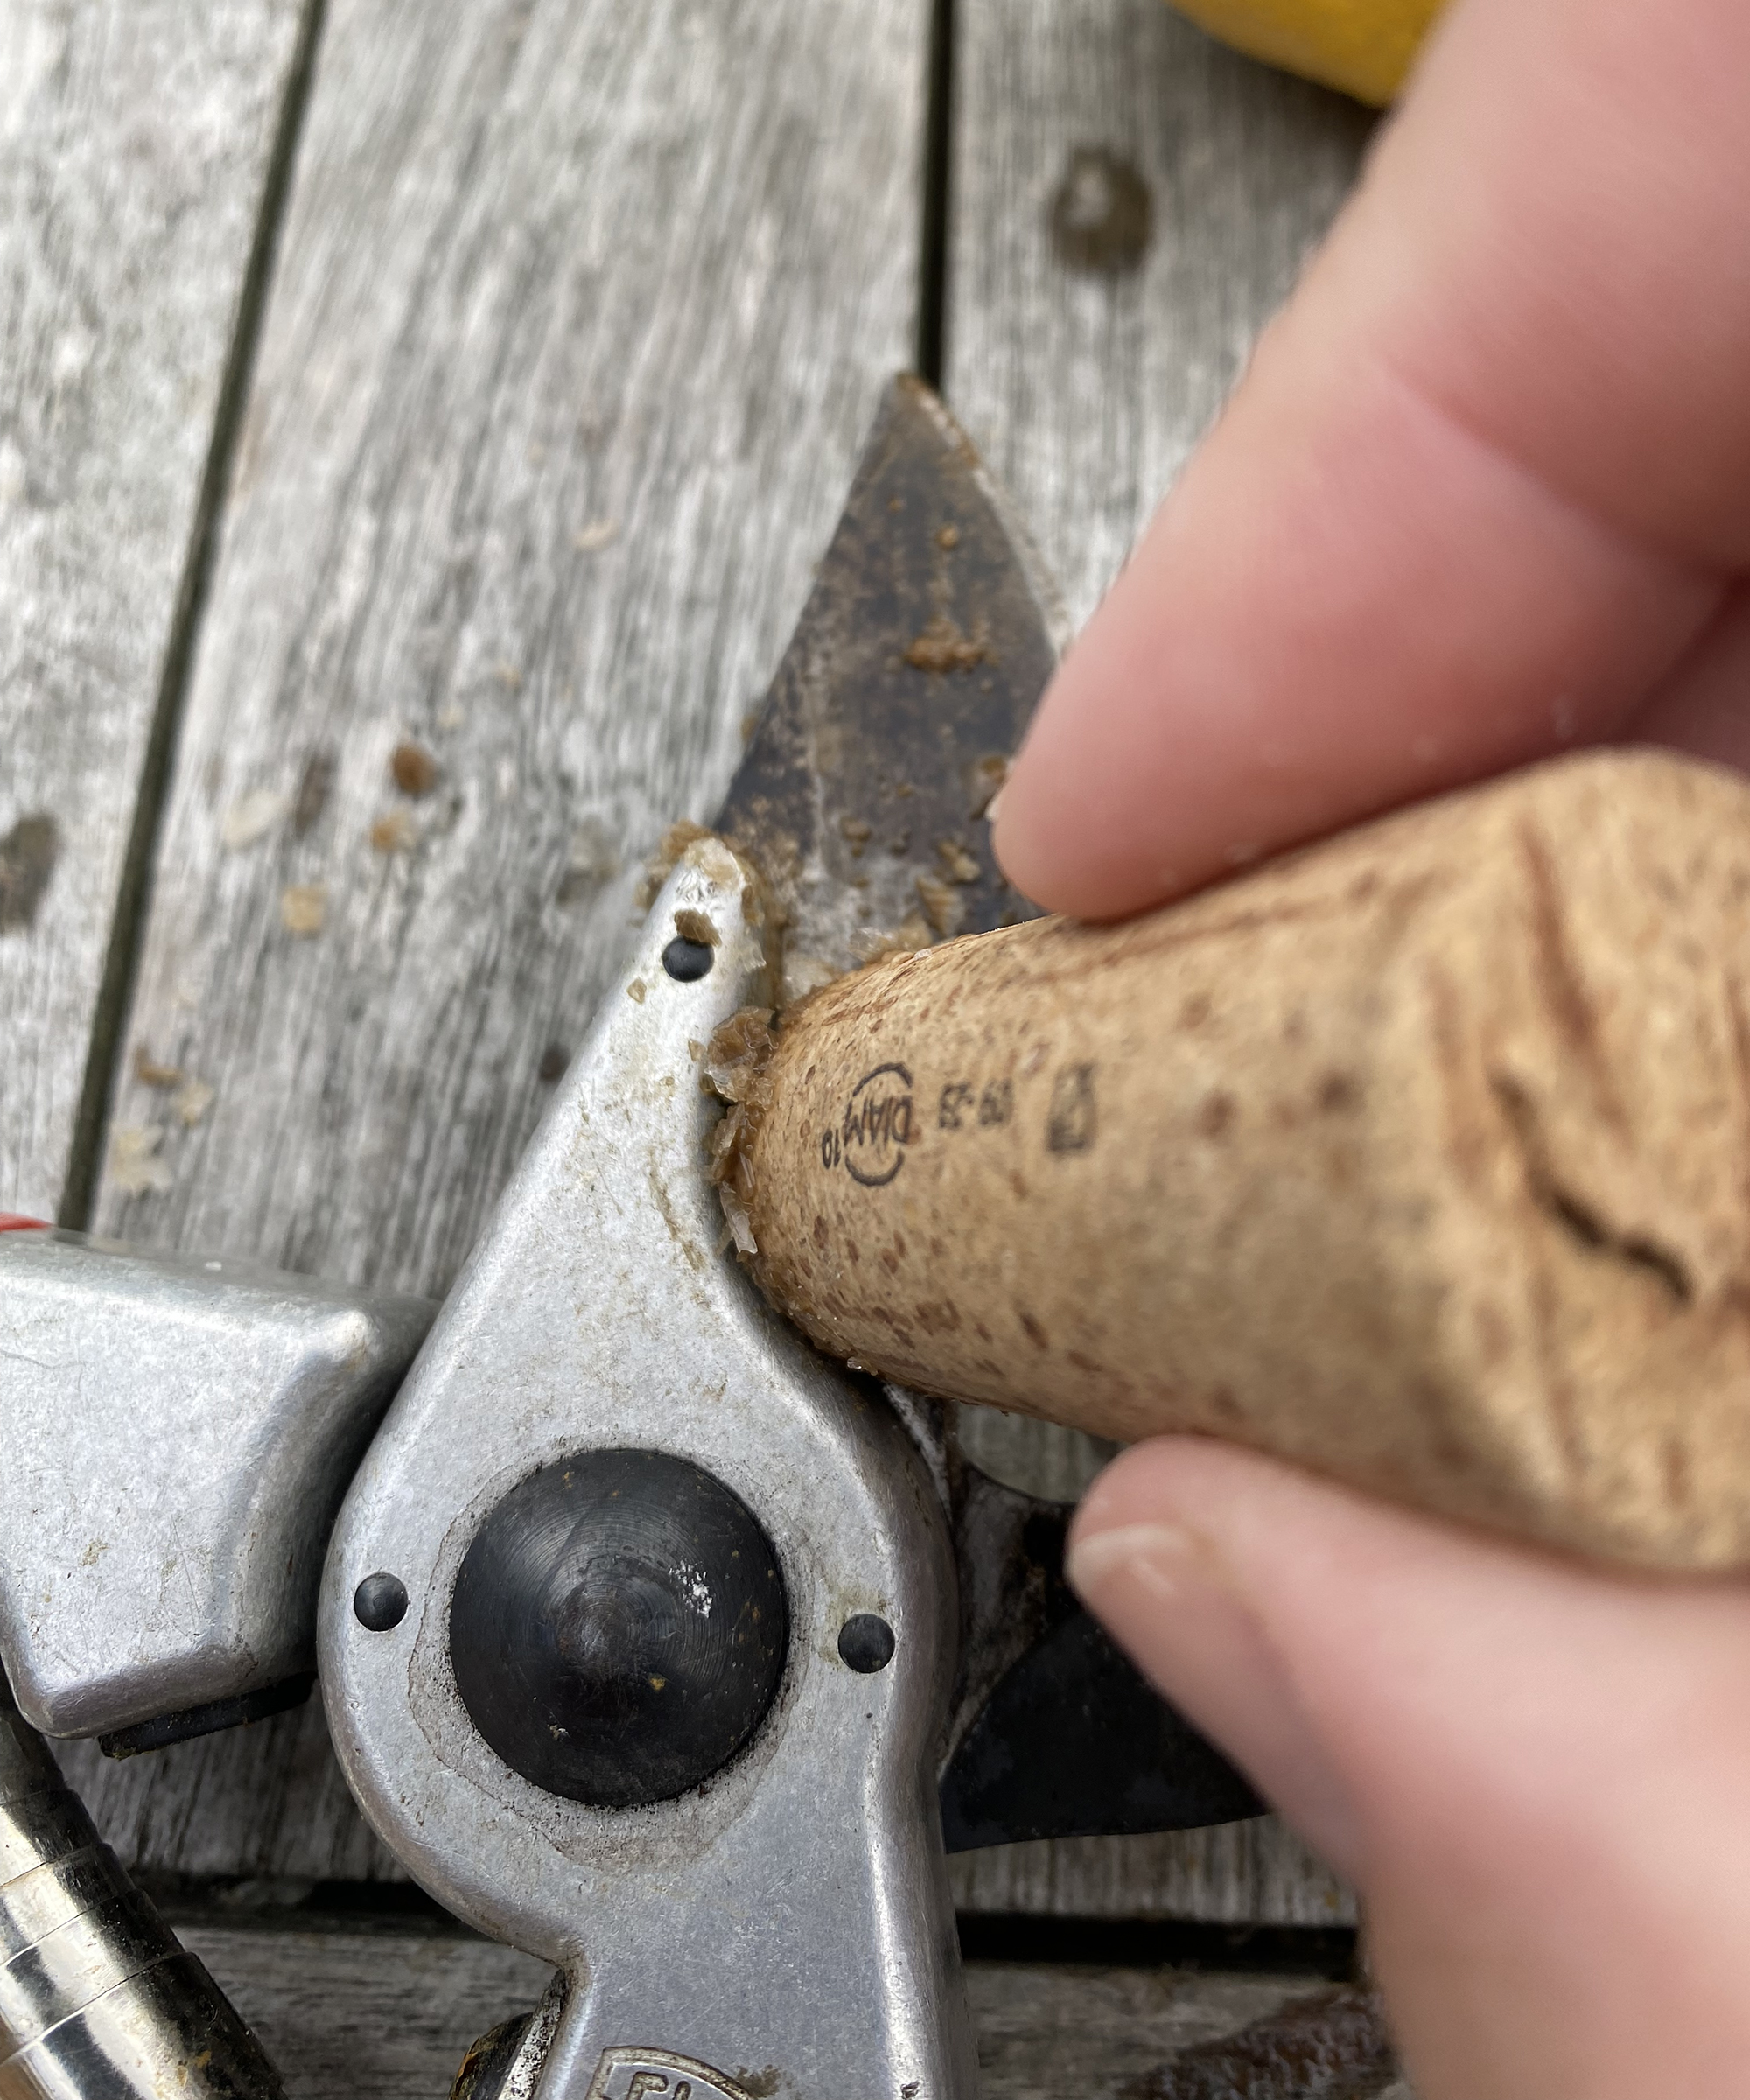
Credit: www.gardeningknowhow.com
Choose The Right Cleaning Supplies
Cleaning pruners keeps them sharp and safe to use. Using the right supplies makes cleaning easier and more effective.
Pick tools and solutions that remove dirt and prevent rust. Safe products protect both your pruners and your skin.
Essential Tools And Materials
Gather these items before you start cleaning your pruners. They help remove sap, dirt, and rust properly.
- Soft cloth or rags for wiping
- Wire brush for rust removal
- Small brush for tight spots
- Bucket of warm water
- Protective gloves
- Lubricating oil
Safe Cleaning Solutions
Use cleaning liquids that do not harm metal or your skin. Avoid harsh chemicals that can damage your tools.
| Solution | Purpose | Notes |
|---|---|---|
| Soapy water | Remove dirt and sap | Mild dish soap is best |
| Rubbing alcohol | Disinfect blades | Use 70% isopropyl alcohol |
| White vinegar | Remove rust | Soak for a few minutes only |
| WD-40 or light oil | Protect metal and lubricate | Apply after cleaning and drying |
Prepare Your Pruners For Cleaning
Cleaning your pruners is important for their longevity. It also ensures clean cuts.
Start by gathering all necessary tools. A clean workspace is helpful.
Disassemble The Tool
First, take apart your pruners. This makes cleaning easier.
Look for screws or bolts. Use a screwdriver to loosen them.
- Remove the nut from the bolt
- Separate the blades carefully
- Keep small parts in a safe place
Remove Dirt And Debris
After disassembling, focus on cleaning. Get rid of dirt and debris.
Use a brush or cloth. Scrub all surfaces gently.
- Brush between blade grooves
- Wipe handles with a damp cloth
- Check for stubborn rust spots
Clean The Blades Thoroughly
Keeping pruner blades clean helps them last longer and work better. Dirt, sap, and rust can stop blades from cutting well.
Cleaning the blades carefully makes pruning easier and prevents plant diseases from spreading.
Scrub Away Sap And Residue
Sap and sticky residue build up on pruner blades after use. This can make blades sticky and hard to open.
Use warm soapy water and a scrubbing brush to remove the sap. Scrub gently to avoid damaging the blade.
- Soak blades in warm soapy water for 10 minutes
- Use a soft brush or old toothbrush to scrub off residue
- Rinse blades with clean water and dry them well
Use Rust Removers Effectively
Rust can form on pruner blades if they are left wet or stored improperly. Rust weakens the metal and makes cutting harder.
Apply rust remover to blades following the product instructions. Use a cloth or brush to scrub off rust spots.
- Choose a rust remover safe for garden tools
- Apply remover and let it sit as directed
- Scrub rust with steel wool or a brush
- Wipe clean and dry blades completely
- Oil blades lightly to prevent future rust
Sharpen Pruner Blades
Sharp pruner blades make clean cuts on plants. This helps plants heal faster.
Keeping blades sharp also makes pruning easier and safer for you.
Select The Right Sharpening Tool
Choose a tool that matches your pruner blade type. Different blades need different tools.
- Sharpening stones work well for most garden pruners.
- Diamond files are good for very hard or serrated blades.
- Sharpening jigs help keep the correct blade angle.
- Electric sharpeners offer quick results but may remove too much metal.
Step-by-step Sharpening Process
Follow these steps to sharpen your pruner blades safely and correctly.
- Clean the blades with soapy water and dry them well.
- Secure the pruner in a clamp or hold it firmly.
- Hold the sharpening tool at the blade’s original angle.
- Stroke the blade away from the cutting edge with light pressure.
- Repeat strokes until the blade edge feels sharp.
- Wipe the blade clean to remove metal filings.
- Apply oil to the blade to prevent rust.
| Step | What to Do | Tip |
| 1 | Clean Blades | Use warm soapy water |
| 2 | Secure Pruner | Clamp or hold steady |
| 3 | Sharpen at Correct Angle | Usually 10-20 degrees |
| 4 | Stroke Away from Edge | Use light, even pressure |
| 5 | Check Sharpness | Blade should feel smooth |
| 6 | Clean Metal Dust | Wipe with cloth |
| 7 | Oil Blade | Use light machine oil |
Lubricate And Protect
Keeping your pruners in good condition helps them work better. Lubricating and protecting the blades stops rust and damage.
Regular care extends your pruners’ life and makes cutting easier. Use the right oils and methods for best results.
Apply Oil For Smooth Operation
Use light machine oil or specialized garden tool oil. Apply a few drops on the pivot point and moving parts. Open and close the pruners to spread the oil evenly.
- Clean blades before oiling.
- Wipe off excess oil with a cloth.
- Oil regularly after every few uses.
- Focus on joints and springs.
Prevent Future Rust
Rust can ruin your pruners. Protect the metal by keeping it dry and coated with oil. Store pruners in a dry place to avoid moisture.
| Action | Purpose |
| Apply thin oil layer | Creates a barrier against moisture |
| Store pruners dry | Stops rust from forming |
| Clean after use | Removes dirt that traps moisture |
| Use rust remover if needed | Restores metal surface |
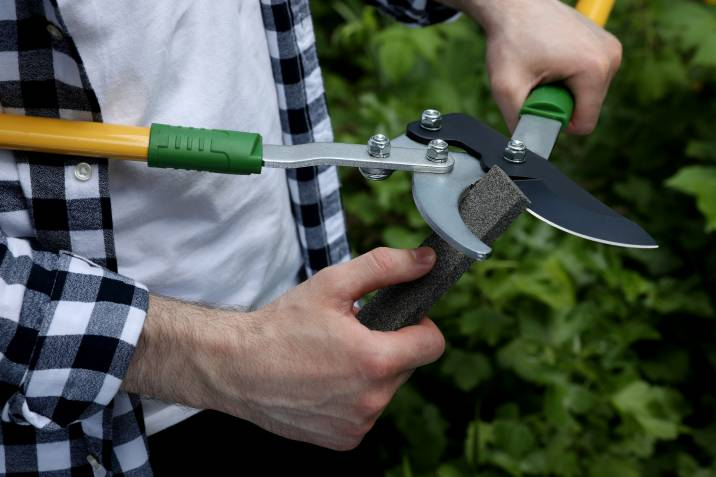
Credit: www.airtasker.com
Reassemble And Test
After cleaning your pruners, you need to put them back together carefully. This step ensures they work properly and last longer.
Testing your pruners helps you check if they cut well and feel comfortable to use.
Put The Pruners Back Together
Start by aligning the blade and the anvil or counter blade. Make sure they fit well without gaps.
Insert the main bolt or screw that holds the pruners together. Tighten it but do not overdo it. The pruners should open and close smoothly.
- Check that springs are in place and not damaged
- Replace any washers or spacers removed earlier
- Test the movement to ensure no parts are loose
Check Cutting Performance
Try cutting a small branch or stem to see how well the pruners work. The cut should be clean and smooth.
If the pruners feel stiff or the cut is jagged, adjust the tightness or sharpen the blade again.
- Make sure the blade closes fully without gaps
- Check for any wobble or looseness during cutting
- Clean off any dirt or sap after testing
Routine Maintenance Tips
Keeping your pruners clean is key to good performance. Dirt and sap can build up over time. This can make cutting harder and damage the blades.
Regular care helps your pruners last longer. It also keeps plants safe from disease. Follow these tips for routine cleaning and storage.
Regular Cleaning Schedule
Set a cleaning routine after each use. This stops dirt and sap from hardening. Use a cloth or brush to remove debris.
- Wipe blades with a damp cloth to remove sap.
- Use mild soapy water to clean if needed.
- Dry blades completely to avoid rust.
- Apply a light oil to keep blades sharp and smooth.
- Check screws and tighten if loose.
Storage Best Practices
Proper storage protects your pruners from damage. Keep them dry and away from moisture. This prevents rust and dullness.
| Storage Tip | Reason |
| Store in a dry place | Prevents rust and corrosion |
| Use blade covers | Protects blades from damage |
| Hang pruners or keep in a tool box | Keeps them safe and organized |
| Keep away from children | Ensures safety |
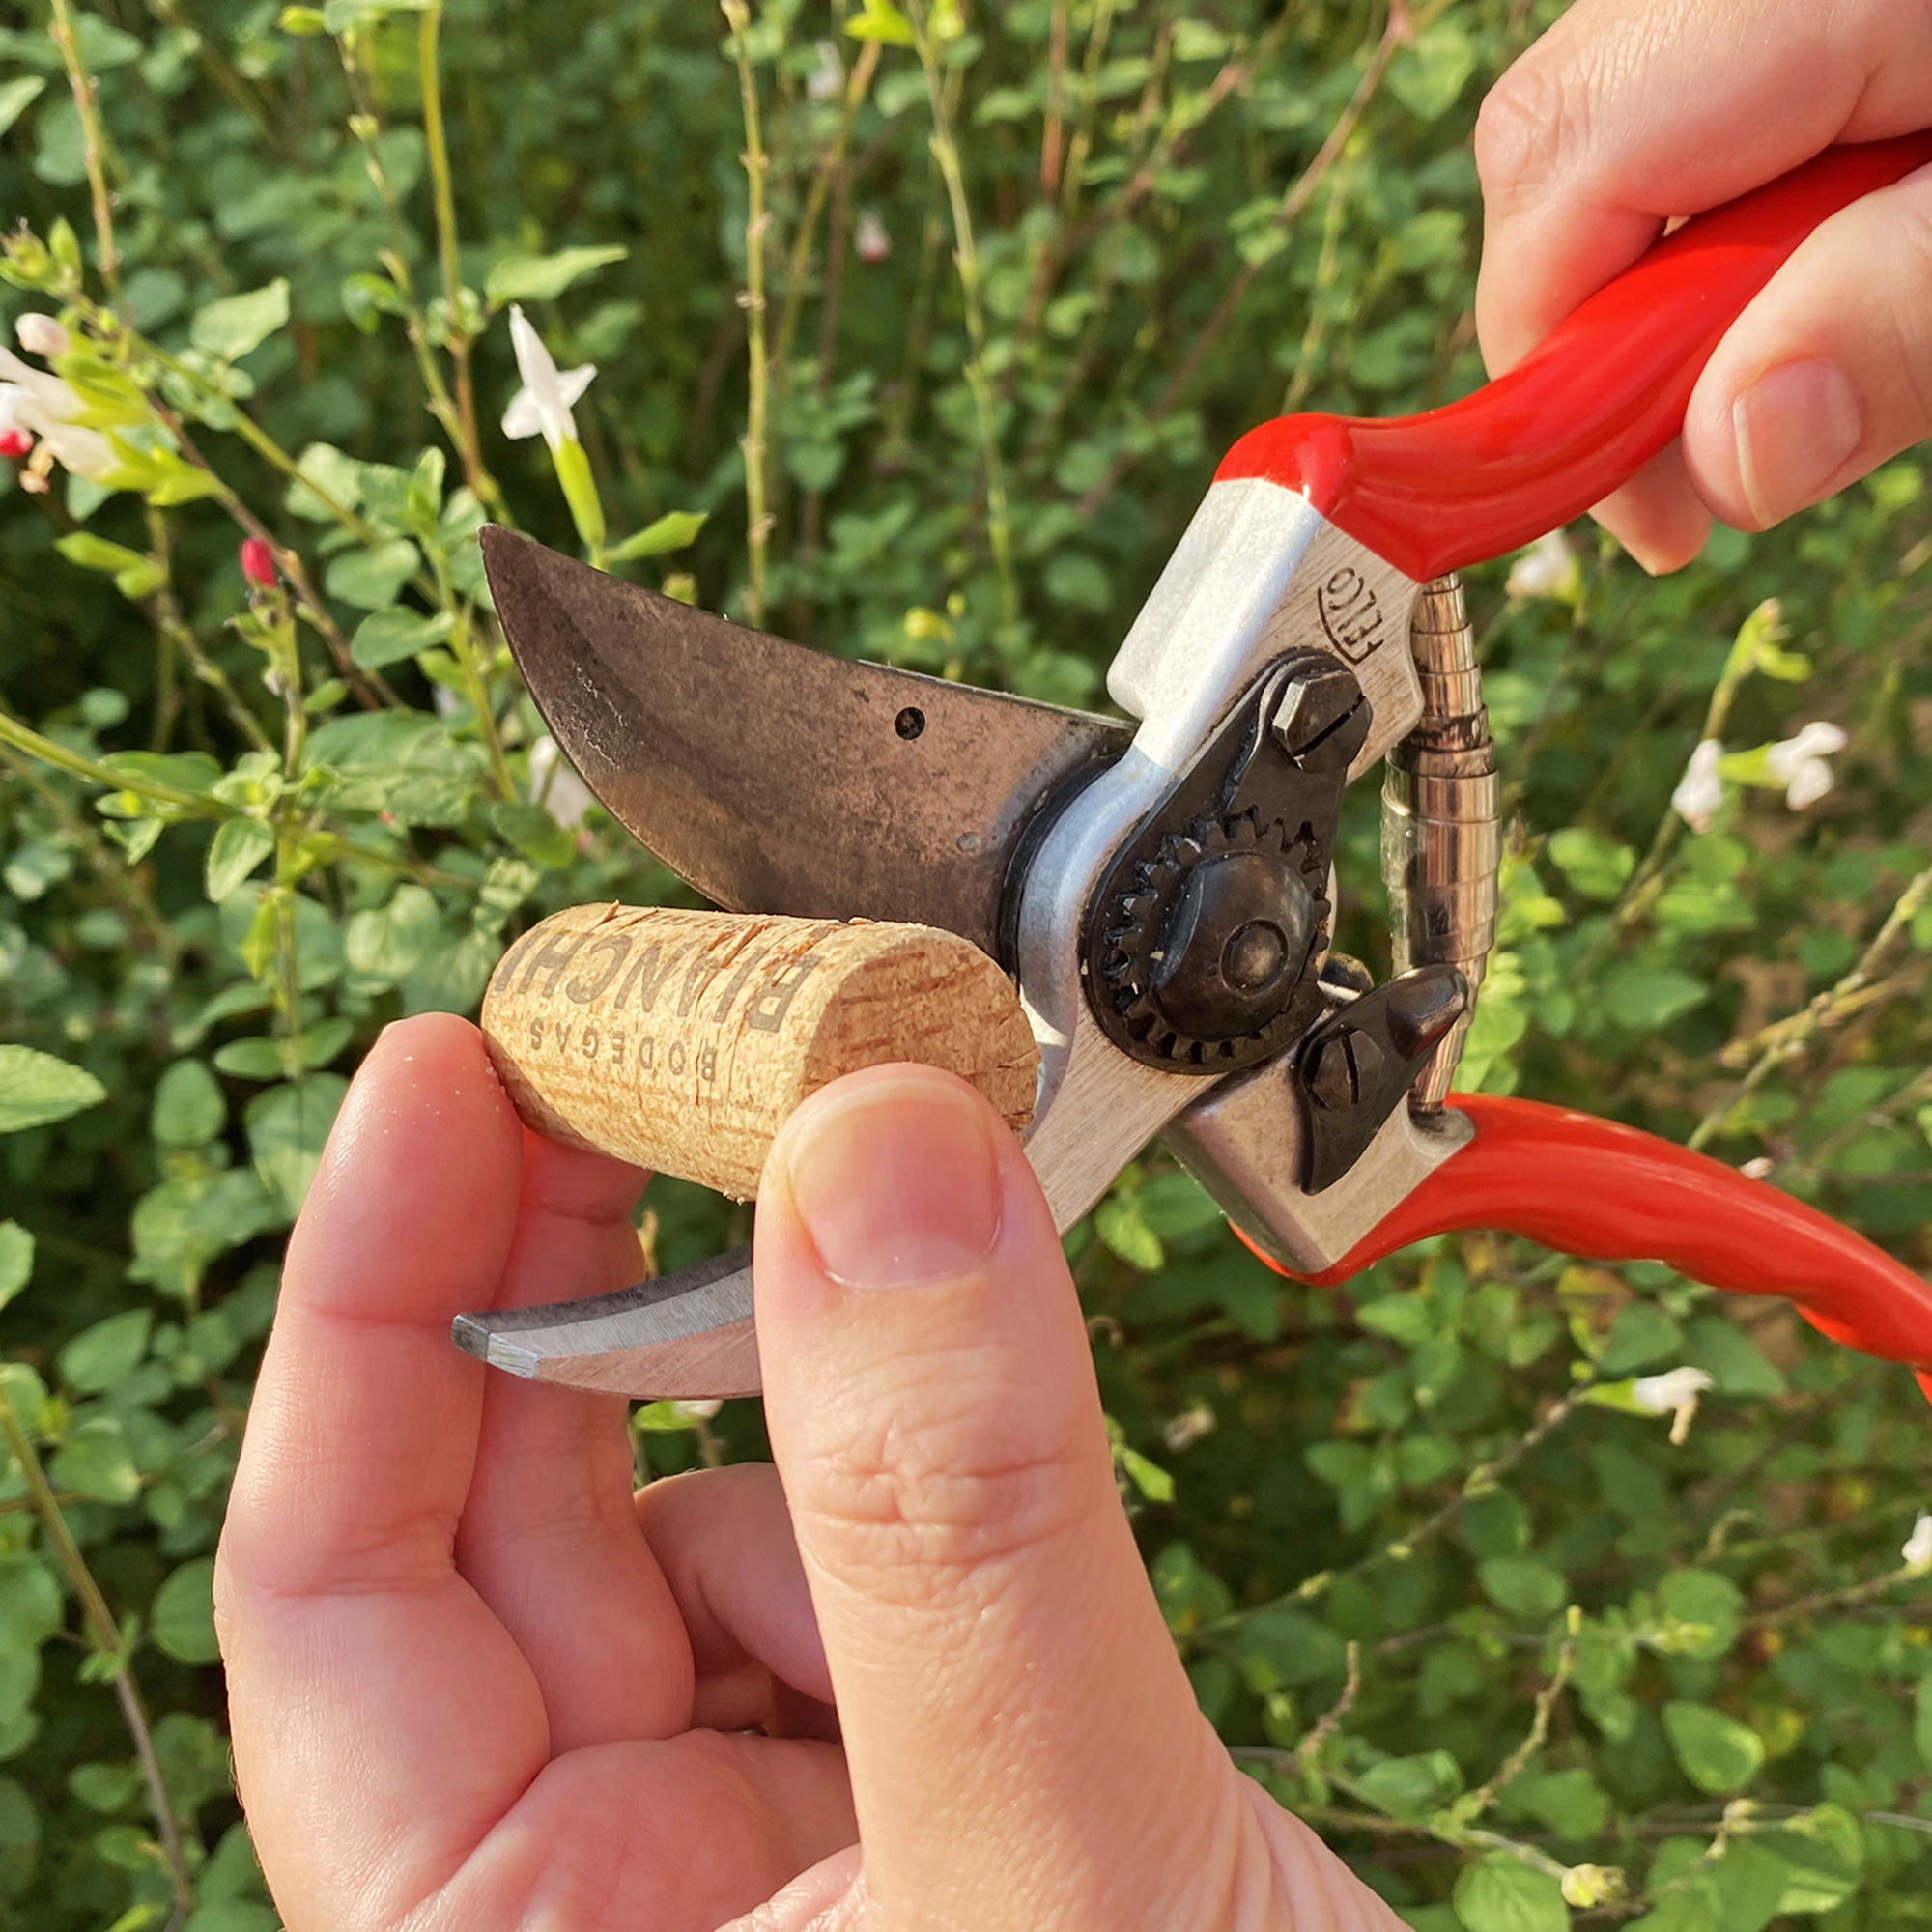
Credit: www.gardeningknowhow.com
Frequently Asked Questions
How Often Should I Clean My Pruners?
Clean pruners after each use to prevent sap buildup and disease spread. Regular cleaning maintains sharpness and extends tool life.
What Is The Best Way To Disinfect Pruners?
Use rubbing alcohol or a bleach solution to disinfect blades. Wipe thoroughly to kill germs and avoid cross-contamination between plants.
Can I Use Household Items To Clean Pruners?
Yes, warm soapy water, vinegar, and baking soda effectively clean pruners. These household items remove dirt and sap without damaging the blades.
Why Is Cleaning Pruners Important For Plant Health?
Cleaning pruners prevents disease transfer between plants. It also keeps blades sharp, ensuring clean cuts and faster plant healing.
Conclusion
Cleaning pruners keeps them sharp and lasts longer. Regular care stops rust and plant disease. Wipe blades after each use for best results. Use oil to keep parts moving smoothly. A clean tool makes pruning easier and safer. Remember, small steps help your garden grow strong.
Keep your pruners ready for every job. Simple habits protect your plants and tools well.