Have you ever wondered how to draw a microwave oven but didn’t know where to start? You’re not alone.
Many people find themselves staring at a blank page, unsure of how to bring this everyday kitchen appliance to life with a pencil. But don’t worry—you’re about to discover how simple and fun it can be. Imagine impressing your friends and family with your artistic skills or using your drawing as a unique piece of art for your home.
In this guide, we’ll break down the process into easy steps, helping you create a realistic and detailed drawing that you can be proud of. So grab your drawing tools and get ready to unlock your inner artist. You’re just a few steps away from creating a masterpiece!
Credit: medium.com
Materials Needed
Gathering the right materials helps you draw a microwave oven easily. Basic tools create the structure and details. Optional supplies add color and texture to your drawing. Prepare your workspace with all items to avoid interruptions.
Basic Drawing Tools
- Pencil – for sketching outlines and shapes
- Eraser – to correct mistakes and lighten lines
- Ruler – to draw straight edges and measure proportions
- Sharpener – to keep your pencil tips fine
- Drawing paper – a smooth surface for your sketch
Optional Coloring Supplies
- Colored pencils – add soft colors and shading
- Markers – for bold and vivid accents
- Fine liners – to outline and enhance details
- Blending tools – for smooth color transitions

Credit: www.youtube.com
Sketching The Basic Shape
Starting your microwave oven drawing with the basic shape is crucial for getting the proportions right. This foundation makes adding details easier and more precise. Think of it as building a strong frame before decorating a house.
Drawing The Outer Rectangle
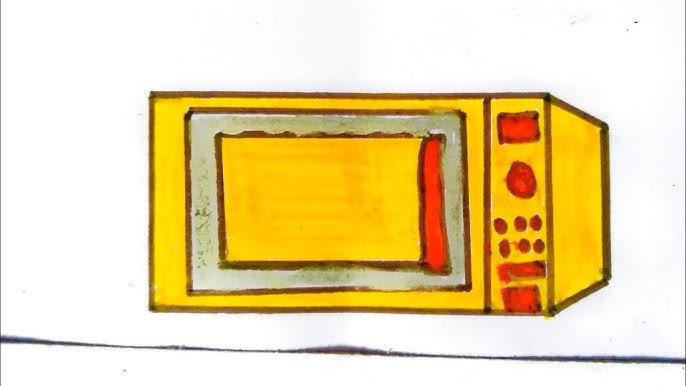
Begin by sketching a clean, simple rectangle to represent the microwave’s body. Keep your lines light so you can adjust as needed without making a mess. The rectangle should be wider than it is tall, reflecting the typical shape of a microwave oven.
Pay attention to the corners—are they sharp or slightly rounded? Most microwaves have gently rounded edges, so you might want to soften the corners a bit. This small detail makes your drawing look more realistic right from the start.
Adding The Door Frame
Next, draw a smaller rectangle inside the larger one to mark the door frame. Position this rectangle slightly off-center, usually leaning towards the right or left depending on your microwave model. This inner rectangle defines where the door glass will be.
Don’t forget to leave some space between the door frame and the outer edge to indicate the microwave’s wall thickness. This gap adds depth and dimension to your sketch. Have you noticed how a well-placed frame can completely change the look of a drawing?
Detailing The Door
Detailing the door is key to making your microwave oven drawing look realistic. The door is the focal point and sets the tone for the entire sketch. Focus on shapes and small features to capture its true appearance.
Start by defining the main outline of the door. Keep lines straight and even. This base will hold the window and handle. Make sure the door size matches the microwave body.
Drawing The Window
The window shows the inside of the microwave. Draw a rectangle or square inside the door frame. Keep it centered and leave space around for the border. Use lighter lines to show the glass effect.
Add small dots or a grid pattern inside the window. This mimics the metal mesh seen on real microwave doors. Keep the pattern subtle but clear. This detail adds depth and realism.
Adding The Handle
The handle is a simple shape but important for function. Draw a small rectangle or rounded bar on one side of the door. Position it vertically or horizontally, based on your microwave style.
Use thicker lines to make the handle stand out. Add shading or a slight curve to show it is a solid object. This helps the handle look touchable and real.
Creating The Control Panel
The control panel is the heart of a microwave oven’s interface. It shows buttons and displays that let users set cooking times and power levels. Drawing this part adds realism and detail to your microwave sketch.
Focus on making the control panel clear and easy to understand. Use simple shapes and lines to represent buttons and screens. Keep proportions balanced with the rest of the microwave body.
Drawing Buttons And Display
Start by sketching a rectangular or square area for the control panel. Inside this area, draw small circles or squares as buttons. Arrange them in rows or columns for neatness.
Add a rectangle or square to represent the display screen. Position it above or beside the buttons. This screen usually shows time or settings and should stand out clearly.
- Use uniform shapes for buttons to keep design consistent.
- Leave space between buttons for visual clarity.
- Draw the display screen slightly larger to highlight it.
Adding Labels And Symbols
Labels and symbols help explain each button’s function. Use simple lines and curves to create icons like a clock, start, or stop symbol. Add short text labels near the buttons.
Keep text legible by using clear, basic fonts or handwriting. Avoid clutter by spacing labels evenly and keeping them small but readable.
- Common labels include numbers, “Start,” “Stop,” and “Power.”
- Use arrows or small icons to show button actions.
- Ensure symbols match typical microwave controls for familiarity.
Enhancing With Shadows And Highlights
Enhancing a microwave oven drawing with shadows and highlights brings it to life. Shadows add realism by showing light direction. Highlights make surfaces look shiny and smooth. Together, they create a three-dimensional effect. This section explains how to use shading and highlights effectively.
Adding Depth With Shading
Shading creates the illusion of depth on flat paper. Start by identifying where the light hits the microwave. Darken areas opposite to the light source. Use soft pencil strokes or light shading for subtle shadows. Focus on corners, under the door, and beneath buttons. Blend the shades smoothly to avoid harsh lines. Shadows make your microwave look solid and real.
Highlighting Edges
Highlights show where light reflects off surfaces. Leave small areas white or use a white pencil to brighten edges. Pay attention to the microwave’s door frame, handle, and glass panel. These parts often catch the most light. Adding highlights contrasts with shadows and enhances the 3D effect. It also suggests a clean, shiny surface typical of microwaves.

Credit: www.youtube.com
Final Touches
Final touches bring your microwave oven drawing to life. This stage polishes the sketch and adds depth. Small details make the drawing clear and neat. The final look depends on careful cleaning and optional coloring. Spend time here to enhance your artwork’s appeal.
Cleaning Up Sketch Lines
Start by erasing extra pencil marks gently. Remove overlapping or rough lines that distract from the shape. Use a soft eraser for light marks to avoid smudging. Keep the main outlines sharp and visible. This step creates a clean base for any further work. Focus on edges, buttons, and screen details for clarity.
Optional Coloring Techniques
Coloring adds realism and interest to your drawing. Choose simple colors like silver, white, or black for a classic look. Use colored pencils or markers for smooth shading. Apply light layers first, then build up darker tones slowly. Highlight areas where light hits the microwave for a 3D effect. You can also add texture to buttons and handles with small strokes. Coloring makes your microwave drawing vibrant and complete.
Frequently Asked Questions
How Do I Start Drawing A Microwave Oven?
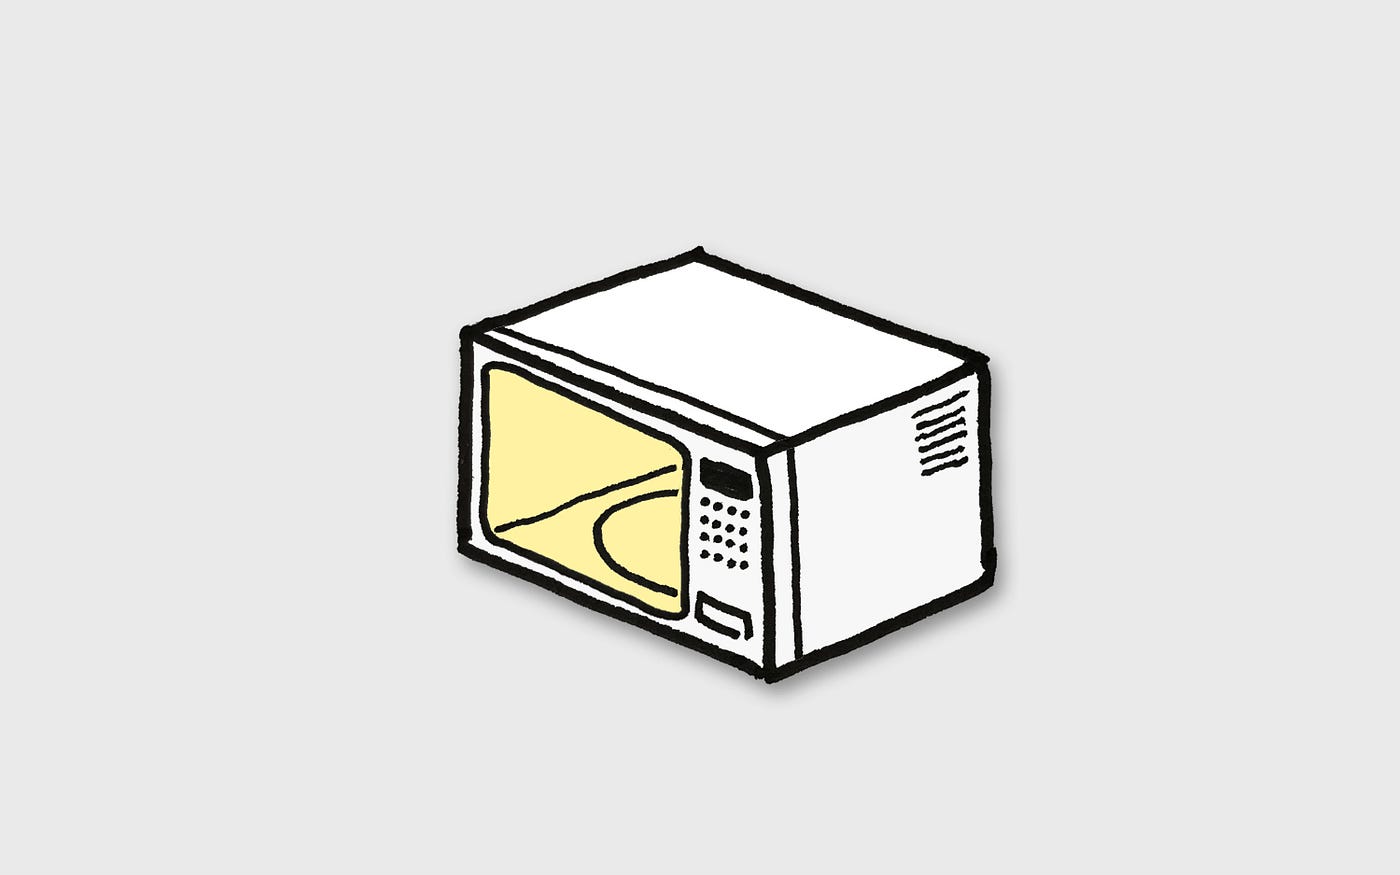
Begin by sketching a simple rectangular shape for the microwave’s body. Add a smaller rectangle for the door and outline the control panel on the side. Use light pencil strokes for easy corrections.
What Materials Are Best For Drawing Microwaves?
Use a pencil for initial sketches and fine liners for details. Colored pencils or markers help add realistic shades and highlights, enhancing your microwave drawing.
How Can I Add Realistic Details To My Microwave Drawing?
Include buttons, a digital display, and a handle on the door. Draw reflections and shadows to give the microwave a three-dimensional and lifelike appearance.
What Perspective Is Easiest For Microwave Drawings?
A front or slight angled view is easiest. This perspective clearly shows the microwave’s door and control panel, making details easier to draw and recognize.
Conclusion
Drawing a microwave oven is easier than you think. Start with simple shapes and add details step by step. Practice helps you improve your lines and proportions. Use light strokes at first, then darken the final lines. Take your time and enjoy the process.
Soon, your drawing will look realistic and neat. Keep practicing to build your confidence and skills. Drawing everyday objects can be fun and rewarding. Try drawing other kitchen appliances next. You will see your art getting better with each attempt.
Keep creating and have fun with your drawings!