Are you ready to transform your kitchen with a sleek, built-in microwave oven? Imagine the convenience and style it could add to your space.
But before you dive in, you might be wondering, “How do I fit a built-in microwave oven? ” Don’t worry, you’re not alone. Many people feel a bit overwhelmed by the process. That’s why we’ve created this step-by-step guide just for you.
In the next few minutes, you’ll discover how easy it can be to install your new appliance like a pro. You’ll save time, avoid common mistakes, and soon enjoy a more efficient kitchen. Let’s get started on making your cooking space both functional and fabulous!
Choosing The Right Microwave
Choosing the right built-in microwave oven is more than picking a popular brand or the latest model. It’s about finding a microwave that fits perfectly in your kitchen, matches your style, and has features that make your life easier. Taking time to select the right one can save you from costly mistakes and endless frustration down the road.
Measuring Your Space
Start by measuring the exact space where the microwave will go. Use a tape measure to get the width, height, and depth of the cabinet or wall cutout.
Remember to leave extra room for ventilation as recommended by the manufacturer. A tight fit might look neat but can cause the microwave to overheat or not close properly.
Double-check your measurements before buying. It’s common to overlook small details like trim or electrical outlets that could affect the fit.
Matching Style And Features
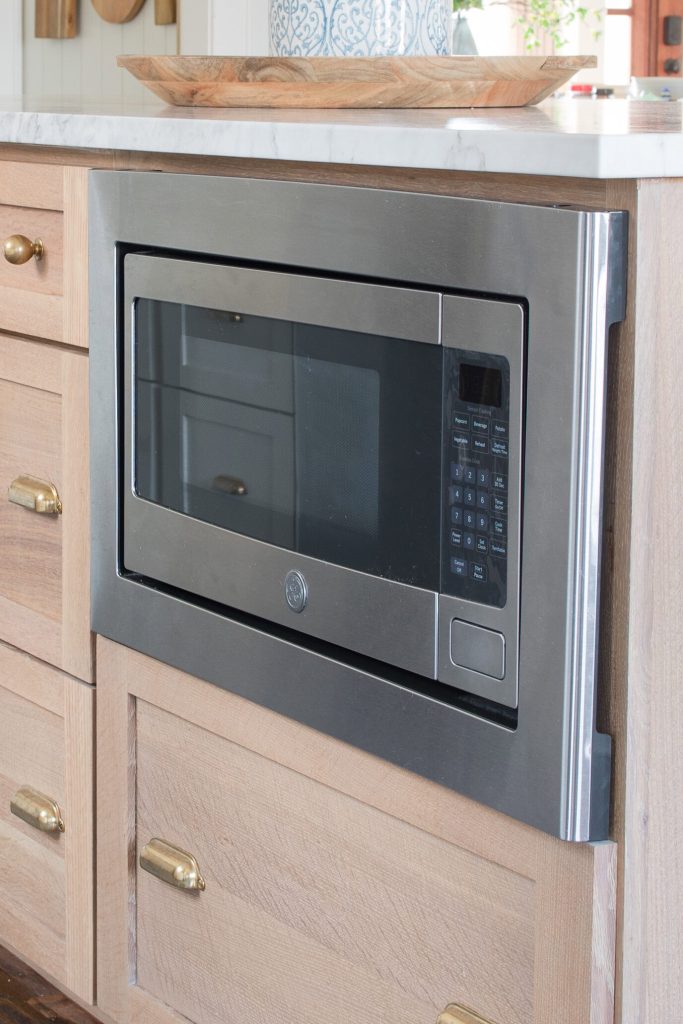
Your built-in microwave should blend with your kitchen’s design. Choose a finish that complements your appliances—stainless steel, black, or white are common options.
Think about how you use your microwave daily. Do you need sensor cooking for perfect reheats? Or maybe a convection feature for baking? List the features that matter most to you.
Consider your control panel preference too. Some microwaves have touch screens, while others use simple buttons or dials. Which feels more intuitive for you?

Credit: manuals.plus
Gathering Tools And Materials
Fitting a built-in microwave oven requires preparation. Gathering the right tools and materials sets the stage for a smooth installation. It saves time and avoids frustration during the process.
This step ensures you have everything needed to fit the microwave safely and securely. Understanding the essential tools and safety gear helps complete the job efficiently.
Essential Tools List
- Measuring tape – for accurate dimensions
- Drill with drill bits – to make holes
- Screwdriver set – for screws and fasteners
- Level – to keep the microwave straight
- Pencil – to mark drill points
- Stud finder – to locate wall studs
- Utility knife – to cut packaging or drywall
- Adjustable wrench – for tightening bolts
Safety Equipment
- Safety goggles – protect eyes from dust and debris
- Work gloves – shield hands during handling
- Dust mask – avoid inhaling particles
- Ear protection – reduce noise from power tools
- Non-slip shoes – prevent falls during work
- Fire extinguisher nearby – in case of emergencies
Preparing The Installation Area
Preparing the installation area is a crucial part of fitting a built-in microwave oven. Taking the time to get this right can save you from unexpected issues later. Let’s focus on two key aspects that set the stage for a smooth installation.
Clearing And Cleaning The Space
Start by completely clearing out the cabinet or wall area where the microwave will go. Remove any items, shelves, or debris to create a blank canvas. This helps you see the exact dimensions and any potential obstacles.
Next, clean the area thoroughly. Dust and grease can interfere with the microwave’s fit and ventilation. Use a mild cleaner and a soft cloth to wipe down all surfaces.
Have you ever tried fitting something bulky into a cluttered space? It’s frustrating and often damages both the appliance and the surroundings. Clearing and cleaning ensures your microwave slides in effortlessly and looks neat.
Checking Electrical Connections
Your built-in microwave will need a dedicated power source. Check if there’s an existing electrical outlet inside the installation space. If not, you might need to have one installed by a professional electrician.
Make sure the outlet matches the microwave’s power requirements, usually 120V with a grounded three-prong plug. Using the wrong outlet can cause serious problems or even void your warranty.
Double-check the wiring for safety. Look for any signs of wear or loose connections. If you spot anything unusual, it’s better to fix it before the installation begins.

Credit: www.shopwesco.com
Removing Old Appliances
Removing old appliances is a crucial first step when fitting a built-in microwave oven. It’s not just about pulling out the old unit; you need to handle it carefully to avoid damage or injury. Taking your time and following the right steps ensures a smooth transition to your new microwave.
Disconnecting Power
Safety always comes first. Before you touch anything, make sure the appliance is completely disconnected from the power source.
- Locate the circuit breaker or unplug the microwave from the wall socket.
- Double-check that the microwave is no longer receiving electricity by trying to turn it on.
- If the microwave is hardwired, consider calling an electrician to safely disconnect the wiring.
Have you ever tried unplugging a device only to find it still has power? It’s a simple check that can save you from electric shocks.
Safely Taking Out Existing Units
Once the power is off, you can focus on removing the microwave. These units can be heavy and awkward, so plan your moves carefully.
- Clear the surrounding area to give yourself enough space to work.
- Use a screwdriver to remove any screws or brackets holding the microwave in place.
- Ask someone to help you lift the microwave out to prevent dropping or damaging it.
Remember, appliances can be bulkier than they look. Trying to remove them alone might cause accidents or harm your kitchen cabinets.
Have you noticed how much easier tasks become with a helping hand? Don’t hesitate to ask for assistance—it’s worth the effort.
Mounting The Microwave
Mounting the microwave is a key part of fitting a built-in microwave oven. It ensures the appliance stays safe and stable. Proper mounting also helps keep your kitchen neat and organized. The process involves securing the bracket firmly and positioning the microwave correctly. Both steps need care and precision to avoid damage or accidents.
Securing The Bracket
The bracket holds the microwave in place. Use a level to keep it straight on the wall or cabinet. Find the studs or strong support areas before drilling. Use screws that fit the bracket and wall type. Tighten all screws firmly but do not over-tighten. Check the bracket’s stability by gently shaking it. A secure bracket prevents the microwave from falling.
Positioning The Microwave
Lift the microwave carefully and place it on the bracket. Align the microwave’s mounting holes with the bracket screws. Push the microwave back until it fits snugly. Use a screwdriver to fasten any locking screws under or inside the microwave. Make sure the microwave is level and does not tilt. Test the door to open and close smoothly. Proper positioning ensures safety and easy use.
Connecting Power Safely
Connecting power safely is a crucial part of fitting a built-in microwave oven. It’s not just about plugging it in; it’s about ensuring the electrical setup supports the microwave without causing hazards. A poor connection can lead to short circuits or even fires, so taking the right steps is essential for your safety and the appliance’s longevity.
Wiring Guidelines
Before you start, check your microwave’s power requirements on the label or manual. Most built-in microwaves need a dedicated circuit, usually 120V or 240V, depending on the model. Using the correct gauge wire is vital—too thin, and it risks overheating; too thick, and it’s hard to handle.
Always turn off the power at the breaker before touching any wires. You’ll want to connect the microwave’s power cord to a junction box or an outlet designed for high load appliances. Make sure the ground wire is securely attached to prevent electrical shocks.
Use wire nuts to secure connections and electrical tape for added safety. Avoid twisting wires loosely; tight, clean connections reduce the chance of sparks. If your home wiring doesn’t match your microwave’s needs, consider hiring a licensed electrician.
Testing The Connection
Once everything is wired, don’t just assume it’s ready. Restore power and test the microwave by running it empty for a short time. Listen for unusual sounds or smell burning, which can indicate wiring issues.
Use a multimeter to check the voltage at the outlet or junction box. It should match the microwave’s specifications exactly. This step will help you catch loose connections or incorrect wiring before they cause damage.
Have you ever faced a sudden power trip after installing an appliance? Testing the connection can save you from that frustration. If anything seems off, turn off the power and recheck your connections or get professional help.
Sealing And Finishing Touches
Sealing and finishing touches are crucial to give your built-in microwave oven a polished and professional look. This stage hides gaps, protects against moisture, and ensures the unit blends seamlessly with your kitchen cabinetry. Paying attention to these details not only improves aesthetics but also extends the appliance’s lifespan.
Adding Trim And Covers
Trim and covers fill the spaces around the microwave, preventing dust and crumbs from sneaking in. You can use wood trim matching your cabinets or metal covers designed for microwaves. Attach these pieces carefully with finishing nails or adhesive, ensuring they sit flush against the walls and appliance.
Think about using corner trims to soften edges and avoid sharp transitions. This small detail can make a big difference in how neat your installation looks. Have you noticed how a simple trim can elevate the whole kitchen’s appearance?
Ensuring A Clean Look
After installing trim, check all seams and joints for gaps. Apply a thin bead of paintable silicone caulk to seal these areas, preventing moisture damage. Smooth the caulk with a damp finger or tool for a flawless finish.
Don’t forget to wipe away any dust or fingerprints from the microwave and surrounding surfaces. A clean installation invites compliments and shows off your handiwork. How often do you see a microwave that looks like it belongs in the cabinetry rather than just sitting there?
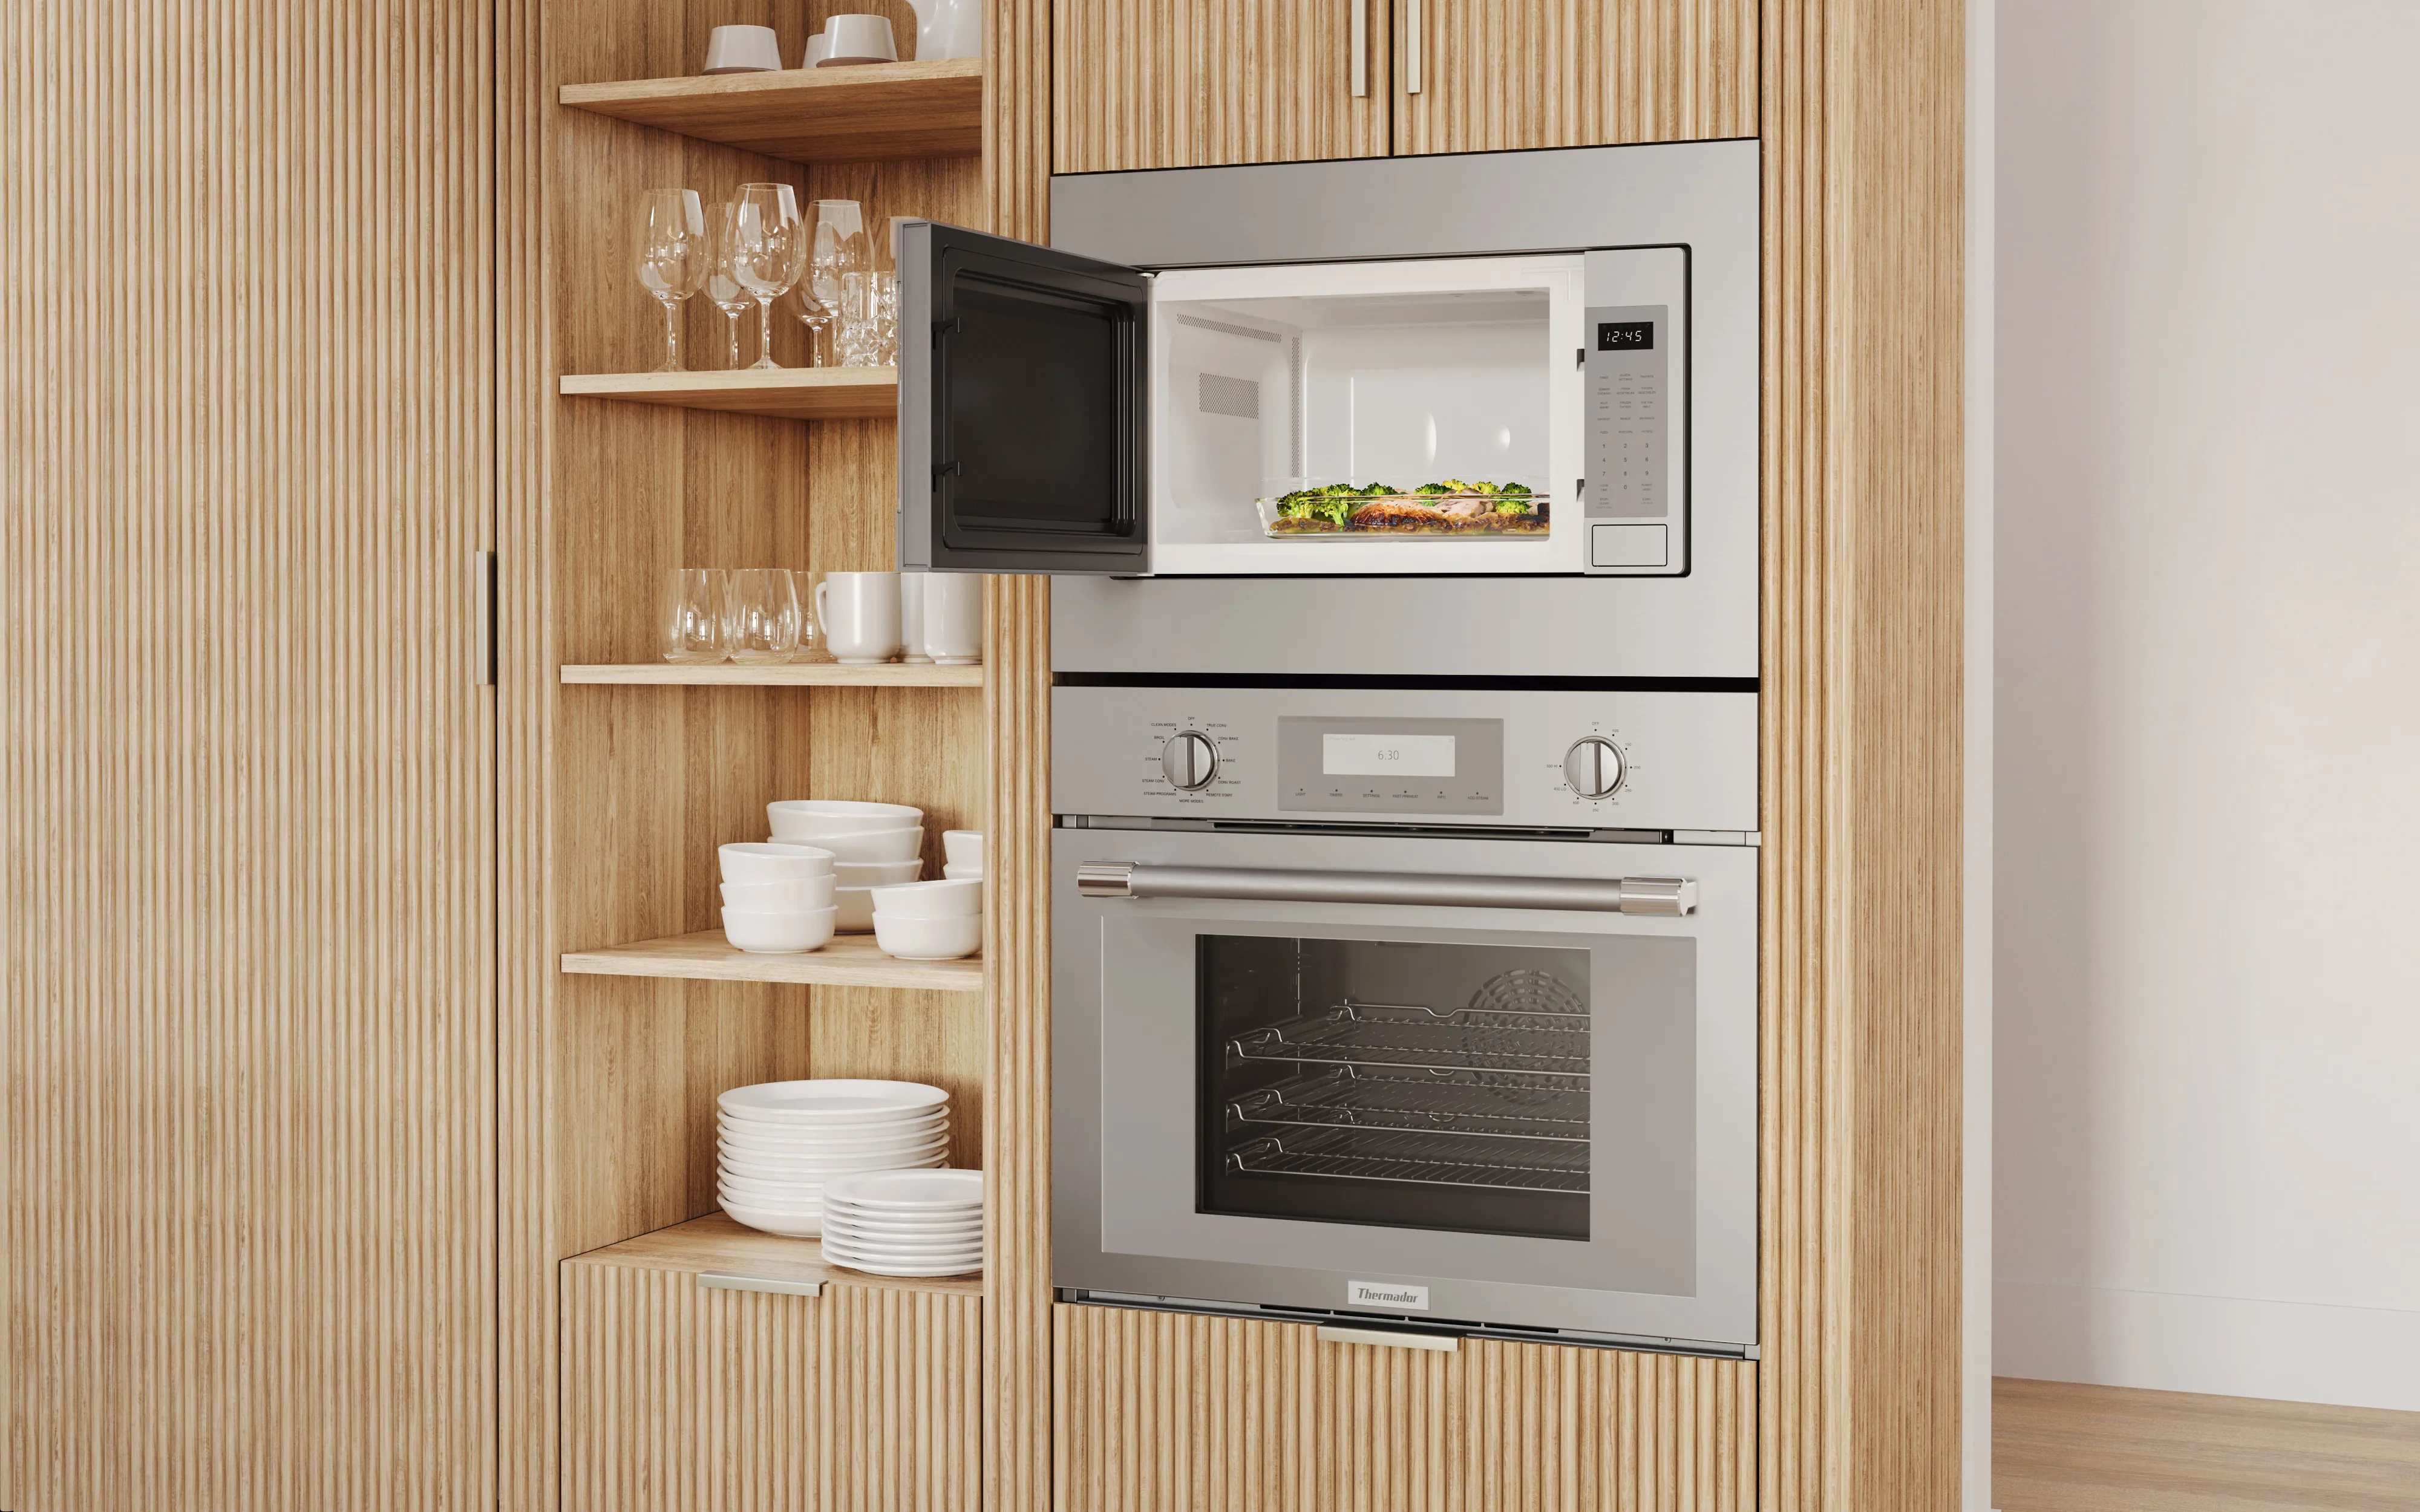
Credit: www.thermador.com
Troubleshooting Common Issues
Fitting a built-in microwave oven can be straightforward, but sometimes issues pop up that slow you down. Troubleshooting these common problems quickly helps you get your kitchen back in working order without stress. Let’s look at some practical ways to solve fit and power issues you might encounter during installation.
Addressing Fit Problems
Is your microwave not sitting flush in the cabinet? The first thing to check is the cabinet dimensions. Even a slight mismeasurement can cause gaps or a too-tight fit.
Use a tape measure to compare the microwave’s size with the cabinet opening. If the space is too small, you might need to trim the cabinet or choose a slimmer model. Don’t forget to account for ventilation space, which is often overlooked but crucial for safe operation.
Another common fit issue is uneven surfaces. If the microwave wobbles or tilts, place shims under the base to level it. This simple fix prevents damage and ensures the door seals correctly.
Fixing Power And Functionality
Once the microwave fits well, power problems can still arise. If your microwave doesn’t turn on, check that it’s properly plugged in and that the outlet supplies power.
Sometimes, the issue is the circuit breaker or fuse. Reset the breaker or replace the fuse if needed. If the microwave still won’t power up, the internal fuse might be blown—this requires professional repair or replacement.
Is your microwave running but not heating? This usually points to a faulty magnetron or capacitor. These parts are sensitive and should be handled by a technician. Meanwhile, double-check that the door closes fully and the latch clicks; a loose door won’t allow the microwave to operate correctly.
Frequently Asked Questions
How Do I Measure Space For A Built-in Microwave?
Measure the cabinet width, height, and depth accurately. Ensure space allows proper ventilation and easy door opening. Check the microwave’s installation manual for exact dimensions and clearance requirements to avoid fitting issues and ensure safety.
What Tools Are Needed To Fit A Built-in Microwave?
You need a drill, screwdriver, tape measure, level, and possibly a stud finder. These tools help secure the microwave safely and ensure it fits perfectly within the cabinet space.
Can I Install A Built-in Microwave Myself?
Yes, if you follow the manufacturer’s instructions carefully. Basic DIY skills and proper tools are essential. Otherwise, consider hiring a professional to ensure safe and correct installation.
How Do I Ensure Ventilation For Built-in Microwaves?
Leave at least one inch of space around the microwave for airflow. Avoid blocking vents and follow the microwave’s ventilation guidelines to prevent overheating and damage.
Conclusion
Fitting a built-in microwave oven can save space and improve kitchen style. Measure carefully and follow the steps for a secure fit. Use the right tools and double-check connections for safety. Take your time and stay patient during installation. A well-installed microwave adds convenience to your cooking routine.
Enjoy your new kitchen upgrade that blends function with design.