Imagine having a stash of fresh green beans that taste garden-picked even in the dead of winter. Sounds delightful, right?
If you want to preserve the vibrant taste and nutritious goodness of green beans, freezing them with a Foodsaver is your go-to method. This technique not only locks in flavor but also extends the shelf life of your veggies, saving you both time and money.
Are you ready to discover how easy it is to freeze fresh green beans and enjoy them year-round? Stick with us, and you’ll learn step-by-step how to use your Foodsaver to keep your green beans as fresh as the day they were picked.
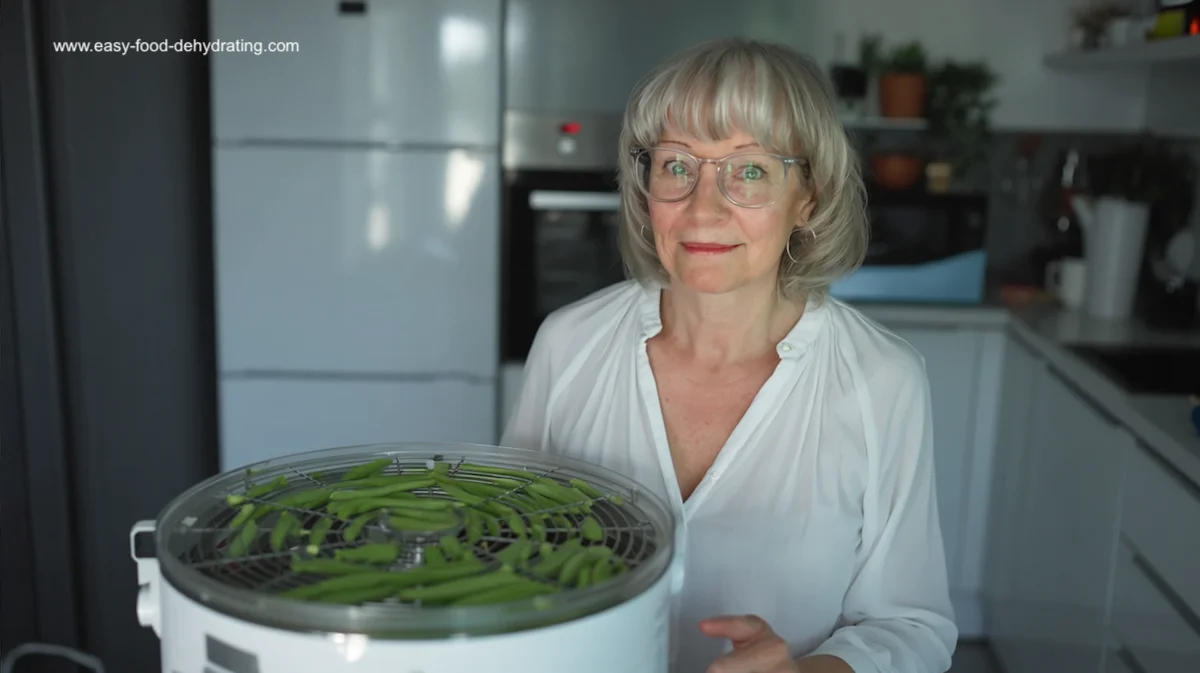
Credit: www.easy-food-dehydrating.com
Choosing Fresh Green Beans
Choosing fresh green beans is the first step to freezing them well with a FoodSaver. Fresh beans keep their taste and texture after freezing. Picking the right beans makes a big difference in your frozen batch.
Selecting The Best Beans
Look for green beans that are firm and bright green. Avoid beans that are soft, spotted, or yellow. Fresh beans snap easily when bent. Choose beans that are about the same size for even freezing. Smaller beans tend to freeze better and cook faster later.
Preparing Beans For Freezing
Wash the beans under cold water to remove dirt. Trim the ends by cutting off both tips. Cut beans into your preferred length, usually 1 to 2 inches. Blanch the beans in boiling water for 2-3 minutes. This step stops enzymes that cause spoilage and color loss.
After blanching, cool the beans quickly in ice water. Drain well and pat dry to remove excess water. Dry beans freeze better and avoid ice crystals in the bag. Now, your green beans are ready to be sealed with the FoodSaver for freezing.
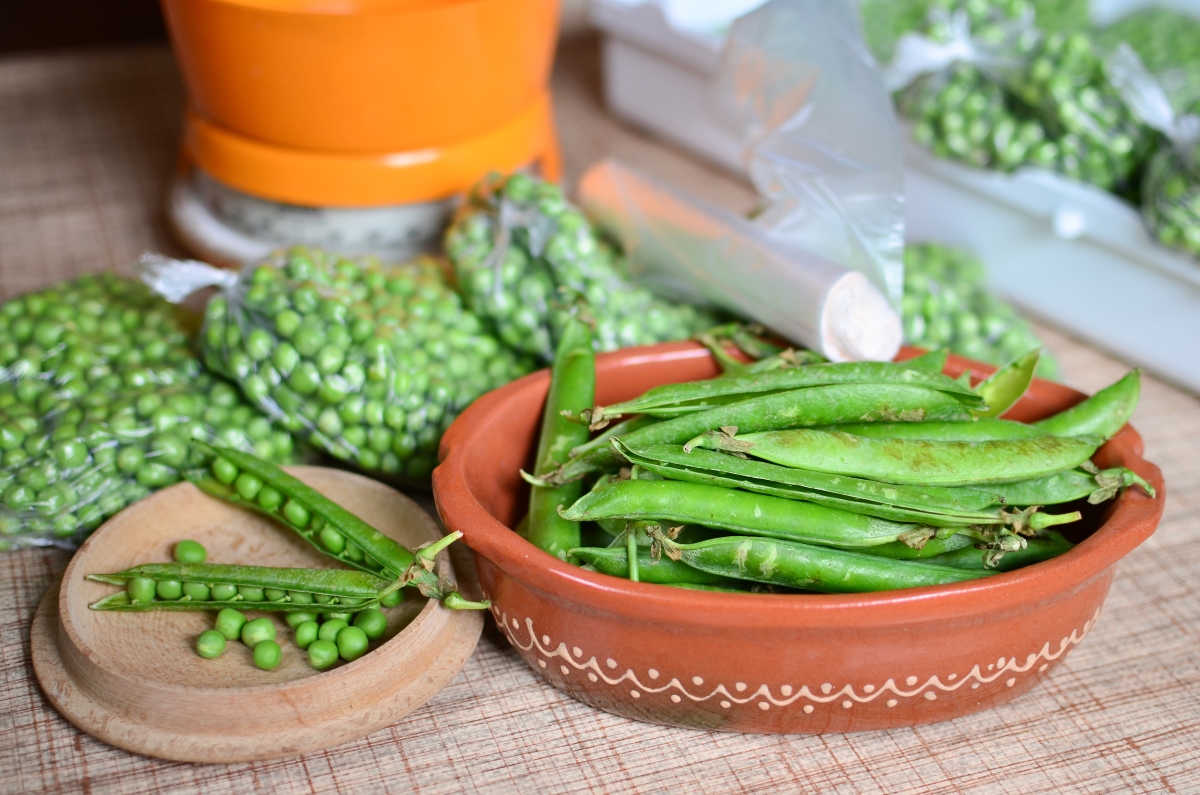
Credit: practicalselfreliance.com
Prepping Green Beans For Freezing
Preparing green beans before freezing is key to keeping their taste and texture. Proper prep helps the beans stay fresh longer and prevents freezer burn. Follow simple steps to get your green beans ready for vacuum sealing with a FoodSaver.
Washing And Trimming
Start by rinsing the green beans under cold running water. This removes dirt and any pesticides. Use your hands to rub the beans gently for better cleaning. Drain the beans in a colander to remove excess water.
Next, trim the ends of the beans. Snap or cut off the stem end and the tip. Remove any damaged or tough spots. Cut the beans into your preferred size, usually 1 to 2 inches long. This makes them easier to use after freezing.
Blanching Techniques
Blanching stops enzyme action, which can cause loss of flavor and color. It also kills bacteria and softens the beans slightly. Boil a large pot of water and prepare a bowl of ice water nearby.
- Place the trimmed green beans in the boiling water.
- Blanch for 2 to 3 minutes, depending on bean size.
- Quickly transfer beans to the ice water to stop cooking.
- Leave beans in ice water for the same time as blanching.
- Drain beans thoroughly and pat dry with a clean towel.
Dry beans freeze better and reduce ice crystals inside the bag. This step ensures your green beans stay crisp and tasty after freezing.
Using A Foodsaver For Freezing
Using a Foodsaver to freeze fresh green beans helps keep them fresh longer by removing air that causes freezer burn. This method preserves the beans’ crispness and flavor much better than standard freezer bags. If you want your green beans to taste as fresh months later as the day you packed them, mastering your Foodsaver is key.
Setting Up Your Foodsaver
Start by placing your Foodsaver on a clean, flat surface near an electrical outlet. Make sure the vacuum sealing bag rolls or pre-cut bags are within easy reach. Plug it in and turn it on so it’s ready to remove air from your green bean bags quickly once packed.
Check that the sealing strip is clean and free from debris. A dirty seal can cause air leaks, ruining your vacuum seal. If your model has adjustable suction settings, choose a medium level to avoid crushing your green beans during sealing.
Packing Green Beans Properly
First, rinse and dry your green beans thoroughly to prevent ice crystals from forming inside the bag. Blanching the beans briefly in boiling water then cooling them in ice water helps lock in color and nutrients before freezing.
When filling your Foodsaver bags, leave about 2-3 inches of space at the top. This gap allows the bag to seal properly without getting any beans caught in the seal. Spread the beans evenly inside the bag to create a flat layer; this helps the vacuum remove all the air efficiently.
Before sealing, double-check that no moisture or bean pieces are near the edges. Once sealed, label each bag with the date and contents using a permanent marker. This simple step prevents confusion and helps you use the oldest beans first.
Freezing Tips For Freshness
Keeping your green beans fresh in the freezer takes a little more than just sealing them up. Paying attention to small details can make a big difference in taste and texture once you thaw them. Here are some smart tips to help you freeze your green beans with a FoodSaver and keep them tasting like they were just picked.
Avoiding Freezer Burn
Freezer burn happens when air reaches the surface of your green beans, drying them out and ruining their flavor. To prevent this, make sure you blanch your beans first—just a quick boil followed by an ice bath to stop the cooking. This step locks in nutrients and color.
When using your FoodSaver, remove as much air as possible from the bag before sealing. Try to avoid overfilling the bag because extra space allows air pockets to form. Have you ever noticed dried spots on frozen veggies? That’s freezer burn, and it’s preventable with proper sealing and quick freezing.
Labeling And Storage Advice
Labeling your bags might seem simple, but it saves a lot of guesswork later. Use a permanent marker to write the date and contents right on the FoodSaver bag. This helps you keep track of how long your green beans have been in the freezer and prioritize using the oldest first.
Store your sealed bags flat in the freezer. This saves space and helps green beans freeze evenly. Also, avoid placing heavy items on top of the bags to keep them from getting crushed and losing their shape.
Thawing And Cooking Frozen Green Beans
Thawing and cooking frozen green beans can be simple and quick, preserving their fresh taste and texture. Knowing the right techniques helps you enjoy your green beans just like fresh ones. Let’s look at practical ways to thaw and cook your frozen green beans for the best results.
Best Thawing Methods
You don’t always need to thaw frozen green beans before cooking. Sometimes, cooking them straight from the freezer saves time and locks in nutrients.
- Refrigerator thawing:Place the sealed bag in your fridge overnight. This gentle thaw keeps the beans firm and ready for recipes that require minimal cooking.
- Cold water thawing:Submerge the sealed bag in cold water for about 30 minutes. This speeds up thawing without warming the beans too much.
- Microwave thawing:Use the defrost setting for short bursts. Be careful not to cook the beans accidentally—stop as soon as they start to soften.
Have you tried skipping thawing and just adding frozen beans directly to your stir-fry or soup? It often works well and saves a step!
Cooking Ideas For Frozen Beans
Frozen green beans are versatile and can fit into many dishes. Their slightly crunchy texture makes them great for quick meals.
- Sautéed green beans:Heat oil or butter in a pan, add frozen beans, garlic, and a pinch of salt. Cook for 5-7 minutes until tender but crisp.
- Steamed green beans:Place frozen beans in a steamer basket over boiling water. Steam for 6-8 minutes for a fresh-like taste.
- Green bean casserole:Use frozen beans directly in casseroles. They hold up well during baking and soak up flavors from sauces and toppings.
- Soups and stews:Add frozen beans during the last 10 minutes of cooking. They keep their shape and add vibrant color.
What’s your favorite way to bring frozen green beans to life on the plate? Experiment with simple spices like lemon zest or chili flakes to give them a new twist.

Credit: m.youtube.com
Frequently Asked Questions
How Long Can Green Beans Last Frozen With A Foodsaver?
Green beans sealed with a FoodSaver can last 10 to 12 months in the freezer. Vacuum sealing reduces freezer burn and preserves freshness. For best taste, consume within this timeframe.
Do Green Beans Need Blanching Before Freezing?
Yes, blanching green beans before freezing stops enzyme activity. It preserves color, texture, and nutrients. Blanch for 2-3 minutes, then cool quickly in ice water before vacuum sealing.
Can I Freeze Green Beans Without A Vacuum Sealer?
You can freeze green beans without a vacuum sealer. Use airtight freezer bags, remove excess air, and seal tightly. However, vacuum sealing extends freezer life and maintains quality better.
How Do I Prepare Green Beans For Freezing With A Foodsaver?
Trim the ends and wash green beans thoroughly. Blanch them for 2-3 minutes, cool in ice water, dry completely. Place in FoodSaver bags, then vacuum seal before freezing.
Conclusion
Freezing fresh green beans with a FoodSaver keeps them fresh longer. It helps lock in flavor and nutrients well. This method saves money and reduces food waste at home. You only need a few simple steps to follow. Soon, you can enjoy fresh-tasting green beans anytime.
Try it once and see how easy it is. Fresh veggies ready whenever you want. Simple, quick, and effective.