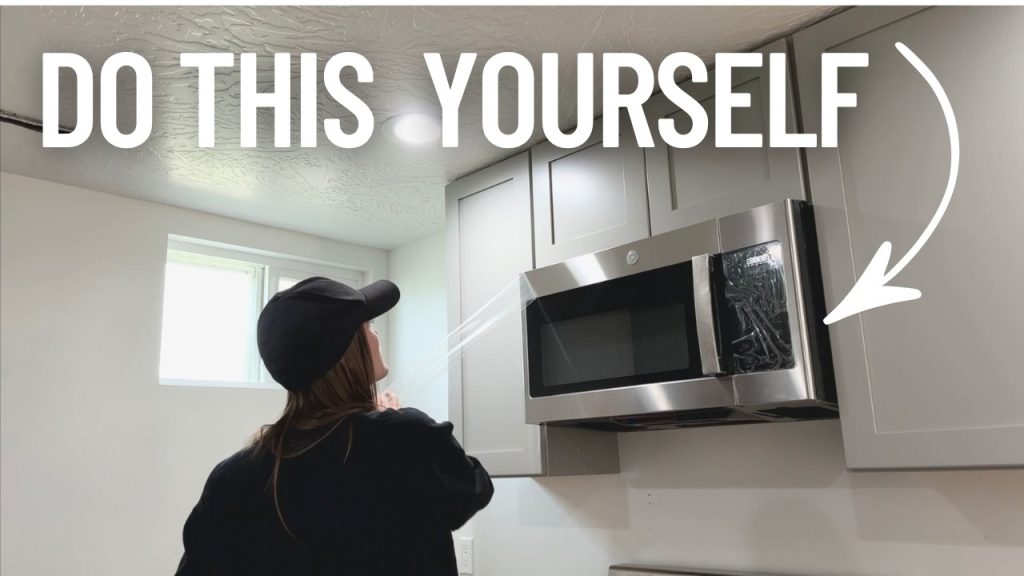
Installing a microwave oven over your range can save space and add a sleek look to your kitchen. But if you’re unsure where to start, it might feel overwhelming.
Don’t worry—this guide will walk you through each step clearly and simply. By the end, you’ll have your microwave securely in place, ready to make cooking faster and easier. Keep reading to discover how you can take control of this project and enjoy a smarter kitchen setup.

Credit: danmarcappliance.com
Tools And Materials Needed
Essential tools include a drill, screwdriver, tape measure, and level. Gather mounting brackets, screws, and the microwave unit before starting the installation. Safety gear like gloves and goggles helps protect during the process.
Installing a microwave oven over the range requires specific tools and materials. Having the right items ensures a smooth and safe installation. Gather all necessary tools and materials before starting.Tools You Will Need
- Drill with drill bits
- Measuring tape
- Level
- Stud finder
- Screwdriver set
- Adjustable wrench
- Pencil
Materials You Will Need
- Mounting plate
- Microwave mounting screws
- Power cord (if not attached)
- Wall anchors (if needed)
- Exhaust adapter (if venting outside)
- Template for drilling
Choosing The Right Microwave
Choosing the right microwave for over the range installation affects both function and style. The microwave must fit the space and meet cooking needs. Power, size, and features matter. Safety and ventilation options are key. This guide helps pick a microwave that suits your kitchen perfectly.
Understanding Microwave Size And Capacity
Measure the space above your stove carefully. Microwaves come in various widths, typically 24, 30, or 36 inches. Capacity is measured in cubic feet. Choose a size that fits your cookware and kitchen space. Too small limits use. Too large may not fit or look right.
Checking Microwave Power And Cooking Features
Power is measured in watts. Higher watts mean faster cooking. Most over-the-range microwaves range from 800 to 1,200 watts. Look for features like sensor cooking, multiple power levels, and defrost functions. These make cooking easier and more precise.
Considering Ventilation And Installation Needs
Over-the-range microwaves often include ventilation systems. Check if your kitchen needs venting to the outside or recirculates air. Choose a microwave that matches your venting option. Proper ventilation removes smoke, steam, and odors from cooking.
Matching Style And Finish With Your Kitchen
Microwaves come in stainless steel, black, white, and other finishes. Pick a finish that fits your kitchen appliances and design. A matching look improves kitchen harmony. Consider control panel style and handle design too.
Evaluating Noise Levels And Ease Of Use
Some microwaves run quieter than others. This is important in open kitchens. Look for models with simple controls and clear displays. Easy-to-use buttons and timers help avoid cooking mistakes.
Preparing The Installation Area
Preparing the installation area is a crucial step before mounting your microwave oven over the range. Taking time to carefully assess the space ensures a safe and smooth installation process. It also prevents common issues like poor ventilation or electrical hazards that could affect your kitchen’s functionality.
Measuring Space Above The Range
Start by measuring the width, height, and depth of the space above your range. Most over-the-range microwaves require a minimum clearance of 13 to 16 inches from the cooktop to the bottom of the microwave. Check the manufacturer’s specifications for exact measurements to avoid any surprises.
Don’t forget to account for any cabinets or shelves that might interfere with the microwave’s placement. If your space is tight, you might need to adjust or remove existing fixtures. Have a tape measure handy and write down all dimensions clearly before proceeding.
Checking Electrical And Ventilation Requirements
Your microwave needs a dedicated electrical outlet to operate safely. Verify that there is a grounded 120-volt outlet nearby, preferably inside the cabinet above the range. Avoid using extension cords, as they can cause electrical problems or even fires.
Ventilation is just as important to prevent smoke and odors from lingering in your kitchen. Determine if your microwave will vent externally or recirculate air through a charcoal filter. Look for existing ductwork or plan for vent installation, since improper ventilation can lead to moisture buildup and damage.

Credit: www.youtube.com
Removing The Old Microwave
Removing the old microwave is the first major task before installing your new over-the-range unit. It’s important to handle this step carefully to avoid damaging your cabinets or walls. Taking time to properly disconnect and remove the microwave will make your installation smoother and safer.
Turn Off Power And Unplug The Microwave
Safety is critical. Make sure to turn off the power at the circuit breaker or unplug the microwave from the outlet. This prevents any risk of electric shock while you work.
Have you checked the power source yet? Sometimes outlets are hidden behind the unit, so you might need to move the microwave a bit to access the plug.
Remove The Mounting Screws
Locate the screws that hold the microwave to the cabinet and wall bracket. These are usually found on the top or inside the microwave’s mounting plate.
Use a drill or screwdriver to carefully remove these screws. Supporting the microwave with one hand or having a helper nearby is smart—these units can be surprisingly heavy.
Disconnect The Microwave From The Wall Bracket
Once the screws are out, gently slide the microwave forward to detach it from the wall bracket. Avoid sudden moves; the microwave should come free with steady pressure.
If it feels stuck, double-check for any hidden screws or clips you might have missed. Patience here prevents damage to your cabinetry.
Handle And Dispose Of The Old Microwave Properly
After removal, place the microwave on a sturdy surface. Consider donating or recycling it if it’s still functional.
Have you looked into local recycling programs? Many communities offer appliance recycling, which keeps harmful materials out of landfills and supports sustainability.
Installing The Mounting Plate
Installing the mounting plate is a critical step when setting up your microwave oven over the range. This plate acts as the foundation, supporting the microwave’s weight and ensuring it stays secure. Take your time here—an improperly installed plate can lead to safety hazards or damage to your kitchen walls.
Locate The Studs And Mark The Wall
Start by finding the studs in your wall using a stud finder. Mounting the plate directly into studs provides the strength needed to hold the microwave safely.
Mark the exact points where the mounting screws will go. Double-check these marks with a level to keep the plate perfectly horizontal—your microwave won’t sit right if it’s tilted.
Attach The Mounting Plate To The Wall
Use heavy-duty screws and anchors designed for your wall type. If your wall is drywall, opt for toggle bolts or molly bolts to provide extra grip.
Hold the plate in place and drive the screws firmly into the studs or anchors. You should feel solid resistance; if the plate wiggles, the screws aren’t secure enough.
Check The Alignment And Stability
Before moving forward, test the plate’s stability by giving it a gentle shake. It should feel rock solid without any movement.
Use a level once more to confirm the mounting plate remains straight after installation. A small misalignment here can cause bigger problems when you mount the microwave.
Securing The Microwave Oven
Securing the microwave oven properly is essential for safety and function. It keeps the appliance stable and prevents accidents. This step requires attention to detail and the right tools. Follow these tips for a strong and secure installation.
Aligning The Microwave With The Mounting Bracket
Ensure the microwave fits perfectly on the mounting bracket. Hold the microwave carefully and line up its back holes with the bracket’s screws. This alignment is crucial for stability and to avoid damage.
Fastening The Microwave To The Wall
Use the screws provided with your microwave to attach it to the wall. Tighten them securely with a screwdriver. Check that the microwave does not move or wobble after fastening.
Securing The Microwave To The Cabinet
Find the screws that go into the cabinet above the microwave. These screws add extra support. Tighten them firmly to hold the microwave in place and prevent tipping forward.
Double-checking All Connections
Inspect all screws and brackets once more. Make sure everything is tight and secure. Give the microwave a gentle push to test its stability. Safety matters most.
Connecting The Electrical Wiring
Connecting the electrical wiring is a key part of installing an over-the-range microwave. This step ensures the microwave gets power safely and works correctly. Proper wiring helps prevent electrical hazards and keeps your kitchen safe.
Before starting, turn off the power at the circuit breaker. Use a voltage tester to confirm no electricity flows to the wires. Safety first.
Identify The Wiring Type
Check the wires coming from the microwave and the wall. Most microwaves use a three-wire setup: black (hot), white (neutral), and green or bare copper (ground). Match these colors with the house wiring.
Prepare The Electrical Box
Remove the cover from the electrical box above the range. Make sure it has enough space for the wires. Use wire connectors to keep connections tight and secure.
Connect The Wires
- Connect the black wire from the microwave to the black house wire.
- Connect the white wire from the microwave to the white house wire.
- Connect the green or bare copper wire to the ground wire or grounding screw.
Twist the wires together and secure with wire nuts. Wrap electrical tape around the nuts for extra safety.
Secure The Wiring
Push the connected wires carefully into the electrical box. Avoid sharp bends or pinching. Replace the cover plate firmly.
Test The Connection
Turn the power back on. Test the microwave to see if it powers up. Check for any unusual sounds or smells.
Testing The Microwave
Testing the microwave after installation is crucial for safety and performance. It confirms the unit works properly and is securely mounted. Testing also helps identify any issues before regular use.
Checking Power And Display Function
Start by plugging in the microwave and turning on the power. Look at the display panel to see if it lights up correctly. Press a few buttons to check the responsiveness and sound of the keypad. A working display and buttons mean the microwave is receiving power.
Running A Short Cooking Test
Place a microwave-safe cup of water inside the oven. Set the microwave to run for one minute on high power. Listen for consistent humming sounds. The water should start to heat quickly. This test shows the microwave heats food properly.
Inspecting The Vent And Light
Turn on the vent fan to check its operation. The fan should blow air smoothly without loud noise. Switch on the microwave light and verify it illuminates the cooking area. Proper vent and light function improve cooking safety and comfort.
Ensuring Door Seal And Safety Features
Close the microwave door firmly and check the seal around it. The door should latch securely and prevent gaps. Test the door safety interlock by trying to run the microwave with the door open. It should not operate, confirming safety compliance.
Troubleshooting Common Issues
Installing a microwave oven over the range can sometimes bring up common problems. These issues can stop your microwave from working well or delay your cooking. Knowing how to find and fix these troubles keeps your kitchen running smoothly.
Most problems have simple solutions. Check the basics first before calling for help. This saves time and money. Below are some usual issues and easy ways to fix them.
Microwave Won’t Start
Check if the microwave is plugged in properly. Make sure the door is fully closed. The microwave will not work if the door latch is loose or broken. Reset the circuit breaker if the power is off. Sometimes, the control panel may need a reset by unplugging the unit for a few minutes.
Microwave Light Not Working
Replace the bulb if it is burnt out. Use the correct bulb type recommended in the manual. Sometimes the light socket is loose or dirty. Clean the socket gently and tighten if needed. If the light still does not turn on, the switch or wiring might need a check by a professional.
Microwave Fan Not Running
Check the fan switch and motor for damage. Make sure the vents are not blocked by dust or grease. Clean the vents regularly to maintain airflow. A faulty fan motor may require replacement. This is important to avoid overheating during use.
Microwave Making Strange Noises
Rattling or buzzing sounds often come from loose parts. Tighten screws and brackets holding the microwave. Check if the turntable is placed correctly on the roller ring. Remove any objects inside the microwave that could cause noise. Persistent loud noises may mean a motor or magnetron issue.
Microwave Not Heating Food
Test with a cup of water to check heating. If it does not heat, the magnetron might be faulty. The high-voltage diode or capacitor could also be the cause. These parts usually need a professional to replace them. Avoid using the microwave if it does not heat properly, as it can be unsafe.
Safety Tips For Installation
Installing a microwave oven over the range can save space and add convenience to your kitchen. However, safety should be your top priority during this process. Ignoring safety tips can lead to electrical hazards, improper mounting, and even damage to your appliance or home.
Let’s look at key safety tips that will help you install your microwave securely and confidently.
Check Your Kitchen’s Electrical System
Before you start, ensure your kitchen’s electrical circuit can handle the microwave’s power needs. Microwaves require a dedicated circuit to avoid overloads and tripped breakers.
Have you tested the outlet you plan to use? Using a voltage tester can confirm if the outlet is live and properly grounded. If unsure, calling an electrician can save headaches later.
Use The Right Mounting Hardware
Most over-the-range microwaves come with specific mounting kits. Using the wrong screws or brackets can cause the microwave to fall.
Secure the mounting bracket to wall studs, not just drywall. This ensures your microwave stays firmly in place even with heavy use.
Follow Manufacturer’s Instructions Exactly
Every microwave model has unique installation requirements. Skipping steps or altering instructions might void your warranty or create unsafe conditions.
Take time to read the manual fully before you begin. Have you noticed any warnings or special notes? Those are crucial for safe installation.
Ensure Proper Ventilation
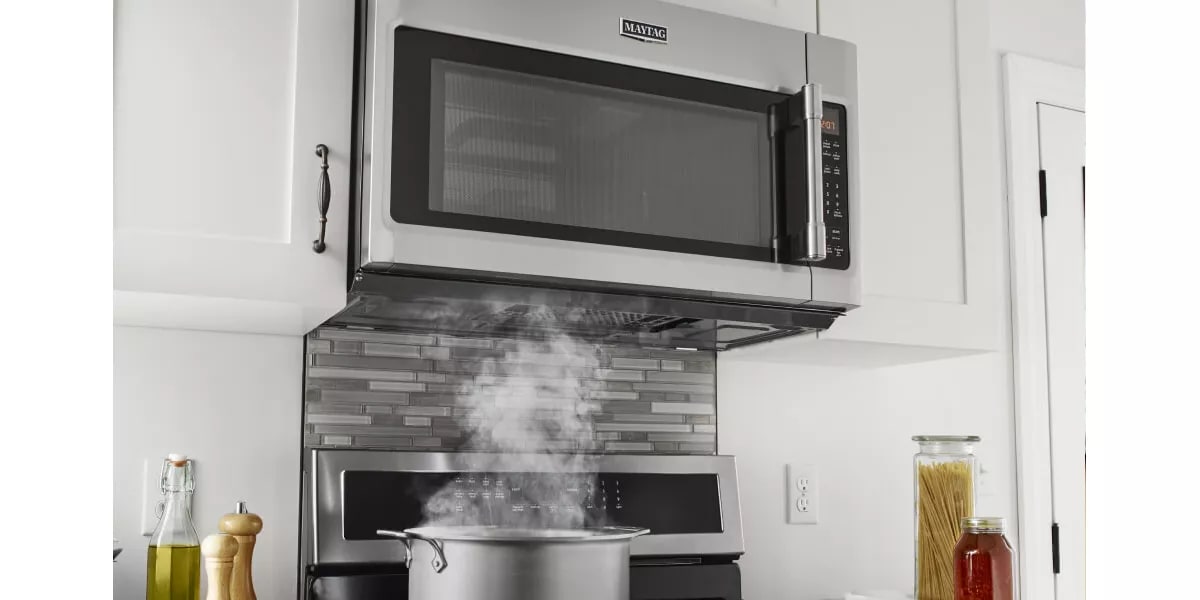
Over-the-range microwaves often include built-in ventilation systems. Make sure the venting is installed properly to avoid heat buildup or smoke damage.
Check if your microwave vents to the outside or recirculates air inside. Incorrect venting can reduce appliance efficiency and pose fire risks.
Double-check Your Work Before Use
After installation, inspect the microwave’s stability and electrical connections one more time. A small loose screw can turn into a big problem.
Try to wiggle the unit gently—does it feel solid? Confirm that the power cord isn’t pinched or damaged during mounting.
Credit: www.maytag.com
Frequently Asked Questions
How Do I Install A Microwave Oven Over The Range?
First, turn off power and remove the old unit. Attach the mounting bracket securely to the wall studs. Lift the microwave and hang it on the bracket. Connect the power and venting system as per instructions. Finally, test the microwave for proper operation.
What Tools Are Needed For Microwave Over-range Installation?
You will need a drill, screwdriver, level, tape measure, and stud finder. A wrench and wire stripper may also be helpful. Having the right tools ensures a safe and efficient installation process.
Can I Install An Over-the-range Microwave Myself?
Yes, if you are comfortable with electrical wiring and basic carpentry. Follow the manufacturer’s instructions carefully. If unsure, consult a professional to ensure safety and proper installation.
How Do I Connect The Vent For An Over-range Microwave?
Connect the microwave vent to your existing ductwork or use a recirculating vent kit. Ensure all connections are airtight to prevent leaks. Proper venting removes smoke, steam, and odors effectively.
Conclusion
Installing a microwave oven over the range is easier than it seems. Follow the steps carefully and take safety measures seriously. Use the right tools to make the job smooth. Double-check all connections before turning on the power. A correctly installed microwave saves space and looks neat.
Enjoy cooking with your new setup every day. Small effort, big convenience. You got this!