
Are you tired of cooking smells lingering in your kitchen? Installing a range hood vent through your wall can be the perfect solution to keep your space fresh and clean.
But if you’re worried it’s too complicated or expensive, don’t be. In this guide, you’ll discover simple, step-by-step instructions that anyone can follow. By the end, you’ll have a powerful vent system working efficiently, making your kitchen more comfortable every time you cook.
Ready to take control of your kitchen’s airflow? Let’s dive in and make it happen.

Credit: prolinerangehoods.com
Choosing The Right Range Hood
Choosing the right range hood is key to making sure your kitchen stays fresh and smoke-free. It’s not just about style; the hood’s performance affects your cooking experience and air quality. Think about your cooking habits and kitchen layout to find a hood that fits both your needs and space.
Types Of Range Hoods
Range hoods come in several styles, each suited for different kitchen setups. Wall-mounted hoods attach directly above your stove and are common in many homes. Island hoods hang from the ceiling over an island cooktop, perfect for open kitchens.
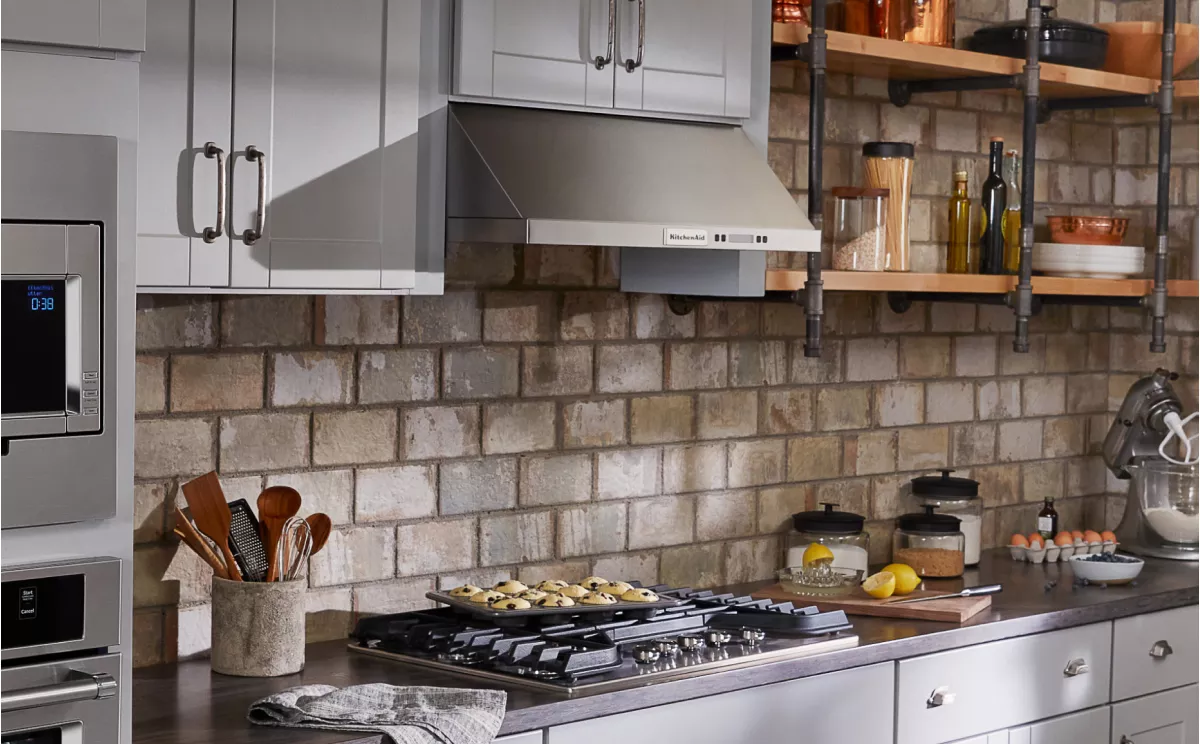
Under-cabinet hoods fit under your kitchen cabinets, saving space and blending in. There are also downdraft hoods that pull air across the cooktop and vent it through the floor or wall. Which type matches your kitchen’s design and your cooking style?
Sizing And Capacity
Size matters when picking a range hood. A hood that’s too small won’t capture smoke and odors effectively, while an oversized hood can overwhelm your kitchen and waste energy. The hood should at least match the width of your cooking surface.
Capacity is measured in cubic feet per minute (CFM), indicating how much air the hood can move. For example, a gas stove needs about 100 CFM per 10,000 BTUs of burner output. Do you cook often with high heat or just light meals? That will guide your choice.
Ventilation Options
Your range hood needs a clear path to vent air outside. Most hoods are ducted, using metal ducts to push air outdoors, which is the most effective for removing heat and odors. Make sure your wall can accommodate a vent hole and that it’s placed correctly.
If venting outside isn’t possible, consider a ductless or recirculating hood with charcoal filters. These remove some odors but don’t clear heat or moisture as well. What’s the layout of your kitchen walls? This will affect your ventilation choices and installation complexity.
Credit: www.kitchenaid.com
Gathering Necessary Tools And Materials
Before you start installing a range hood vent through the wall, gathering the right tools and materials is crucial. Having everything ready not only saves time but also prevents unnecessary trips to the store. Think about what you’ll need to handle cutting, measuring, and sealing properly—missing just one item can stall your progress.
Essential Tools
- Drill and drill bits:For making holes to secure the vent and hood.
- Jigsaw or reciprocating saw:To cut through drywall and exterior siding cleanly.
- Measuring tape:Accurate measurements ensure the vent fits perfectly.
- Level:Keep your vent straight and aligned.
- Screwdriver set:For fastening screws tightly.
- Caulking gun:To seal gaps and prevent leaks.
- Stud finder:Locate studs to mount the vent securely.
Have you checked if your drill batteries are charged or if your saw blade is sharp? Small details like these make a big difference on installation day.
Required Materials
- Range hood vent kit:Includes the vent pipe, wall cap, and necessary connectors.
- Metal ducting:Durable and fire-resistant, ideal for venting.
- Vent cover or hood exterior cap:Protects from weather and pests.
- Foam or fiberglass insulation:To fill gaps around the vent pipe.
- High-quality caulk or silicone sealant:Ensures a weather-tight seal.
- Screws and anchors:Match them to your wall type for a secure fit.
Make sure the duct diameter matches your range hood specifications. Using the wrong size can reduce vent efficiency and cause problems later.
Safety Equipment
- Safety goggles:Protect your eyes from dust and debris.
- Work gloves:Keep your hands safe from sharp edges and rough materials.
- Dust mask or respirator:Prevent inhaling harmful dust, especially when cutting drywall or insulation.
- Ear protection:Use when operating loud power tools.
Have you ever underestimated the importance of safety gear? Skipping these can lead to injuries that delay your project far more than taking a few extra minutes to suit up.
Planning The Vent Location
Planning the vent location is essential for a successful range hood installation. A well-chosen spot ensures efficient airflow and keeps your kitchen smoke-free. Careful planning also avoids costly mistakes and structural damage. Take time to find the best place on your wall before cutting any holes.
Selecting The Wall Spot
Choose a wall that leads directly outside. This reduces vent length and improves air flow. Avoid walls near electrical wiring or plumbing to prevent hazards. Pick a spot close to the range hood for easier installation. Check both inside and outside for clear access.
Measuring And Marking
Measure the exact height of your range hood’s vent outlet. Mark this height on the wall outside and inside. Use a level to draw straight, even lines. Mark the center point where the vent hole will go. Double-check all measurements before cutting.
Checking For Obstacles
Look inside the wall for studs, pipes, or wires. Use a stud finder or inspection camera. Avoid drilling through these obstacles to prevent damage. Check outside for vents, cables, or other barriers near your chosen spot. Clear any blockages before starting the installation.
Cutting The Vent Hole
Cutting the vent hole is a crucial part of installing a range hood vent through the wall. This step creates the path for the vent to release air outside. Precision is important to avoid damage to the wall or vent system. Follow these tips to cut the hole safely and accurately.
Marking The Cut Area
Start by measuring the size of the vent pipe. Use a pencil to draw the outline on the wall. Double-check the measurements before cutting. Marking clearly helps keep the cut straight and the hole the right size.
Using The Right Tools
Choose tools designed for cutting through your wall type. A drywall saw works well for drywall walls. A jigsaw or reciprocating saw is best for wood or siding. Wear safety goggles and gloves to protect yourself.
Ensuring A Clean Cut
Cut slowly and follow the marked lines carefully. Avoid rushing to prevent jagged edges. Use sandpaper or a file to smooth the cut edges. A clean hole makes vent installation easier and seals better.
Installing The Vent Duct
Installing the vent duct is a key part of setting up your range hood vent through the wall. This step ensures that cooking fumes and smoke exit your kitchen efficiently. Paying attention to how the duct fits and seals will impact your kitchen’s air quality and your hood’s performance.
Attaching The Duct To The Hood
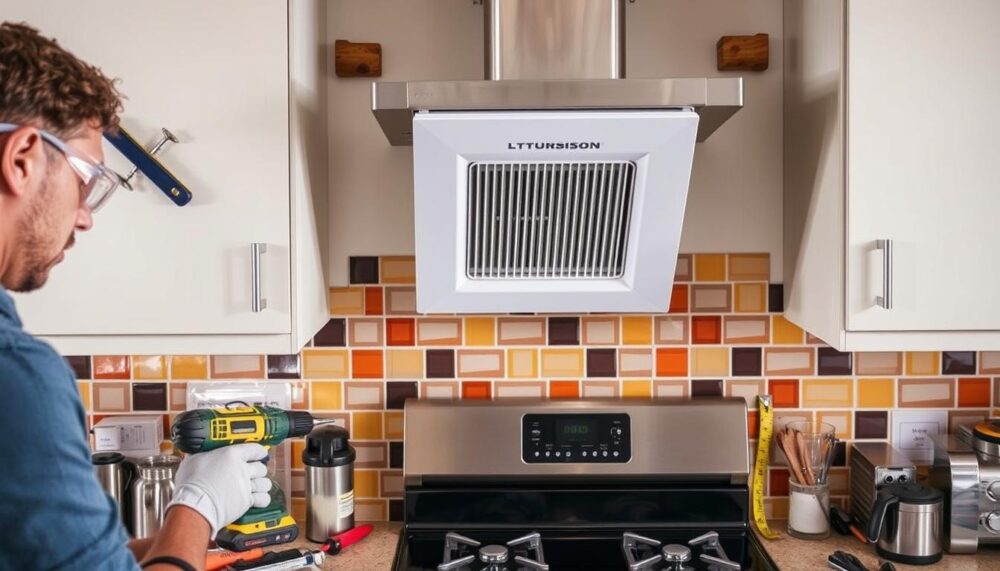
Start by aligning the duct collar with the vent outlet on your range hood. Use screws or clamps provided by the manufacturer to secure the duct firmly to the hood. A loose connection here can cause air leaks and reduce the vent’s effectiveness.
Check that the duct is straight and not twisted, which can block airflow. If your ductwork uses flexible tubing, keep it as straight as possible for better ventilation. Have you noticed your cooking smells lingering longer than they should? This step might be why.
Securing The Duct Through The Wall
Push the duct through the wall opening you prepared earlier. Make sure it fits snugly without forcing it. If the duct is too tight or too loose, it can cause gaps or damage the duct.
Use metal straps or brackets to hold the duct in place inside the wall cavity. This prevents it from shifting over time. A stable duct also helps reduce noise from vibrations when the fan is running.
Sealing And Insulating
Seal around the duct both inside and outside the wall using high-quality foil tape or mastic sealant. This blocks air leaks and stops pests or moisture from entering through gaps. Don’t rely on regular duct tape—it won’t hold up over time.
Adding insulation around the duct inside the wall cavity helps keep the duct cool and reduces condensation. This is especially important if your duct passes through an unheated space. Have you ever felt a cold draft near your vent? Proper sealing and insulation can fix that.
Credit: avorenovations.co.uk
Mounting The Range Hood
Mounting the range hood is a critical part of your installation project. It ensures your hood functions properly and stays securely in place. Paying attention to the details here will save you from future hassles like vibrations or uneven airflow.
Positioning The Hood
Start by measuring the space above your stove to find the ideal height. Most manufacturers recommend placing the hood 24 to 30 inches above the cooking surface for optimal performance. If you mount it too high, it won’t capture smoke effectively; too low, and it might interfere with your cooking.
Mark the wall where the hood will sit, using a level to keep things straight. Think about your kitchen layout—does the hood align with your cabinets and lighting? Proper positioning also means allowing enough clearance for the vent duct to exit through the wall without sharp bends.
Securing To The Wall
Use a stud finder to locate wall studs and mark their positions clearly. Attaching the hood directly to studs provides the best support and prevents it from loosening over time. If studs don’t line up with your mounting points, consider using heavy-duty wall anchors designed for your wall type.
Hold the hood in place and drill pilot holes for screws to avoid cracking the material. Secure the hood firmly with screws, checking that it sits flush against the wall. Don’t rush this step—loose mounting can cause noise and damage.
Connecting To Power
Before handling any wiring, make sure your power is switched off at the breaker. Most range hoods come with a power cord or hardwired options, so check your model’s instructions carefully. If you’re not comfortable working with electrical wiring, hiring a professional is always the safest choice.
Connect the hood’s wires to your home’s electrical supply following the color codes: black to black (live), white to white (neutral), and green or bare copper to ground. After connections, use wire nuts and electrical tape to secure and insulate the wires properly. Finally, test the hood to confirm it powers on and the fan operates smoothly.
Testing And Final Adjustments
Testing and making final adjustments ensures your range hood vent works well. This stage checks if air moves freely and seals are tight. Proper testing stops problems like poor ventilation or leaks. Follow these steps for a smooth finish and efficient venting.
Checking Airflow
Turn on the range hood fan at the highest setting. Stand near the vent outside the wall. Feel if air blows out strongly and steadily. Use a piece of tissue or lightweight paper. Hold it near the vent to see if it moves easily.
If airflow is weak, check for blockages in the duct. Make sure the fan is running correctly. Clear any debris or obstructions inside the vent pipe. Good airflow means your vent is pulling kitchen air properly.
Fixing Leaks And Gaps
Inspect all wall openings and duct joints for gaps or cracks. Use your hand to feel for air leaks around seals. Seal any gaps with high-quality caulk or duct tape. Pay attention to areas around the vent cap and wall plate.
Leaky vents reduce efficiency and let outside air in. Proper sealing keeps your kitchen comfortable and clean. Recheck airflow after sealing to confirm no air escapes.
Cleaning Up
Remove any dust, debris, or leftover materials from installation. Wipe down the range hood and surrounding wall area. Dispose of scrap materials safely to avoid hazards. Clean tools and work surfaces for your next project.
Neat cleanup leaves your kitchen tidy and ready to use. It also helps you spot any small issues before final use.
Maintenance Tips
Keeping your range hood vent in top shape is key to its performance and longevity. Regular maintenance not only improves air quality but also prevents costly repairs. Let’s dive into some practical tips that help you stay ahead of common issues.
Regular Cleaning
Grease and dust build-up can clog your range hood vent, reducing its efficiency. Clean the filters every month by soaking them in warm, soapy water or using a dishwasher if they’re dishwasher-safe.
Wipe down the exterior and the vent cover with a damp cloth to remove any surface grime. Have you noticed your vent struggling to clear smoke? It’s often a sign that it needs a thorough cleaning.
Inspecting The Vent
Check the vent pipe through the wall for any signs of damage or blockage. Look for cracks, rust, or loose connections that could let air escape or allow pests inside.
Inspect the exterior vent cap regularly to ensure it opens and closes freely. A stuck flap can cause backdrafts and reduce airflow, which might surprise you if you don’t check it.
Troubleshooting Common Issues
If your range hood sounds louder than usual or the airflow weakens, it could indicate a motor problem or blockage. Start by clearing any debris from the vent and cleaning the fan blades.
Check if the electrical connections are secure and if the fan speed settings work correctly. Have you ever ignored a strange noise only to find out it needed a simple fix? Addressing small problems quickly saves you bigger headaches later.
Frequently Asked Questions
How Do I Prepare The Wall For Vent Installation?
First, locate the wall studs using a stud finder. Mark the vent’s position between the studs. Cut a hole for the vent duct using a reciprocating saw. Ensure the hole is level and appropriately sized. Clear any debris and smooth the edges for a perfect fit before proceeding with the installation.
What Tools Do I Need For Vent Installation?
You’ll need a stud finder, reciprocating saw, drill, screwdriver, measuring tape, and level. Also, have caulk, a caulking gun, and safety gear like goggles and gloves. These tools ensure a safe and efficient installation. Always double-check your tools before starting the project to avoid interruptions.
Can I Install A Range Hood Vent By Myself?
Yes, with proper tools and instructions, you can install it yourself. Follow the manufacturer’s guidelines and local building codes. Ensure all safety precautions are observed. It might be challenging for beginners, so consider consulting a professional if unsure. Proper installation ensures optimal performance and safety.
How Do I Seal The Vent Properly?
Apply exterior-rated caulk around the vent’s edges to prevent air and water leaks. Use a caulking gun for even application. Ensure the caulk is weather-resistant and fully covers gaps. Proper sealing is crucial for energy efficiency and moisture control. Regularly inspect and reseal if necessary to maintain integrity.
Conclusion
Installing a range hood vent through the wall improves kitchen air quality. It removes smoke, odors, and steam while cooking. Follow each step carefully for a safe setup. Measure and cut precisely to avoid mistakes. Seal all gaps to prevent air leaks.
Test the vent to ensure proper airflow. Regular cleaning keeps the vent working well. This simple project can make cooking more pleasant. Take your time and enjoy a fresher kitchen space.