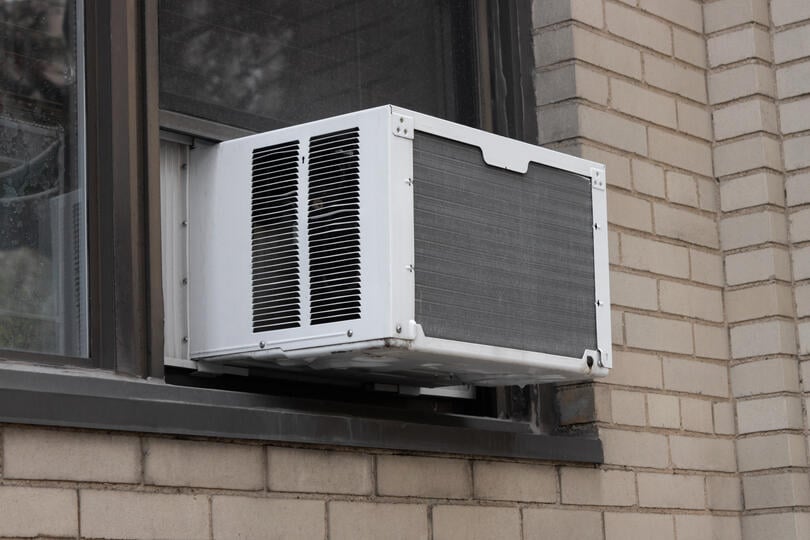
Are you ready to beat the heat and make your home more comfortable this summer? Installing a window air conditioner might sound tricky, but with the right steps, you can do it yourself quickly and safely.
Imagine coming home to cool, refreshing air without waiting for a professional or spending extra money. In this guide, you’ll discover simple, clear instructions that help you install your air conditioner the right way. Keep reading, and you’ll be enjoying a chill breeze in no time!
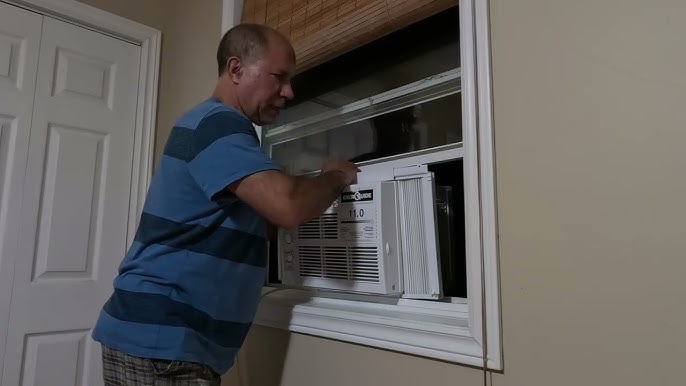
Credit: m.youtube.com
Tools And Materials Needed
Installing an air conditioner in a window needs the right tools and materials. Getting prepared makes the job easier and safer.
Use this guide to gather all essentials before starting your installation.
Essential Tools
You need some basic tools to install the air conditioner correctly. These tools help with measuring, cutting, and securing the unit in place.
- Measuring tape
- Screwdriver (Phillips and flathead)
- Drill with drill bits
- Level
- Utility knife
- Hammer
- Putty knife
- Safety goggles
- Work gloves
Required Materials
Besides tools, you need materials to support and seal the air conditioner in the window securely.
| Material | Purpose |
| Window air conditioner unit | Main cooling device |
| Mounting brackets | Secure the unit to the window frame |
| Foam weatherstripping | Seal gaps around the unit |
| Wood or metal panels | Fill side gaps if window is larger than unit |
| Screws and bolts | Fasten brackets and panels |
| Caulk or sealant | Prevent air and water leaks |
| Support bracket (optional) | Provide extra support under the unit |
Preparing The Window
Installing an air conditioner in a window needs some preparation. Getting the window ready helps the unit fit well and work safely.
This guide focuses on three key steps: choosing the right window, measuring the opening, and cleaning the area.
Choosing The Right Window
Select a window that opens fully and is near an electrical outlet. It should be strong enough to hold the air conditioner’s weight.
- Use a double-hung or sliding window
- Avoid windows with cracks or damage
- Choose a window on a shaded side if possible
- Make sure the window can lock securely
Measuring The Window Opening
Measure the width and height of the window opening. These numbers help you pick an air conditioner that fits well.
| Measurement | What to Measure | Tool Needed |
| Width | Distance between the window frame sides | Tape measure |
| Height | Distance from the bottom to the top of the window opening | Tape measure |
Cleaning The Area
Clean the window sill and frame before installation. Remove dirt, dust, and any old paint flakes.
Use this simple checklist to prepare the area:
- Remove curtains or blinds
- Wipe the sill with a damp cloth
- Check for cracks or gaps
- Seal any small holes with weatherproof tape
Setting Up The Air Conditioner
Setting up a window air conditioner correctly helps it cool your room well. This guide covers the main steps to prepare the unit for installation.
We start by unboxing and checking the unit, then move on to assembling its parts. Follow these instructions carefully.
Unboxing And Inspecting The Unit
Open the box carefully and remove the air conditioner. Check all sides for any damage from shipping. Make sure the unit is clean and free of dust or debris.
- Look for dents or cracks on the outside casing
- Confirm all parts listed in the manual are included
- Check the power cord for any cuts or damage
- Note any missing screws or brackets
- Keep the packaging in case you need to return the unit
Assembling The Parts
Before placing the air conditioner in the window, assemble the parts that come separately. This usually includes side panels and support brackets.
| Part | Purpose | Assembly Tips |
| Side Panels | Seal window gaps | Slide into place and secure with screws |
| Support Bracket | Hold unit securely | Attach under the unit following the instructions |
| Screws and Seals | Secure panels and prevent air leaks | Use all provided screws, check for tight fit |
Installing The Air Conditioner
Installing a window air conditioner helps cool your room quickly. It is important to place it securely for safety and efficiency.
This guide covers how to place the unit, secure it, and add support brackets.
Placing The Unit In The Window
Lift the air conditioner carefully and set it in the open window. The bottom of the unit should rest on the window sill.
Lower the window sash so it fits behind the top of the unit. This holds the air conditioner in place from above.
Securing The Air Conditioner
Use screws or brackets that came with the unit to secure it. Attach them to the window frame to keep the air conditioner stable.
Check that the unit does not move when pushed gently. This prevents it from falling or shifting.
- Secure screws on both sides of the unit
- Make sure the window sash is tight against the unit
- Use weatherstripping to seal gaps
Installing Support Brackets
Support brackets hold the weight of the air conditioner from below. This adds extra safety to your installation.
Attach the brackets to the wall or window frame under the unit. Follow the bracket instructions for correct placement.
- Measure the width of the air conditioner
- Mark bracket locations on the frame or wall
- Use screws to fix brackets firmly
- Place the unit on the brackets for support
Sealing And Insulating
Sealing and insulating your window air conditioner stops hot air from entering. It also keeps cool air inside your room. This saves energy and keeps your home comfortable.
Proper sealing reduces drafts and prevents bugs from coming in. Use simple materials to fill gaps and cracks around the unit. Weather stripping helps create a tight seal for better insulation.
Filling Gaps And Cracks
Check around the air conditioner for any spaces between the window frame and the unit. Use foam sealant or caulk to fill these gaps. This keeps air from leaking in or out.
- Remove dirt and dust before sealing
- Apply foam sealant in large gaps
- Use caulk for small cracks
- Allow sealant to dry fully before using the AC
- Check for new gaps after installation
Installing Weather Stripping
Weather stripping adds a layer of insulation between the window and the air conditioner. It blocks air leaks and reduces noise. Choose foam or rubber weather stripping for the best results.
| Type | Best Use | Material |
| Foam Tape | Irregular gaps | Polyurethane foam |
| Rubber Strips | Flat surfaces | Synthetic rubber |
| V-Seal | Window edges | Vinyl |
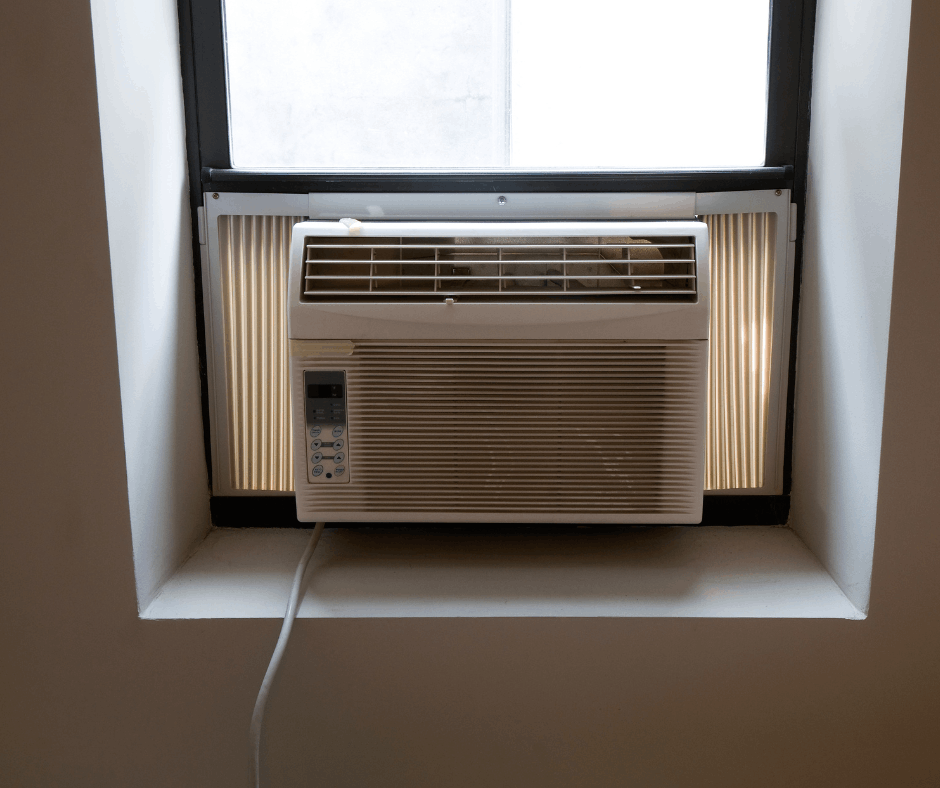
Credit: www.bluefrosthvac.com
Electrical Connections
Installing an air conditioner in a window requires careful electrical setup. This ensures the unit runs safely and efficiently.
Proper wiring and connections help prevent electrical hazards and damage to your appliance.
Plugging In Safely
Always plug the air conditioner into a grounded outlet. Avoid outlets that share power with heavy appliances.
Make sure the outlet matches the air conditioner’s power requirements. Check the unit’s label for voltage and amperage.
- Use a dedicated circuit if possible
- Check outlet condition before use
- Do not force the plug into an incompatible outlet
- Keep the plug dry and clean
Using Extension Cords Properly
Extension cords are not recommended for window air conditioners. They can cause overheating or fires.
If you must use one, pick a heavy-duty cord rated for the air conditioner’s power needs. Use the shortest cord possible.
- Check the extension cord’s amperage rating
- Use a cord with a grounding wire
- Avoid running cords under rugs or furniture
- Inspect the cord for damage before use
Testing And Adjustments
After installing your air conditioner in the window, it is important to test it. Testing ensures the unit works properly and safely. You will also need to make some adjustments to improve performance.
This section covers how to turn on the unit and check for stability and leaks. Follow these steps carefully for the best results.
Turning On The Unit
Before turning on the air conditioner, make sure it is securely installed. Plug the unit into a power outlet and set the controls to your preferred temperature.
- Plug in the air conditioner and press the power button.
- Set the mode to “cool” or “auto” for automatic cooling.
- Adjust the fan speed to low, medium, or high.
- Set the temperature to a comfortable level.
- Listen for any unusual noises or vibrations.
If the unit does not start, check the power source and the circuit breaker. Do not force the controls if the unit is unresponsive.
Checking For Stability And Leaks
After the unit is on, check that it stays stable in the window frame. The air conditioner should not wobble or move.
| Check Point | What to Do |
|---|---|
| Unit Stability | Press gently on the sides to ensure no movement. |
| Window Seal | Look for gaps or holes around the unit. |
| Water Leaks | Check the bottom of the unit for water dripping inside. |
| Air Leaks | Feel around the edges for cold air escaping. |
If you find leaks, add weather stripping or foam sealant to close the gaps. Adjust the window brackets to improve stability if needed.
Maintenance Tips
Keeping your window air conditioner in good shape helps it run well. Regular care saves money and keeps your room cool.
Simple maintenance tasks can stop problems before they start. Read on to learn key tips for your unit.
Cleaning The Filters
Dirty filters block airflow and reduce cooling power. Clean the filters every month during use.
Take out the filters gently. Wash them with warm water and mild soap. Let them dry fully before putting back.
- Remove dust with a vacuum before washing
- Do not use harsh chemicals on filters
- Replace filters if they are torn or very dirty
Seasonal Storage Advice
When winter comes, store the air conditioner properly. This keeps it safe until next summer.
Clean the unit inside and out before storage. Cover it with a plastic sheet to block dust and moisture.
- Remove and clean filters before storage
- Store in a dry, cool place away from sunlight
- Check the unit for damage before reinstalling

Credit: www.abt.com
Frequently Asked Questions
How Do I Prepare My Window For Ac Installation?
Clean the window frame and remove any obstacles. Measure the window size to ensure the AC fits properly. Check for cracks or gaps and seal them to prevent air leaks.
What Tools Are Needed To Install A Window Ac?
You typically need a screwdriver, measuring tape, level, and mounting brackets. Some models may require additional tools like a drill or foam sealant. Always read the AC’s installation guide for specific tools.
How Do I Secure The Air Conditioner In The Window?
Place the AC unit on the window sill and extend the side panels. Use brackets or screws provided to anchor the unit securely. Ensure the AC is level to prevent water leaks.
Can I Install A Window Ac Without Professional Help?
Yes, most window AC units are designed for DIY installation. Follow the manufacturer’s instructions carefully. Ensure safety by having a helper and using proper tools during installation.
Conclusion
Installing an air conditioner in a window is simple with the right steps. Ensure safety by securing the unit properly. Measure the window space before starting. Use tools like a screwdriver and measuring tape. Follow the manufacturer’s instructions carefully. Check for air leaks to improve efficiency.
Keep all screws and brackets tightened. Regular maintenance can prolong the unit’s life. Enjoy a cool and comfortable home environment. Remember, practice makes perfect. Installing gets easier with experience. Stay patient and take your time. Now, you’re ready to beat the heat with your new air conditioner!