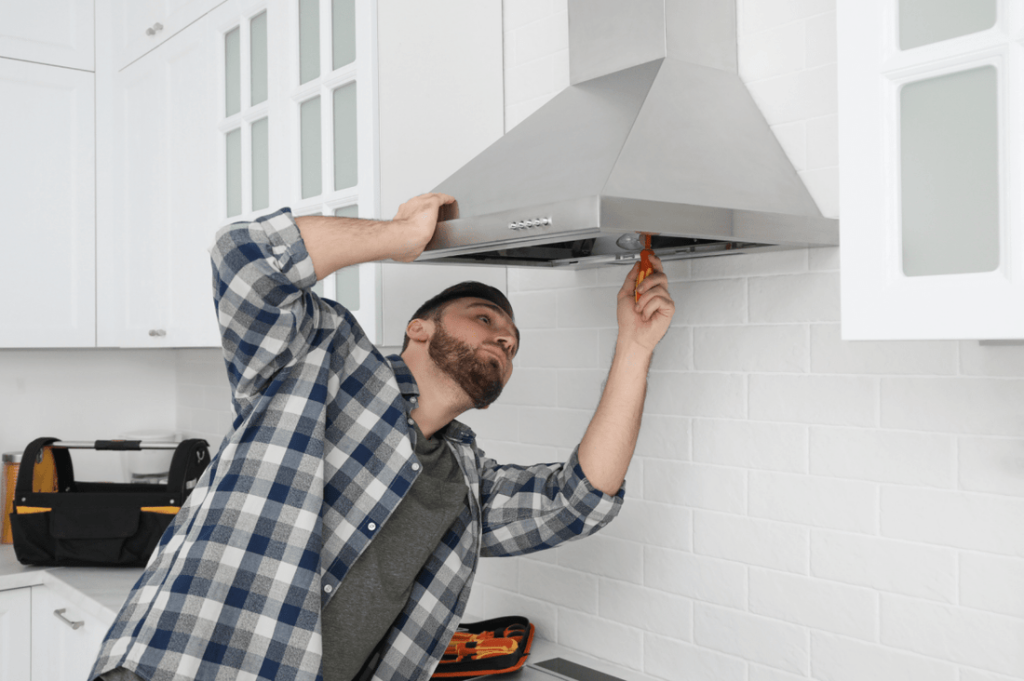
If you’ve ever tried to cook a delicious meal only to be left with lingering smells and smoke in your kitchen, then you know the importance of a well-functioning range hood. But, did you know that the secret to its efficiency lies in the ductwork?
That’s right, proper ductwork installation can be the difference between a kitchen that’s a pleasure to cook in and one that’s a cloud of smoke and odors. Imagine your kitchen with fresh air circulating effortlessly, allowing you to focus on cooking rather than worrying about ventilation.
You’ll discover the step-by-step process to install ductwork for your range hood, ensuring your kitchen remains a clean and inviting space. Whether you’re a DIY enthusiast or simply looking to save on installation costs, this guide is tailored to help you achieve professional results with ease. Ready to transform your kitchen experience? Let’s dive in and get started!

Credit: www.reddit.com
Planning Your Ductwork
Planning your ductwork carefully sets the stage for a successful range hood installation. It helps avoid costly mistakes and ensures efficient ventilation. Thoughtful planning considers materials, measurements, and airflow needs. This step saves time and effort during installation.
Choosing The Right Materials
Select materials that resist heat and moisture. Metal ducts, especially galvanized steel or aluminum, work best. Avoid plastic or PVC, as they may melt or catch fire. Choose rigid ducts over flexible ones for better airflow. Smooth interiors reduce resistance and improve ventilation efficiency.
Measuring And Mapping The Route
Measure the distance from the range hood to the exterior vent. Plan the shortest, straightest path possible. Avoid sharp bends and long runs that reduce airflow. Sketch a simple map of the duct route. Mark key points like wall studs, joists, and electrical wiring to avoid obstacles.
Considering Ventilation Requirements
Check your range hood’s airflow rating, usually measured in cubic feet per minute (CFM). Match duct size to the hood’s CFM to maintain proper ventilation. Use at least a 6-inch diameter duct for most hoods. Ensure the vent cap outside prevents pests and weather entry. Proper venting keeps your kitchen smoke-free and fresh.
Gathering Tools And Materials
Gathering the right tools and materials is the first step in installing ductwork for your range hood. Having everything ready ensures the job goes smoothly and quickly. It also helps avoid trips to the store during installation. Focus on quality tools and the correct duct type for your kitchen setup.
Essential Tools Checklist
- Measuring tape for accurate cuts
- Metal snips to cut duct sections
- Screwdriver or drill for securing parts
- Foil tape for sealing duct joints
- Level to ensure proper alignment
- Marker or pencil to mark measurements
- Utility knife for trimming insulation or tape
- Sheet metal screws for fastening
Selecting Appropriate Duct Types
Choose ducts that fit your kitchen layout and range hood model. Smooth metal ducts reduce airflow resistance and work best. Avoid flexible plastic ducts as they restrict airflow and collect grease. Opt for round or rectangular ducts based on available space. Make sure ducts are the right diameter for your hood’s power. Proper duct size improves exhaust efficiency and reduces noise.
Safety Gear To Use
- Gloves to protect hands from sharp metal edges
- Safety glasses to shield eyes from dust and debris
- Dust mask to avoid inhaling particles
- Ear protection if using loud power tools
Wearing safety gear prevents injuries. Handle metal ducts carefully to avoid cuts. Always prioritize safety during installation.
Preparing The Installation Area
Preparing the installation area is a crucial first step when setting up ductwork for your range hood. This phase ensures everything is safe, accessible, and ready for a smooth installation. Taking the time to prepare properly can save you from unexpected issues and extra work later on.
Clearing The Workspace
Start by removing all items around the cooking area and the path where the ductwork will run. You want a clean, open space to work without tripping hazards or furniture in the way. Clearing the workspace also helps you spot any potential obstacles that might interfere with the duct installation.
Have you noticed how much easier it is to focus and work quickly when your area is tidy? It’s not just about safety—it’s about making the process less stressful and more efficient.
Locating Electrical And Plumbing Lines
Before cutting into walls or ceilings, find out where your electrical wires and plumbing pipes are located. Use a stud finder with wire and pipe detection or consult your home’s building plans. Avoiding these lines prevents costly damage and keeps you safe from electric shocks or water leaks.
If you don’t have detailed plans, consider calling a professional to help map out these hidden elements. It’s better to spend a little extra time now than face repairs later.
Marking Vent Opening Points
Next, decide exactly where the vent openings will go for the ductwork. Use a pencil to mark the spots on walls or ceilings clearly. Double-check these markings against your range hood’s specifications and the duct’s path to ensure proper alignment.
Have you measured twice before cutting? This step prevents mistakes that could waste materials and time. Precise marking leads to a cleaner, easier installation and better overall performance of your range hood.

Credit: us.ciarraappliances.com
Cutting And Installing The Ductwork
Cutting and installing ductwork for your range hood requires precision and care. Properly sized and secured ducts ensure efficient ventilation and reduce noise. Let’s break down how to cut, secure, and seal your duct sections for a smooth installation.
Cutting Duct Sections To Size
Start by measuring the distance between your range hood and the vent outlet accurately. Always allow a little extra length to make adjustments easier during installation.
Use tin snips or a metal cutting tool to cut the duct sections. Cut slowly to avoid jagged edges, which can cause air leaks or damage your hands.
Remember, a well-cut duct section fits snugly but isn’t forced. Have you checked twice before making that cut? It saves a lot of frustration later.
Securing Ducts With Clamps And Screws
Once your duct sections are cut, join them together using metal clamps or foil tape designed for ducts. Clamps provide a strong hold, especially for round ducts.
Drive self-tapping screws through the duct overlaps to secure the joints firmly. Use at least three screws per joint for stability.
Don’t overtighten clamps or screws—you want a secure fit without crushing the ductwork. How confident are you that your connections won’t loosen over time?
Sealing Joints And Connections
Sealing is crucial to prevent air leaks and maintain your range hood’s efficiency. Use a high-quality, heat-resistant duct mastic or foil tape to cover all seams and joints.
Apply the sealant evenly along the entire joint, ensuring no gaps remain. Avoid regular duct tape as it doesn’t withstand heat or moisture well.
Taking the time to seal properly can reduce kitchen odors and improve air quality. Would you want your hard work undone by a tiny leak?
Connecting To The Range Hood
Connecting the ductwork to your range hood is a key part of the installation. This connection allows air, smoke, and odors to flow out effectively. A secure and well-aligned connection helps keep your kitchen fresh and clean. Follow these tips to attach the duct properly, align it, and check airflow.
Attaching The Duct To The Hood Outlet
Start by placing the duct over the hood outlet. Use metal tape or clamps to secure it tightly. Avoid gaps or loose fittings to stop air leaks. Make sure the duct fits the outlet size exactly. This prevents noise and improves ventilation.
Ensuring Proper Alignment
Check that the duct runs straight from the hood to the vent. Avoid sharp bends or twists in the ductwork. These can reduce airflow and strain the fan. Use support brackets if needed to keep the duct steady and level. Proper alignment helps your range hood work at its best.
Testing For Airflow
Turn on the range hood and feel the airflow at the vent outside. It should be strong and steady. Listen for unusual noises, which may signal leaks or blockages. Seal any gaps with metal tape and adjust the duct if airflow feels weak. Testing ensures your ductwork moves air efficiently.
Finishing Touches
After running the ductwork for your range hood, the finishing touches are crucial to ensure everything works efficiently and looks neat. These final steps help protect your system from weather damage, maintain energy efficiency, and leave your kitchen clean and safe. Paying close attention now saves you from costly fixes later.
Installing Exterior Vent Caps
Exterior vent caps keep debris, pests, and rain from entering your duct system. Choose a vent cap that matches your duct size and has a backdraft damper to prevent outside air from coming in.
Secure the vent cap tightly to the outside wall or roof. Use weather-resistant caulk around the edges to seal any gaps. This helps keep your home airtight and prevents leaks that can reduce your hood’s suction power.
Insulating Ducts If Needed
If your duct runs through unheated spaces like an attic or crawl space, insulation is a smart move. Insulating prevents condensation buildup inside the duct, which can cause mold or rust over time.
Wrap the duct with foil-faced insulation sleeves or fiberglass insulation. Make sure the insulation fits snugly and covers all exposed duct surfaces. This step keeps your system running efficiently and protects your home’s air quality.
Cleaning Up The Work Area
After installation, take time to clean the work area thoroughly. Remove dust, metal shavings, and any leftover materials that could interfere with your range hood’s operation.
Check your duct connections one more time for tight seals and proper alignment. A clean and organized workspace helps you spot potential issues early and leaves you ready to enjoy your improved kitchen ventilation.
Troubleshooting Common Issues
Installing ductwork for your range hood can sometimes lead to unexpected challenges. Troubleshooting these common issues early ensures your kitchen stays smoke-free and your hood works efficiently. Let’s dive into practical solutions for problems you might face during or after installation.
Dealing With Air Leaks
Air leaks in your ductwork reduce your range hood’s effectiveness. Check all joints and connections carefully for gaps or loose fittings. Use metal foil tape instead of duct tape to seal these leaks securely.
Have you noticed a drop in suction power? It might be caused by hidden leaks. Inspect areas where ducts connect to the hood and vent outlet closely, as these spots often develop leaks over time.
Handling Obstructions In Duct Path
Obstructions like debris, bird nests, or bent ducts can block airflow. Clear any visible blockages immediately to restore proper ventilation. Smooth out any bends or kinks in the duct to prevent restricted air movement.
Consider installing a damper to prevent backdrafts but ensure it doesn’t get stuck open or closed. Regularly inspect your duct path, especially if it runs through attic spaces or exterior walls where debris can accumulate unnoticed.
Addressing Noise Problems
Loud noises from your range hood ductwork often stem from loose parts or vibrations. Tighten any screws or brackets holding the ducts in place to reduce rattling sounds. Adding insulation around the ducts can also help minimize noise.
If your fan sounds unusually loud, check for obstructions or a dirty fan blade causing imbalance. Have you tried running the hood at different speeds to identify if the noise changes? This can help pinpoint the exact source of the problem.
Credit: www.greentractortalk.com
Frequently Asked Questions
What Tools Are Needed To Install Range Hood Ductwork?
You need a drill, screwdriver, tape measure, metal snips, duct tape, and a level. Safety gear like gloves and goggles is essential. These tools help cut, secure, and align the ductwork properly for efficient ventilation.
How Do I Choose The Right Duct Size For My Range Hood?
Select duct size based on the hood’s airflow rating (CFM). Typically, 6-inch ducts suit most range hoods. Larger ducts reduce noise and improve airflow. Always follow manufacturer recommendations for optimal performance.
Where Should Ductwork For A Range Hood Be Installed?
Install ductwork to vent air directly outside. Avoid long or complicated duct runs to maintain efficiency. Place ducts away from obstructions and use smooth, straight paths to minimize airflow resistance.
Can I Install Ductwork For A Range Hood Myself?
Yes, with basic tools and knowledge, you can install ductwork yourself. Follow manufacturer instructions carefully. Ensure proper sealing and secure connections to prevent leaks and maintain ventilation efficiency.
Conclusion
Installing ductwork for your range hood can improve kitchen air quality. Proper planning ensures smooth airflow and reduces noise. Use the right materials and measure carefully to avoid mistakes. Secure all connections tightly to prevent leaks. Regular cleaning keeps the system working well over time.
Taking time with each step helps you get good results. Enjoy a fresher kitchen with your range hood working efficiently. Simple steps make the job easier than you might think. You can do this and improve your home’s comfort.