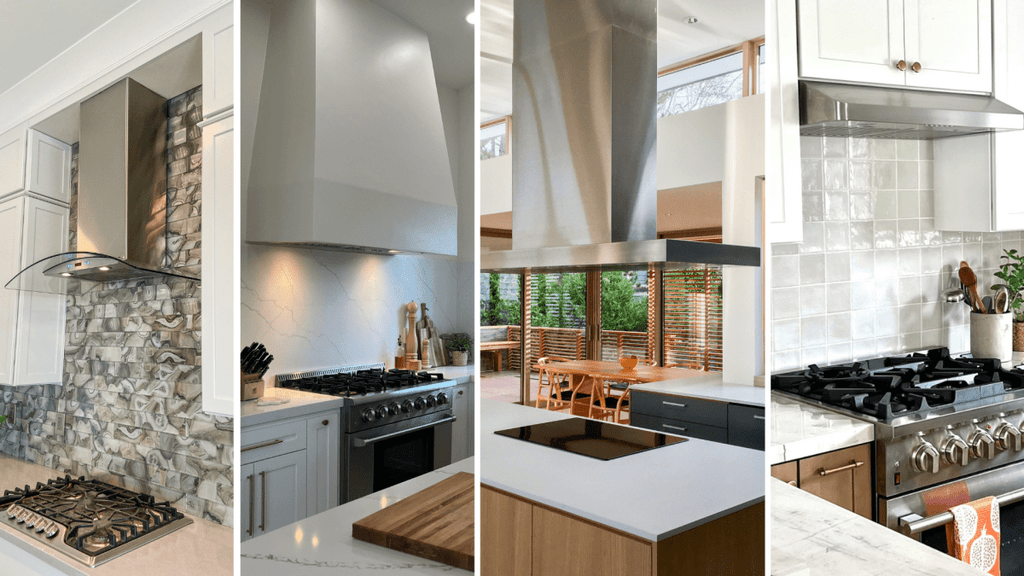
Are you dreaming of a sleek and modern kitchen that not only looks stunning but also functions efficiently? Installing an island range hood can be the game-changer you’ve been searching for.
Imagine cooking your favorite meals without worrying about lingering odors or smoke filling your kitchen. The right island range hood enhances air quality and adds a touch of elegance to your cooking space. But how do you go about installing one yourself?
Don’t worry; we’ve got you covered. In this guide, you’ll discover the step-by-step process to install an island range hood, transforming your kitchen into the stylish and functional hub you’ve always wanted. Ready to elevate your cooking experience? Let’s dive in!
Choosing The Right Island Range Hood
Choosing the right island range hood is key for both function and style. It clears smoke, odors, and grease from your kitchen air. The right hood fits your space perfectly. It matches your kitchen design. It also works well with your ventilation system. Consider these points before buying your island range hood.
Measuring Your Space
Start by measuring the area above your cooktop. Measure the width, length, and height of the island. The hood should be slightly wider than your cooktop.
Check the ceiling height too. Make sure there is enough room for the hood’s height. Keep in mind the recommended distance between cooktop and hood is 24 to 30 inches.
Selecting The Style And Size
Choose a style that fits your kitchen look. Popular options include stainless steel, glass, and wood finishes. The size depends on your cooktop and kitchen size.
Here is a simple size guide:
- Cooktops up to 30 inches: Hood width should be 30 to 36 inches.
- Cooktops 36 to 48 inches: Hood width should be 36 to 48 inches.
- Cooktops over 48 inches: Hood width should be at least as wide as the cooktop.
Considering Ventilation Options
Island range hoods need strong ventilation because they hang in open space. Decide between ducted and ductless systems.
- Ducted hoods vent air outside your home. They are more effective at removing smoke and odors.
- Ductless hoods filter air and recirculate it back. They are easier to install but less powerful.
Check your kitchen setup and local codes to choose the right system.

Credit: www.create-enjoy.com
Tools And Materials Needed
Preparing to install your island range hood means gathering the right tools and materials first. This step saves time and avoids frustrating interruptions during the installation process. Knowing exactly what you need also helps ensure the job goes smoothly and safely.
Essential Tools
- Drill:A cordless drill is best for flexibility around your kitchen.
- Stud Finder:Crucial to locate ceiling joists for secure mounting.
- Measuring Tape:Accurate measurements prevent mistakes and misalignments.
- Level:Keeps your hood perfectly horizontal for both function and style.
- Screwdrivers:Both Phillips and flat-head are needed for various screws.
- Wire Strippers:Needed if you handle electrical connections yourself.
- Utility Knife:Useful for cutting insulation or duct tape cleanly.
Having these tools handy means you won’t waste time searching mid-installation. I once started without a stud finder and had to pause to buy one after realizing the weight of the hood needed proper support.
Required Materials
- Island Range Hood Unit:Obviously the centerpiece of your project.
- Mounting Brackets and Screws:Usually included but verify they fit your ceiling type.
- Electrical Wiring and Connectors:For power supply connections.
- Ductwork:Includes pipes, elbows, and vent covers for proper airflow.
- Sealant or Aluminum Tape:To secure duct joints and prevent leaks.
- Support Frame or Additional Reinforcements:Sometimes necessary for heavy hoods.
Check the hood’s manual carefully to confirm you have all required parts. Missing even a small piece can delay your project and increase frustration.
Safety Gear
- Safety Glasses:Protect your eyes from dust and debris.
- Work Gloves:Keep your hands safe from sharp edges and hot surfaces.
- Dust Mask:Useful if you’re drilling into old ceilings or insulation.
- Hearing Protection:Consider earplugs if you’re sensitive to loud drills or hammering.
Safety gear might seem like extra hassle, but it’s essential. Think about how uncomfortable it was working without gloves once — a simple cut can ruin your whole day. Don’t skip this step.
Do you have all these tools and materials ready? Preparing well might be the difference between a smooth install and a stressful one.
Preparing The Installation Area
Preparing the installation area is a crucial step before mounting your island range hood. It ensures safety, proper fit, and optimal performance of the hood. Taking the time to carefully check your ceiling structure and utilities will save you from headaches down the road.
Locating Ceiling Joists
Start by finding the ceiling joists where your range hood will hang. These wooden beams provide the support needed to hold the hood’s weight securely.
You can use a stud finder or gently tap the ceiling to listen for solid sounds versus hollow areas. Mark the joist locations clearly with a pencil to avoid mistakes.
Ask yourself: Is the area sturdy enough to handle the hood? If the joists don’t align with your hood’s mounting points, consider adding extra support.
Marking Mounting Points
Once you know where the joists are, measure and mark the exact mounting points for the hood brackets. Precision here is key for a level and secure fit.
Use a tape measure and a pencil to outline the bracket positions based on the hood’s installation manual. Double-check your measurements before drilling.
Think about how the hood will hang—will it be centered over the stove? Proper alignment ensures both function and aesthetics.
Checking Electrical And Ductwork
Verify the location and condition of existing electrical wiring and ductwork before installation. This step prevents surprises that could delay your project.
Turn off power at the breaker and inspect for safe, accessible wiring near the hood’s planned location. Also, check if the ductwork matches the hood’s size and venting requirements.
Have you considered if your current duct runs straight and unobstructed? Sharp bends or long runs can reduce ventilation efficiency.
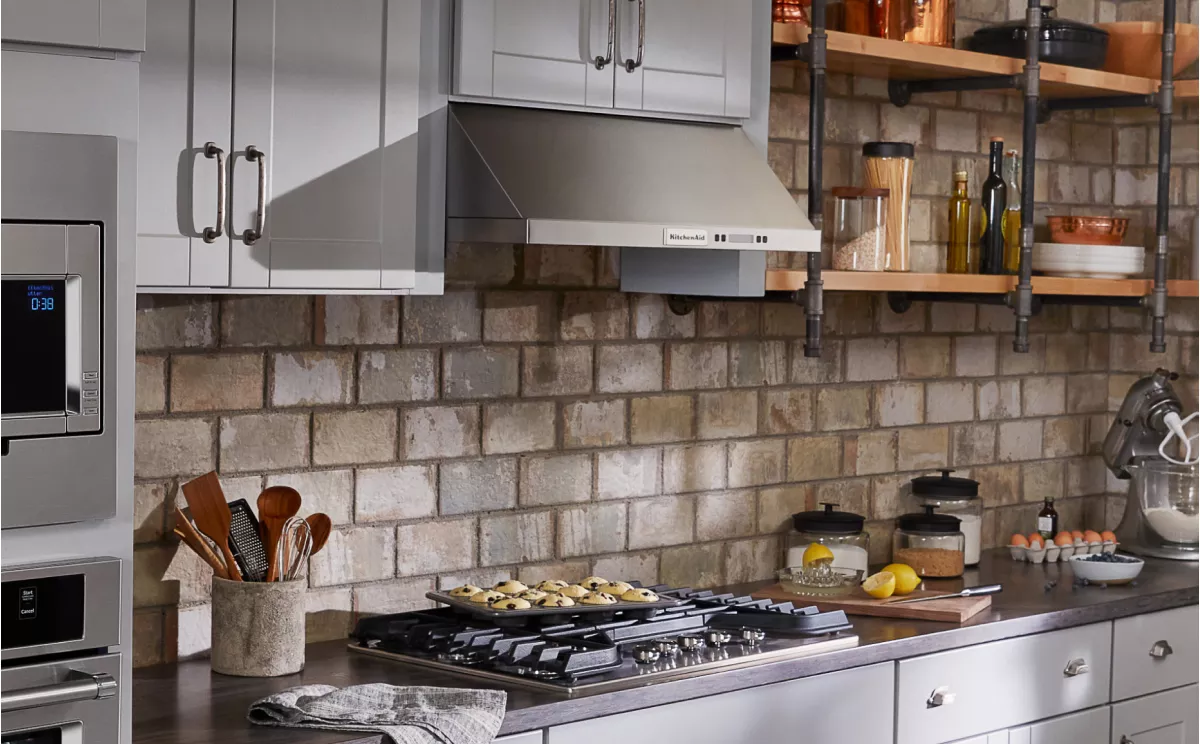
Credit: www.kitchenaid.com
Mounting The Range Hood
Mounting the island range hood is a key step for a safe and efficient kitchen setup. Proper mounting ensures the hood stays secure and functions well. This process requires attention to detail and the right tools.
Follow these guidelines to mount your range hood correctly. Focus on installing the support bracket, securing the hood to the ceiling, and adjusting its height and position for the best performance.
Installing The Support Bracket
Start by locating the ceiling joists using a stud finder. Mark the spots to attach the support bracket. The bracket holds the weight of the hood, so it must be securely fixed.
Use a drill to make pilot holes on the marked spots. Attach the bracket with strong screws designed for ceiling installation. Double-check that the bracket is level and tight before moving forward.
Securing The Hood To The Ceiling
Lift the range hood carefully and align it with the installed bracket. Connect the hood to the bracket using the screws or bolts provided in the kit. Make sure all fasteners are tight to prevent any movement.
Check that the hood is stable and does not wobble. This step is important to avoid damage or accidents during use. Have a helper assist you for safety and ease.
Adjusting Height And Position
Set the height of the hood based on your cooking surface. The recommended distance usually ranges between 24 to 30 inches. Adjust the hood so it covers the cooking area fully.
Use the adjustable mounts or chains to fine-tune the height. Ensure the hood is centered over the island for balanced ventilation. Confirm the hood is level before final tightening of all bolts.
Connecting Ventilation And Electrical
Connecting the ventilation and electrical systems of your island range hood is crucial for efficient operation. Proper setup ensures that smoke, steam, and odors leave your kitchen quickly. Electrical wiring powers the hood’s fan and lights. Both tasks require care and attention to safety guidelines.
Attaching The Ductwork
Start by connecting the ductwork to the hood’s vent outlet. Use metal ducting for durability and fire safety. Secure the ducts with metal screws or clamps. Seal all joints with foil tape to prevent air leaks. Make sure the duct runs straight to the outside vent. Avoid sharp bends or long runs that reduce airflow.
Wiring The Electrical Connections
Turn off power at the circuit breaker before starting. Connect the hood’s wires to the house wiring using wire nuts. Match wire colors: black to black, white to white, and green or copper to ground. Check the hood’s manual for specific wiring instructions. Use a junction box if required. Secure all connections and tuck wires neatly inside.
Testing Airflow And Power
Restore power and switch on the range hood. Listen for smooth fan operation without noise or vibration. Check that the lights work properly. Feel for strong airflow at the vent outside. Adjust the fan speed controls and verify each setting. Confirm there are no unusual smells or smoke leaks. This test ensures your installation is safe and effective.
Finishing Touches
Finishing touches make your island range hood look and work its best. These last steps ensure the installation is neat, safe, and ready for daily use. Proper sealing stops air leaks and keeps your kitchen fresh. Installing filters and covers protects the hood’s inner parts. Cleaning the workspace leaves your kitchen tidy and ready for cooking.
Sealing And Insulating
Seal gaps between the range hood and ceiling or wall. Use high-quality silicone caulk for a tight seal. This prevents air leaks and keeps smoke and odors inside the hood. Add insulation around ductwork to reduce noise and improve airflow. Insulation also protects pipes from temperature changes.
Installing Filters And Covers
Place the filters in their slots carefully. Most island range hoods use metal or charcoal filters. Clean them regularly to maintain strong airflow. Snap on the decorative covers to hide screws and wiring. These covers give a polished look and protect parts from dust.
Cleaning Up The Workspace
Remove dust, debris, and packaging materials. Wipe down all surfaces with a damp cloth. Check the hood and surrounding area for any leftover screws or tools. Dispose of waste properly to keep your kitchen safe. Clean windows and counters to restore a fresh kitchen feel.
Troubleshooting Common Issues
Troubleshooting common issues with your island range hood can save you time and frustration. Identifying problems early helps maintain its performance and extends its lifespan. Below are practical ways to tackle frequent challenges you might face during installation or use.
Addressing Noise Problems
Is your range hood louder than expected? Noise often comes from loose parts or an unbalanced fan. Check all screws and mounts to ensure they are tight.
Sometimes, the fan blades collect grease and debris, causing wobbling and noise. Cleaning the blades regularly can reduce this sound significantly.
If noise persists, consider installing vibration dampeners or rubber grommets between the hood and mounting surface. Have you checked if the ductwork is securely connected? Loose ducts can amplify noise as well.
Fixing Poor Ventilation
Poor ventilation usually means the hood is not removing smoke and odors effectively. Start by inspecting the duct size; a too-small duct restricts airflow.
Ensure the duct path is as straight and short as possible—excess bends and long runs decrease ventilation efficiency.
Another common issue is clogged filters. Cleaning or replacing filters regularly improves air movement. Are you using the right fan speed for your cooking needs? Sometimes increasing speed makes a big difference.
Handling Electrical Glitches
Electrical issues can cause your range hood to fail or behave unpredictably. Verify that the power supply matches the hood’s voltage requirements.
Loose wiring or poor connections often cause intermittent power loss. Turn off the circuit breaker before checking all connections inside the hood’s junction box.
If the control panel or lights don’t work, replacing faulty switches or bulbs might solve the problem. Have you ensured the hood’s grounding is properly installed? A poor ground can cause electrical malfunctions.

Credit: prolinerangehoods.com
Frequently Asked Questions
What Tools Are Needed To Install An Island Range Hood?
You need a drill, screwdriver, measuring tape, pencil, stud finder, and ladder. Also, have ductwork and electrical supplies ready for installation.
How High Should An Island Range Hood Be Installed?
Install the hood 24 to 30 inches above the cooktop. This height ensures optimal ventilation and safety.
Can I Install An Island Range Hood Myself?
Yes, with basic DIY skills and proper tools, you can install it. Follow the manufacturer’s instructions carefully for best results.
How Do I Connect Ductwork For An Island Range Hood?
Run ductwork through the ceiling to the exterior vent. Seal all joints tightly to prevent air leaks.
Conclusion
Installing an island range hood can improve your kitchen’s air quality. Follow each step carefully for best results. Use the right tools and measure twice before cutting. Take your time to connect wires and ducts safely. Test the hood after installation to ensure it works well.
A well-installed hood keeps cooking smells and smoke away. Enjoy a cleaner and fresher kitchen space every day. Simple steps lead to great improvements in your home.