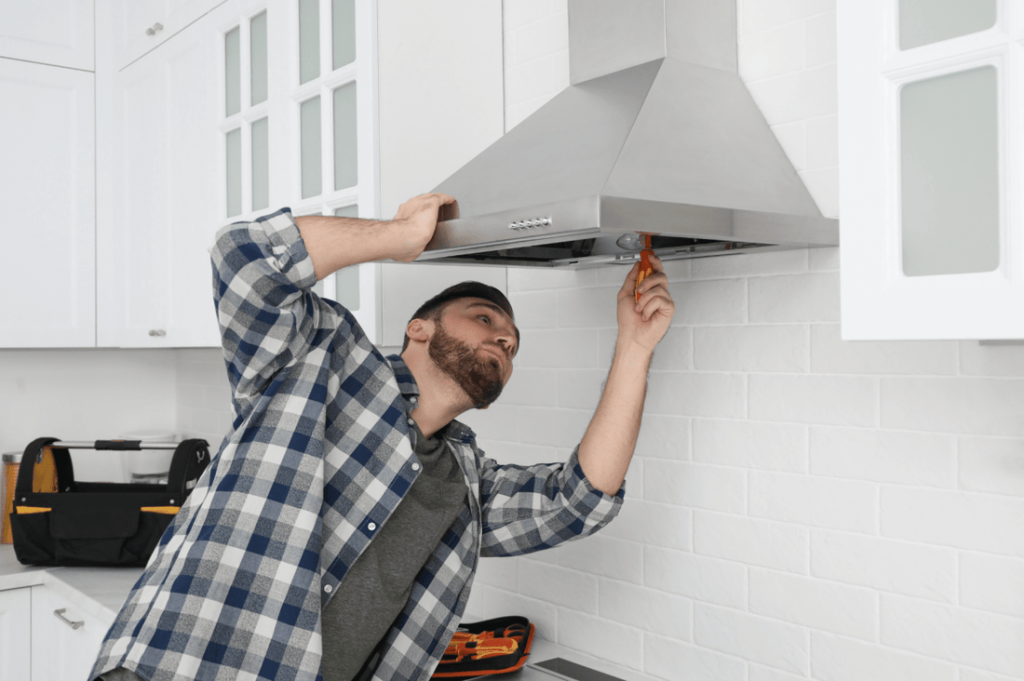
Installing a range hood duct in your kitchen isn’t just a task; it’s a transformative experience for your cooking space. Imagine cooking without the lingering smells and smoke clouding your space.
A well-installed range hood duct can make that possible, ensuring your kitchen remains fresh and inviting. You might think it’s a complex process, but with the right guidance, you can handle it with ease. Are you ready to discover the secrets to achieving a cleaner, healthier kitchen environment?
Let’s dive in and turn this daunting task into a straightforward DIY project that enhances your home.

Credit: us.ciarraappliances.com
Choosing The Right Duct Material
Choosing the right duct material is key to a successful range hood installation. The material affects air flow, durability, and safety. It also influences how easy the duct is to clean and maintain. Picking the wrong material can reduce your range hood’s efficiency and lifespan.
Consider the type of material, size, length, and safety before making a choice. These factors ensure your kitchen stays smoke-free and fresh.
Metal Vs. Plastic Ducts
Metal ducts are the most common choice for range hoods. They are strong and resist heat well. Metal ducts usually come in aluminum or stainless steel. Both metals handle heat and moisture without warping or melting.
Plastic ducts are cheaper but less durable. They can warp or melt from the heat. Plastic also traps grease and smoke more easily. Most building codes do not allow plastic ducts for kitchen vents.
Size And Length Considerations
The duct size must match the range hood’s airflow capacity. Too small a duct restricts airflow, reducing ventilation. Too large a duct can cause air leaks and noise. A 6-inch diameter is common for most home range hoods.
Keep the duct length as short as possible. Long ducts reduce air pressure and efficiency. Use smooth, straight ducts instead of flexible or bent ones. Fewer bends mean better airflow and less chance of clogging.
Durability And Safety Factors
- Metal ducts resist heat and fire better than plastic.
- Stainless steel resists corrosion and lasts longer.
- Choose materials that are easy to clean and maintain.
- Check local codes for fire safety and material rules.
- Ensure all joints are sealed tightly to prevent leaks.
Tools And Materials Needed
Installing a range hood duct requires specific tools and materials. Having the right items ready makes the job easier and safer. This section lists everything needed for a smooth installation process.
Essential Tools List
- Measuring tape – for accurate measurements
- Drill with drill bits – to create holes
- Screwdriver – to fasten screws
- Stud finder – to locate wall studs
- Level – to ensure the duct is straight
- Utility knife – for cutting duct tape or insulation
- Tin snips – to cut metal duct pieces
- Caulking gun – for sealing joints
- Marker or pencil – to mark measurements
Recommended Materials
- Metal ducting pipe – to vent air outside
- Duct elbows and connectors – for proper duct routing
- Foil or metal tape – to seal duct joints
- Wall cap or vent cover – to protect outside vent
- Mounting brackets – to secure the duct and hood
- Caulk or sealant – to prevent air leaks
- Range hood mounting screws – for attaching the hood
Safety Gear
- Safety goggles – to protect eyes from debris
- Work gloves – to protect hands from sharp edges
- Dust mask – to avoid inhaling dust or particles
- Hearing protection – if using loud power tools
Preparing The Installation Area
Preparing the installation area is a crucial stage in installing your range hood duct. It sets the foundation for a smooth and secure setup. Taking the time to prepare properly can save you from unexpected issues later on.
Measuring And Marking
Start by measuring the exact location where the duct will go. Use a tape measure to find the center point of your range hood and mark it clearly on the wall or ceiling. Double-check your measurements to avoid mistakes that can cause misalignment.
Mark the duct path with a pencil or painter’s tape to visualize the route. This helps you see if the duct will fit without obstructions or awkward bends. Have you checked if your markings align with your kitchen layout?
Clearing Obstacles
Look for any obstacles in the planned duct path like pipes, electrical wiring, or studs. These can block the duct or make installation difficult. Removing or working around these obstacles early on prevents delays and extra work.
Clearing the area also means clearing out clutter and cleaning the workspace. A tidy area keeps tools and materials organized and reduces the chance of damage or injury. Think about what could slow you down and tackle it now.
Checking Existing Ventilation
Inspect the current ventilation system if there is one. Confirm if it’s compatible with your new range hood duct or needs upgrading. Sometimes, existing vents are too small or located inconveniently.
Check for signs of damage or blockages in old vents. A blocked vent will reduce your range hood’s effectiveness and may cause moisture or odor problems. Have you considered how your new duct will improve airflow?

Credit: us.ciarraappliances.com
Installing The Ductwork
Installing the ductwork for a range hood is a crucial part of the ventilation setup. Proper duct installation ensures efficient airflow and reduces the risk of leaks. This section covers how to cut the duct to the right size, secure all connections firmly, and seal every joint and seam properly.
Cutting The Duct To Size
Measure the distance from the range hood to the exterior vent carefully. Mark the duct where it needs to be cut. Use tin snips or a metal cutting tool to make a clean, straight cut. Smooth the edges with a file to avoid sharp metal. Accurate cutting prevents gaps and helps the duct fit tightly.
Securing Connections
Slide duct sections together with at least 1 inch of overlap. Use sheet metal screws to fasten the connections firmly. Place screws evenly around the joint to hold it tight. Avoid using duct tape alone as it can fail over time. Proper securing keeps the duct stable and prevents air leaks.
Sealing Joints And Seams
Apply a high-quality aluminum foil tape on all joints and seams. Press the tape down firmly to create an airtight seal. Check for any gaps or holes and cover them as well. Sealing prevents dust, moisture, and air from escaping. It also improves the range hood’s efficiency and safety.
Connecting The Range Hood
Connecting the range hood to the duct is a crucial step that ensures your kitchen stays free of smoke, grease, and odors. This process requires careful attention to detail so your ventilation system works efficiently and quietly. Let’s break down how to make a secure and effective connection that lasts.
Attaching The Duct To The Hood
Start by aligning the duct collar with the outlet on the range hood. The connection should be snug but not forced. Use metal foil tape or duct clamps to secure the duct firmly in place.
Be sure to avoid using duct tape designed for household repairs. It won’t hold up to heat and grease over time. Instead, choose materials made specifically for HVAC systems.
Ensuring Proper Fit
Check that the duct fits tightly without gaps or bends that could restrict airflow. Even a small gap can reduce the range hood’s performance and cause noise.
Does your duct run straight to the outside, or does it have corners? If it has turns, make sure they are gentle curves rather than sharp angles. This helps maintain smooth airflow.
Testing For Airflow
Once connected, turn on your range hood and feel for strong airflow at the duct outlet. If you notice weak suction or hear rattling, revisit your connections.
Try holding a piece of tissue paper near the duct end—does it flutter? If not, you might have a blockage or leak. Fixing these issues early saves you from poor air quality later.
Final Checks And Maintenance Tips
Final checks and regular maintenance keep your range hood duct working well. These tasks improve air flow and prevent damage over time. Small efforts save money and avoid big repairs.
Inspecting For Leaks
Check all duct joints and connections carefully. Look for gaps or cracks where air might escape. Use a flashlight to see inside dark areas. Seal any leaks with metal tape or duct sealant. A tight seal keeps your kitchen smoke-free and fresh.
Cleaning The Duct Regularly
Remove dirt and grease that build up inside the duct. Clean every few months depending on cooking habits. Use a soft brush or vacuum to clear debris. Avoid harsh chemicals that can damage the duct. Clean ducts improve air flow and reduce fire risk.
Troubleshooting Common Issues
- Fan makes loud noise: Check for loose screws or debris.
- Weak airflow: Inspect for blockages or dirty filters.
- Range hood won’t turn on: Test the power supply and switch.
- Unusual odors: Clean the duct and replace filters.
Fix small problems early to keep your range hood working well. Regular checks help spot issues before they get worse.

Credit: www.reddit.com
Frequently Asked Questions
What Tools Are Needed To Install A Range Hood Duct?
You will need a drill, screwdriver, measuring tape, duct tape, metal snips, and a ladder. Safety gear like gloves and goggles is recommended. These tools help ensure a secure and precise installation of the range hood duct.
How Do I Choose The Right Duct Size For My Range Hood?
Select a duct size matching the range hood’s exhaust outlet. Typically, 6 to 8 inches in diameter is standard. Correct sizing ensures efficient airflow and reduces noise. Check the manufacturer’s instructions for exact duct size recommendations.
Can I Install A Range Hood Duct Myself?
Yes, with basic DIY skills, you can install the duct yourself. Follow instructions carefully, measure accurately, and secure the duct properly. However, consult a professional if unsure about electrical or ventilation requirements to ensure safety and compliance.
Where Should The Range Hood Duct Vent Outside?
The duct should vent outdoors away from windows, doors, and vents. Position it to prevent exhaust from re-entering the home. Proper placement improves air quality and complies with local building codes.
Conclusion
Installing a range hood duct can improve your kitchen’s air quality. Follow the steps carefully for a safe and strong setup. Measure and cut the duct accurately to fit your space. Seal all connections tightly to avoid leaks and odors.
Test the hood after installation to ensure it works well. Proper installation helps keep your kitchen fresh and smoke-free. Take your time and double-check each part. This simple project makes a big difference in cooking comfort.