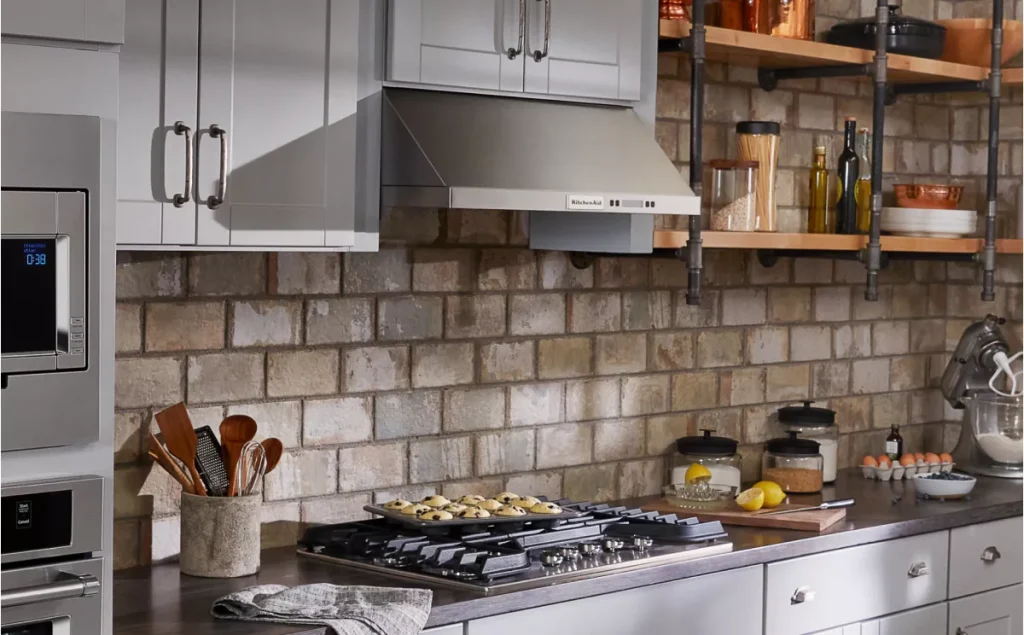
Are you ready to upgrade your kitchen with a new range hood but unsure where to start? Installing a range hood might seem tricky, but with the right steps, you can do it yourself and save money.
Imagine cooking without worrying about smoke, odors, or grease lingering in your kitchen. This guide will walk you through simple, clear instructions to make your installation smooth and hassle-free. Keep reading, and by the end, you’ll have the confidence to improve your kitchen’s air quality and style with your very own range hood.

Credit: www.create-enjoy.com
Choosing The Right Range Hood
Choosing the right range hood makes installation easier and ensures proper ventilation. Measure your space carefully and follow the manufacturer’s instructions for a safe, secure fit. Proper placement helps remove smoke and odors efficiently during cooking.
Choosing the right range hood can enhance your kitchen’s functionality. It not only removes smoke and odors but also complements your kitchen’s style. Consider several factors before making your choice.Types Of Range Hoods
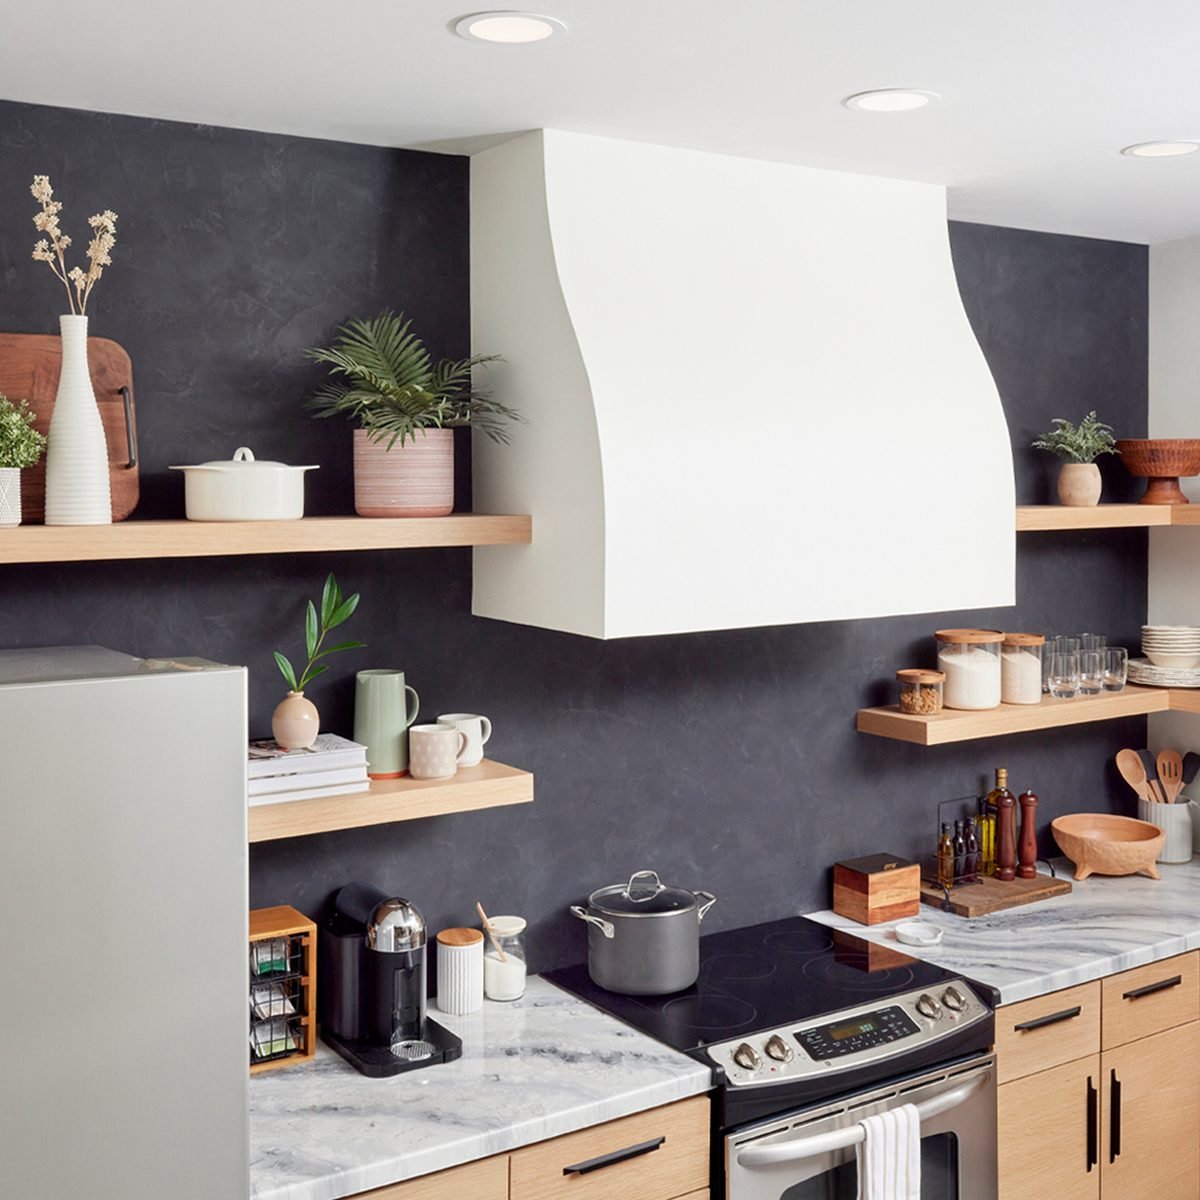
Explore different types of range hoods available. Wall-mounted hoods attach to the wall above your stove. Under-cabinet hoods fit snugly beneath kitchen cabinets. Island hoods hang from the ceiling over a cooking island. Each type offers unique benefits and design aesthetics.Measuring Your Space
Before purchasing, measure the space where the hood will be installed. Ensure the hood’s width matches your cooking range. Leave enough space for proper ventilation. Accurate measurements prevent installation issues and ensure optimal performance.Considering Ventilation Options
Decide between ducted and ductless ventilation. Ducted hoods vent air outside your home. They are effective in removing smoke and odors. Ductless hoods recirculate air through filters. They are easier to install but may require regular maintenance. Choose based on your kitchen layout and ventilation needs.Gathering Tools And Materials
Gathering the right tools and materials sets the foundation for a smooth range hood installation. Preparing everything beforehand saves time and prevents interruptions. This step ensures safety and efficiency while working in your kitchen.
Essential Tools Needed
- Measuring tape for accurate placement
- Power drill with drill bits
- Screwdriver set (Phillips and flathead)
- Level to keep the hood straight
- Stud finder to locate wall supports
- Pencil for marking measurements
- Wire stripper for electrical connections
- Adjustable wrench for tightening bolts
Required Materials And Parts
- Range hood unit matching your kitchen size
- Mounting brackets or hardware
- Vent ducting for proper airflow
- Electrical wiring complying with safety codes
- Wire nuts and electrical tape
- Screws and anchors for secure fitting
- Caulk or sealant to prevent leaks
Preparing The Installation Area
Preparing the installation area is crucial for a smooth range hood setup. It ensures safety and accuracy during the process. Taking time to prepare helps avoid mistakes and saves effort later.
Turning Off Power
Start by turning off the power to the kitchen area. Locate the circuit breaker that controls the range hood’s electrical supply. Switch it off to prevent any accidents during installation. Use a voltage tester to confirm the power is off before proceeding.
Clearing The Space
Remove items around the stove and under the cabinet. Clear the countertop and wall area to give yourself room to work. This prevents damage to belongings and keeps the workspace tidy. Make sure the area is well-lit and ventilated.
Marking Mounting Points
Use a measuring tape and pencil to mark where the hood will mount. Check the manufacturer’s instructions for exact height and width requirements. Mark drill points clearly on the wall or cabinet. Double-check measurements to ensure the hood fits perfectly.
Mounting The Range Hood
Mounting the range hood is a crucial part of the installation process. It ensures your hood stays securely in place while effectively removing smoke and odors. Getting this right not only improves kitchen air quality but also adds to the overall safety of your cooking space.
Installing The Bracket
Start by locating the studs in your wall using a stud finder. Attaching the bracket to these studs provides the strength needed to hold the hood’s weight. Use a level to make sure the bracket is perfectly horizontal—an uneven bracket will cause installation problems later.
Mark the screw holes clearly, then drill pilot holes to avoid splitting the wood. Secure the bracket tightly with heavy-duty screws. I once overlooked finding the studs and tried drywall anchors, which failed to support the hood’s weight—don’t repeat my mistake!
Securing The Hood
With the bracket in place, lift the range hood and hook it onto the bracket. This step might require an extra pair of hands, as some hoods are quite heavy. Once hung, fasten the hood to the bracket using the screws provided in your installation kit.
Double-check that the hood sits flush against the wall and doesn’t wobble. Tighten all screws firmly but be careful not to overtighten and damage the hood’s frame. Have you ever installed something only to find it loose the next day? Securing it properly now saves you from that hassle.
Connecting The Ductwork
Next, connect the ductwork to the hood’s exhaust outlet. Make sure the duct size matches your hood’s specifications to maintain proper airflow. Use metal foil tape to seal the joints—this prevents air leaks and keeps your system efficient.
If your duct runs through an exterior wall or roof, check that it’s insulated to avoid condensation issues. Avoid plastic duct tape, as it doesn’t hold up well against heat and moisture. Have you considered the path your duct will take? Shorter, straight ducts improve performance and reduce noise.
Wiring And Electrical Connections
Handling the wiring and electrical connections of your range hood is a critical part of the installation process. It ensures your appliance runs safely and efficiently. Taking time to understand the electrical setup helps avoid common mistakes that could lead to hazards or performance issues.
Safety Precautions
Before touching any wires, always turn off the power at the circuit breaker. This simple step prevents electric shocks, which are surprisingly common during DIY installations.
Use a voltage tester to double-check that the wires are not live. Wearing insulated gloves adds an extra layer of protection.
Never rush this part. If you feel unsure about handling electrical components, consider consulting a licensed electrician. Your safety is worth the extra cost.
Connecting Wires
Identify the wires from your range hood and those from your home’s power supply. Typically, black or red wires are live, white wires are neutral, and green or bare copper wires are ground.
Match the wires by color and twist them together securely, then cover each connection with wire nuts. Loose connections can cause sparks or shorts, so take your time to make them tight.
Secure the ground wire to the metal frame of the range hood or to the grounding screw in the electrical box. This step is essential for preventing electrical shocks.
Testing Electrical Setup
Once all connections are made, restore power at the breaker. Before fully mounting the hood, turn it on to ensure the fan and lights work correctly.
Listen for unusual noises or flickering lights, which could indicate wiring issues. If everything runs smoothly, you’ve done the job right.
Have you ever encountered unexpected electrical problems during a home project? Testing early helps catch them before they become costly repairs.

Credit: prolinerangehoods.com
Final Adjustments And Testing
After installing your range hood, final adjustments and testing are crucial. These steps ensure your appliance works safely and efficiently. Taking time to check each detail improves kitchen air quality. Proper sealing, ventilation, and operation guarantee lasting performance.
Sealing And Insulating
Seal gaps around the range hood to prevent air leaks. Use high-quality caulk or weatherstripping for a tight fit. Insulate any exposed ductwork to avoid heat loss and condensation. Proper sealing keeps your kitchen comfortable and reduces energy costs.
Checking Ventilation
Test the ventilation system to confirm proper airflow. Turn on the range hood and feel for strong air movement at the vent outlet. Inspect duct connections for leaks or blockages. Clear any obstructions to ensure smooth air passage from kitchen to outside.
Operating The Range Hood
Switch on the range hood at different fan speeds to test controls. Listen for unusual noises that may indicate loose parts or motor issues. Check the light functionality and replace bulbs if needed. Confirm the hood effectively removes smoke and odors during cooking.
Maintenance Tips For Longevity
Keeping your range hood in good shape extends its life and improves kitchen air quality. Regular care prevents buildup and keeps the fan running smoothly. Simple checks and cleaning save time and money later.
Cleaning Filters
Filters catch grease and particles from cooking fumes. Clean them often to avoid clogging. Metal filters can be washed with warm soapy water. Let them dry completely before putting back. Charcoal filters usually need replacement as they cannot be washed.
Inspecting Ductwork
Ducts carry smoke and smells outside. Check for blockages or damage regularly. Look for holes, loose connections, or grease buildup. Clear any obstacles to keep airflow strong. Tighten any loose duct joints to prevent leaks.
Regular Performance Checks
Test your range hood’s fan and lights every few weeks. Listen for strange noises or weak suction. Replace bulbs promptly to maintain good visibility. Address any issues early to avoid costly repairs later.
Credit: www.familyhandyman.com
Frequently Asked Questions
What Tools Are Needed To Install A Range Hood?
You need a drill, screwdriver, measuring tape, level, wire stripper, and duct tape. These tools help secure and connect the hood properly. Having the right tools ensures a smooth, safe installation.
How High Should A Range Hood Be Installed?
Install the range hood 24 to 30 inches above the cooktop. This height maximizes ventilation efficiency and prevents heat damage. It also meets most building codes for safety.
Can I Install A Range Hood Without Ductwork?
Yes, ductless range hoods use charcoal filters to clean air. They are easier to install but less effective than ducted hoods. Choose ductless if external venting is not possible.
How Do I Connect A Range Hood To Power?
Turn off the power first. Then, connect the hood’s wiring to your home’s electrical system following the manual. If unsure, hire an electrician to ensure safety.
Conclusion
Installing a range hood can improve your kitchen’s air quality. Follow the steps carefully for safe and proper setup. Take your time to measure and secure all parts well. Check the electrical connections before turning on the hood. Clean and maintain your range hood regularly for best results.
Enjoy fresher air and a smoke-free kitchen every day. Small effort, big difference.