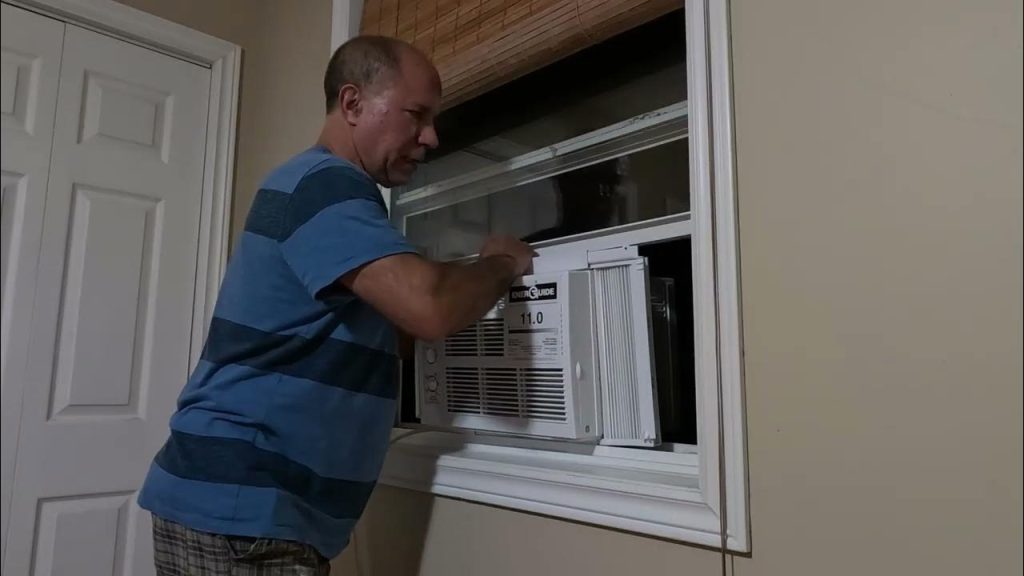
If you want to keep your room cool without taking up window space, installing a window air conditioner in your wall might be the perfect solution. It sounds tricky, but with the right steps, you can do it yourself and save money.
Imagine enjoying cool air all summer long without worrying about bulky units blocking your view. In this guide, you’ll learn exactly how to install a window air conditioner in your wall safely and efficiently. Keep reading—you’re just a few easy steps away from a cooler, more comfortable home.
Choose The Right Air Conditioner
Measure your room size carefully. This helps choose the right air conditioner size. A unit too small won’t cool well. Too big will waste energy.
Check the cooling capacity. It is measured in BTUs (British Thermal Units). Higher BTUs mean more cooling power. Match BTUs to your room size for best results.
- Small rooms: 5,000-8,000 BTUs
- Medium rooms: 8,000-12,000 BTUs
- Large rooms: 12,000-18,000 BTUs
Select energy efficient models. Look for the Energy Star label. These units use less electricity and save money. Check the EER (Energy Efficiency Ratio) rating. Higher EER means better efficiency.

Credit: archexteriors.com
Gather Necessary Tools And Materials
Gathering the right toolsand materialsis key for a smooth installation. Safety gear protects you during work. Tools like a drill, screwdriver, tape measure, and level help install the unit properly.
- Drillfor making holes
- Screwdriverto secure screws
- Tape measureto measure space
- Levelto keep the unit straight
- Utility knifeto cut insulation
- Safety gogglesto protect eyes
- Work glovesto protect hands
- Dust maskto avoid inhaling dust
- Foam insulationto seal gaps
- Mounting bracketsto hold the air conditioner
- Screws and anchorsfor secure fitting
- Weatherproof caulkto prevent water leaks
Prepare The Wall Opening
Choose a wall spot that is close to a power outlet. The spot should be strong enough to hold the air conditioner. Check for any wires or pipes inside the wall. Avoid these areas to prevent damage.
Use a tape measure to find the correct size for the opening. Mark the wall with a pencil where you will cut. Double-check the measurements before cutting.
Cut the wall carefully using a saw. Wear safety glasses and gloves to protect yourself. Smooth the edges of the cut to avoid injury and help the air conditioner fit better.
Credit: www.angi.com
Install Support Brackets
Studs are the strong wooden parts inside the wall. They hold the weight of the air conditioner. Use a stud finder tool to locate these studs behind the wall surface. Mark the stud locations clearly with a pencil. This ensures the support brackets will hold firm and not fall.
Brackets must be attached tightly to the studs. Use screws long enough to go deep into the wood. Avoid using nails as they might not hold the weight well. Check that the brackets are level and secure before placing the air conditioner. Proper attachment keeps the unit safe and stable.
Seal And Insulate The Opening
Apply a weatherproof sealantaround the opening. This stops air and water from getting inside. Seal all gaps between the wall and the air conditioner.
Add insulationaround the unit to keep cold air in and hot air out. Use foam or fiberglass insulation. Make sure the insulation fits snugly but does not block the air flow.
- Use a caulking gun for smooth sealant application.
- Check for cracks or holes before sealing.
- Cut insulation pieces to fit tight spaces.
- Do not compress insulation too much; it loses effectiveness.
Mount The Air Conditioner
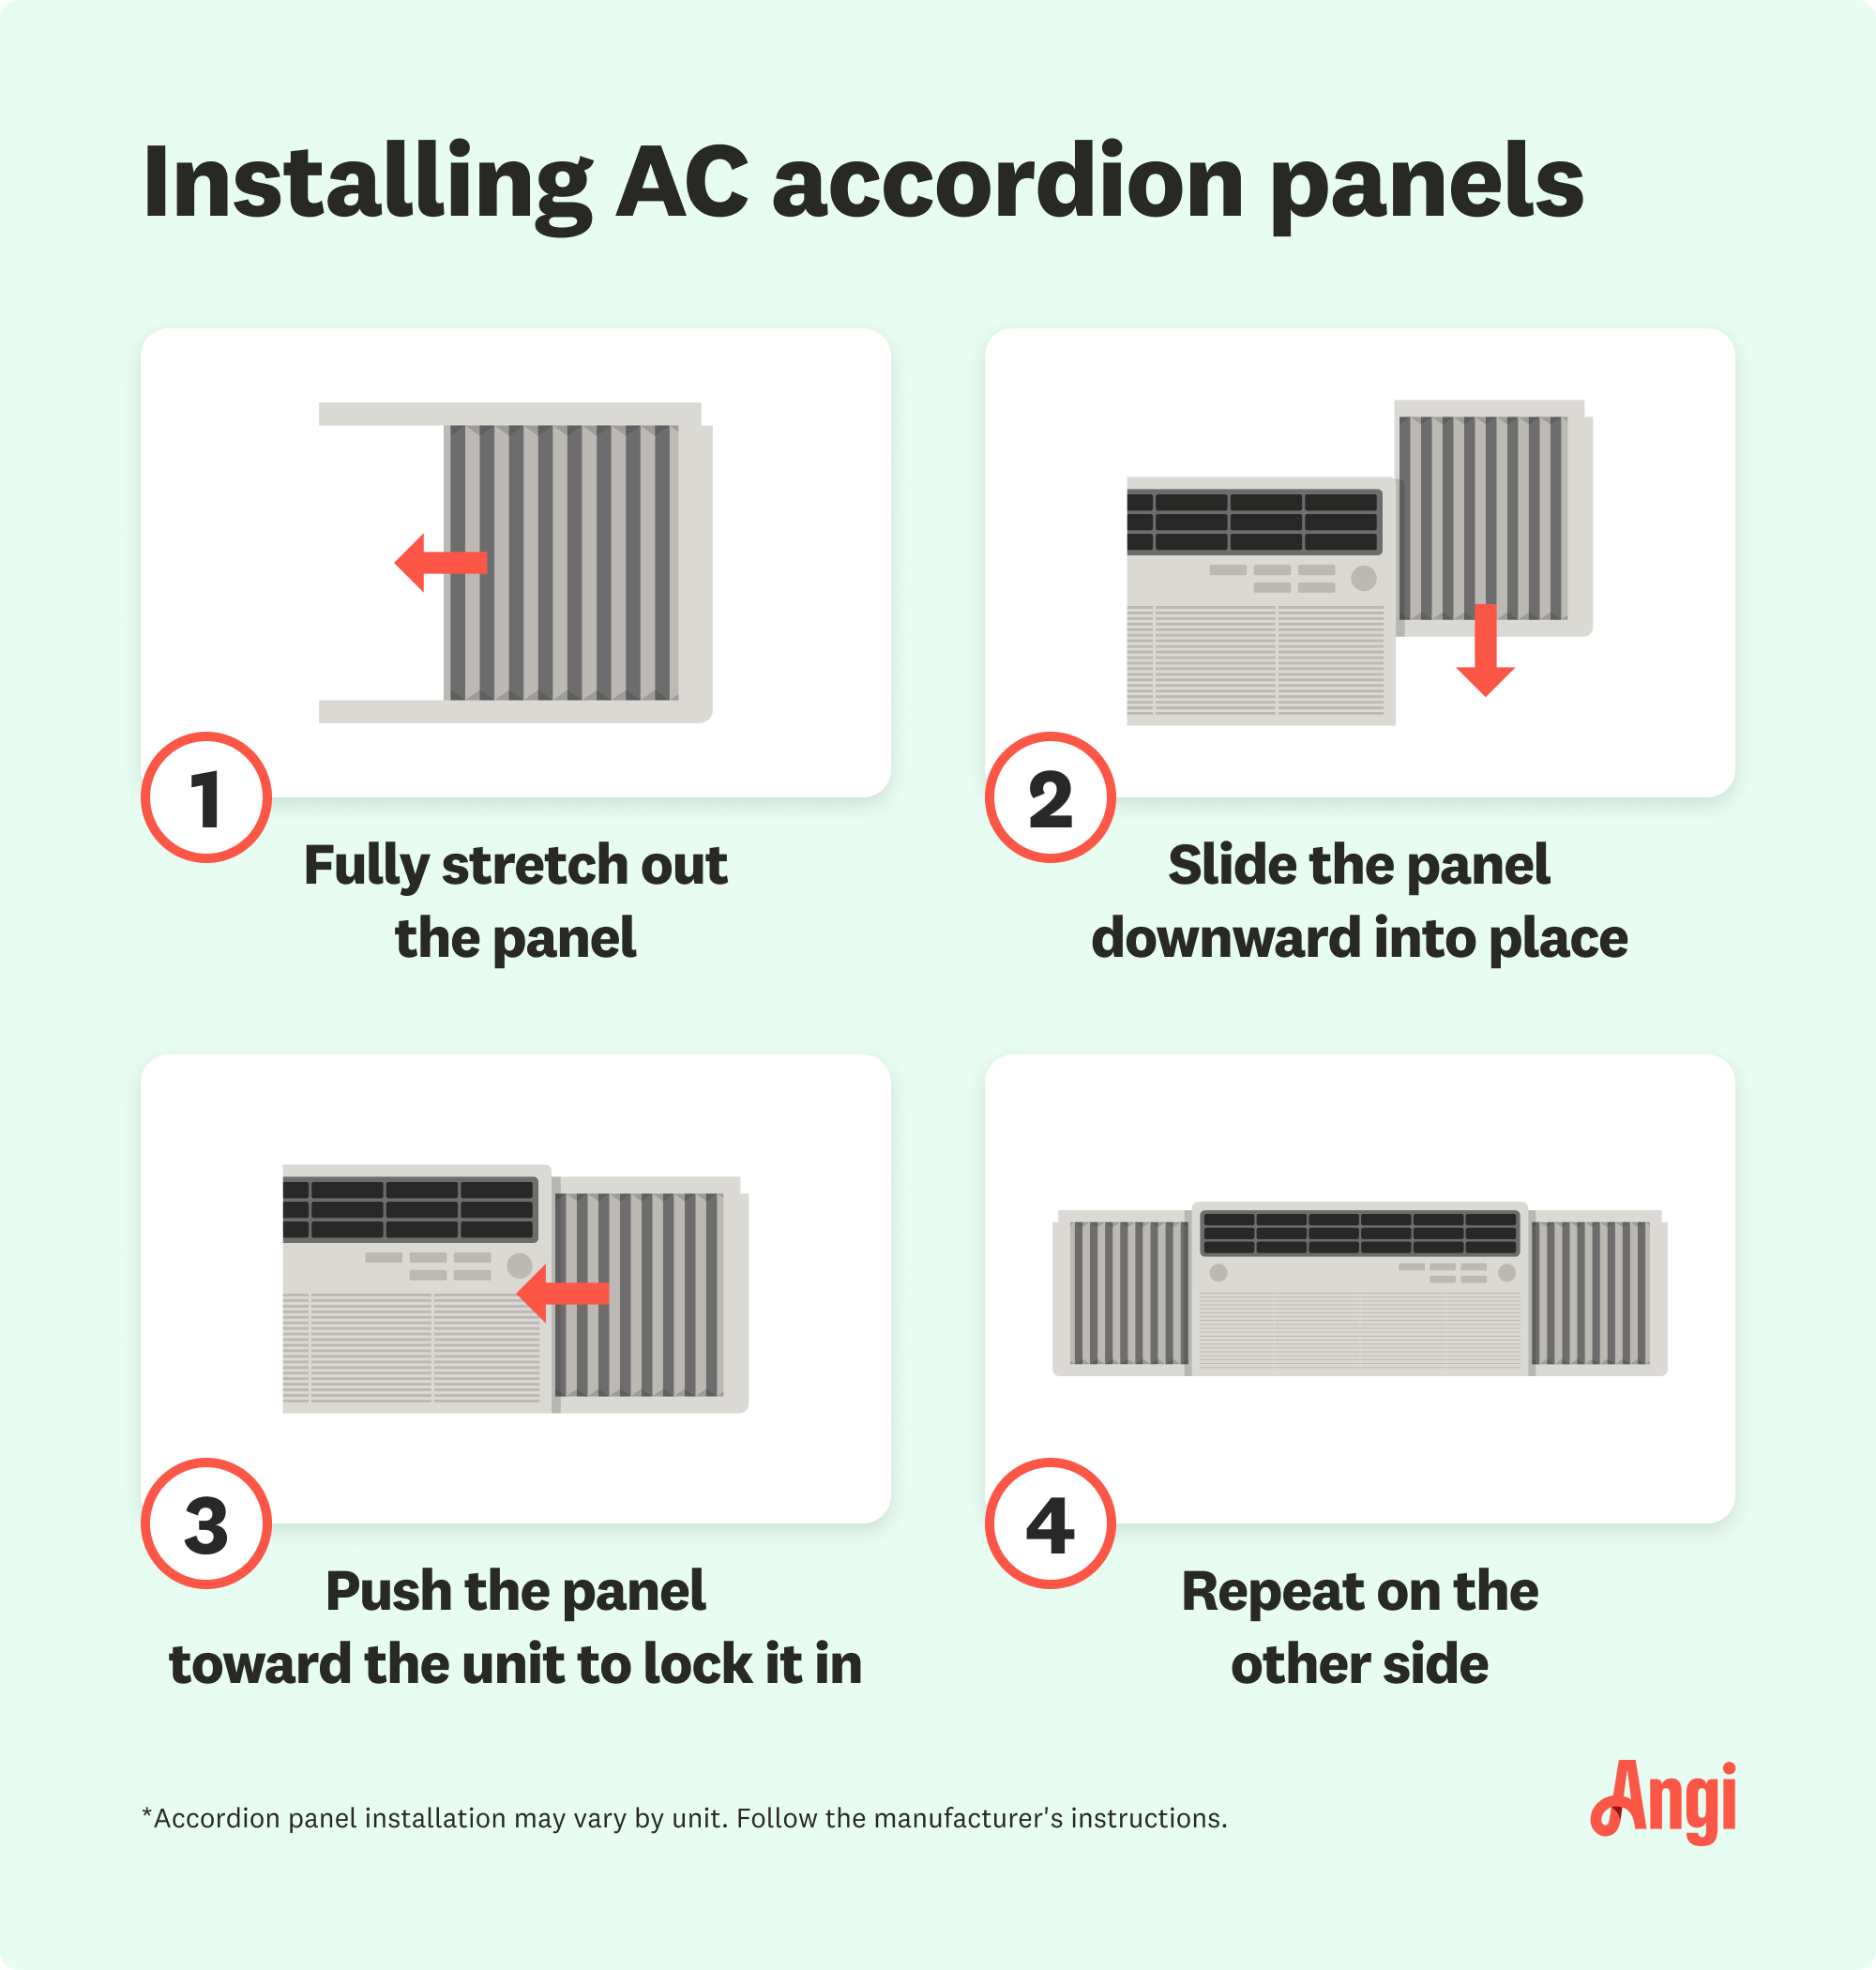
Carefully place the air conditionerinto the wall opening. Ensure the unit fits snugly without forcing it. The side panels should cover the gap between the unit and the wall for a tight seal.
Use screwsto secure the unit firmly. Drive screws into the mounting brackets and the wall. This prevents the air conditioner from moving or falling out.
Check if the unit is level and stable. Use a spirit level if possible. A tilted air conditioner might leak water or work poorly. Adjust screws or padding to correct the position.
Connect Electrical Components
Check that the air conditioner’s voltage matches your home’s power supply. Using the wrong voltage can cause damage or fire.
Turn off the main power before making any electrical connections. Safety first.
Use a dedicated circuit with the correct amperage for your air conditioner. This prevents overloads.
- Connect the unit’s power cord to the outlet or hardwire as per the manual.
- Secure all wires using wire nuts or connectors to avoid loose connections.
- Ensure the ground wire is properly connected to reduce shock risk.
- Follow the manufacturer’s wiring diagram strictly.
After connections, double-check everything is tight and correct before restoring power.
Test The Air Conditioner
Turn on the air conditioner and feel the air coming out. It should be cool and steady. Check if the unit makes any unusual noisesor vibrations.
Look closely around the edges where the air conditioner meets the wall. Make sure there are no gaps or leaks. Air leaks reduce cooling and waste energy. Use weather stripping or sealant to close any openings.
Adjust the settings on the control panel. Set the temperature to a comfortable level. Use the fan speed to match your needs. Watch if the air conditioner maintains the set temperaturesmoothly.
Maintain Your Wall Air Conditioner
Keep the air filter cleanto let air flow freely. Wash or replace filters every month. Dust and dirt block airflow and reduce cooling.
Clean the outer grilland vents using a soft brush or cloth. Remove dust and debris that build up over time. This helps the unit work better and last longer.
Check the drainage holeto avoid water buildup. Clear any clogs so water can drain easily. This stops water damage and mold growth.
| Season | Maintenance Tasks |
|---|---|
| Spring | Clean filters, check for leaks, test cooling power |
| Summer | Keep vents clear, clean dust, monitor water drainage |
| Fall | Turn off unit, clean filters, cover unit for winter |
| Winter | Store unit properly if removable, inspect for damage |
- Unit won’t turn on? Check power and circuit breaker.
- Weak cooling? Clean filters and clear air vents.
- Water leaks inside? Make sure drainage hole is clear.
- Strange noises? Tighten screws and check for loose parts.

Credit: thelenmechanical.com
Frequently Asked Questions
Can I Install A Window Ac In A Wall?
Yes, you can install a window air conditioner in a wall with the right tools. Ensure you have a suitable wall sleeve and follow the manufacturer’s guidelines. This setup provides effective cooling and saves space.
What Tools Are Needed For Installation?
You’ll need a drill, level, screwdriver, and saw for cutting through the wall. Ensure you have safety gear like goggles and gloves. Always follow the air conditioner’s installation instructions for best results.
How Do I Choose The Right Wall Sleeve?
Select a wall sleeve compatible with your air conditioner model. Measure the unit and wall opening for a perfect fit. A proper sleeve ensures stability and prevents air leaks, enhancing energy efficiency.
Is Professional Installation Necessary?
Professional installation is recommended for safety and efficiency. Experts ensure proper sealing and electrical connections, preventing potential damage. If you’re confident in your skills, follow the manufacturer’s guide closely.
Conclusion
Installing a window air conditioner in a wall is simple with clear steps. Measure the space carefully to ensure a good fit. Secure the unit tightly to avoid air leaks. Check the power connection to keep it safe. Seal around the edges to stop warm air from entering.
Regular maintenance will help your AC work well longer. Enjoy cool air in your room all summer. A well-installed unit brings comfort and saves energy. You can do this yourself with some patience and care.