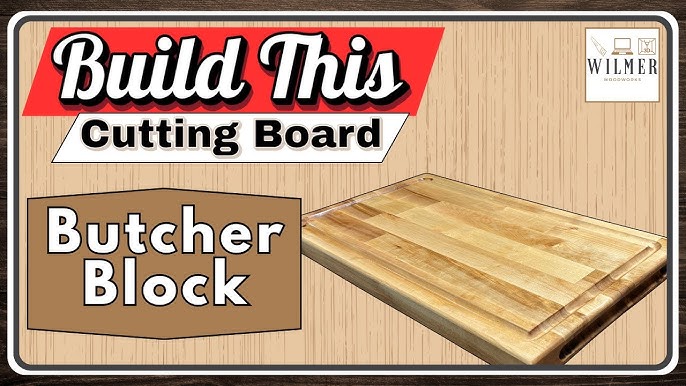
Are you ready to create a butcher block cutting board that’s both beautiful and built to last? Making your own cutting board is easier than you might think, and it gives you a unique piece that fits perfectly in your kitchen.
Imagine the pride of using a board you crafted with your own hands every time you prepare a meal. In this guide, you’ll discover simple steps and insider tips to help you make a strong, attractive butcher block cutting board that will become your go-to kitchen tool.
Keep reading—your perfect cutting board is just a few steps away.
Choosing The Right Wood
Picking the right wood is very important for a butcher block cutting board. The wood must be strong and safe for food use. It should also resist cuts and water damage.
The wood type affects how long the board lasts and how it looks. Choosing good wood will make your cutting board better.
Hardwood Options
Hardwoods are best for cutting boards because they are tough and last a long time. They also heal better from knife marks.
Some common hardwood choices are:
- Maple – very durable and light in color
- Walnut – strong with a dark, rich color
- Cherry – smooth and reddish-brown
- Beech – hard and fine-grained
Wood Quality Tips
Look for wood that is dense and has a tight grain. This helps prevent deep cuts and water damage. Avoid soft woods that dent easily.
Make sure the wood is dry and free of cracks. Dry wood will not warp or split after making the board. Avoid wood with knots or holes.
- Choose hardwood with a tight, closed grain
- Check for no cracks, knots, or holes
- Use kiln-dried wood to avoid warping
- Avoid softwoods like pine or cedar
Sourcing Materials
Find wood from reliable sources that sell quality hardwood. Lumber yards and specialty wood stores are good places. Avoid scrap or reused wood that may have chemicals.
You can also look for sustainably harvested wood. This helps protect forests and ensures the wood is healthy and safe for food use.
- Buy from trusted lumber yards or wood suppliers
- Look for hardwood labeled safe for food use
- Choose sustainably harvested or certified wood
- Avoid treated or painted wood

Credit: www.youtube.com
Tools And Materials Needed
Making a butcher block cutting board is a fun woodworking project. You need the right tools and materials to do it well.
This guide lists the essential items you will need for the job. It covers tools, finishing supplies, and safety gear.
Essential Tools
You need some basic woodworking tools to cut, glue, and sand your butcher block board.
- Table saw or circular saw for cutting wood pieces
- Wood glue for joining the blocks
- Clamps to hold pieces tightly while drying
- Belt sander or orbital sander for smoothing the surface
- Measuring tape or ruler to measure accurately
- Square to check right angles
- Chisels for detail work if needed
Finishing Supplies
Finishing supplies protect your board and make it look good. Use food-safe products for safety.
| Supply | Purpose |
| Mineral oil | Keeps wood hydrated and prevents cracking |
| Beeswax | Adds a protective, water-resistant layer |
| Sandpaper (various grits) | Used for smoothing between coats |
| Clean cloths | Apply oil and wax evenly |
Safety Gear
Safety gear protects your body from accidents and dust during the project.
- Safety glasses to protect your eyes from wood chips
- Dust mask or respirator to avoid inhaling sawdust
- Hearing protection if using loud power tools
- Work gloves to protect your hands from splinters
Cutting And Preparing Wood
Making a butcher block cutting board starts with cutting and preparing the wood properly. This step ensures the board is safe and strong for daily use.
Careful measuring, cutting, and sanding create a smooth, even surface that lasts long in the kitchen.
Measuring And Marking
Measure the wood pieces carefully before cutting. Use a ruler or tape measure for accuracy.
Mark the lines with a pencil or chalk. Clear marks help you cut straight and avoid mistakes.
- Measure twice to avoid errors
- Mark all cut lines clearly
- Use a square tool for right angles
Cutting Techniques
Use a saw that fits your wood type and size. A table saw or miter saw works well for straight cuts.
Cut slowly and steadily. Keep your hands safe and follow your marked lines closely for clean edges.
- Choose the right saw for the job
- Wear safety gear like goggles and gloves
- Cut along the marked lines carefully
- Check wood edges after cutting for smoothness
Sanding Basics
Sanding smooths the wood surface and removes rough edges. Start with coarse grit sandpaper and move to finer grit.
Sand all sides evenly. Finish with fine grit for a soft, smooth feel that is safe for food contact.
- Begin sanding with 80-grit paper
- Progress to 120-grit and then 220-grit
- Sand in the direction of the wood grain
- Wipe off dust between sanding steps
Gluing And Clamping The Blocks
Gluing and clamping are important steps in making a butcher block cutting board. They hold the wood pieces tightly while the glue dries. This creates a strong and even surface.
Proper glue application and clamping ensure your board is sturdy and lasts a long time. Let’s look at how to do this right.
Choosing The Right Glue
Use wood glue that is strong and water-resistant. This type of glue keeps the board safe from moisture and daily use. Avoid glues that are not meant for wood.
Look for glue labeled as “food safe” or “non-toxic” once dry. This is important for kitchen items like cutting boards.
Applying Glue Evenly
Spread glue evenly on each wood block surface. Too much glue causes mess and weak joints. Too little glue may not hold well.
Use a brush or a small roller to cover all surfaces with a thin layer. Make sure all edges and corners have glue.
- Apply glue on one side of each block
- Do not let glue dry before clamping
- Clean excess glue quickly with a damp cloth
Clamping Tips
Clamp the glued blocks tightly to hold them in place while drying. Use enough clamps to cover the entire board length. This prevents gaps.
Place clamps evenly and check the pressure is firm but not too strong to damage wood. Tighten clamps slowly and watch for glue squeeze-out.
- Use bar clamps or pipe clamps for wide boards
- Place scrap wood between clamps and board to avoid marks
- Let glue dry fully before removing clamps (usually 24 hours)
Shaping And Sanding The Board
Shaping and sanding are key steps to finish your butcher block cutting board. These steps make the board safe and pleasant to use. Proper shaping gives the board a smooth, clean look.
Sanding removes rough spots and prepares the surface for oiling. Follow clear steps to shape and sand your board well.
Edge Shaping Ideas
Shaping the edges adds style and safety to your board. Rounded edges prevent splinters. Beveled edges give a modern look. You can also create a chamfer for a sharp, clean line.
- Use a router with a round-over bit for smooth curves.
- Try a hand plane to shape beveled edges.
- Sand edges gently to remove sharp spots.
- Test the shape by running your hand along the edge.
Smooth Sanding Process
Sanding should start with coarse grit and finish with fine grit for a smooth surface. This removes scratches and evens the wood grain.
- Start sanding with 80-grit sandpaper to remove rough spots.
- Use 120-grit to smooth the surface further.
- Finish with 220-grit for a polished look.
- Sand with the wood grain to avoid marks.
- Wipe the board clean between sanding steps.
Checking For Flatness
Ensuring your board is flat is important for stability. A flat board sits evenly on the counter and cuts safely.
| Method | Description |
|---|---|
| Straightedge | Place a metal ruler or straightedge across the board to spot gaps. |
| Light Test | Hold the board up to light to see uneven spots or gaps. |
| Feel Test | Run your hand over the surface to detect bumps or dips. |
Finishing And Sealing
Finishing a butcher block cutting board protects the wood and keeps it safe for food use. Sealing helps prevent water damage and stains.
Using the right materials and applying them correctly ensures your board lasts a long time. Let’s look at the key steps.
Food-safe Oils And Waxes
Choose oils and waxes that are safe for contact with food. These finishes nourish the wood and create a protective layer.
- Mineral oil: clear, odorless, and non-toxic
- Beeswax: adds shine and extra protection
- Carnauba wax: harder wax for a durable finish
- Walnut oil: natural but may cause allergies for some
- Coconut oil (refined): resists rancidity better than unrefined
Applying Finish Evenly
Apply the oil or wax evenly to avoid sticky spots or uneven color. Use a clean cloth or brush for best results.
- Pour a small amount of oil or wax on the surface.
- Rub it in using circular motions.
- Cover every part of the board, including edges.
- Let it soak for about 20 minutes.
- Wipe off any excess with a dry cloth.
Curing Time
Let the finish cure well before using the board. This helps the wood absorb the oil and the wax to harden properly.
| Finish Type | Curing Time | Notes |
| Mineral Oil | 24 hours | Apply multiple coats for best protection |
| Beeswax | 2-3 hours | Buff after curing for shine |
| Carnauba Wax | 4-6 hours | Hard finish, good for heavy use |
Maintenance And Care
Keeping your butcher block cutting board in good shape takes some effort. Proper care helps it last longer and stay safe for food use.
Follow simple steps to clean, oil, and protect your board from damage. This guide covers key tips to maintain your butcher block.
Cleaning Tips
Clean your butcher block right after use to avoid stains and bacteria buildup. Use mild soap and warm water.
- Wipe the board with a soft sponge or cloth.
- Do not soak the board in water to prevent warping.
- Use a mixture of vinegar and water to disinfect.
- Dry the board thoroughly with a clean towel.
- Air dry standing upright to let both sides dry evenly.
Re-oiling Schedule
Oiling your butcher block keeps the wood from drying out and cracking. Apply food-safe mineral oil regularly.
| Use Frequency | Oiling Frequency |
| Daily Use | Once a week |
| Weekly Use | Every two weeks |
| Occasional Use | Once a month |
Rub oil into the wood with a soft cloth. Let it soak in for a few hours or overnight, then wipe off any extra oil.
Avoiding Damage
Protect your butcher block from damage to keep it safe and beautiful.
- Do not cut directly on the board with very sharp knives; use a gentle touch.
- Avoid placing hot pots or pans on the wood surface.
- Keep the board away from extreme heat or direct sunlight.
- Never put the board in the dishwasher.
- Use both sides of the board to prevent uneven wear.
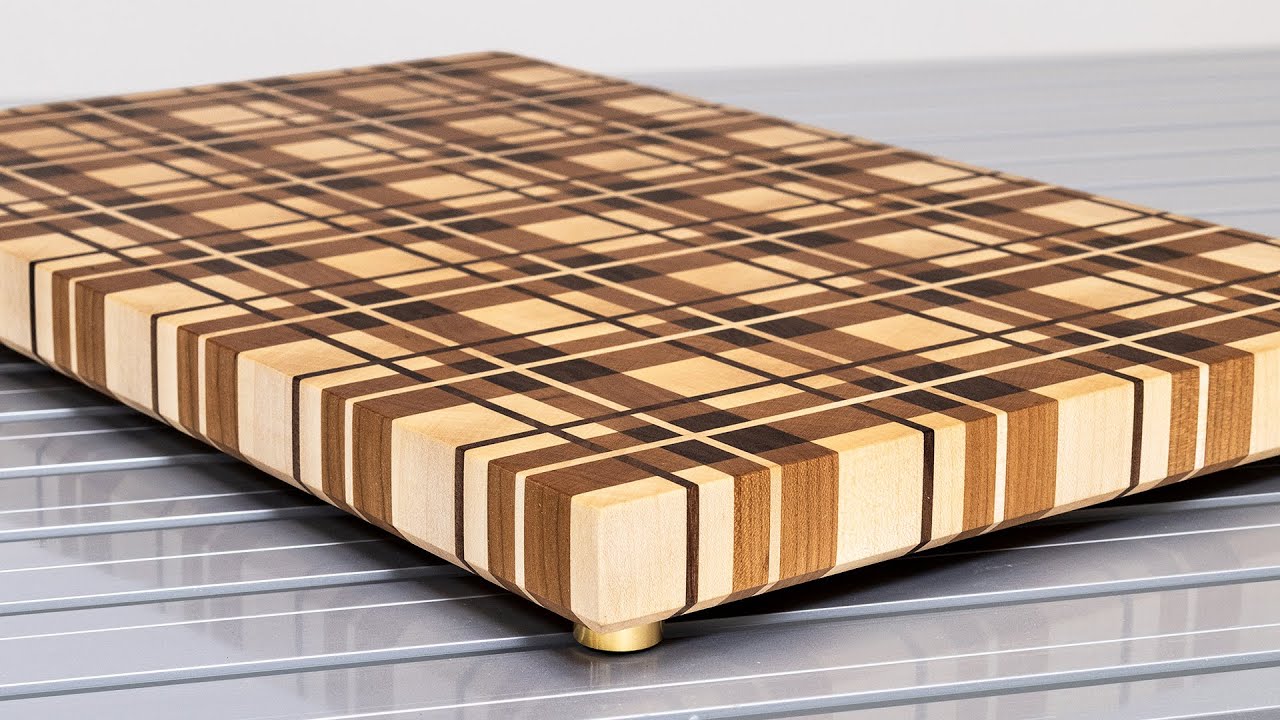
Credit: www.youtube.com
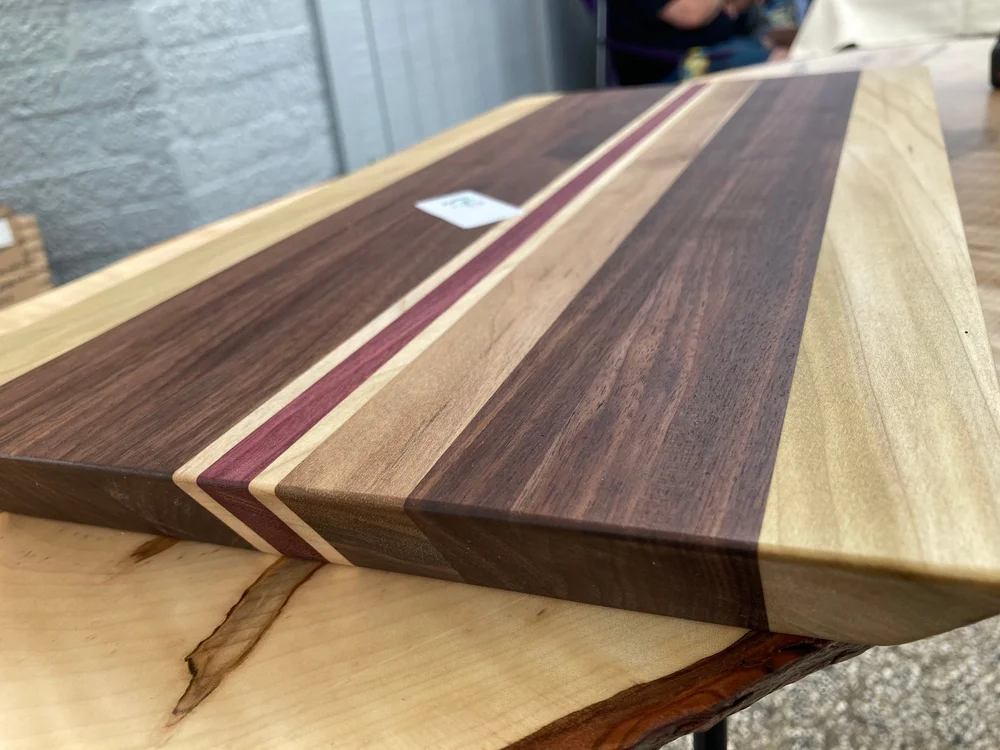
Credit: www.stumpscustomwood.com
Frequently Asked Questions
What Wood Is Best For Butcher Block Cutting Boards?
Hardwoods like maple, walnut, and cherry are ideal for butcher block cutting boards. They are durable, resist scratches, and have natural antibacterial properties. Maple is particularly popular for its hardness and tight grain, which makes it less porous. This ensures better hygiene and longevity for your cutting board.
How Do I Maintain A Butcher Block Cutting Board?
To maintain your butcher block, regularly oil it with food-grade mineral oil. This prevents drying and cracking. Clean it with mild soap and water after each use. Avoid soaking it in water. Use a mixture of vinegar and water to disinfect.
Periodically sand the surface to keep it smooth and remove stains.
Can I Use Any Finish On Butcher Block Boards?
Use only food-safe finishes like mineral oil or beeswax on butcher block boards. Avoid using varnishes or other chemical finishes, as they can contaminate food. Food-grade finishes protect the wood while enhancing its natural beauty. Regular application keeps the board in optimal condition and extends its lifespan.
How Thick Should A Butcher Block Be?
A butcher block cutting board should be at least 1. 5 inches thick. This thickness ensures durability and stability during use. Thicker boards, around 2-3 inches, are ideal for heavy-duty chopping. They also add weight, preventing the board from moving while you work, providing a safer cutting experience.
Conclusion
Making a butcher block cutting board can be a fun and rewarding project. It takes some time and simple tools to create your own board. Choose good wood, cut it carefully, and glue the pieces together well. Sand it smooth and finish with food-safe oil for best results.
A homemade cutting board lasts long and looks great in any kitchen. Try making one to enjoy cooking with a personal touch. Simple steps lead to a strong, useful board you can be proud of.