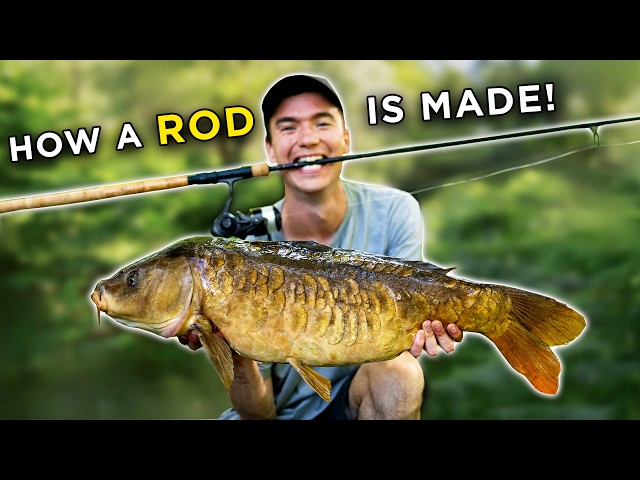
Have you ever wanted to catch your own fish with a rod you made yourself? Making your own fish rod can be easier than you think.
Not only will it save you money, but it also gives you a sense of pride every time you cast your line. In this guide, you’ll learn simple steps to build a strong, reliable fish rod that fits your style.
Keep reading, and you’ll be ready to enjoy your next fishing trip with a rod that’s truly yours.

Credit: www.youtube.com
Choosing The Right Materials
Making a fishing rod starts with picking the right materials. The choice affects strength, weight, and feel. Good materials help you catch fish more easily.
Focus on three main parts: the rod blank, the handle, and the guides with reel seats. Each part needs careful selection for the best results.
Selecting The Rod Blank
The rod blank is the main part of your fishing rod. It carries the line and holds the reel. Choose a blank that fits the type of fishing you want to do.
- Material:Graphite is light and sensitive. Fiberglass is strong and flexible.
- Length:Short rods give control. Long rods cast farther.
- Power:Light power works for small fish. Heavy power is for big fish.
- Action:Fast action rods bend near the tip. Slow action rods bend more along the blank.
Picking The Handle Material
The handle helps you hold the rod comfortably. It should be strong and feel good in your hand. Choose from cork, foam, or rubber.
| Handle Material | Advantages | Disadvantages |
|---|---|---|
| Cork | Lightweight, comfortable, good grip | Can wear out over time, needs care |
| Foam | Soft, affordable, good for wet hands | Less durable, may tear |
| Rubber | Durable, non-slip, weather resistant | Heavier, less comfortable for long use |
Choosing Guides And Reel Seats
Guides and reel seats connect the fishing line and reel to the rod. They must be strong and fit well. Pick materials that resist corrosion and wear.
- Guides:Use stainless steel or ceramic inserts for smooth line flow.
- Reel Seats:Choose graphite or aluminum for strength and light weight.
- Size:Match the guides and reel seat size to your rod blank and reel.
- Placement:Space guides evenly to support the line and reduce tangles.
Essential Tools And Supplies
Making a fish rod requires some basic tools and supplies. These items help you assemble the rod correctly and safely.
Using the right tools makes the process smoother. It also ensures your rod lasts longer and works well.
Tools Needed For Assembly
You need specific tools to build the rod parts and put them together. These tools help shape and fix the materials.
- Measuring tape – to measure rod length and parts
- Utility knife – to cut rod blank and thread
- Sanding paper – to smooth rough edges
- Epoxy glue – to fix guides and handle securely
- Thread – to wrap guides tightly on the rod
- Pliers – to hold small parts firmly
- Heat source – to cure epoxy fast
Additional Accessories
Extra items make your fishing rod better and easier to use. They also protect the rod during fishing trips.
- Rod guides – to guide the fishing line smoothly
- Reel seat – to attach the reel to the rod
- Handle grip – for comfortable holding
- Thread finish – to seal the thread wraps
- Rod tube – to store and protect the rod
- Hook keeper – to hold the hook when not fishing
Designing Your Rod
Designing a fishing rod means thinking about how it will feel and work. The right design helps you catch fish easier. This guide covers important parts of rod design.
Focus on the rod length, power, action, and flexibility. These parts affect your fishing success. Choose each part with care for the best results.
Determining Rod Length And Power
Rod length changes how far and how easy you can cast. Power means how strong the rod is to handle big fish. Both must match your fishing style.
- Short rodsare good for close fishing and easy control.
- Long rodshelp cast far but can be harder to handle.
- Light power rodswork well for small fish and light lures.
- Heavy power rodsare for big fish and strong lines.
Balancing Action And Flexibility
Action shows how much the rod bends and where. Flexibility means how soft or stiff the rod feels. Both affect how you feel the fish and set the hook.
| Rod Action | Flexibility | Use |
| Fast (bends near tip) | Stiff | Quick hook sets, good for hard strikes |
| Medium (bends mid-rod) | Balanced | Good all-around use, feels fish well |
| Slow (bends whole rod) | Soft | Absorbs strong pulls, good for soft baits |
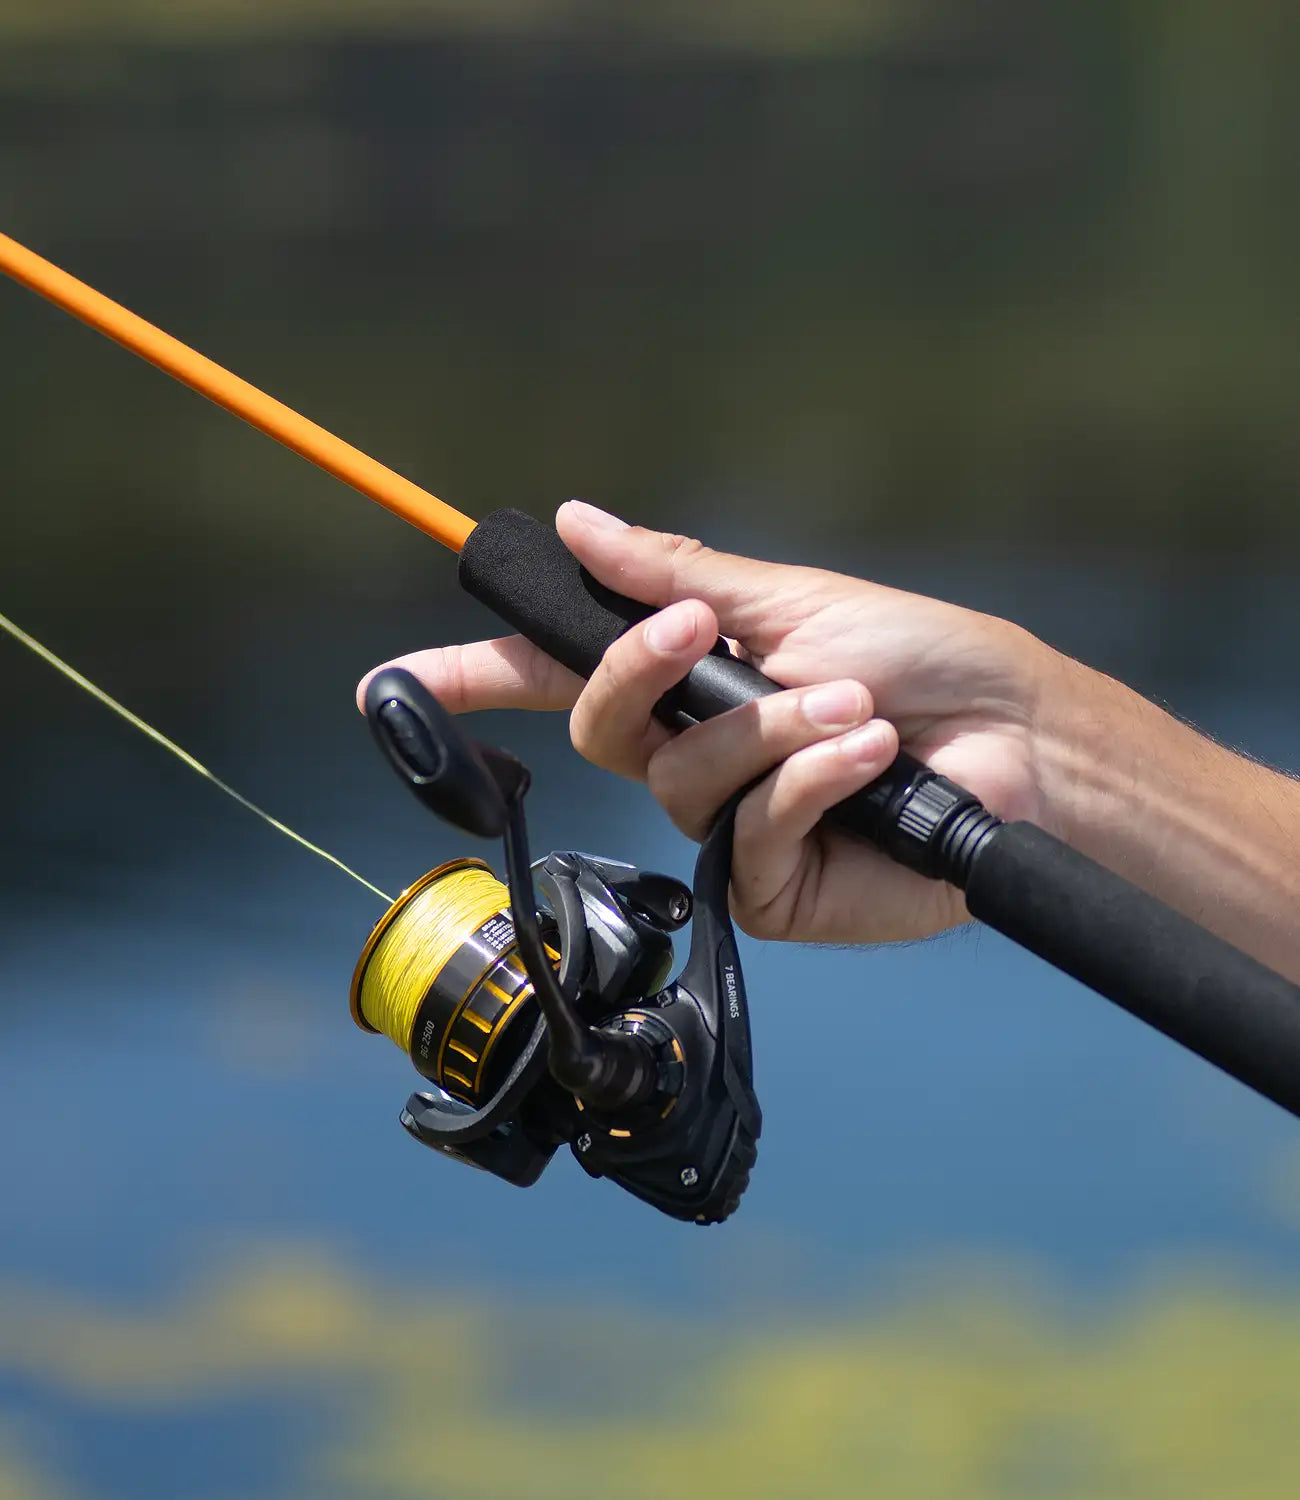
Credit: mudhole.com
Step-by-step Rod Assembly
Building a fish rod can be a fun and rewarding project. Follow simple steps to assemble your rod carefully.
This guide will help you prepare the blank, attach the handle, install guides, and secure the reel seat.
Preparing The Blank
Start by selecting a blank that fits your fishing style. Check for any damage or cracks before use.
Clean the blank with a soft cloth to remove dust and oils. This ensures good adhesion for later steps.
Attaching The Handle
Choose a handle that feels comfortable in your hand. Use epoxy to glue the handle onto the blank.
Slide the handle onto the blank and twist gently to spread glue evenly. Let it dry for several hours.
Installing Guides
Place the guides along the blank starting near the handle. Space them evenly for smooth line flow.
- Attach the tip guide first at the rod’s end
- Place the other guides toward the handle
- Use thread to wrap each guide foot tightly
- Apply epoxy over the thread to seal
Securing The Reel Seat
Slide the reel seat onto the blank above the handle. Make sure it fits snugly and aligns well.
Use epoxy to fix the reel seat in place. Wipe off excess glue before it hardens for a clean look.
Finishing Touches
After building the main structure of your fishing rod, the finishing touches bring it all together. These steps help protect the rod and prepare it for use.
Careful attention to thread wraps, coatings, and testing ensures your rod works well and lasts longer.
Applying Thread Wraps
Thread wraps hold the guides firmly in place and add strength to the rod. Use strong thread and wrap tightly around the guides and blank.
- Start wrapping a few inches before the guide foot.
- Keep the thread tight and even.
- Wrap past the guide foot by a few inches.
- Tie off the thread securely to prevent unraveling.
- Trim any excess thread carefully.
Coating And Sealing
Coating the thread wraps with epoxy protects them from water and wear. It also gives the rod a polished look.
| Coating Type | Purpose | Dry Time |
| Epoxy Resin | Seals and strengthens wraps | 6 to 12 hours |
| UV Cure Resin | Quick drying with UV light | 2 to 5 minutes |
| Polyurethane | Durable and flexible finish | 12 to 24 hours |
Apply thin coats evenly and let each coat dry before adding the next. Avoid thick layers to prevent drips or bubbles.
Testing Your Rod
Testing your rod helps ensure it is strong and balanced. Check for any weak spots or loose guides before fishing.
- Hold the rod and flex it gently to check for cracks.
- Inspect the thread wraps for tightness and smoothness.
- Cast with a practice line to feel the rod’s action.
- Make adjustments if you find any issues.
- Repeat tests until satisfied with performance.
Tips For Customization
Customizing your fish rod makes it unique and suited to your style.
Small changes can improve performance and comfort while fishing.
Adding Personal Designs
Adding personal designs lets you show your personality on your rod.
- Use colored wraps or thread to create patterns
- Apply decals or stickers that reflect your interests
- Engrave or paint your name or favorite symbols
- Choose custom grips with special textures or colors
Upgrading Components
Upgrading parts can make your rod stronger and easier to use.
| Component | Upgrade Benefit |
| Reel Seat | Better hold and comfort |
| Guides | Smoother line flow and less friction |
| Handle | Improved grip and reduced fatigue |
| Rod Blank | Increased sensitivity and strength |
Maintenance And Care
Taking care of your fish rod helps it last longer and work better. Regular maintenance keeps it strong and ready to use.
Simple care steps can prevent damage and save money on repairs. Learn how to clean, store, and fix your rod properly.
Cleaning After Use
Always clean your fish rod after every use. Salt, dirt, and moisture can cause damage if left on the rod.
Use fresh water and a soft cloth to wipe the rod and reel. Dry the parts completely before storing.
- Rinse rod with fresh water
- Wipe down with a soft cloth
- Dry all parts thoroughly
- Check guides and reel for dirt
Storage Best Practices
Store your fish rod in a dry, cool place to avoid damage. Keep it away from direct sunlight and extreme temperatures.
Use a rod rack or holder to keep it straight. Avoid leaning rods against walls, which can cause bending or warping.
- Keep rod in a dry area
- Use a rod rack or holder
- Store away from sunlight
- Avoid high heat or cold spots
Repairing Common Issues
Fix small problems early to stop bigger damage. Check for cracks, loose guides, or reel seat issues regularly.
Use epoxy glue for small cracks. Tighten screws on the reel seat. Replace broken guides or line clips as needed.
- Inspect rod for cracks and breaks
- Use epoxy to seal small cracks
- Tighten loose screws on reel seat
- Replace damaged guides or clips

Credit: mudhole.com
Frequently Asked Questions
What Materials Are Needed To Make A Fish Rod?
To make a fish rod, you need a strong rod blank, fishing line, guides, reel seat, handle grip, and epoxy glue. Quality materials ensure durability and better fishing performance.
How Do I Assemble The Guides On A Fish Rod?
Start by positioning the guides evenly along the rod blank. Use thread wraps to secure them tightly. Finish with epoxy glue for durability and smooth casting.
What Is The Best Handle For A Homemade Fish Rod?
EVA foam and cork are popular handle materials. Both provide a comfortable, non-slip grip and are lightweight, enhancing the fishing experience.
How Long Does It Take To Make A Fish Rod?
Making a fish rod takes around 4 to 6 hours, including assembly, wrapping guides, and curing the epoxy. Experience may reduce this time.
Conclusion
Crafting a fish rod can be a rewarding experience. It connects you with nature. You gain a new skill and save money. Each step, from choosing materials to assembling, is simple. Patience and practice make it easier. Soon, you’ll be ready to enjoy fishing.
This DIY project also boosts creativity. You can customize your rod to fit your needs. Remember, every expert was once a beginner. Happy fishing! Enjoy the tranquility it brings. Your homemade rod will add a personal touch. Dive into this hobby and relish the journey.