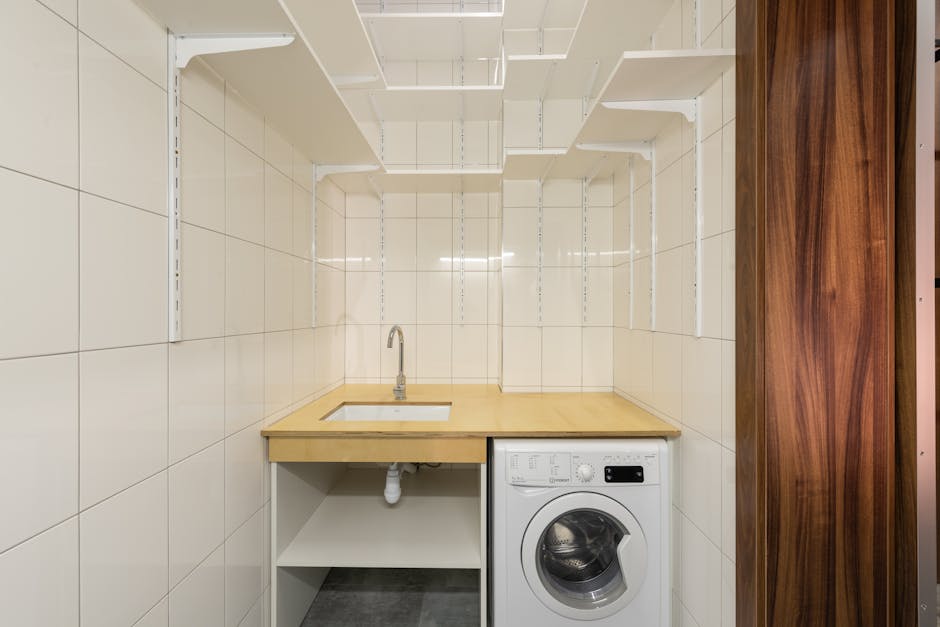
Are you tired of bending down every time you use your washer and dryer? Imagine making your laundry routine easier and more comfortable by raising your machines to a better height.
Building your own washer dryer pedestals is a smart and affordable way to do just that. In this guide, you’ll discover simple steps to create sturdy pedestals that fit your space perfectly. Keep reading, and you’ll soon transform your laundry area into a more convenient and stylish spot—without spending a fortune.
Ready to make your chores easier? Let’s get started!
Benefits Of Washer Dryer Pedestals
Washer dryer pedestals raise machines off the floor. They make laundry tasks easier and more organized.
These pedestals come with many benefits that improve your laundry room. They help save space, add storage, and reduce strain on your body.
Space-saving Advantages
Washer dryer pedestals lift machines higher, freeing up room below. This space can be used for storage or kept clear for cleaning.
Stacking appliances on pedestals also helps to use vertical space better. This is great for small laundry rooms or tight spaces.
- Frees floor space for other uses
- Helps keep laundry room neat
- Uses vertical space efficiently
Ergonomic Benefits
Pedestals raise the washer and dryer to a comfortable height. This reduces bending and reaching during laundry chores.
Less bending means less back pain and strain. It makes laundry easier for people of all ages and abilities.
- Reduces bending and stretching
- Prevents back and joint pain
- Improves comfort during laundry tasks
Additional Storage Options
Many pedestals come with built-in drawers. These provide extra space to keep laundry supplies close at hand.
Using pedestal storage keeps your laundry room tidy. It also makes it easy to find detergents, softeners, and other items.
- Built-in drawers for storage
- Keeps laundry supplies organized
- Easy access to detergents and tools
Materials And Tools Needed
Building washer dryer pedestals requires some basic materials and tools. These help create a sturdy and safe base for your appliances.
Gathering everything before you start saves time and makes the work easier. Below are the key materials and tools you will need.
Essential Materials
Choose strong and durable materials to build a pedestal that lasts. Wood is the most common choice.
- Plywood or MDF boards (3/4 inch thick)
- Wood screws (1 1/4 inch)
- Wood glue
- Wood filler
- Sandpaper (medium and fine grit)
- Primer and paint or wood stain
- Rubber feet or anti-slip pads
Required Tools
You will need some common tools to cut, assemble, and finish the pedestal properly.
| Tool | Purpose |
|---|---|
| Measuring tape | To measure wood and space dimensions accurately |
| Circular saw or handsaw | To cut plywood or MDF boards |
| Drill with screwdriver bits | To drill pilot holes and drive screws |
| Clamps | To hold pieces together while glue dries |
| Sanding block or electric sander | To smooth wood surfaces before finishing |
| Paintbrush or roller | To apply paint or stain evenly |
Measuring And Planning
Building washer dryer pedestals requires careful planning. Precise measurements ensure a perfect fit.
Start by gathering the necessary tools and materials. You will need a tape measure and a notepad for recording measurements.
Taking Accurate Measurements
Accurate measurements are crucial for building sturdy pedestals. This helps prevent wobbling and ensures stability.
- Measure the width and depth of your washer and dryer.
- Record the height you desire for the pedestal.
- Ensure you leave enough space for the appliances to breathe.
- Double-check all measurements for accuracy.
Designing The Pedestal
Once you have your measurements, it’s time to design the pedestal. Consider aesthetics and functionality in your design.
Here is a simple design plan you can follow:
- Choose a solid wood or metal for durability.
- Plan for a storage drawer underneath if desired.
- Include rubber feet to reduce vibration.
| Material | Pros | Cons |
| Wood | Easy to work with | Can warp if not sealed |
| Metal | Very durable | Heavier and harder to cut |
Cutting And Preparing Materials
Making washer dryer pedestals starts with careful cutting and preparing of the wood panels. This process ensures the pieces fit well and support the appliances properly.
Using the right tools and techniques helps create smooth, safe edges. It also makes assembling the pedestal easier and more durable.
Cutting Wood Panels
Select good quality plywood or MDF boards for your pedestal. Measure the dimensions of your washer and dryer to cut panels that match the height and width needed.
- Mark the cut lines clearly with a pencil and a straight edge.
- Use a circular saw or table saw for straight, clean cuts.
- Wear safety goggles and gloves while cutting.
- Cut slowly to avoid splintering the wood.
- Double-check measurements before each cut.
Sanding And Finishing Edges
After cutting, sand the edges to remove rough spots and splinters. Smooth edges help prevent injuries and give the pedestal a neat appearance.
| Tool | Purpose | Tip |
| Sandpaper (120 grit) | Initial sanding to smooth rough cuts | Sand along the edge, not against it |
| Sandpaper (220 grit) | Fine sanding for a smooth finish | Use light pressure for best results |
| Orbital sander | Faster sanding for large edges | Keep sander moving to avoid gouges |
Assembling The Pedestal
Building a washer dryer pedestal requires careful assembly. This guide explains how to join panels and secure the structure safely.
Follow each step to ensure your pedestal is strong and stable before placing your appliances on it.
Joining Panels
Start by aligning the side panels with the bottom and back panels. Make sure all edges fit tightly together for a solid frame.
- Use clamps to hold panels in place while assembling.
- Apply wood glue on the edges before joining.
- Secure panels with screws, spacing them about 6 inches apart.
- Double-check that the frame is square by measuring diagonals.
- Wipe away any excess glue immediately.
Securing The Structure
After joining the panels, reinforce the pedestal to ensure it supports heavy loads. Use brackets and additional screws where needed.
| Part | Tool Needed | Tip |
| Corner Brackets | Drill | Attach inside corners tightly |
| Screws | Screwdriver | Use long screws for better hold |
| Wood Glue | Clamps | Clamp until glue dries fully |

Credit: www.reddit.com
Adding Storage Features
Washer dryer pedestals can be more useful by adding storage space. This helps keep your laundry area tidy.
With smart storage, you can store detergents, clothespins, and other laundry items close by.
Incorporating Drawers
Drawers add hidden storage under your washer or dryer. They slide out for easy access.
Use sturdy materials to hold heavy laundry supplies. Drawers keep items organized and out of sight.
- Measure the pedestal space carefully before building drawers
- Use smooth sliders for easy opening and closing
- Consider drawer dividers to separate small items
- Choose water-resistant materials for durability
Installing Shelves
Shelves provide open storage inside or on the sides of pedestals. They hold baskets and bottles.
Adjustable shelves help fit different sized items. You can add hooks below shelves for hanging small tools.
- Use strong brackets to support the weight
- Paint or seal shelves to protect from moisture
- Place frequently used items on lower shelves
- Keep shelves clutter-free for easy cleaning
Painting And Sealing
Painting and sealing washer dryer pedestals protect them from damage. It also makes them look clean and fresh. Use the right paint and sealant for best results.
This guide explains how to pick paint types and apply protective coatings correctly.
Choosing Paint Types
Choose paint that sticks well to wood or metal, depending on your pedestal. Use paint that resists moisture and heat.
Latex and acrylic paints work well on wood. Spray paint suits metal pedestals better. Pick a paint with a smooth finish for easy cleaning.
- Latex paint: water-based, easy to clean, good for wood
- Acrylic paint: durable and moisture resistant
- Spray paint: quick to apply, works on metal surfaces
- Enamel paint: hard finish, good for heavy use
Applying Protective Coating
After painting, add a protective coat to keep the paint safe. Sealants stop water, dirt, and scratches from harming the pedestal.
Use clear polyurethane or varnish for strong protection. Apply two or three thin layers. Let each layer dry fully before adding the next.
- Clear polyurethane: strong, water-resistant, good for wood
- Varnish: adds shine and protects paint
- Polycrylic: low odor, dries fast, good for indoor use
- Apply thin coats with a brush or spray
- Sand lightly between coats for smooth finish

Credit: www.reddit.com
Installing The Pedestal
Washer dryer pedestals can make laundry tasks easier. They elevate your machines to a comfortable height.
This guide will help you with positioning and securing your pedestal. Follow the steps for a safe installation.
Positioning The Pedestal
Place the pedestal where your washer and dryer will sit. It should be on a flat, stable surface.
Ensure there is enough space around the area. This allows for easy access and ventilation.
- Check the floor for stability
- Ensure there is enough room for doors to open
- Align the pedestal with existing hookups
Securing Washer And Dryer
Once positioned, lift the washer onto the pedestal. You may need help for this step.
Use screws or brackets to secure the washer and dryer. Follow the manufacturer’s instructions for your model.
- Secure each corner firmly
- Check all connections twice
- Test stability before using
Maintenance Tips
Keeping your washer dryer pedestal clean and stable helps it last longer. Regular care prevents damage and keeps your laundry area safe.
Follow simple steps to clean and check your pedestal. These tips make maintenance easy for everyone.
Cleaning The Pedestal
Clean the pedestal often to avoid dust and dirt buildup. Use mild soap and water for best results.
- Unplug the washer dryer before cleaning.
- Use a soft cloth with warm, soapy water.
- Wipe all surfaces, including inside the drawer if it has one.
- Dry with a clean towel to avoid water marks.
- Do not use harsh chemicals or abrasive tools.
Checking For Stability
Check the pedestal stability to prevent accidents. A stable base supports the washer dryer properly.
| Check Point | What to Do |
| Level Surface | Make sure the pedestal sits flat on the floor. |
| Tighten Screws | Use a screwdriver to tighten all screws and bolts. |
| Inspect Feet | Look for worn or damaged feet and replace if needed. |
| Test Stability | Push gently on the pedestal; it should not wobble. |

Credit: www.reddit.com
Frequently Asked Questions
What Materials Are Needed For Washer Dryer Pedestals?
You need plywood, screws, wood glue, paint, and brackets. Also, gather tools like a saw, drill, and measuring tape for assembly.
How Do You Measure For A Washer Dryer Pedestal?
Measure the washer and dryer width, depth, and height. Add extra height for comfort and clearance under the pedestal.
Can I Build A Pedestal Without Professional Help?
Yes, with basic woodworking skills and tools, you can build a sturdy pedestal. Follow step-by-step instructions carefully for best results.
How Much Does It Cost To Make A Washer Dryer Pedestal?
Material costs vary but typically range from $50 to $150. Building yourself saves money compared to buying pre-made pedestals.
Conclusion
Building your own washer dryer pedestal saves space and adds convenience. You control the size, style, and height to fit your needs. The project is simple and requires basic tools anyone can use. A sturdy pedestal protects your machines and makes laundry easier.
Try this DIY to improve your laundry area without spending much. Small steps lead to big changes in your home. Start today and enjoy a more organized laundry space soon.