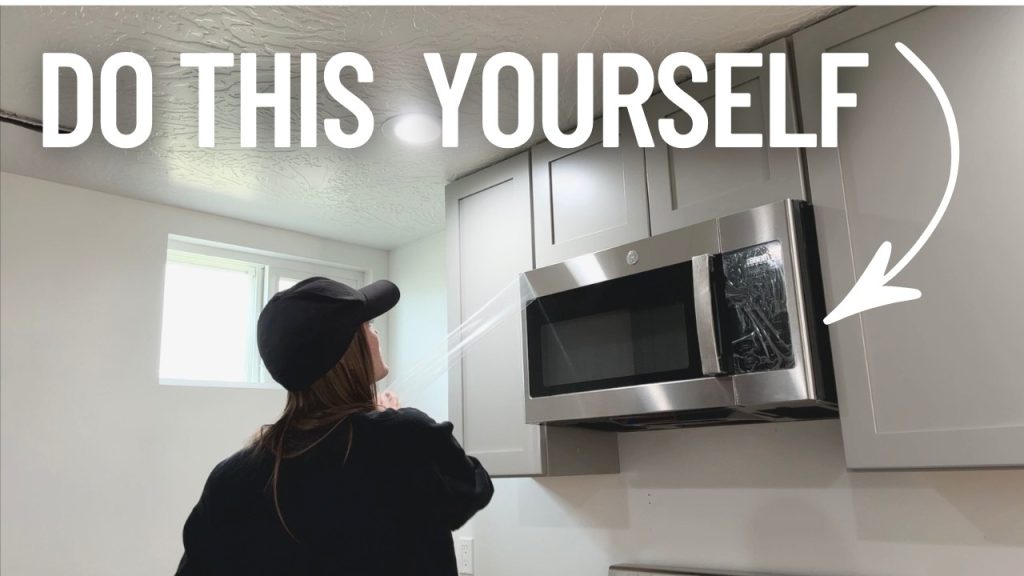
Are you ready to upgrade your kitchen and save precious counter space? Mounting an over-the-range microwave oven is a smart way to do just that.
But if you’ve never installed one before, the process might seem tricky or even overwhelming. Don’t worry—you’re in the right place. This guide will walk you through each step clearly and simply, so you can confidently mount your microwave and enjoy a sleek, organized kitchen.
Keep reading, and you’ll have your new microwave up and running in no time!
Tools And Materials Needed
A drill, screwdriver, level, and measuring tape are essential tools for mounting an over-the-range microwave. You will also need mounting brackets, screws, and anchors to secure the appliance safely. Having all materials ready ensures a smooth installation process.
Mounting an over-the-range microwave oven can enhance your kitchen space. It frees up counter space and provides a sleek look. Before starting, gather the necessary tools and materials. Proper preparation ensures a smooth installation process. Let’s explore what you need to get started.Essential Tools
- Drill: For making holes in cabinets and walls.
- Screwdriver: Use both Phillips and flathead types.
- Measuring Tape: To ensure accurate placement.
- Level: For keeping the microwave straight.
- Pencil: For marking positions on the wall.
- Stud Finder: To locate wall studs for mounting support.
- Utility Knife: To cut any needed openings for cords.
- Pliers: Helpful for gripping and turning screws.
Required Materials
- Mounting Bracket: Comes with the microwave for secure attachment.
- Bolts and Screws: Usually provided, but have extras just in case.
- Power Cord: Ensure it’s compatible and the right length.
- Vent Kit: If your microwave needs external venting.
- Masking Tape: To hold templates or secure small parts.
- Templates: Usually included to guide positioning and drilling.
- Wire Nuts: For connecting any electrical wires.

Credit: www.youtube.com
Preparing The Installation Area
Preparing the installation area is a crucial first step for mounting an over-the-range microwave oven. It ensures the microwave fits well and functions safely. Careful preparation helps avoid damage to cabinets and walls. It also guarantees proper ventilation and electrical supply.
Measuring The Space
Measure the width, height, and depth of the available space above your range. Check if the microwave’s size matches these dimensions. Leave extra room for ventilation and ease of use. Use a tape measure and note all numbers clearly. Double-check measurements before moving forward.
Checking Electrical Connections
Locate the power outlet near the installation area. Confirm it is grounded and supports the microwave’s power needs. The outlet should be within reach of the microwave’s power cord. Avoid using extension cords or adapters for safety reasons. If unsure, consult a licensed electrician.
Clearing The Mounting Surface
Remove any items from the wall or cabinet where the microwave will mount. Clean the surface to remove dust, grease, and debris. Check for any loose screws or nails. Repair or replace damaged parts to secure the microwave firmly. A clean, sturdy surface ensures a safe installation.
Removing The Old Microwave
Removing the old microwave is the first crucial step before you can install your new over-the-range model. Taking your time here helps avoid damage to your cabinetry and ensures a smooth transition. Let’s break down the process into manageable parts that you can handle safely and efficiently.
Disconnecting Power
Safety should be your top priority. Start by unplugging the microwave from the electrical outlet. If the plug is hard to reach or behind the unit, turn off the circuit breaker that controls the microwave’s power instead.
Have you checked if your microwave is hardwired? If so, you’ll need to carefully disconnect the wiring, making sure to turn off the power at the breaker box first. Use a voltage tester to confirm there’s no electricity flowing before touching any wires.
Detaching The Unit
Microwaves are usually secured to the wall and cabinet with mounting screws or brackets. Locate these screws—often inside the microwave’s interior or on the mounting plate above the stove. Use a screwdriver or drill to remove them carefully.
Support the microwave as you remove the screws. These appliances can be heavy and awkward to hold, so having a helper makes this much easier. Once loose, gently pull the microwave down and away from the wall.
Cleaning The Area
With the old microwave removed, take a moment to clean the space thoroughly. Grease and dust can accumulate in the corners and on the mounting plate, affecting the fit of your new microwave.
Use a mild cleaner and a damp cloth to wipe down the wall, cabinet underside, and vent hood. This step not only improves hygiene but also helps you spot any damage or needed repairs before installing your new unit.
Installing The Mounting Bracket
Installing the mounting bracket is a critical step in setting up your over the range microwave oven. This bracket holds the entire unit securely in place, so accuracy and stability are essential. Taking your time here can save you from future headaches and ensure your microwave stays put while you cook.
Marking Mounting Points
Start by measuring the exact height and width where the microwave will sit. Use a level to mark the mounting points on the wall or cabinet frame clearly. Double-check these marks because even a small misalignment can cause the microwave to hang crooked or strain the bracket.
Think about the wall material—are you drilling into drywall, studs, or tile? Locating studs is crucial since they provide the strongest support. If you miss the studs, your microwave might not stay secure, risking damage or injury.
Securing The Bracket
Once your marks are ready, hold the bracket up to the wall and align it with your marks. Use a drill to attach the bracket firmly, using screws that fit your wall type. If you’re anchoring into drywall without studs, be sure to use appropriate wall anchors designed for heavy loads.
Don’t rush this part—tighten each screw evenly to avoid warping the bracket. If the bracket shifts while tightening, stop and realign it to ensure a perfect fit. A loose bracket will compromise the entire installation.
Ensuring Stability
After securing the bracket, test its stability by gently pulling and pushing on it. There should be no wobble or movement. If you notice any give, recheck your screws and wall anchors.
Consider adding extra screws if your microwave is on the heavier side or if the wall material is less sturdy. Your safety and your microwave’s longevity depend on a solid, stable bracket.
Have you checked the weight limit of your bracket against your microwave’s weight? Matching these specs is key to avoid surprises later on.
Lifting And Mounting The Microwave
Lifting and mounting an over the range microwave can feel like a tough job, especially if you’re doing it alone. It requires careful handling and precise placement to avoid damage and ensure safety. Let’s break down the key actions you need to take to get your microwave up and running on the wall.
Aligning The Unit
Start by positioning the microwave close to the mounting bracket. You want to line up the microwave’s keyhole slots with the bracket hooks perfectly. This alignment is crucial because a small misplacement can make the unit unstable or difficult to secure.
Ask yourself: is the microwave level and flush against the wall? Use a level tool if you have one, or visually check from different angles. Proper alignment not only looks better but ensures the microwave won’t shift over time.
Securing The Microwave
Once aligned, gently lower the microwave onto the mounting bracket. You should hear or feel it click into place. Don’t rush this step—double check that the unit is resting securely on the hooks before moving forward.
Next, fasten the screws through the microwave’s bottom or sides into the cabinet above. These screws hold the unit firmly and prevent it from tipping forward. Tighten them evenly but avoid overtightening, which could strip the holes or damage the microwave.
Double Checking Installation
After securing, give the microwave a gentle shake to test stability. It should feel solid without any wobbles or movement. If you notice shifting, revisit the screws and bracket alignment immediately.
Also, check that the power cord and vent connections are properly positioned and not pinched. This step often gets overlooked but can affect both safety and performance.
Have you ever installed something heavy without a helper? What tricks did you use to keep it steady? Your insights could help others tackle this task with more confidence.

Credit: danmarcappliance.com
Connecting Electrical And Venting
Connecting the electrical supply and venting system is a key part of mounting an over the range microwave oven. Proper connection ensures safety and efficiency. It also helps the microwave function correctly without any issues.
Focus on plugging the microwave into power safely. Then, set up the ventilation to remove smoke and odors. Finally, test the fan and light to confirm everything works well.
Plugging In The Power
First, locate the microwave’s power cord. Most over the range microwaves come with a three-prong plug. Plug it into a grounded outlet behind the microwave. Avoid using extension cords or adapters. Make sure the outlet matches the microwave’s voltage and amperage requirements. If the outlet is not present, hire a professional electrician to install one. This step prevents electrical hazards and keeps the microwave running safely.
Setting Up Ventilation
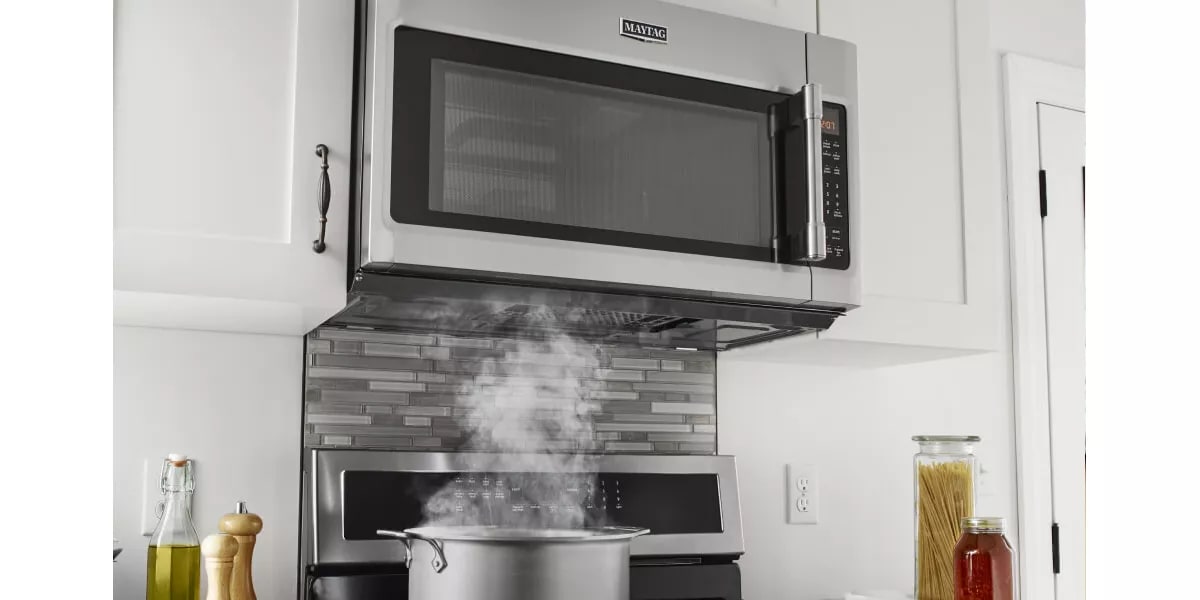
Next, set up the ventilation system based on your kitchen’s design. There are two main types:
- External venting: Connect the vent duct to the microwave’s exhaust outlet. The duct should lead outside to remove smoke and steam.
- Recirculating venting: Use a charcoal filter inside the microwave. This filter cleans the air before it returns to the kitchen.
Check the vent size and shape for a perfect fit. Secure all connections tightly to avoid leaks. Proper ventilation keeps air fresh and prevents damage to cabinets.
Testing The Fan And Light
After electrical and vent connections, test the fan and light. Turn on the microwave and activate the vent fan. Listen for smooth, steady airflow. The fan should not make loud or rattling noises. Turn on the microwave light to check brightness. Both must work properly to ensure good ventilation and cooking visibility. Fix any problems before finalizing the installation.
Final Adjustments And Safety Checks
After mounting your over the range microwave oven, spending time on final adjustments and safety checks is crucial. These steps ensure your microwave is secure and functions properly, giving you peace of mind every time you use it. Ignoring this phase can lead to instability or even safety hazards, so let’s focus on what you need to verify before considering the job done.
Tightening Screws
Check every screw holding the microwave in place. Over time, vibrations from cooking can loosen them, so they must be firmly tightened right after installation. Use a screwdriver to go over each screw, making sure they are snug but avoid overtightening to prevent damage to the mounting bracket or microwave frame.
Have you ever noticed a slight wobble in a mounted appliance? That’s often due to loose screws. Taking an extra minute here can save you from bigger problems later.
Verifying Stability
Once screws are tightened, test the microwave’s stability by gently shaking it. It should feel solid and not move at all. If you detect any shifting, double-check the mounting plate and wall anchors.
Remember, a stable microwave avoids accidents and protects your kitchen wall from damage. If your microwave feels unstable, it’s a sign to reassess your mounting points or use stronger anchors.
Testing Microwave Functions
Before finishing, plug in your microwave and test all its functions. Run it on different power levels and use the exhaust fan and light to confirm everything operates correctly. This step ensures that the installation hasn’t affected the wiring or internal components.
Have you ever installed something only to find it malfunctioning afterward? Testing now helps catch issues early, so you don’t have to uninstall and troubleshoot later.
Credit: www.maytag.com
Frequently Asked Questions
How Do I Prepare The Wall For Mounting The Microwave?
First, locate the studs behind the wall using a stud finder. Mark the mounting bracket position on the studs for secure support. Ensure electrical wiring is accessible near the mounting area. Clear the space above the range and remove any existing hood or microwave.
What Tools Are Needed To Mount An Over The Range Microwave?
You will need a drill, screwdriver, stud finder, measuring tape, level, pencil, and mounting bracket hardware. A helper can make the installation safer and easier. Always use tools that match the mounting kit’s specifications for the best results.
Can I Install An Over The Range Microwave Alone?
While it’s possible, installation is safer and more efficient with two people. Microwaves can be heavy and bulky, making mounting difficult alone. A helper ensures proper alignment and prevents accidents during installation.
How High Should I Mount The Microwave Above The Range?
The microwave should be mounted 13 to 30 inches above the stovetop surface. Check the manufacturer’s instructions for specific height recommendations. Proper height ensures safety and effective ventilation while cooking.
Conclusion
Mounting an over the range microwave can save space and add style. Follow the steps carefully for a safe and secure fit. Take your time measuring and drilling to avoid mistakes. Double-check all connections before use to ensure safety. With patience and care, your kitchen will look neat and work better.
Enjoy the convenience of your new microwave setup every day.