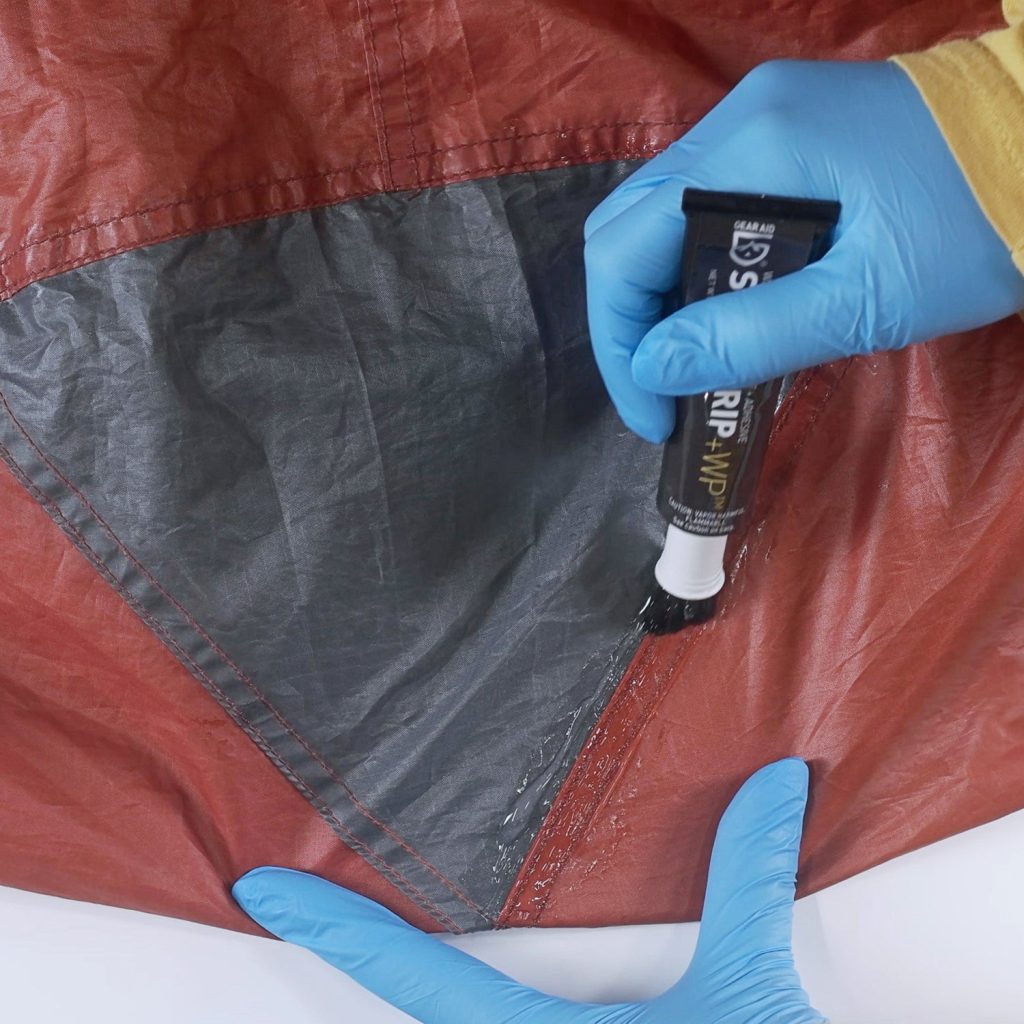
Your tent is your shelter, your safe space when you’re out in nature. But what happens if it gets a tear or a hole?
Suddenly, your cozy hideaway can turn into a problem. You might think fixing it is hard or expensive, but it doesn’t have to be. Imagine being able to quickly and easily patch your tent yourself, saving money and keeping your adventure going without stress.
In this guide, you’ll discover simple, effective ways to patch your tent so it stays strong and weatherproof. Keep reading, and you’ll learn exactly how to protect your gear and enjoy your time outdoors worry-free.
Credit: www.amazon.ca
Common Tent Damages
Tents face many types of damage during camping trips. Knowing these damages helps you fix your tent quickly.
Here are common tent issues like tears, seam failures, zipper problems, and broken poles.
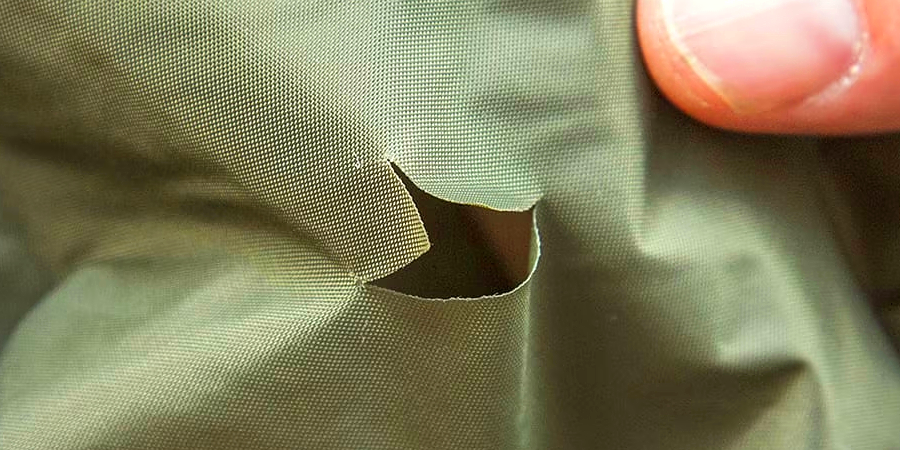
Tears And Rips
Tears happen when sharp objects or rough handling damage the tent fabric. Small tears can grow larger if not fixed fast.
Use repair tape or patches to cover tears. Clean the area before applying the patch for better hold.
Seam Failures
Seam failures occur when stitching comes undone or wears out. Water can leak through broken seams causing wet inside.
- Clean the seam area gently
- Apply seam sealer or waterproof tape
- Press firmly and let it dry completely
Zipper Issues
Zippers get stuck or break after frequent use. Dirt or sand can block zipper teeth and stops it from moving smoothly.
Try these tips for zipper care:
- Clean the zipper with a soft brush
- Lubricate teeth with zipper wax or candle wax
- Fix broken sliders with pliers or replace them
Pole Breaks
Poles can snap or bend under stress or strong winds. Broken poles make it hard to set up your tent.
| Damage Type | Repair Method |
| Cracked Pole | Use a splint and strong tape |
| Broken Pole Segment | Replace the broken part |
| Bent Pole | Carefully bend back to shape |
Essential Repair Tools
Having the right tools can save your camping trip. Tent repairs require specific items that are easy to pack and use.
Let’s explore the essential tools you need to patch up your tent effectively.
Repair Kits
Repair kits are handy for quick fixes. They often include patches and adhesive solutions designed for tent fabric.
- Pre-cut patches for various materials
- Waterproof sealant for seams
- Compact and lightweight
Adhesives And Tapes
Adhesives and tapes are crucial for sealing tears. Look for waterproof options to keep your tent dry.
- Silicone adhesive for strong bonds
- Duct tape for emergency repairs
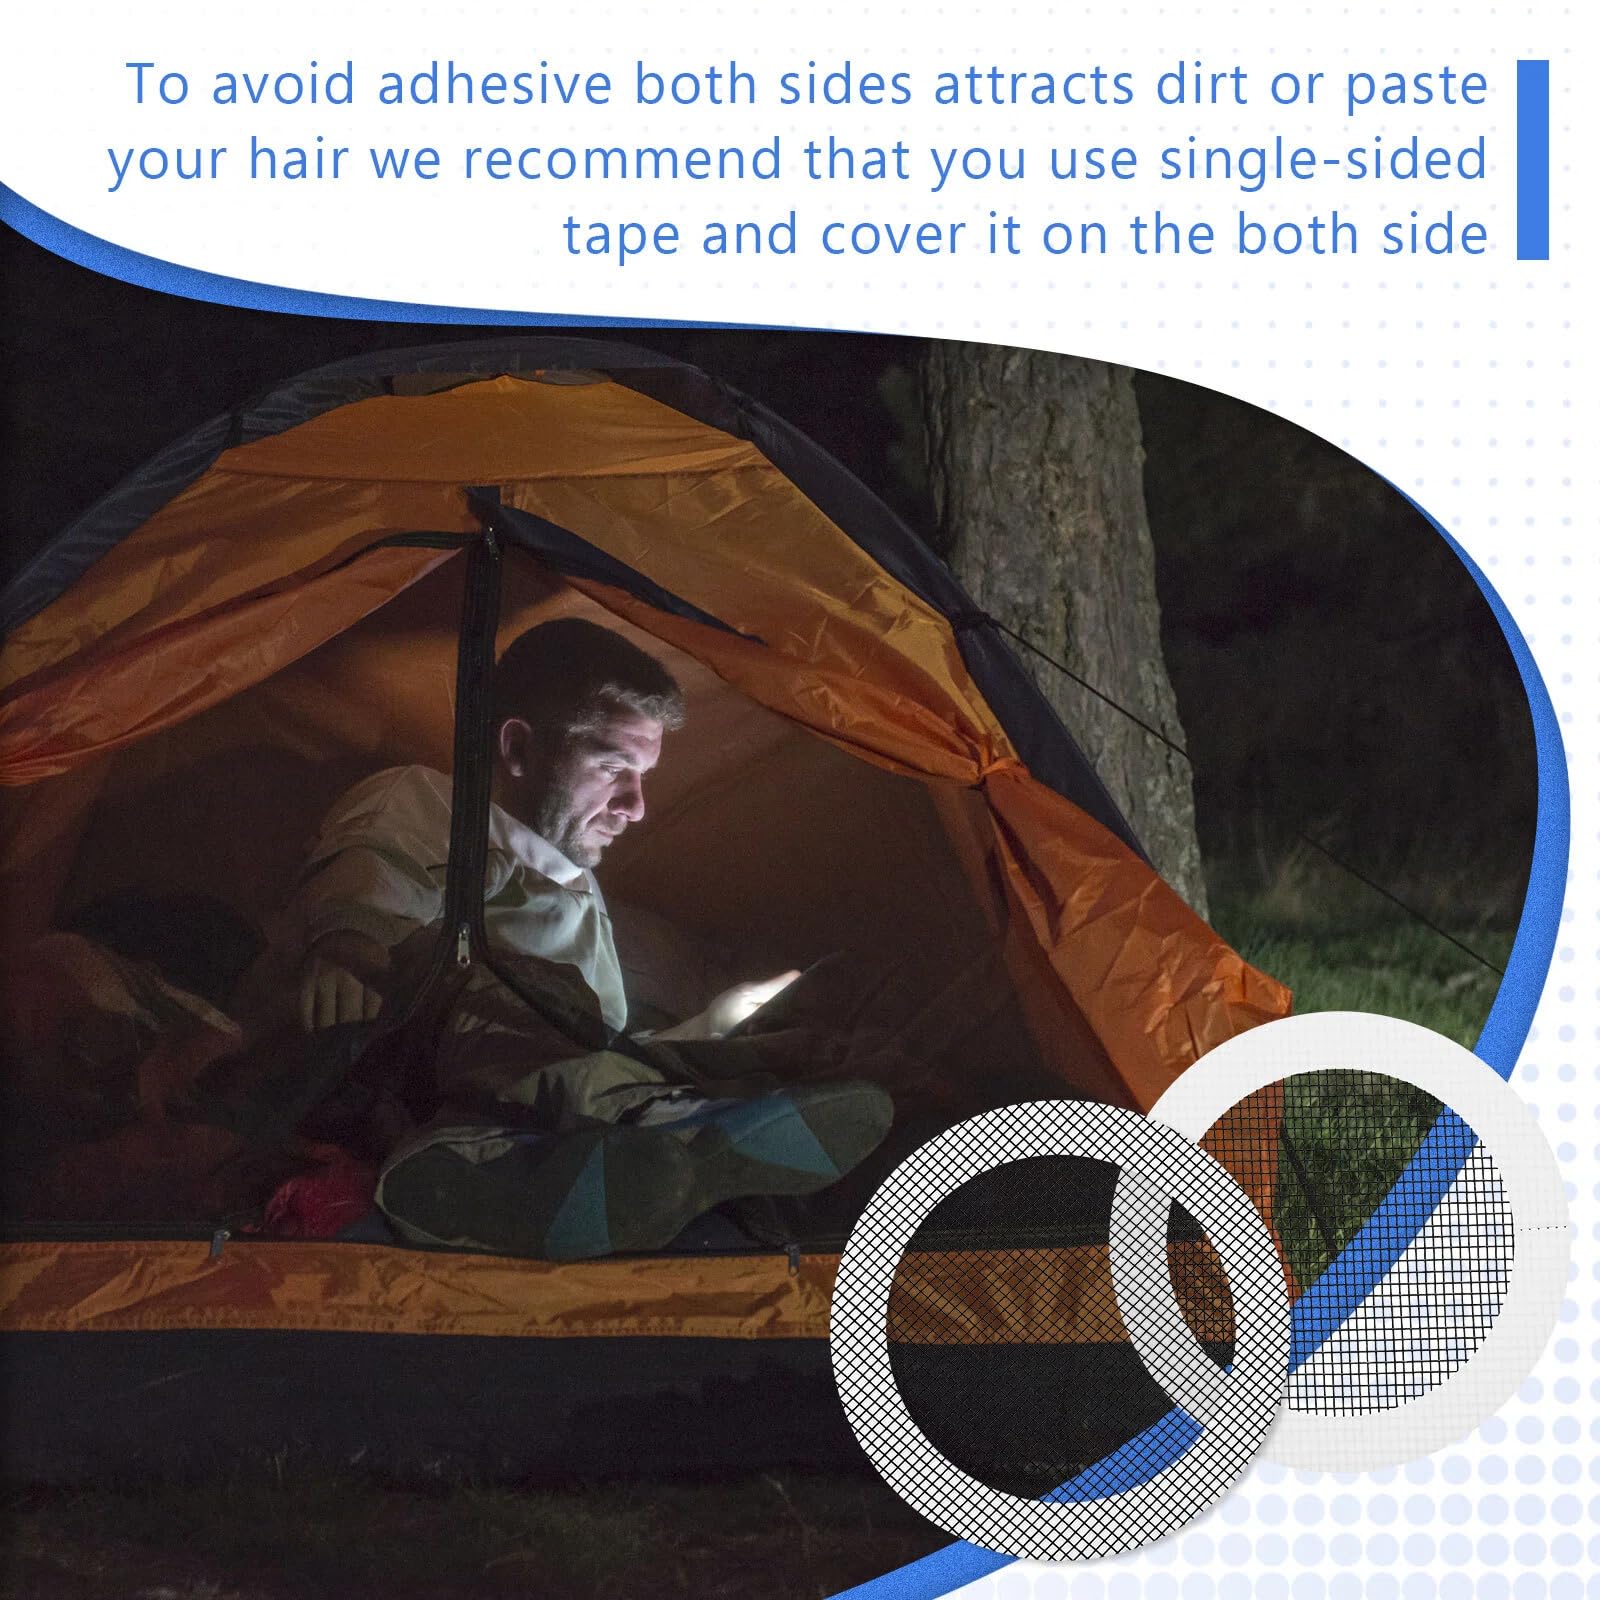
- Double-sided tape for temporary fixes
Needles And Thread
Needles and thread help fix ripped seams. Choose durable thread that can handle outdoor conditions.
- Heavy-duty needles for thick fabric
- Polyester thread for water resistance
- Thread wax for smoother sewing
Replacement Parts
Replacement parts are important for broken tent poles or zippers. Carry a few spares to avoid trouble.
- Extra tent pole sections
- Zipper sliders and pulls
- Guy lines and stakes
Quick Patch Methods
Fixing a tent quickly saves your trip from bad weather. Simple repairs keep you dry and safe.
These quick patch methods work well on the trail. Use common tools and materials you can carry.
Using Tent Tape
Tent tape is sticky and strong. It works great for small holes and tears. Clean the area first.
- Cut a patch larger than the hole
- Round the edges of the tape
- Stick the tape firmly on dry fabric
- Press and hold for a few minutes
- Let it set before packing the tent
Applying Seam Sealer
Seam sealer fills tiny cracks and leaks along stitched areas. It seals fabric and thread.
Apply sealer carefully to clean, dry seams. Use a small brush or applicator for control.
| Type of Seam Sealer | Best Use |
|---|---|
| Liquid Seam Sealer | Small leaks and pinholes |
| Paste Seam Sealer | Wider seams and heavier fabric |
| Spray Seam Sealer | Large areas and quick drying |
Temporary Stitching
If tape or sealer is not enough, use thread and needle. Stitch the tear with small, tight stitches.
- Thread a strong needle with fishing line or nylon thread
- Start a few inches before the tear
- Make small stitches close together
- Finish a few inches past the tear
- Tie a secure knot to hold stitches
Fixing Zippers On The Trail
Broken zippers can ruin your shelter. Use pliers or a pen to realign zipper teeth.
Try these quick fixes:
- Lubricate zipper with candle wax or soap
- Use pliers to pinch slider if loose
- Replace broken pull with a key ring or string
- Carefully realign misaligned zipper teeth
Credit: www.pomoly.com
Diy Patch Materials
Patching a tent is a useful skill for camping and outdoor activities. You can fix tears and holes yourself using simple materials. This guide helps you pick the best patch materials.
Choosing the right materials makes your repair last longer. It also keeps your tent waterproof and strong.
Fabric Choices
Pick a fabric that matches your tent’s material. Nylon and polyester are common tent fabrics. Use patches made from these or similar fabrics for a good match.
Ripstop nylon is a great choice. It is strong and resists tearing. If you do not have ripstop, use any lightweight, tightly woven fabric.
- Ripstop nylon
- Polyester fabric
- Lightweight nylon
- Tightly woven cotton (for non-waterproof tents)
Waterproof Options
Waterproof patches keep water out and protect the tent inside. Use patches with waterproof coatings or add sealants after patching.
Clear waterproof tape and silicone sealant work well. You can also buy self-adhesive waterproof patches made for tents. These patches stick well and keep water away.
- Self-adhesive waterproof patches
- Clear waterproof tape
- Silicone sealant or seam sealer
- Waterproof fabric with PU or silicone coating
Cutting And Shaping Patches
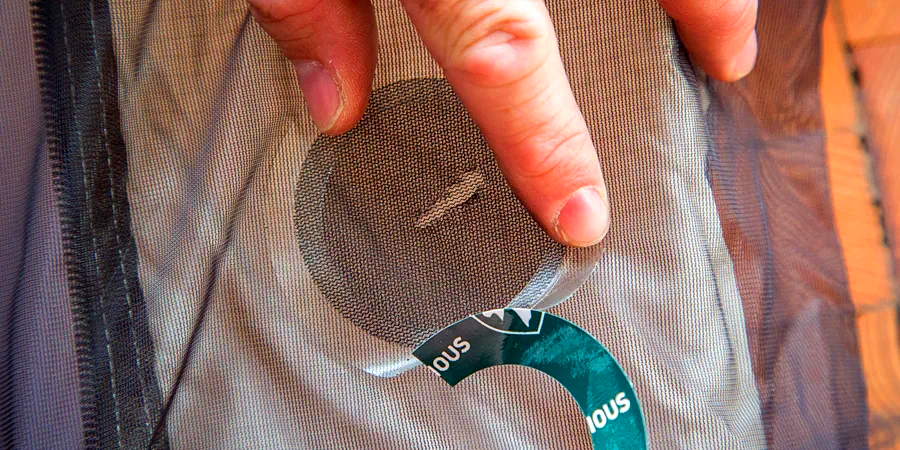
Cut patches to cover the hole with extra space around it. Round or oval patches avoid corners that can peel off easily.
Use sharp scissors to cut clean edges. Make the patch at least 2 inches larger than the tear. This size helps the patch stick better.
- Use sharp scissors for clean cuts
- Shape patches round or oval
- Make patch 2 inches larger than hole
- Trim loose threads around tear before patching
Step-by-step Repair Process
Patching a tent can save you from bad weather and keep your gear dry. This guide shows you how to fix tears or holes quickly and easily.
Follow these steps to clean, prepare, apply, and test your patch for a strong repair.
Cleaning The Damaged Area
Start by cleaning the torn or damaged spot on your tent. Dirt and oils can stop the patch from sticking well.
- Use a soft brush to remove loose dirt.
- Wipe the area with rubbing alcohol or mild soap and water.
- Let the fabric dry completely before patching.
Preparing The Patch
Choose a patch that matches your tent fabric. Cut it slightly larger than the damaged area to cover the tear fully.
| Material | Patch Type | Recommended Size |
| Nylon | Self-adhesive or sewn patch | At least 1 inch larger than tear |
| Polyester | Iron-on or glue-on patch | At least 1 inch larger than tear |
| Canvas | Sewn patch | At least 2 inches larger than tear |
Applying The Patch
Place the patch carefully on the clean, dry area. Press firmly to make sure it sticks well.
Here is a quick checklist to apply your patch:
- Align the patch over the tear smoothly.
- Press the center first, then the edges.
- Use a roller or flat object to remove air bubbles.
- Allow the adhesive to bond according to instructions.
Curing And Testing
Let the patch cure fully before using the tent again. This strengthens the bond and prevents leaks.
- Leave the tent in a warm, dry place for 24 hours.
- Check the patch by gently pulling on the edges.
- Test for leaks by spraying water over the repaired area.
- Repeat patching if needed for large or stubborn tears.
Credit: www.pomoly.com
Preventing Future Damage
Patching a tent is important, but preventing damage is even better. Good care helps your tent last longer and stay safe in the outdoors.
Follow simple steps to protect your tent from tears and leaks. These tips make camping more enjoyable and keep your gear in top shape.
Proper Tent Setup
Setting up your tent correctly reduces stress on the fabric and seams. Avoid damage by choosing the right spot and securing the tent well.
- Pick a flat, clean area free of sharp rocks and sticks
- Use a ground tarp under your tent to protect the floor
- Tighten all guy lines and stakes to keep the tent stable
- Avoid pitching your tent under trees with heavy branches
- Check for strong wind directions before setup
Regular Maintenance
Keep your tent in good shape by cleaning and checking it often. Fix small issues before they turn into big problems.
| Maintenance Task | Frequency | Reason |
|---|---|---|
| Clean tent fabric | After each trip | Remove dirt to prevent fabric wear |
| Check seams and zippers | Before each trip | Find and fix small tears and broken parts |
| Reapply waterproofing | Once a year | Keep tent water-resistant |
| Air out tent | After each use | Prevent mold and odor buildup |
Safe Storage Tips
Proper storage stops damage from moisture, pests, and crushing. Store your tent dry and loose to keep it ready for your next trip.
- Dry the tent completely before packing
- Store in a cool, dry place away from sunlight
- Keep the tent loosely folded or rolled
- Avoid storing in plastic bags for long times
- Use a breathable storage sack or cotton bag
When To Seek Professional Help
Patching a tent is often easy for small tears or holes. Some damages need a skilled person to fix them well. Knowing when to get help can save your tent.
Experts use special tools and materials. They ensure your tent stays strong and safe to use again.
Major Structural Damage
If your tent frame breaks or poles bend badly, do not try to fix it yourself. These parts hold your tent up and keep it stable.
Fixing big frame damage needs special tools and skills. A professional can replace or repair parts safely. This keeps your tent sturdy.
Complex Zipper Repairs
Zippers can be tricky to repair. If the zipper track is broken or teeth are missing, fixing it alone is hard.
Professionals can replace zippers or fix them to work smoothly. This helps avoid more damage and keeps your tent secure.
Warranty And Replacement Options
Check if your tent is still under warranty before fixing it yourself. Some damage is covered by the manufacturer.
A professional repair might keep your warranty valid. Or you may get a replacement if the damage is serious.
- Read your tent’s warranty terms carefully
- Contact the manufacturer for advice
- Use professional repair services recommended by the brand
Frequently Asked Questions
How Do I Find The Best Spot To Patch My Tent?
Inspect your tent for holes or tears carefully. Choose a clean, dry area around the damage. This helps the patch adhere better and lasts longer.
What Materials Are Needed To Patch A Tent Effectively?
You’ll need a tent repair kit, including patches, adhesive, and cleaning wipes. Some kits have seam sealant for waterproofing. Always choose materials compatible with your tent fabric.
How Long Does It Take For A Tent Patch To Dry?
Typically, tent patches take 24 hours to fully dry and bond. Dry time depends on adhesive type and weather conditions. Avoid using the tent during this period for best results.
Can I Patch A Tent While Camping Outdoors?
Yes, you can patch a tent outdoors using portable repair kits. Clean the area and apply the patch carefully. Let it dry as much as possible before packing.
Conclusion
Patching a tent keeps it strong and dry during trips. Small tears can turn big without quick care. Use the right tools and follow simple steps. A well-fixed tent lasts many camping seasons. Always carry a patch kit when you camp.
Repairing your tent saves money and hassle. Enjoy your outdoor adventures with confidence and comfort.