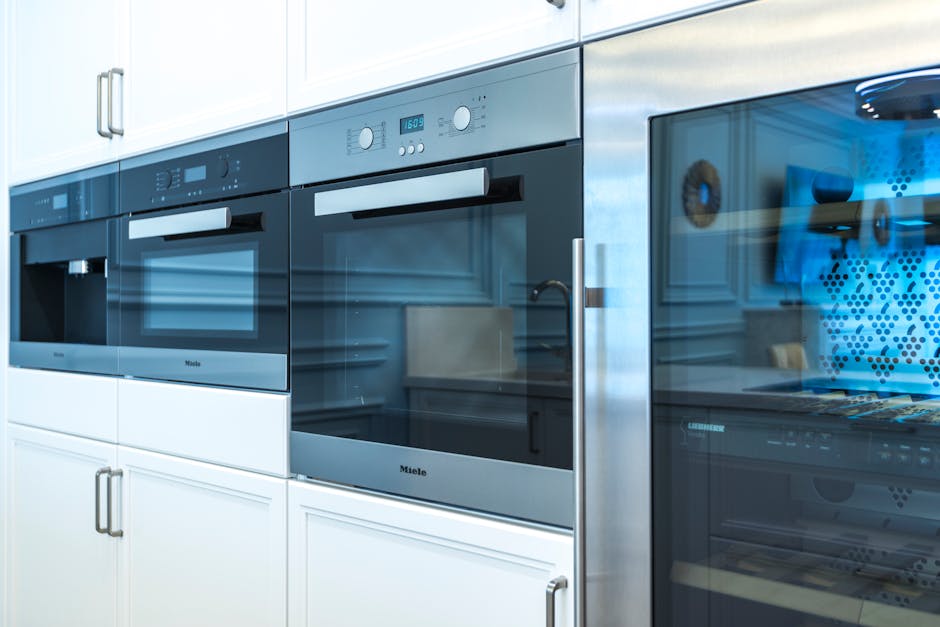
Are you thinking about removing that old microwave oven over the range and not sure where to start? You’re not alone.
Many homeowners like you decide to upgrade or replace their kitchen appliances but feel intimidated by the thought of taking down a heavy microwave. The good news? It’s easier than you might think. With the right guidance, you can safely and efficiently remove your over-the-range microwave without the need for professional help.
Stick around, and we’ll walk you through each simple step, ensuring you can tackle this task with confidence. Ready to transform your kitchen space? Let’s get started!
Gather Necessary Tools
Before you start removing your microwave oven over the range, gathering the right tools is essential. Having everything ready saves time and prevents frustration mid-task. It also helps you avoid unnecessary trips to the store or interruptions in your workflow.
List Of Required Tools
Make sure you have these tools on hand to make the removal process smooth and efficient:
- Screwdriver set– Both Phillips and flathead screwdrivers are often needed.
- Socket wrench– Useful for loosening bolts that secure the microwave.
- Putty knife or flat pry tool– Helps in gently loosening any sealant or trim pieces.
- Step ladder– You’ll need this to reach the microwave safely and comfortably.
- Work gloves– Protect your hands from sharp edges and hot surfaces.
Having these tools ready means you won’t have to stop halfway to search for missing equipment. Are you surprised by any tool on this list? Sometimes the simplest ones make the biggest difference.
Safety Equipment To Use
Safety is a priority you can’t overlook. Removing a microwave over the range involves electrical components and heavy lifting.
Wear safety goggles to protect your eyes from dust or debris that might fall during removal. Gloves can shield your hands from cuts and abrasions, especially when handling metal parts. Also, consider turning off the power supply to the microwave at the circuit breaker to avoid any risk of electric shock.
Have you checked your safety gear before starting other home projects? It’s easy to underestimate the importance until something unexpected happens.

Credit: www.monacoers.org
Prepare The Area
Preparing the area before removing your over-the-range microwave oven can save you from unexpected hassles and safety risks. Taking a few moments to set up your workspace properly makes the entire process smoother and more efficient. Let’s look at two key steps to get your kitchen ready.
Clear Surrounding Space
Start by removing any items around and inside the microwave. This includes dishes, spices, or kitchen tools that could fall or get in your way. You want a clean, open space to work comfortably and avoid accidents.
Think about the floor space too. Clear the area below the microwave to give yourself enough room to move and place the oven once it’s detached. It’s easier to handle the appliance without tripping over clutter.
Turn Off Power Supply
Safety first: always turn off the microwave’s power before you begin. Locate the circuit breaker for the kitchen or unplug the microwave if accessible. This step prevents electric shock and protects the appliance from damage.
If you’re unsure which breaker controls the microwave, test by turning off the kitchen’s main power and use a voltage tester or simply try switching the microwave on. Have you ever started a project only to realize the power was still on? Avoid that hassle by double-checking now.
Disconnect Microwave Connections
Disconnecting the microwave connections is an important step before removing it from over the range. It ensures safety and prevents damage to the appliance or your kitchen. This process involves unplugging power, detaching venting ducts, and removing mounting screws. Each task requires care and attention to detail. Follow these instructions to disconnect the microwave safely and smoothly.
Unplug Power Cord
Locate the microwave’s power cord behind the unit. Gently pull the plug out from the wall socket. Do not yank the cord to avoid damage. If the cord is hard to reach, use a sturdy ladder or step stool. Make sure the microwave is fully disconnected from electricity before proceeding.
Detach Venting Ducts
Check for venting ducts connected to the microwave. These ducts help release steam and smoke during cooking. Use a screwdriver to loosen the screws or clips holding the ducts. Carefully pull the ducts away from the microwave. Keep the screws and clips safe for reinstallation or future use.
Remove Mounting Screws
Locate the mounting screws securing the microwave to the cabinet or wall. These are usually found inside the microwave cavity or on top of the unit. Use the correct screwdriver to unscrew them slowly. Support the microwave’s weight while removing screws to prevent it from falling. Keep all screws in a safe place for later use.
Remove Microwave Safely
Removing a microwave oven over the range needs care and focus. Safety is key to avoid injuries and damage. Follow simple steps to handle the microwave with care. Prepare a clear space and gather help if needed. Keep the area free of obstacles before starting the removal.
Support Microwave Weight
Microwaves over the range are heavy and awkward to hold. Use both hands to support the microwave firmly. Ask someone to help hold the weight if possible. Keep your back straight and lift with your legs. Avoid sudden moves to prevent dropping the microwave. Hold the microwave close to your body for better control.
Lift And Slide Off Mount
After supporting the weight, carefully lift the microwave slightly upward. This action frees the microwave from the mounting bracket. Slide the microwave forward slowly and steadily. Keep the microwave level to avoid tipping. Once free, move the microwave away from the wall with care. Set it down gently on a safe surface to prevent damage.
Inspect And Clean The Mounting Area
Before you install a new microwave or leave the space empty, it’s crucial to inspect and clean the mounting area thoroughly. This step ensures safety and prepares the surface for any future use. Neglecting this part can lead to problems like poor mounting stability or hidden damage that worsens over time.
Check For Damage
Look closely at the wall and cabinet area where your microwave was mounted. Are there cracks, holes, or signs of water damage? Even small issues like loose screws or weakened drywall can affect how securely a new microwave will fit.
Remember a friend who ignored a small crack behind their old microwave? It eventually led to the unit tilting dangerously. Spotting these problems now can save you from costly repairs later.
Ask yourself: Is the mounting bracket still solid? If it’s bent or rusted, replace it before moving on. This small check can prevent accidents and ensure your new microwave stays safe and stable.
Clean Surfaces
Once the area is clear of damage, clean every surface thoroughly. Dust, grease, and food splatters can build up over time and cause issues when you mount the next unit.
Use a mild cleaner and a soft cloth to wipe down the wall, cabinet, and mounting bracket. Avoid abrasive materials that might scratch or damage the surface.
Think about the last time you skipped cleaning behind an appliance—didn’t it make your kitchen feel less fresh? Taking a few minutes now to clean properly will make a noticeable difference and improve your kitchen’s overall hygiene.

Credit: www.youtube.com
Tips For Installing A New Microwave
Installing a new microwave oven over the range can improve kitchen space and convenience. Planning the installation carefully ensures safety and proper function. Follow these tips to make the process smooth and efficient.
Choosing The Right Model
Measure the space above your range precisely. Check the height, width, and depth available. Select a microwave that fits well without overcrowding.
Consider the microwave’s power level to suit your cooking needs. Higher wattage cooks food faster and more evenly. Look for features like exhaust fans and lighting for added kitchen comfort.
Ensure the microwave matches your kitchen style. Choose colors and finishes that blend with your cabinets and appliances. This keeps your kitchen looking neat and coordinated.
Basic Installation Advice
Turn off power at the circuit breaker before starting. This step prevents electrical accidents during installation.
Use a sturdy mounting bracket and secure it to wall studs. This support holds the microwave’s weight safely. Follow the manufacturer’s instructions carefully for mounting details.
Connect the vent or recirculation system correctly. Proper ventilation removes smoke and odors while cooking. Test the fan and lights to confirm they work after installation.
Double-check all electrical connections before powering on. A secure connection avoids sparks and malfunctions. Test the microwave with a short cooking cycle to ensure proper operation.

Credit: www.reddit.com
Frequently Asked Questions
How Do I Safely Remove An Over-the-range Microwave?
First, unplug the microwave and turn off the circuit breaker. Remove mounting screws and support the unit firmly while detaching it. Always have a helper to prevent accidents and avoid damage during removal.
What Tools Are Needed To Remove The Microwave Oven?
You will need a screwdriver, a drill, and possibly a socket wrench. A helper is recommended to hold the microwave while unscrewing. Always use tools suited for the mounting hardware of your specific microwave.
Can I Remove The Microwave Without Damaging Cabinets?
Yes, by carefully unscrewing the mounting brackets and supporting the microwave during removal. Avoid using excessive force to prevent cabinet damage. Take your time to loosen all fasteners before detaching the unit.
How Do I Disconnect The Microwave From The Vent System?
Turn off power, then carefully detach the vent cover or duct connected to the microwave. Gently remove screws holding the vent in place. Disconnecting the vent may require extra care to avoid damage to the ductwork.
Conclusion
Removing a microwave oven over the range can be simple and safe. Follow the steps carefully and take your time. Always disconnect the power before starting any work. Use the right tools and ask for help if needed. This way, you avoid damage and injury.
With patience, you can complete the task without stress. Remember, safety comes first in every step. Now, you are ready to remove your microwave oven with confidence.